
Often I get asked how do you hardwire a dash cam using fuse taps? So, first things first is you need a hardwire cable. For all of our Thinkware, IROAD, and GNET dash cameras they use a 3 wire cable.

- Red wire = Ignition power
- Yellow wire = Constant power
- Black wire = Ground
Tools Needed
A couple of tools we recommend using so you can properly test fuses on a vehicle.
- Ground test light
- Multimeter

Fuse Taps
You will also need fuse taps. I recommend reading your vehicles owners manual, or looking at your fuse box to verify which style fuse you have.
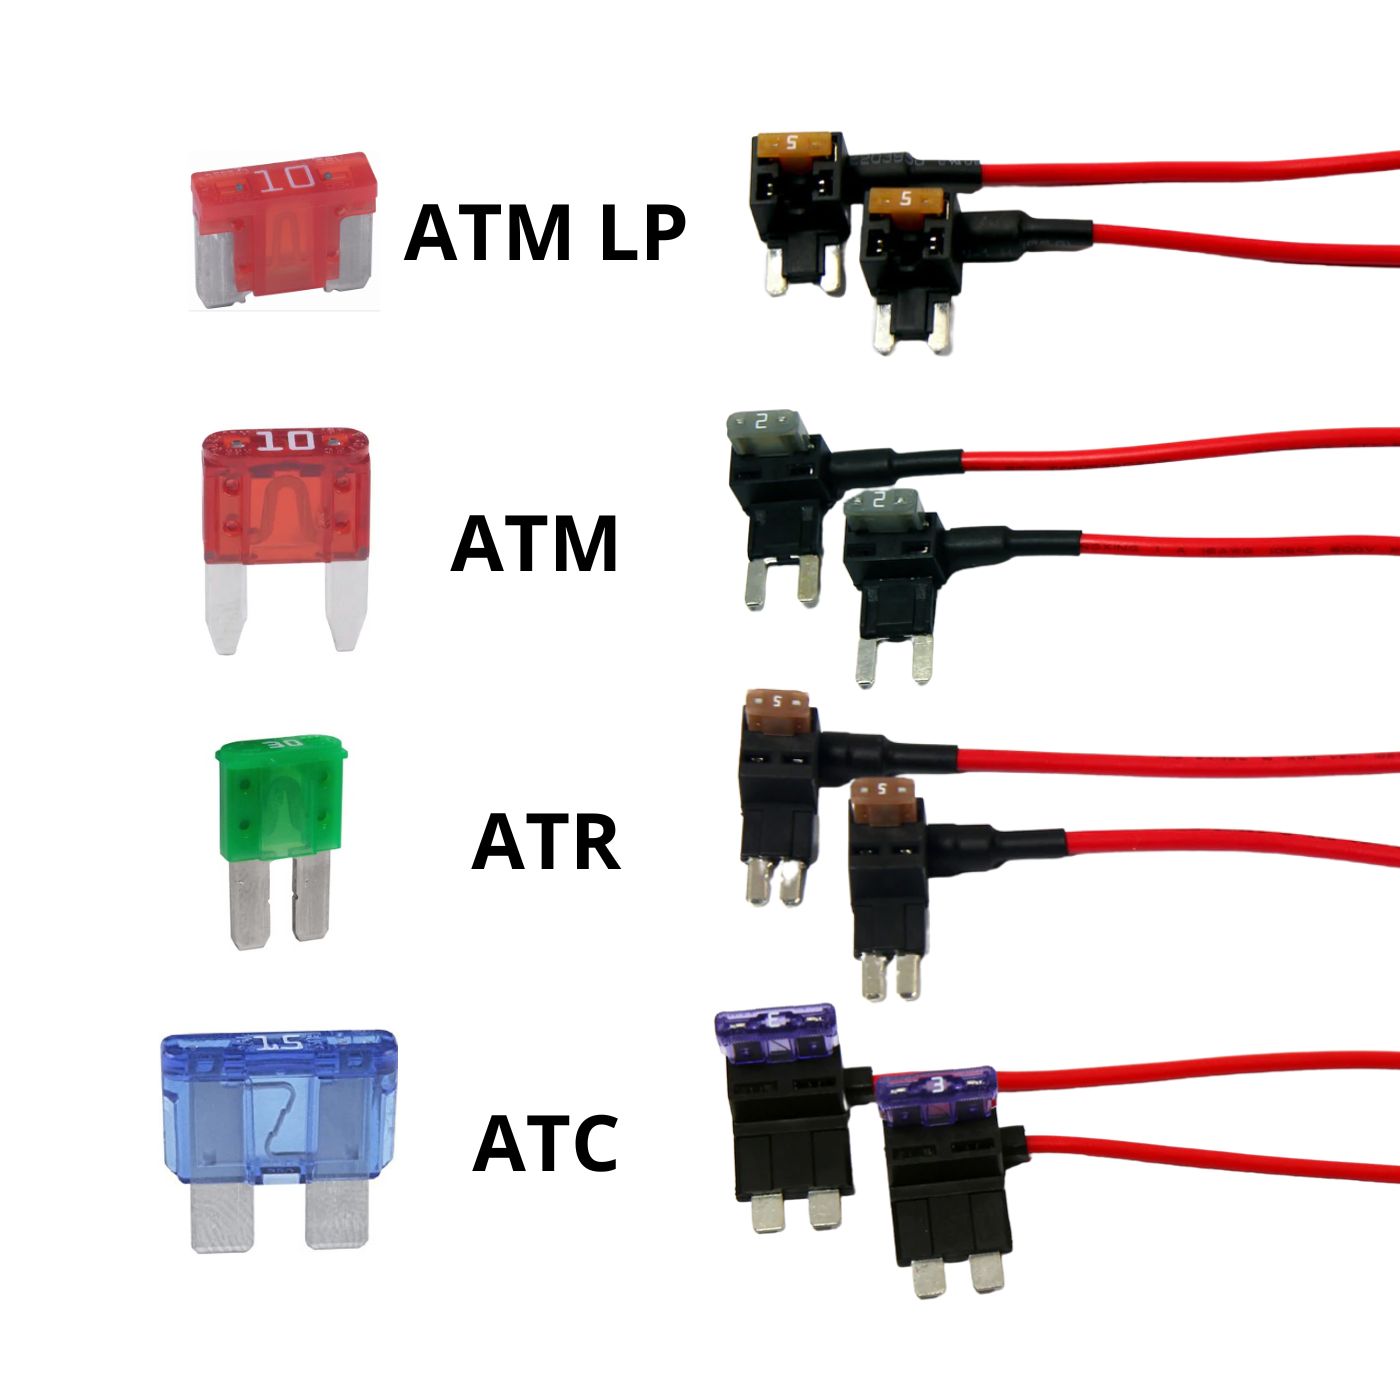
We specifically use these style of fuse taps as you can put the original fuse in and a new fuse for the dash camera. All part of the process of how to hardwire a dash cam.

Locate Fusebox
Make sure to locate your fusebox on your vehicle. If you are having challenges finding it please refer to your owners manual of your vehicle.
Testing Fuses
When using a ground test light and you test the end of the fuse it will tell you whether the fuse has power or not. Ignition source will have power when ignition is switched on and lose power when ignition switched off. Constant power will have power all the time whether vehicle is on or off. However, be very careful not to be using fuse taps in safety slots. For instance, airbags, SRS, Antilock brakes, ESC Electronic stability control. Please refer to our YouTube video for more in depth detail.
Connecting Fuse Taps to Hardwire Cable
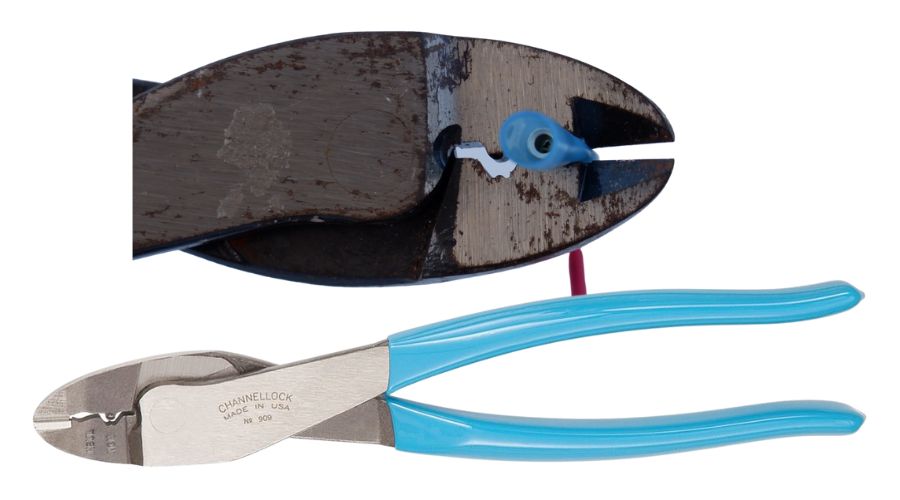
So you can either butt connect or solder it depending on the tools you have available to you. I prefer to solder as it is a tougher connection and I will follow it up with electrical tape. But being that most people will not have a soldering iron you can butt connect just make sure when you crimp it down that it is solid. I personally in the past when I used butt connectors I would use channel locks.
Connect Fuses to Fuse Panel
So now that we have made our connections we want to make sure to place the fuse taps in the correct places. You should have an end outcome similar to picture shown for your power connections.

For your ground connections you can either use an existing bolt (please don’t use a bolt that goes through plastic) or a self tap screw.

Final Testing
Now we want to hook power up to the dash camera and test to see if it powers off and on with ignition. Make sure to start your car up and make sure you do not have any Check Engine Lights popping up. It can be very easy to plug a fuse into the wrong place or make a mistake so please be careful.
Conclusion
Well that is the coles notes of how to hardwire a dash cam using fuse taps. Hopefully it helps you out. Keep in mind we always recommend getting a professional installer.