2026 Hyundai Ioniq 9 Dash Camera — VIOFO A229 Pro Front & Rear Installed
The VIOFO A229 Pro front and rear kit is a compact, reliable option for modern EVs like the 2026 Hyundai Ioniq 9. When installing on a new Ioniq 9, the goal is subtle, secure placement and clean wiring so the camera records clearly without distracting the driver or interfering with vehicle features.
Why the VIOFO A229 Pro is a good choice for the Ioniq 9
The A229 Pro offers front and rear coverage in a tidy package that suits vehicles with minimalist interiors. Key benefits for an Ioniq 9 installation include:
- Low-profile mounting that minimizes driver distraction.
- Good image placement options to work around cabin features and windshield wipers.
- Simple wiring paths that allow cables to be hidden in the headliner and vehicle grommets.
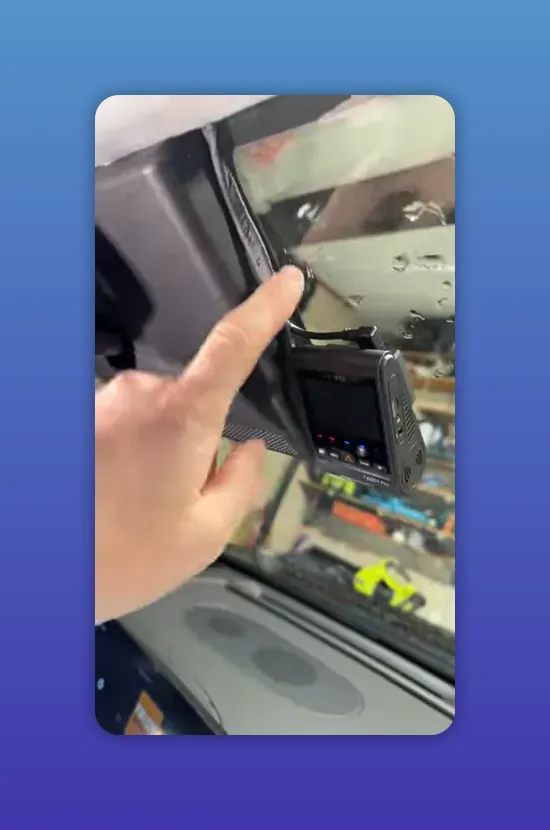
Front camera placement: keep it out of the driver's way
The camera was mounted on the passenger side of the windshield rather than centered. This achieves two things: it avoids distracting the driver and keeps the camera tucked behind the housing and headliner for a clean look.
Mounting tips:
- Place the camera close to the headliner so the unit sits out of the main sightline.
- Tape and route the wiring tight to the housing, then tuck it under the headliner so nothing hangs down.
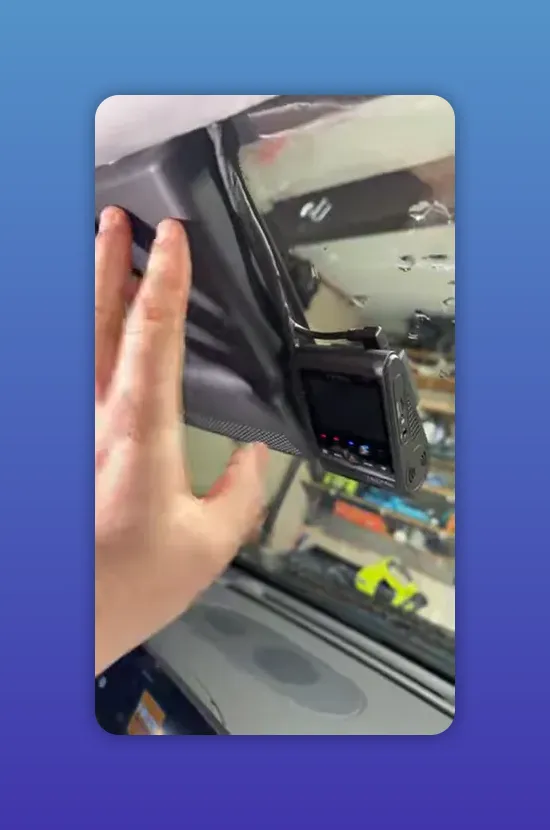
Wire routing: hidden, secure, and factory-like
Neat wire routing is just as important as the camera position. Running cables up along the windshield edge and tucking them into the headliner keeps everything hidden and resistant to snagging or wear.
Best practices:
- Run wires along the same path as the roof trim where possible.
- Use tape or clips to secure cables next to the camera housing before tucking into the headliner.
- Avoid pinching or crimping wires when replacing trim pieces.
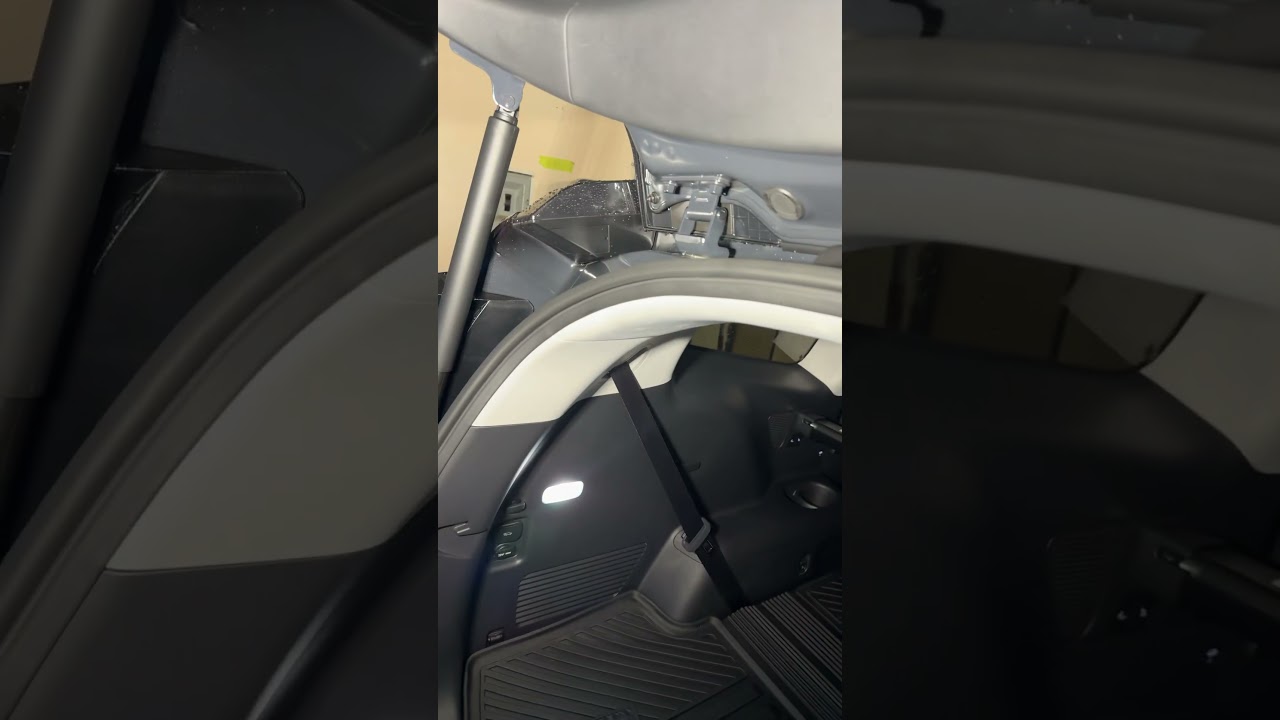
Rear camera: use the vehicle grommet and respect the wiper sweep
On the Ioniq 9 the rear camera cable can be routed through the hatch grommet to keep the run completely hidden. This preserves the clean rear hatch look and protects the cable from the elements.
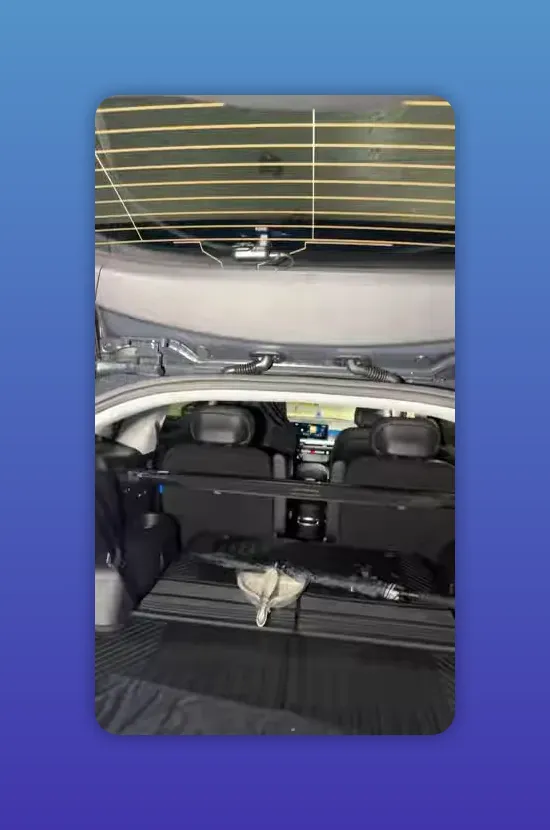
When mounting the rear camera on the rear window, alignment matters. The Ioniq 9’s rear windshield wiper is offset to one side, so the camera should be positioned where the wiper will clear its field of view.

Why this matters:
- If the camera sits outside the wiper sweep, snow, rain, or dirt can obscure the lens.
- Placing the camera inside the wiper’s clearing path keeps footage usable in poor weather.
Quick installation checklist
- Mount front camera low and to the passenger side to minimize driver distraction.
- Tape and route front wiring into the headliner for a hidden finish.
- Run rear cable through the hatch grommet to avoid visible wiring.
- Place rear camera where the windshield wiper will clean it.
- Confirm both cameras have unobstructed views before reassembling trim.
Final thoughts
A careful install on the Hyundai Ioniq 9 gives you the benefit of continuous front and rear recording without changing the vehicle’s clean interior aesthetic. Prioritizing hidden wiring and proper rear-camera placement relative to the wiper sweep will ensure reliable footage in all conditions.

