New VIOFO Dashcam App Explained: Dash Camera Pro Setup

VIOFO released a redesigned companion app that makes managing your dashcam a lot easier—most importantly, it enables wireless firmware updates straight from your phone. No more removing the microSD card or copying files from a computer. Below is a practical walkthrough of pairing, updating firmware, and the app settings you should check after an update.
What the new app brings
- Wireless firmware updates for supported models (A229 Pro, A229 Plus, A329, A329S, etc.).
- On-screen camera preview with grid lines for easy alignment.
Pairing the camera and doing a wireless firmware update
- Power on the dashcam and enable its Wi-Fi by pressing and holding the Wi-Fi button for five seconds until it announces Wi-Fi enabled.
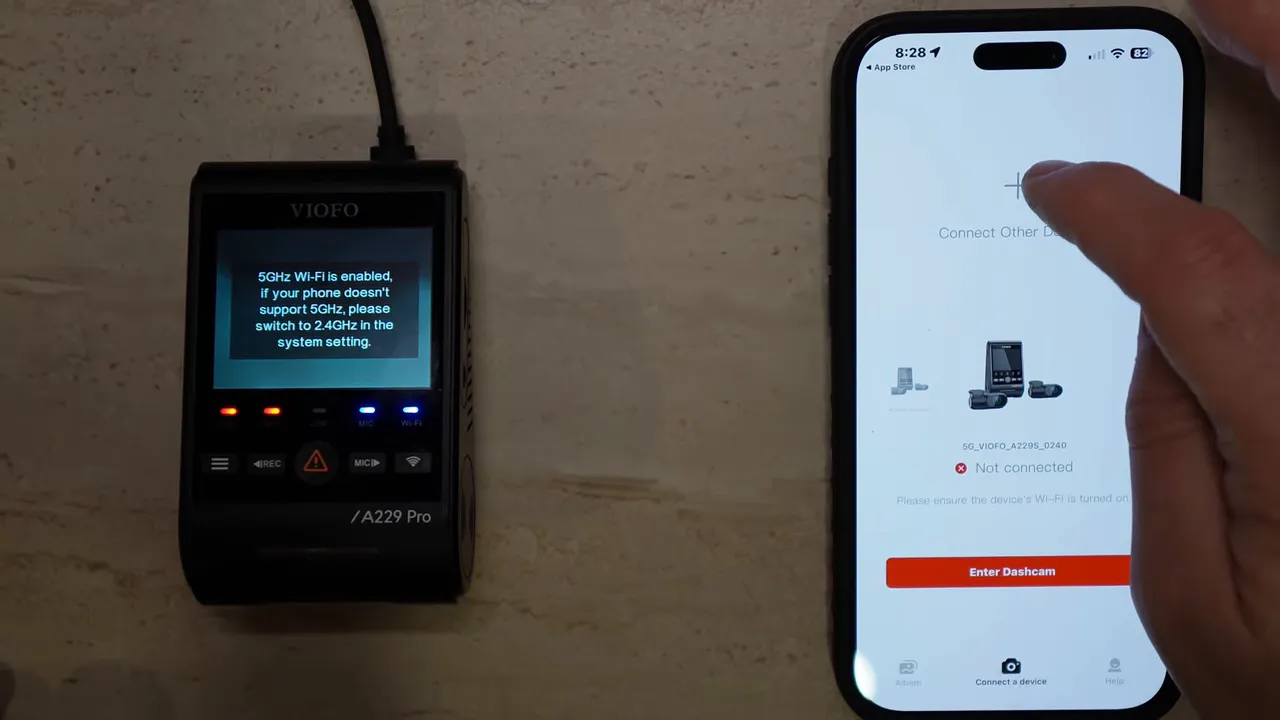
- Open the app, select your camera model (for example, A229 Pro), and follow the prompt to join the camera Wi‑Fi network on your phone. The default Wi‑Fi password is the numeric code printed on the camera (example shown here).

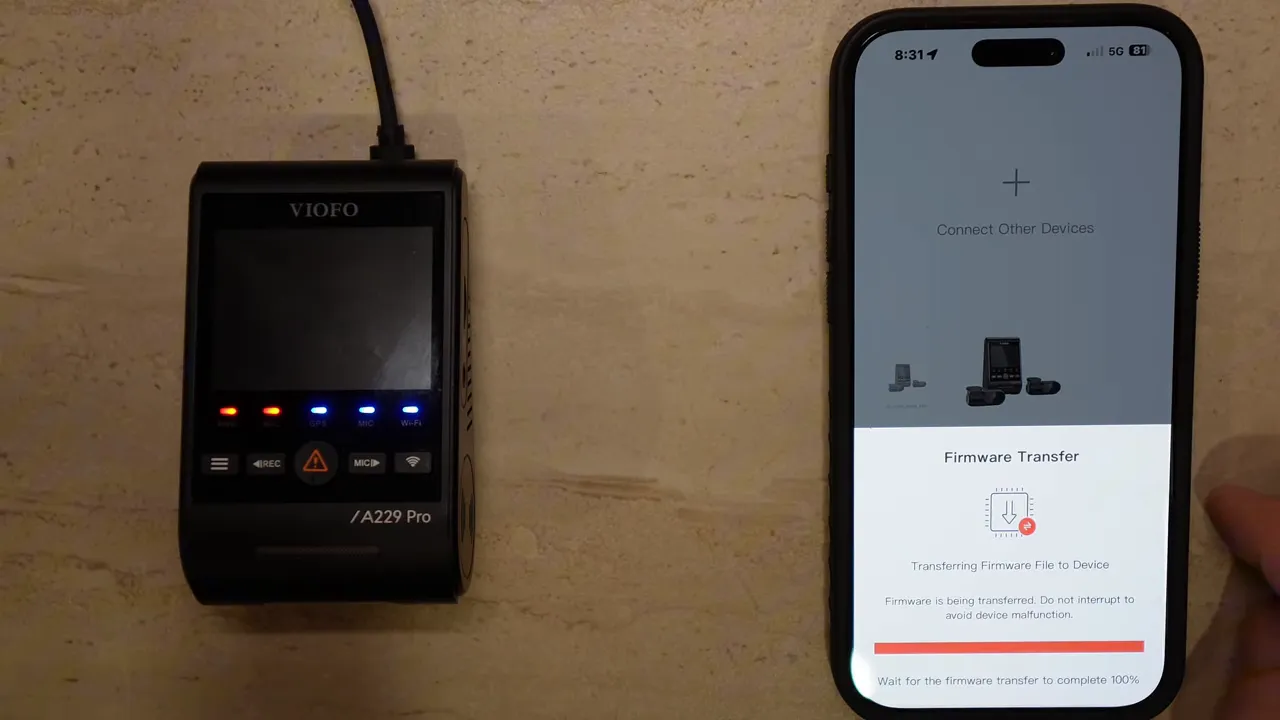
- Once connected the app should display a green check and detect new firmware. Tap to download the firmware package to your phone.

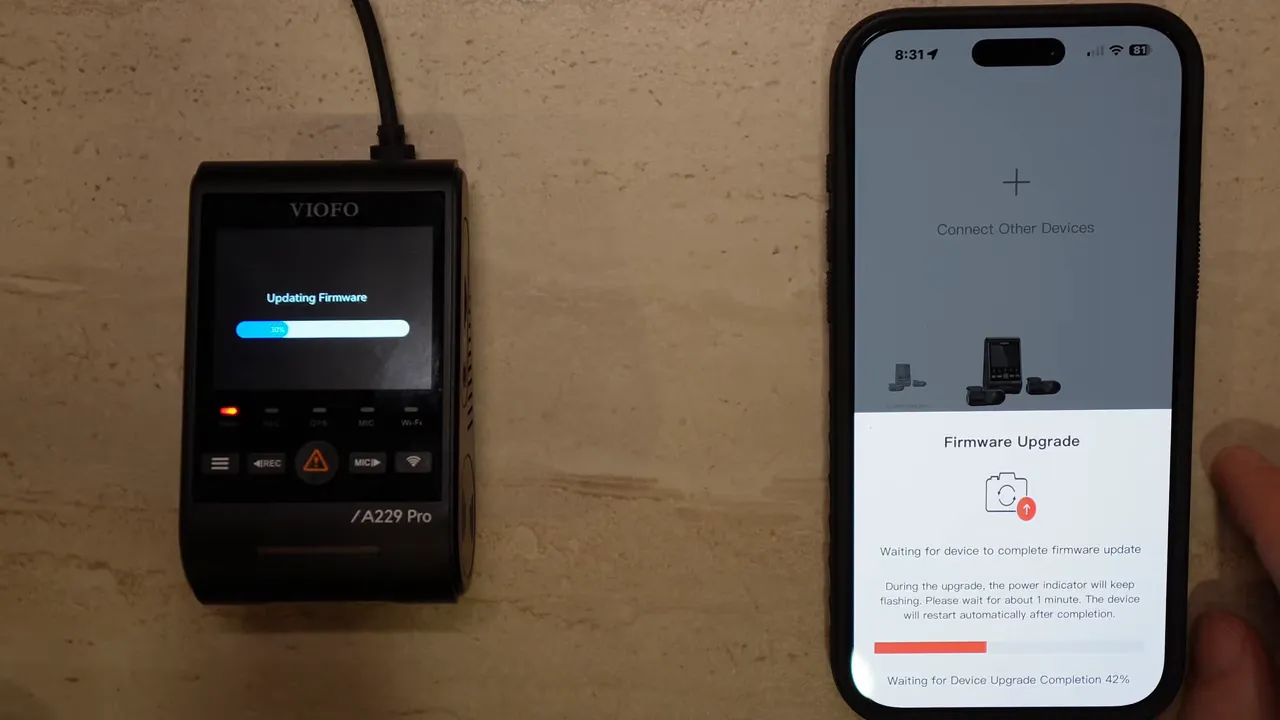
- The app transfers the firmware to the camera. The camera will beep and reboot during the update—do not interrupt power. Keep the vehicle ignition on or ensure a constant power supply while the update runs.
- Firmware installation usually takes about a minute and shows a progress percentage on the camera screen.
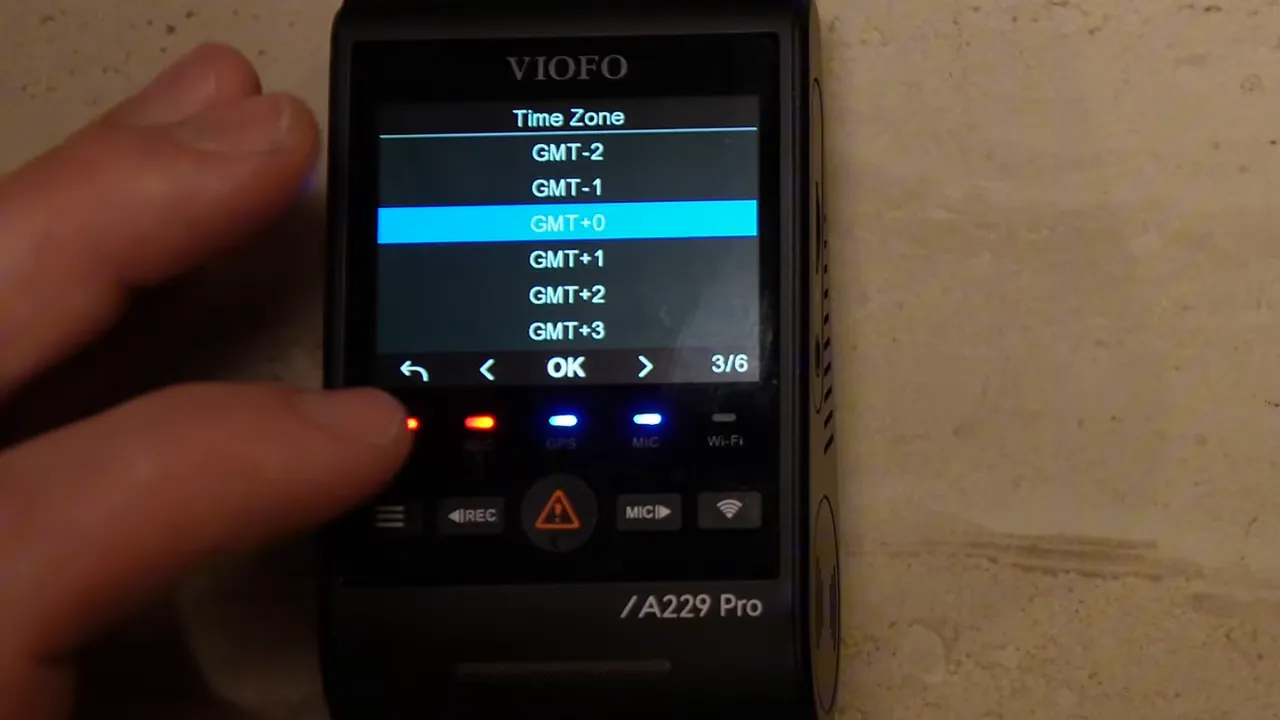
- After the update the camera may reset and walk you through language, time zone, and unit setup. It is a good idea to format the microSD card after a firmware change to avoid file conflicts.
If the firmware prompt doesn't appear
Open Help → Software Version in the app. If you dismissed the initial prompt, this menu often contains the device firmware option and lets you start the update manually. 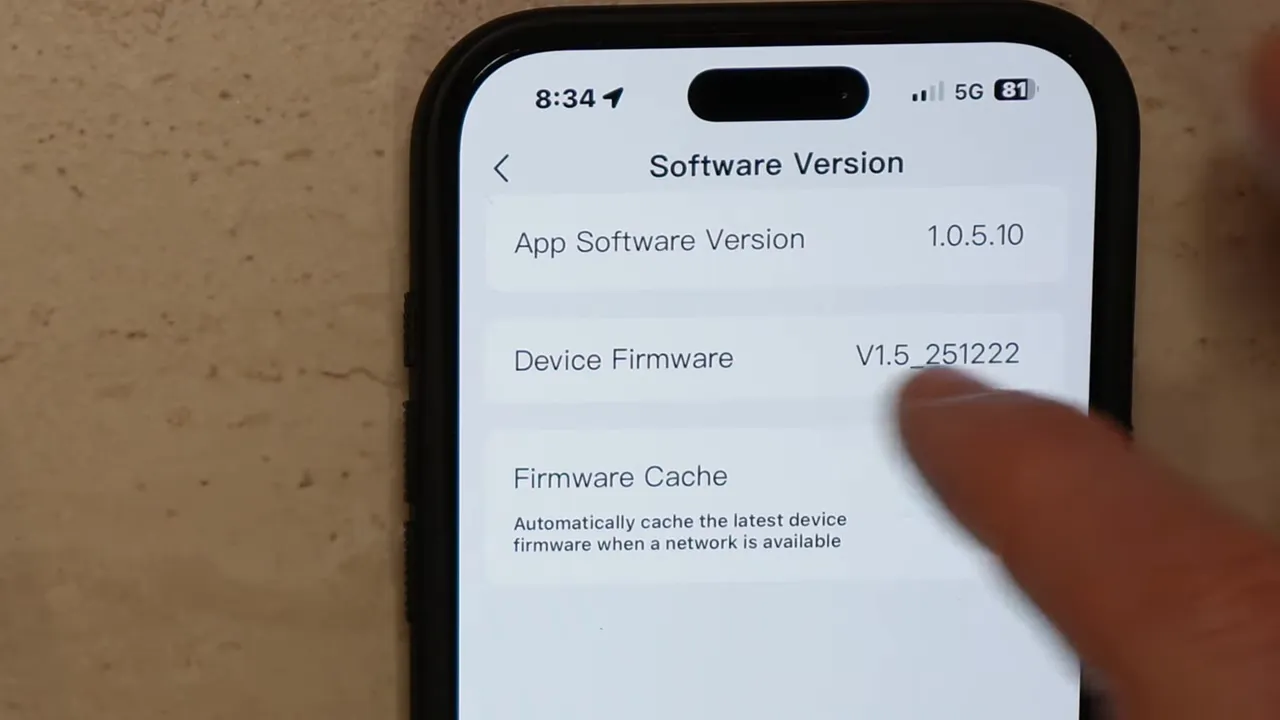
Key settings to check and recommended values
Preview and alignment
The preview now includes grid lines, which makes aligning the camera to the front of the hood much quicker and more accurate—especially useful during installations. 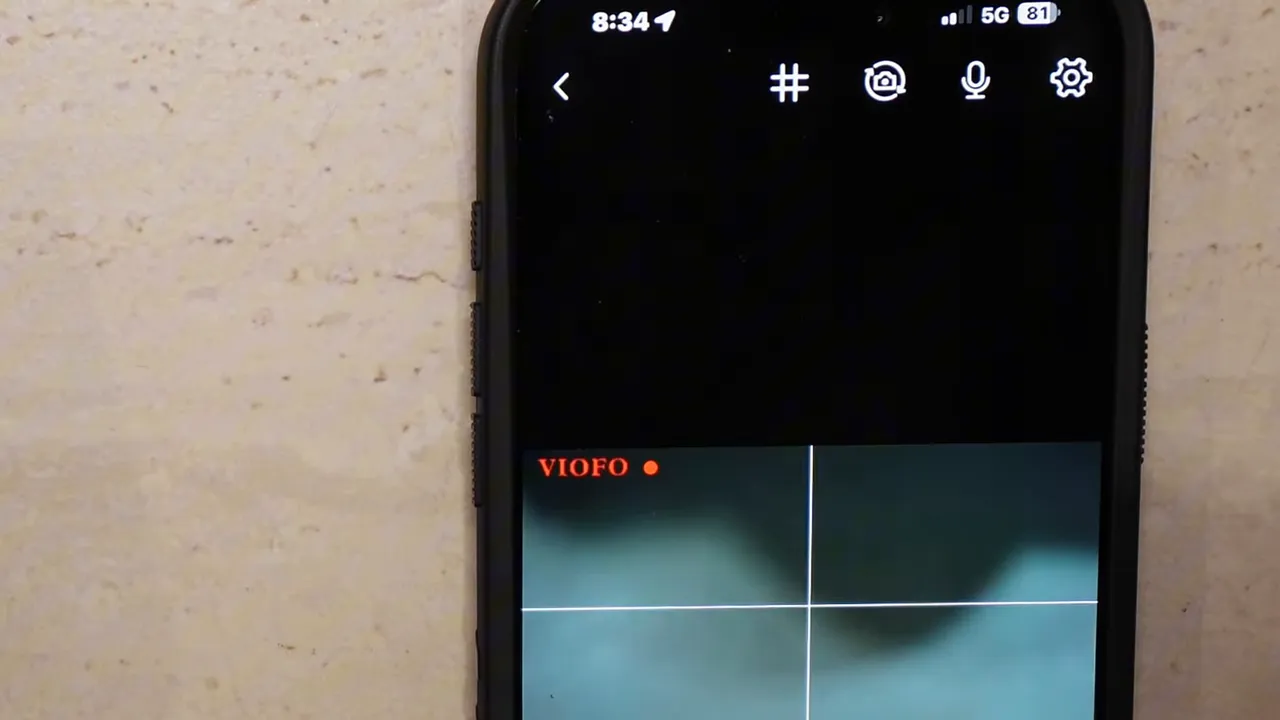
Video resolution and bitrate
Resolution options vary by model. For bitrate, there's Maximum, Normal, and Low. For installations, Normal is a practical balance: file size is smaller than maximum while keeping good image quality and extending microSD longevity. 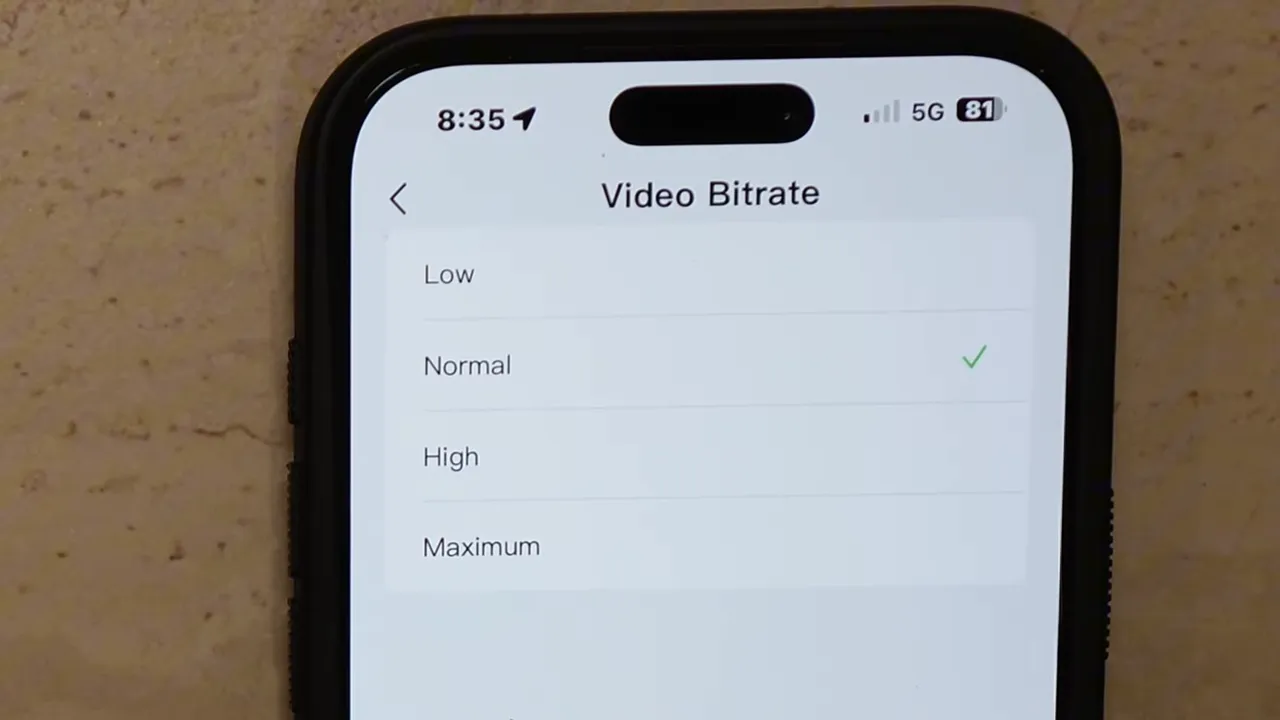
Loop recording
Choose between 1, 2, 3, 5, or 10 minute files. Many customers prefer 3 minutes—it’s long enough to capture an incident but keeps file management easier.
Audio and microphone controls
You can toggle audio recording in settings and there is also a quick mic button in the preview to turn voice recording on or off. This is handy if you want to temporarily mute audio (for privacy during business calls or sensitive conversations).
Exposure and HDR
Increase exposure if a rear or interior camera struggles with tinted windows—raising exposure by +1 often helps. For HDR, leaving HDR on is recommended for most drivers because it improves clarity in high-contrast scenes. Avoid HDR timer/auto in many cases because auto modes can briefly turn the camera off while switching states.
G-sensor (impact detection)
G-sensor sensitivity can be set to Low, Medium, or High. Set to Low or Medium for everyday driving. High causes too many false locked files. If you do serious off-roading, use Off so the camera does not lock every bump. 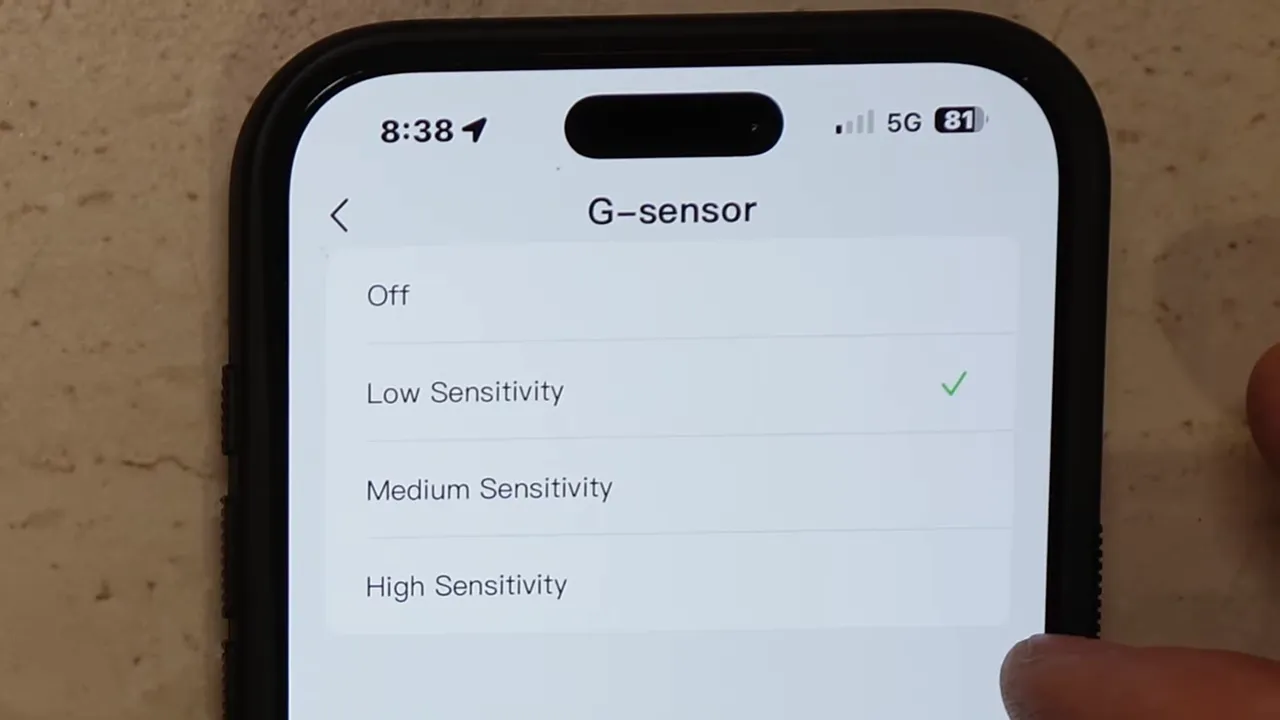
Stamp options (date, speed, GPS, custom text)
Enable date, speed, and coordinate stamps as needed. There are multiple text colors (white, yellow, cyan, golden) so you can choose a visible color based on your hood color. 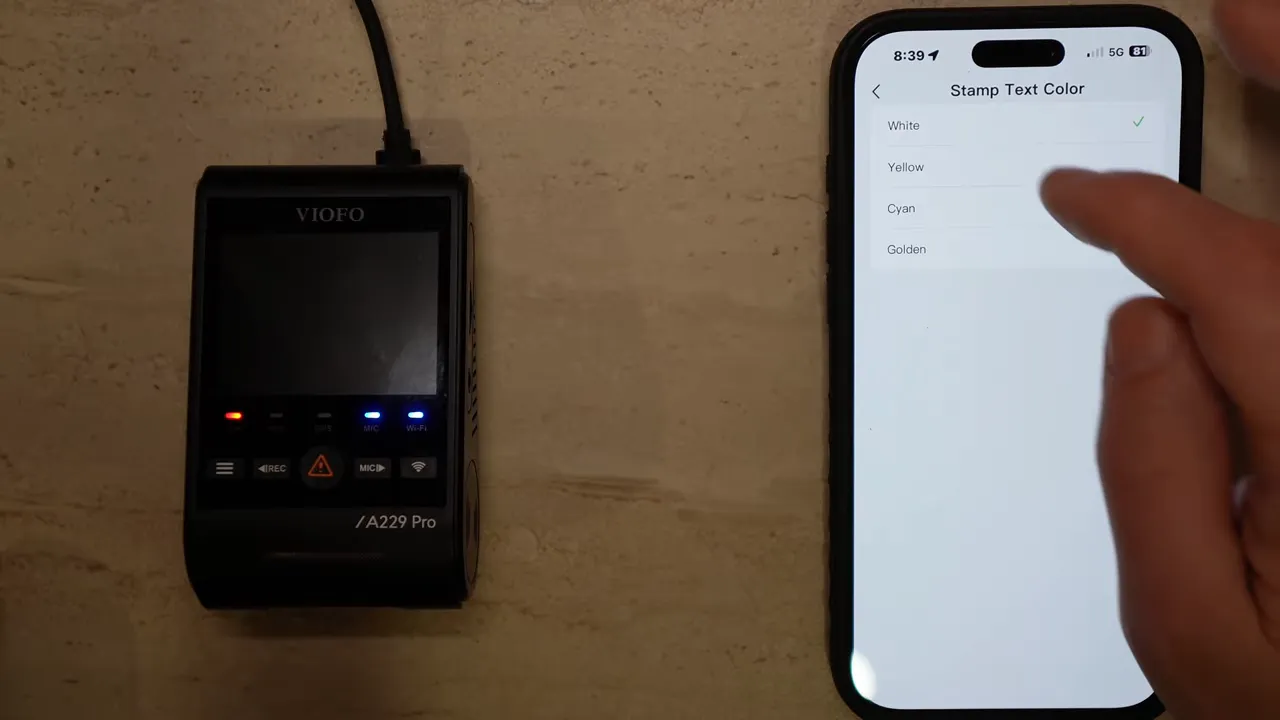
Interior camera and infrared LEDs
Interior camera recording can be set to Always On, Off, Only While Driving, or Only While Parking. If using an interior camera at night, configure the IR LED to Auto so interior details are visible.
Parking mode: important caution
After firmware updates some cameras default parking mode to Low bitrate and enabled all the time. If you only intended to use the camera while driving, this default can drain your vehicle battery over time. Check and confirm parking mode settings immediately after a firmware update. 
Wi-Fi channel and downloads
Choose 5 GHz if your phone supports it—downloads from the camera are much faster on 5 GHz (three to four times quicker). If you have an older phone, use 2.4 GHz for compatibility.
Other useful settings
- Boot delay: 5 or 10 seconds before camera boots up.
- LED status: can be configured to be off while parking or driving if you want a stealthier install.
- Voice notifications and volume: keep on if you want audible status prompts, or turn off for a silent setup.
- Screen saver: set how long the screen stays lit (3 seconds to 3 minutes).
Viewing and downloading video files
In the bottom-left of the app you’ll find All Videos, Locked Files, Parking Files, and Photos. Tap a clip and use the download button to save it directly to your phone’s gallery or photo app. 
Troubleshooting and quick tips
- Never interrupt power during firmware transfer. Keep ignition on or connect to a stable power source.
- Format the microSD card after a firmware update to avoid incompatible file structures.
- If the firmware prompt was canceled, open Help → Software Version to trigger the update manually.
- Set G-sensor to Low or Medium to avoid excessive locked clips while driving.
- Immediately check parking mode after an update to prevent unintended battery drain.
- Use 5 GHz Wi-Fi for faster downloads if your phone supports it.
Quick pre-update checklist
- Confirm camera model is supported (A229 Pro, A229 Plus, A329S, etc.).
- Ensure microSD is healthy and backed up if needed.
- Keep vehicle ignition on or use a stable power source.
- Have your phone nearby with a good cellular signal for firmware download.
- Plan to check parking mode, bitrate, and other settings after the update.
Final notes
The new app makes firmware management and daily configuration much more convenient. The most important takeaways are to keep power steady during updates and to double-check parking mode and bitrate defaults afterward. With a few minutes of setup, you’ll have a smoother, more reliable dashcam experience.
For professional installation, local tuning, or if you want help choosing correct parking settings for your vehicle, consider contacting a dashcam installer in your area.
Thanks for taking the time to get your VIOFO dashcam set up right.

