How to Update the Firmware on Your Viofo Dash Camera
Keeping your dash cam updated is essential for optimal performance, including enhanced video quality and bug fixes. In this guide, we'll walk you through the steps necessary to update the firmware on various Viofo dash camera models, including the A229, A139 Pro, WM1, A119 Mini, and A129 Pro. Let’s dive in and ensure your dash cam is running at its best!
Checking Your Current Firmware Version
Before you can update your dash cam, you need to check which firmware version is currently installed. This will help determine if an update is necessary.
To find the firmware version:
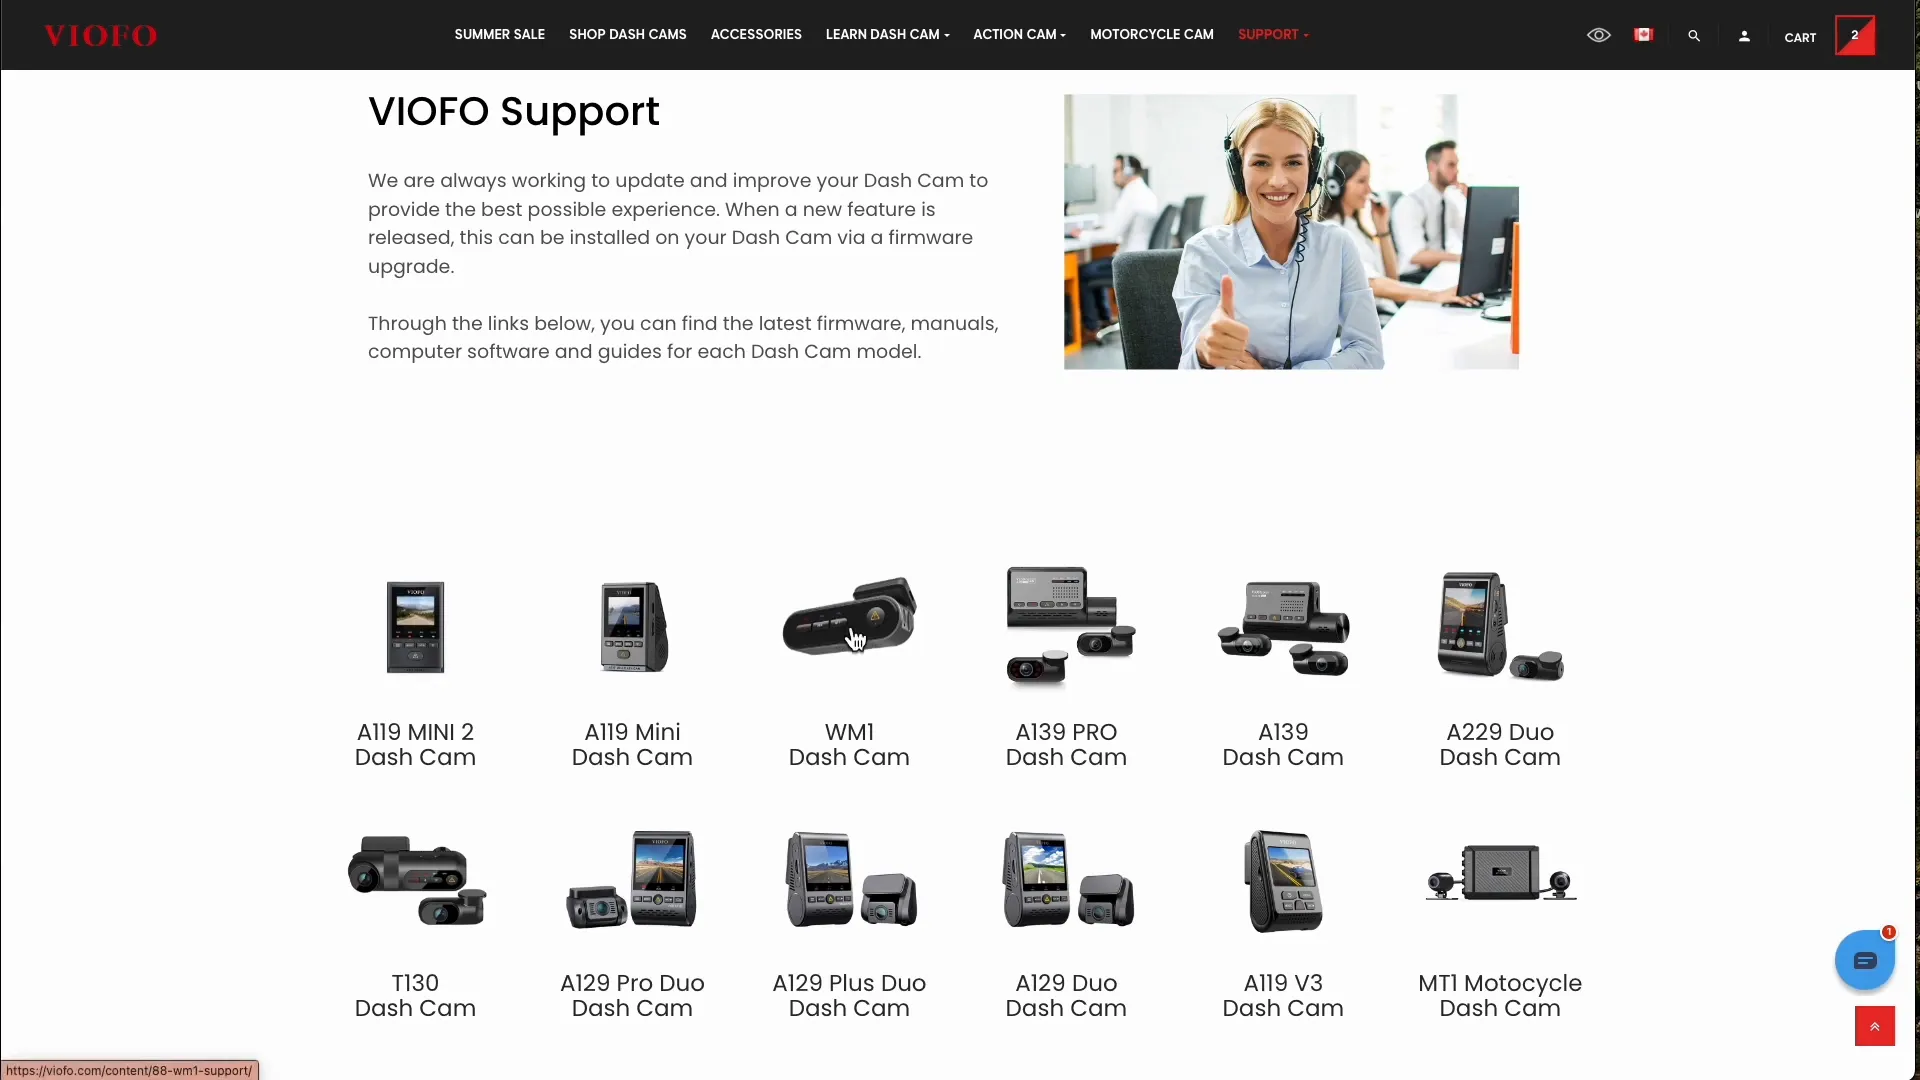
- Visit the Viofo website and navigate to the support tab.
- Select your specific dash camera model from the list provided.
- Look for the current firmware version displayed for your model.
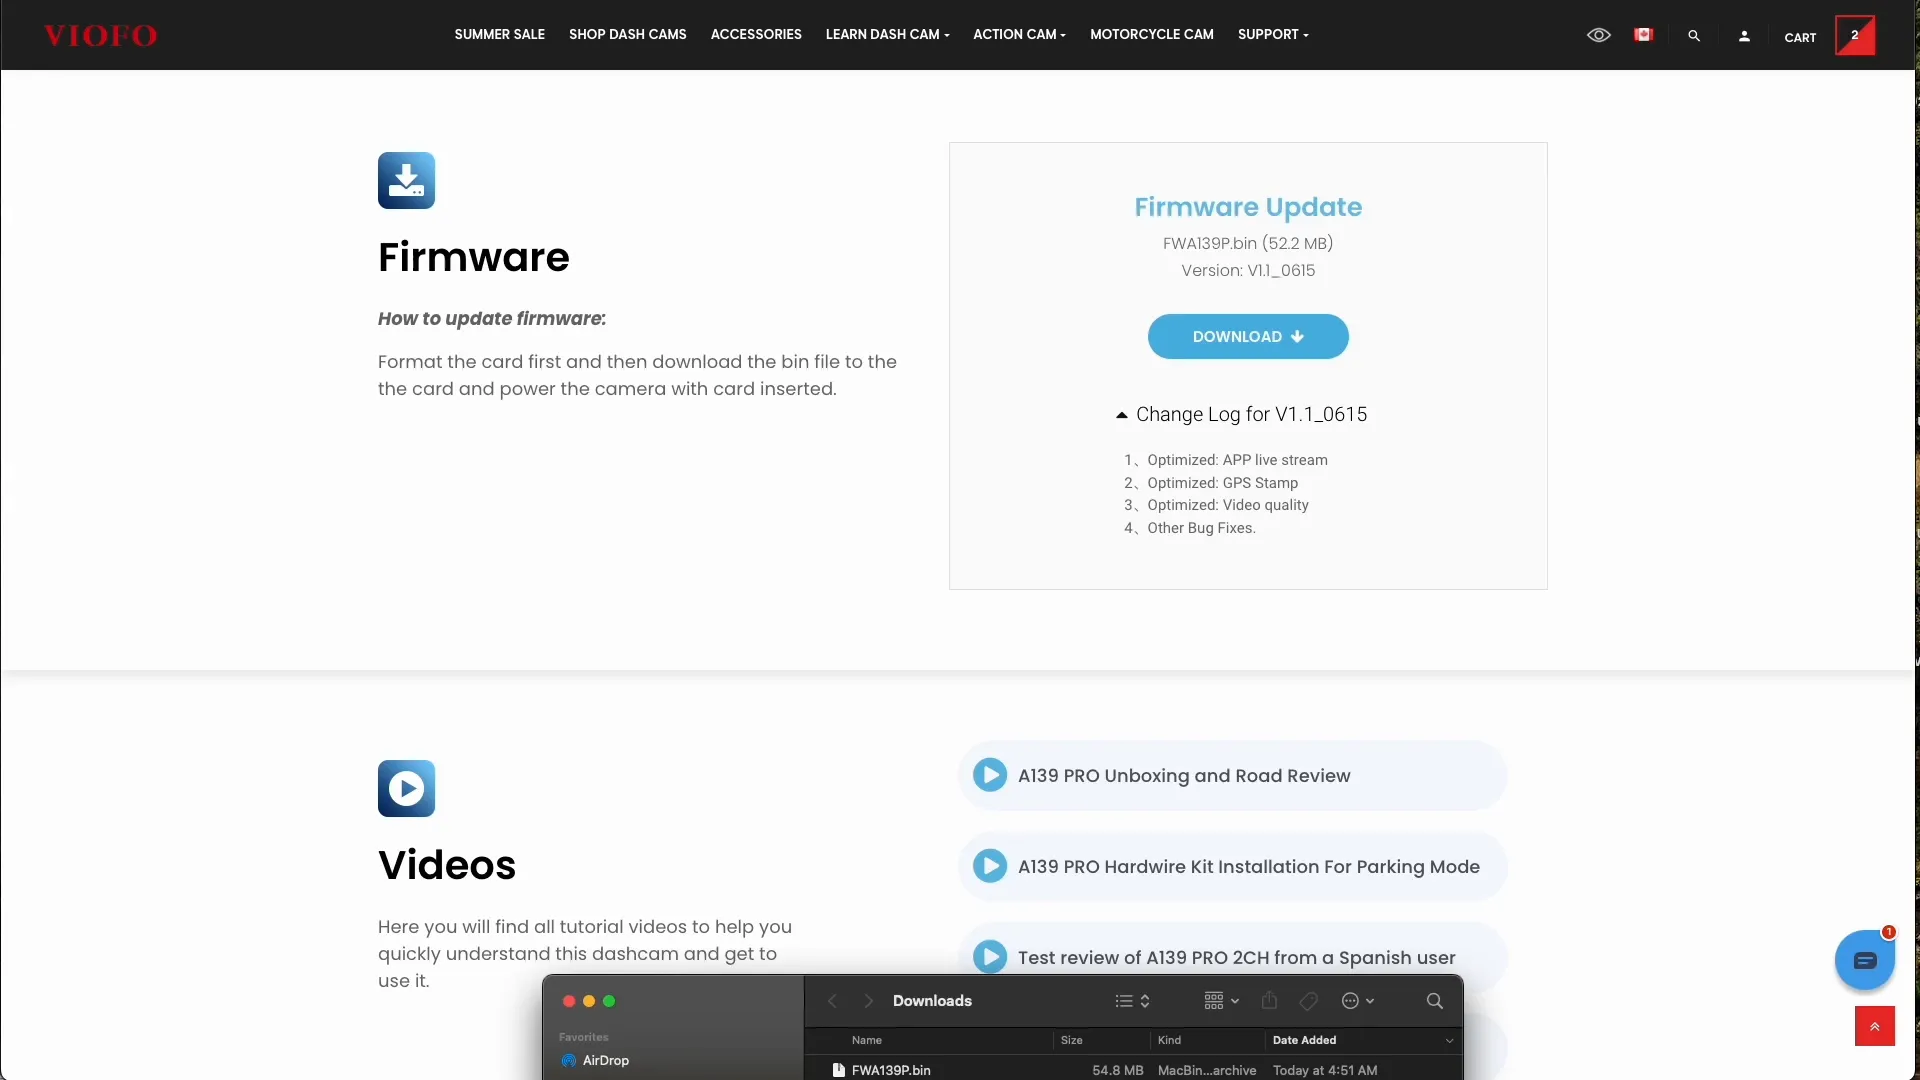
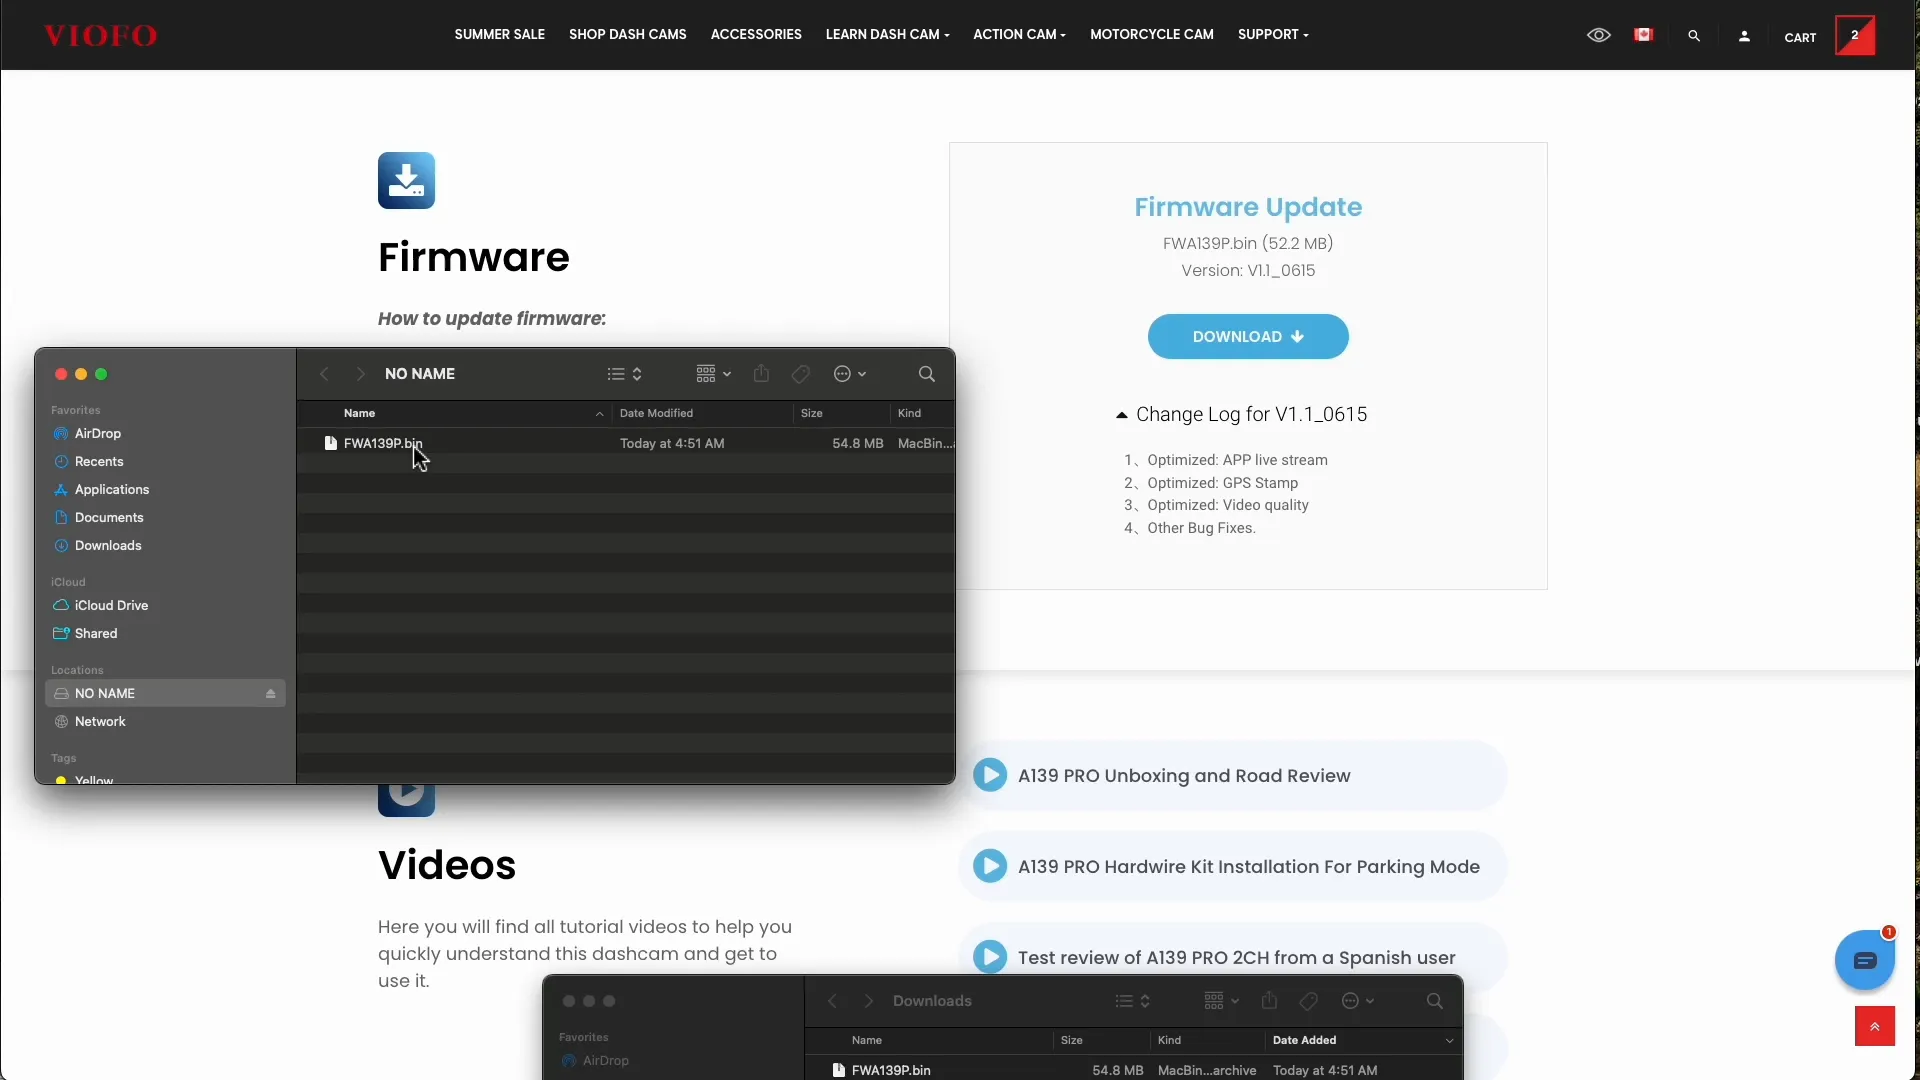
For example, if you are using the A139 Pro, you can find the firmware updates listed there. If there’s a new update available, it will specify what improvements have been made, such as optimized app live stream, GPS stamp, and video quality.
Locating the SD Card
Once you confirm that an update is available, you need to locate the SD card in your dash camera to proceed with the update.
Here’s how to find the SD card on various Viofo models:
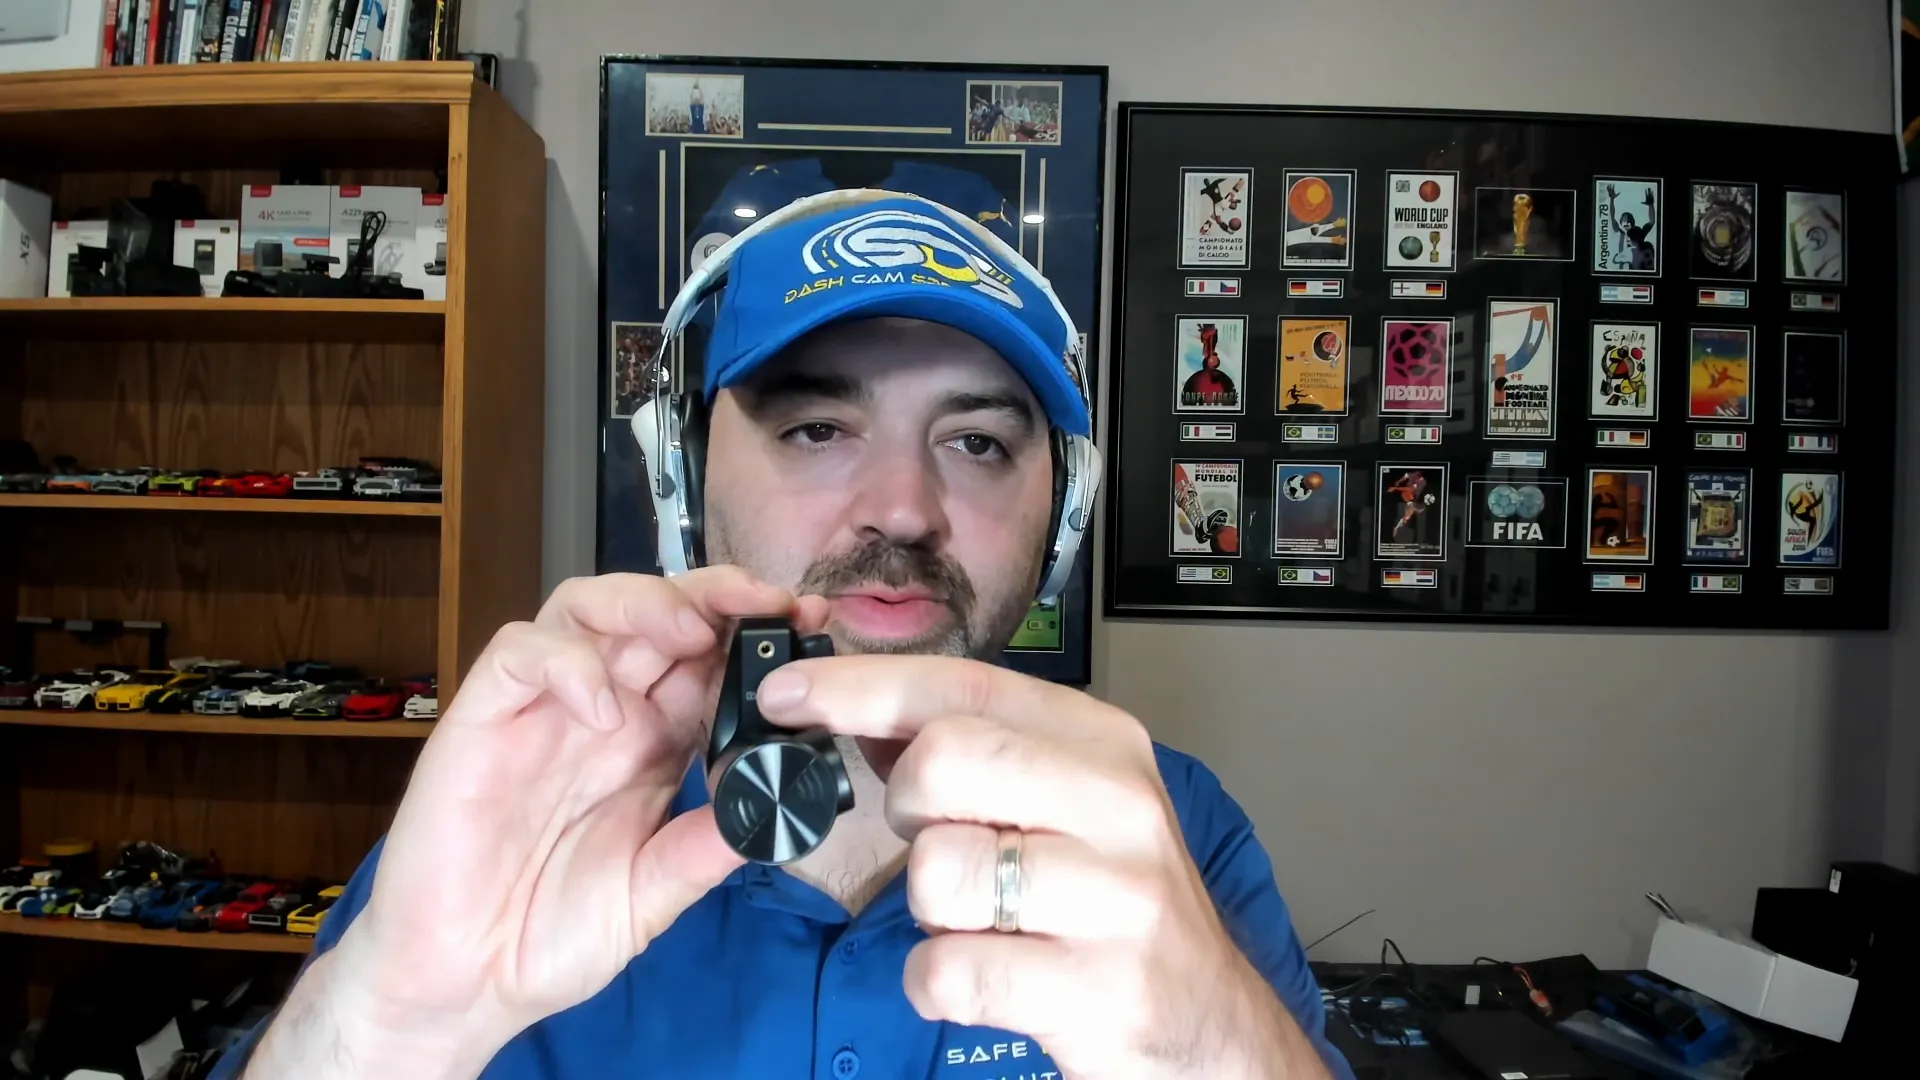
- A139 Pro: The SD card is located on the side. Use your fingernail to push it in, and it will pop out.
- A229: Similar to the A139 Pro, the SD card is on the side.
- A119 Mini: The SD card can also be removed from the side.
- WM1: The SD card is easily accessible on the side.
- A129 Pro: Located on the side as well.
Preparing the SD Card for Update
Now that you have removed the SD card, it’s time to prepare it for the firmware update. Here’s what you need to do:
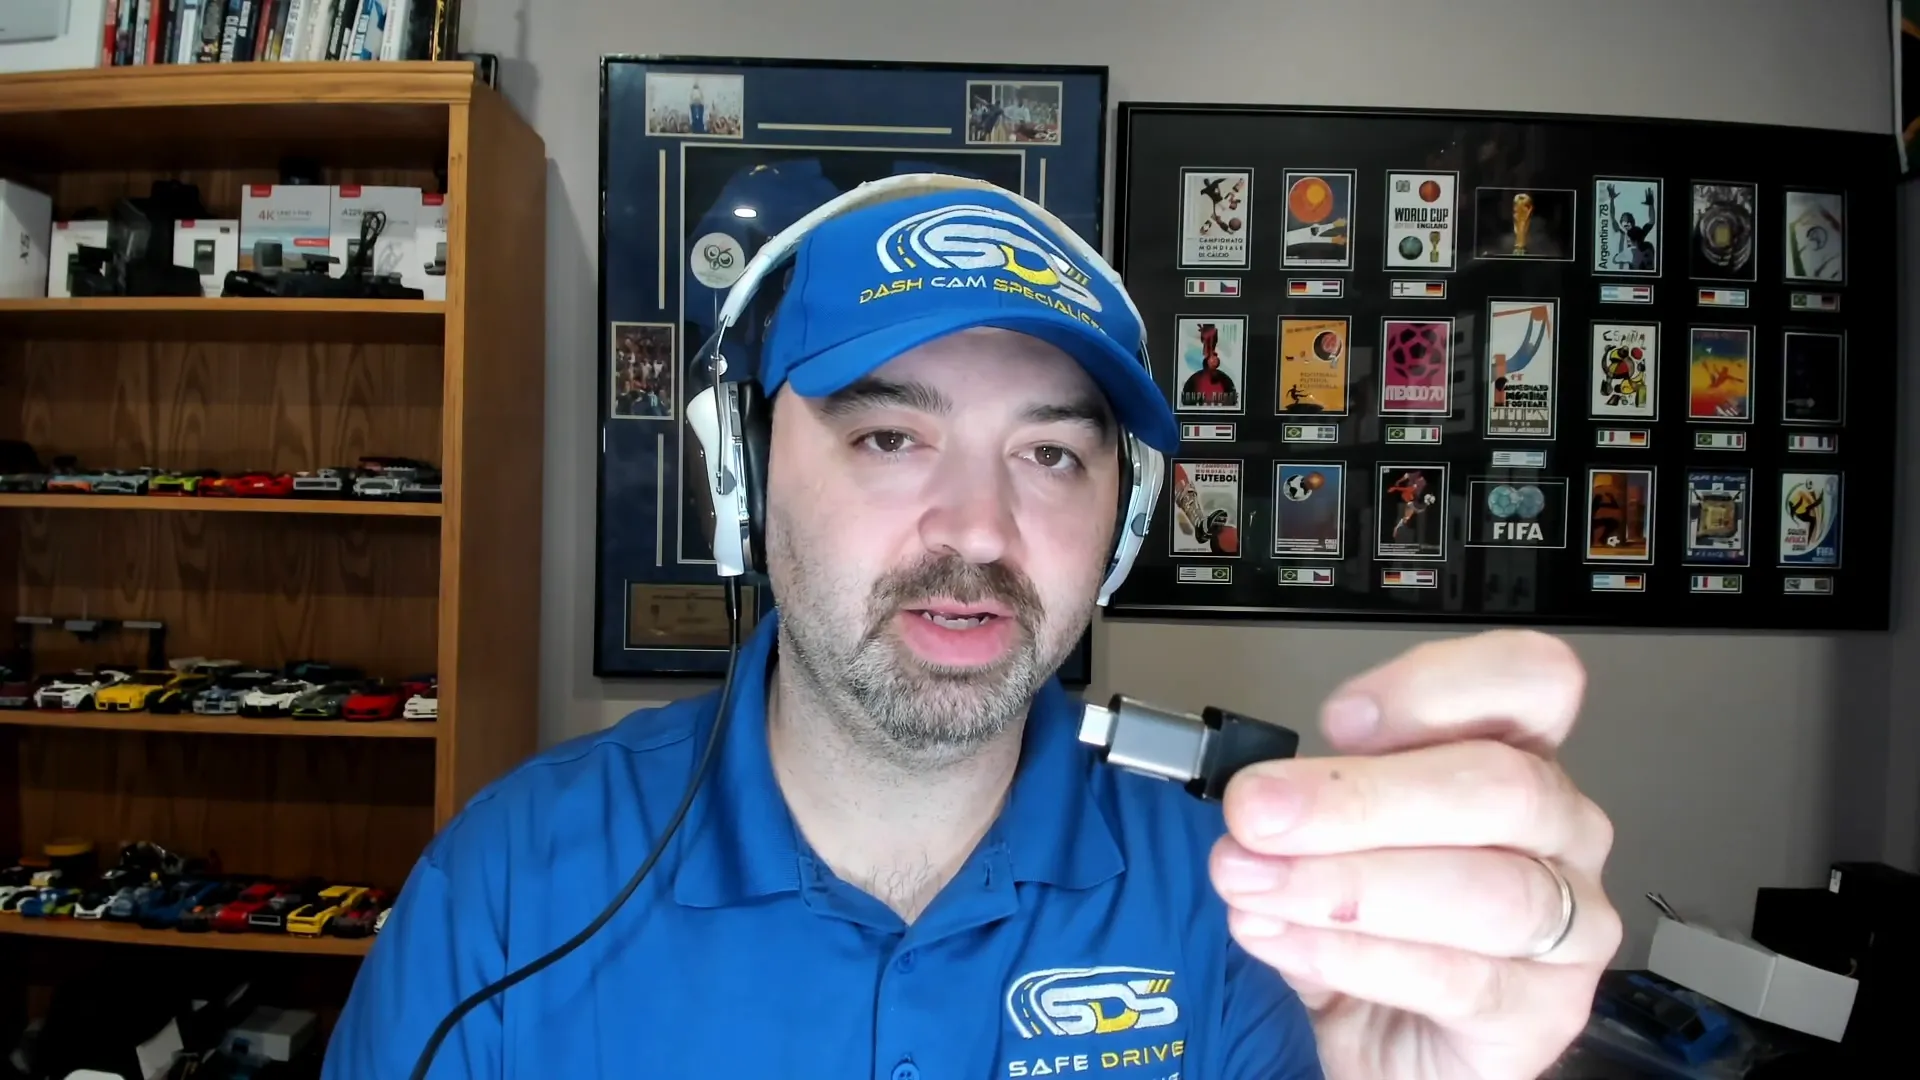
- Use an SD card adapter to connect the micro SD card to your computer. If your computer does not support this adapter, you may need a USB adapter.
- For Macs without USB inputs, ensure you have a USB-C adapter.
- Once connected, open the file explorer on your computer.
Downloading the Firmware Update
Next, you’ll need to download the latest firmware for your specific model. Follow these steps:
- Go back to the Viofo website and navigate to your dash camera model's firmware section.
- Click on the download link for the latest firmware.
- Once downloaded, locate the firmware file (it should be named something like A139P.bin).
Make sure to delete any old firmware files on the SD card before transferring the new one.
Transferring Firmware to the SD Card
Now that you have the new firmware file, it's time to transfer it to the SD card:
- Open the SD card folder on your computer.
- Drag and drop the new firmware file into the root directory of the SD card.
- Safely eject the SD card from your computer.
Updating the Dash Camera
With the SD card prepared, you can now update your dash camera. Here’s how:
- Reinsert the SD card back into the dash camera.
- Power on the dash camera. You may use a USB cord from your car charger for this process.
- Watch for the red light indicator; it will start blinking. This indicates that the update process has begun.
Note that there will be no on-screen prompts during the update. You’ll know the update is complete when the camera starts recording automatically.

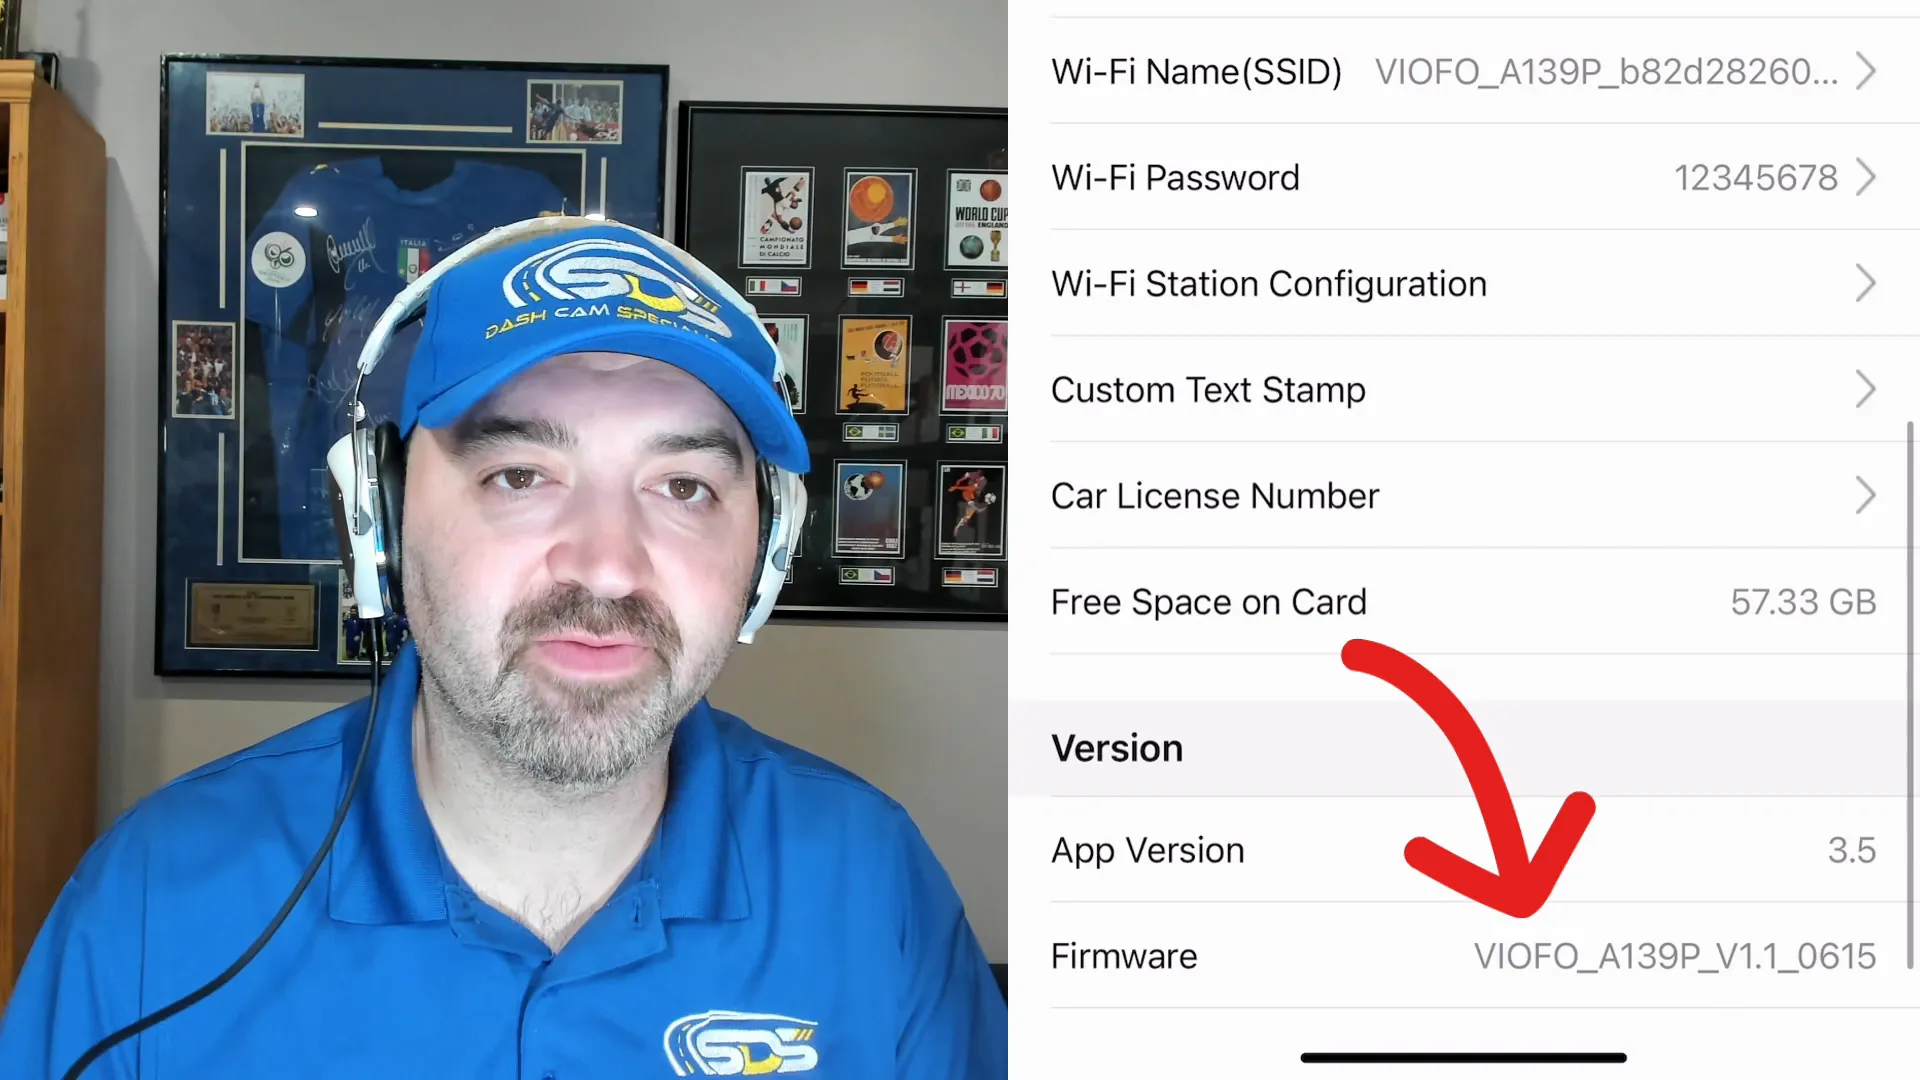
Verifying the Update
To confirm that the update was successful:
- Log back into the Viofo app.
- Check the firmware version displayed in the app. It should now reflect the new version you just installed.
If the version matches, congratulations! You’ve successfully updated your dash camera.
Conclusion
Updating the firmware on your Viofo dash camera is a straightforward process that can significantly enhance its performance. Regular updates ensure that you benefit from the latest features and improvements. If you have any questions or comments, feel free to reach out!
For more information on dash cameras and installation, visit Safe Drive Solutions Blog or check out our shop for the latest products.

