Honda CRV 1999 Rear Dash Camera Placement: A Practical Installation Guide
Installing a rear dash camera on older vehicles like the 1999 Honda CRV presents unique challenges compared to modern models. This guide walks you through an effective and clean way to mount a rear camera without interfering with the factory wiring, ensuring a professional finish and optimal camera placement. Drawing on hands-on experience with this vehicle, we'll explore the steps and considerations to achieve a secure and functional rear camera installation.
Understanding the Challenge: The Unique Rear Hatch Design of the 1999 Honda CRV
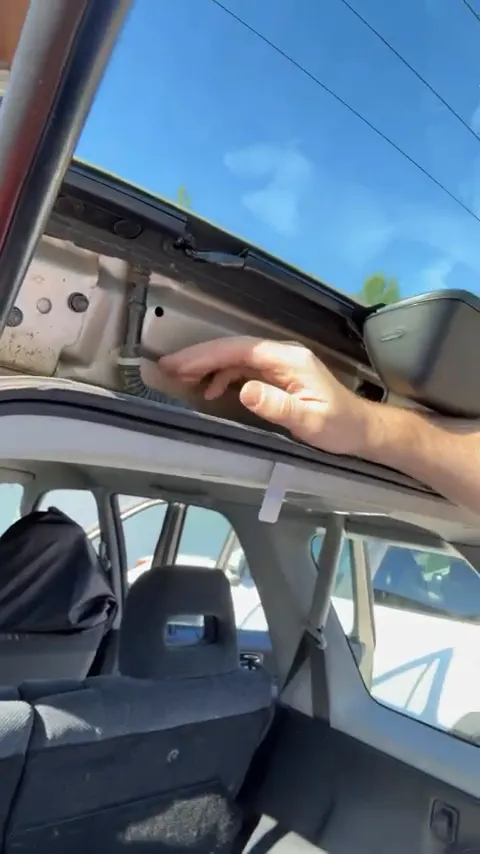
The 1999 Honda CRV hatchback is quite different from most newer vehicles on the market. One major challenge when installing a rear dash camera is the way the factory wiring harness (loom) is routed into the rear glass. The loom is extremely thin and delicate, making it unsuitable for running additional cables alongside it.
As you can see in the image above, the factory loom runs through a small, tight space right into the rear window. Attempting to fit the camera’s thicker cable into this same channel risks damaging the factory wiring or causing interference with essential functions such as the rear window defroster, brake light, or rear washer fluid system.
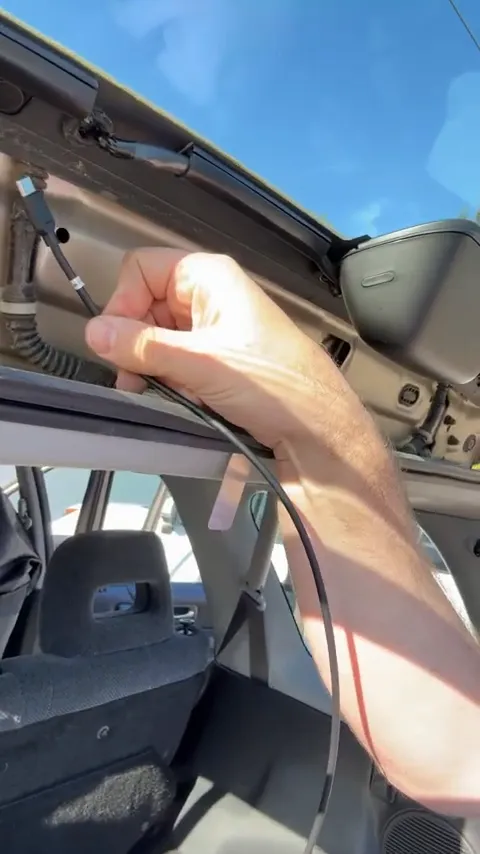
Looking at the thickness comparison between the factory loom and the rear camera cable, it’s clear the camera cable won’t fit comfortably alongside the original wiring. This insight led to the decision to use an alternative mounting solution that avoids any interference.
Innovative Solution: Using a Rear Camera Bracket for Clean Mounting
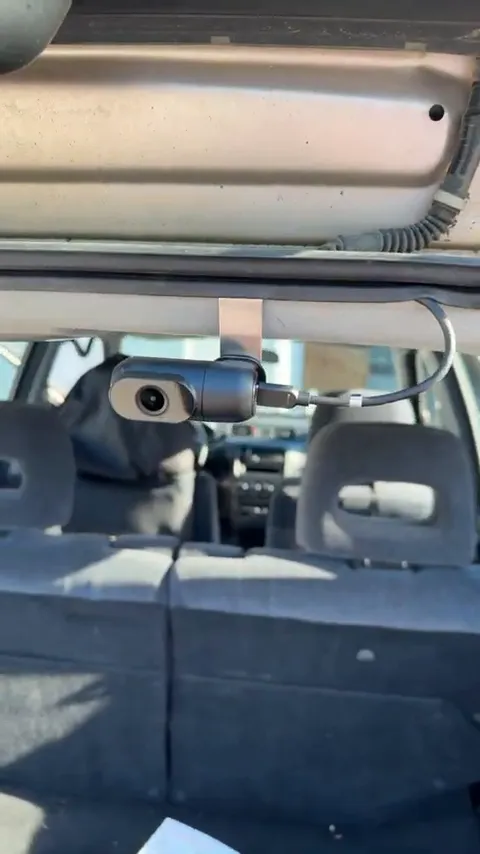
Instead of trying to force the rear camera cable through the factory wiring channel, we opted to install a small mounting bracket on the rear hatch. This bracket has proven effective on various vehicles such as Range Rovers and Jaguars, and it works well on the 1999 Honda CRV too.
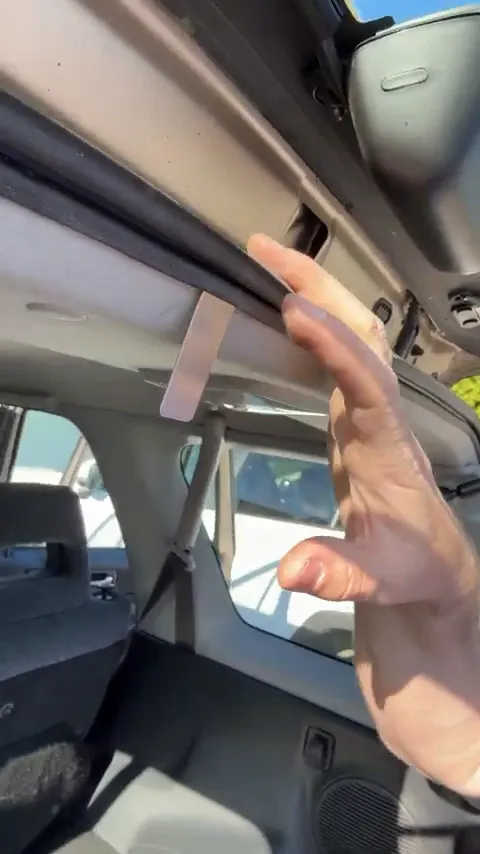
This bracket allows the rear camera to be securely mounted without obstructing or damaging any factory wiring. It sits in a position where the camera lens has a clear view through the rear window, while the wiring can be routed safely and neatly away from the original loom.
Using this bracket means there’s no risk of interfering with the rear window heating element or the rear washer fluid system, both of which are critical for vehicle safety and functionality.
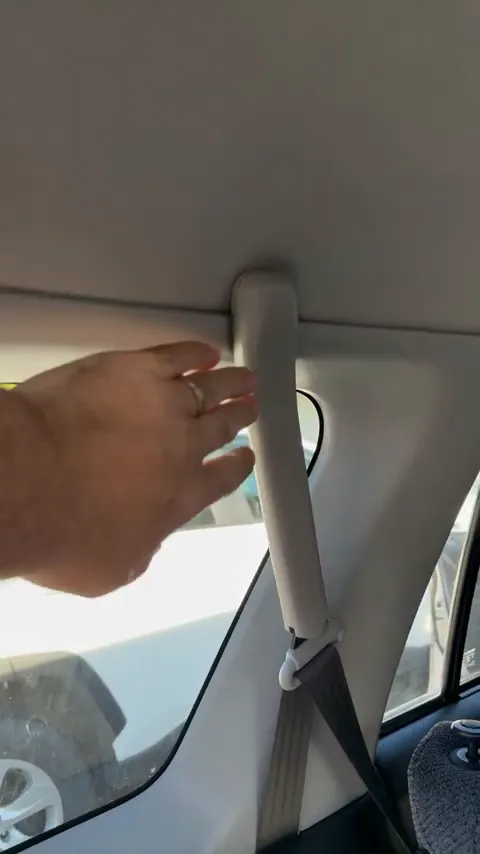
Running the Rear Camera Cable: The Importance of Removing the Seat Belt Bolt
To route the rear camera cable from the back of the vehicle to the front, it’s necessary to remove the rear seat belt bolt. This step is crucial because it provides a clean path for tucking the cable along the vehicle’s interior without causing any visible clutter or damage.
The seat belt bolt is a 14mm fastener, which can be loosened and removed carefully. Once removed, the cable can be tucked underneath and routed forward along the vehicle’s side panel, ensuring a professional installation that keeps wires hidden and protected.
After the cable is securely routed, the seat belt bolt is reinstalled to maintain safety standards and vehicle integrity.
Final Camera Placement: Visibility and Protection
With the bracket installed and the cable routed, the rear camera is mounted securely just above the rear window. This placement allows the camera to capture a clear view behind the vehicle without obstructing the driver’s rear sight.
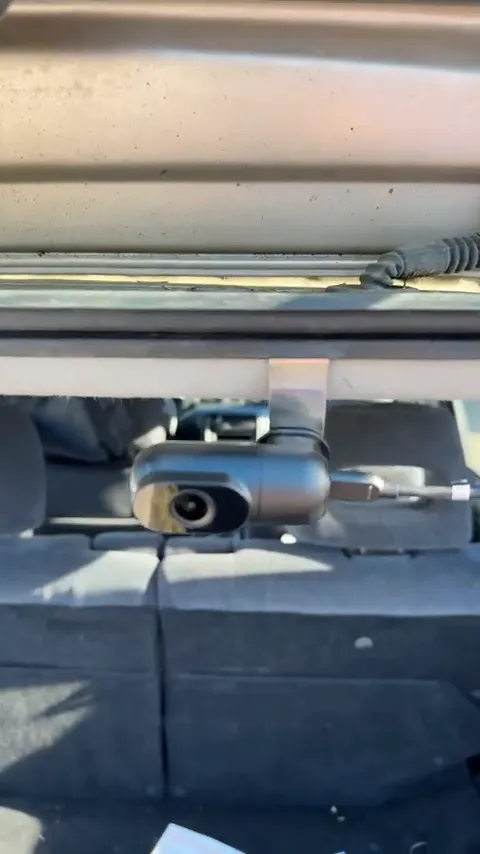
The camera is positioned just below the third brake light, ensuring it is discreet but effective. This mounting location also protects the camera from exposure to harsh weather elements, which is a significant advantage over an exterior-mounted rear camera.
While an exterior rear camera is an option, the bracket-mounted camera inside the rear window provides a more durable and weather-resistant solution, ideal for long-term use.
Choosing the Right Camera: The VIOFO A229 Plus Rear Camera
For this installation, we used the VIOFO A229 Plus rear camera, a compact and cost-effective option that offers excellent video quality and easy installation.
The camera features a simple mount and a low profile design, which means it doesn’t add bulk or obstruct the rear window view. The bracket combined with the camera’s slim build creates a sturdy setup that remains secure even when the hatch is opened and closed repeatedly.
For those interested in high-quality dash cameras, the VIOFO A229 Plus is a great choice. It supports upgraded 2K Quad HD recording for both front and rear views and incorporates Sony’s latest STARVIS 2 technology, guaranteeing clear and sharp footage in various lighting conditions.
Learn more about the VIOFO A229 Plus Rear Camera and its features to see why it’s a popular choice for professional installations.
Ensuring Safety and Professionalism: Reinstalling the Seat Belt Bolt and Cable Management
Once the rear camera and bracket are installed, and the cable routed to the front of the vehicle, it’s important to restore all vehicle components to their original positions. This includes reinstalling the rear seat belt bolt securely and ensuring all wiring is neatly tucked away.
Proper cable management not only protects the wiring from damage but also maintains the vehicle’s interior aesthetics. This attention to detail is a hallmark of professional dash cam installation services and contributes to the vehicle’s safety and longevity.
Why Professional Installation Matters
Installing dash cameras, especially in older vehicles like the 1999 Honda CRV, requires skill and knowledge of vehicle wiring and interior components. Attempting a DIY installation without understanding these nuances can lead to damaged wiring, compromised vehicle safety features, or an unsightly finish.
Professional installers ensure your dash camera is mounted securely, wired correctly, and integrated seamlessly with your vehicle. This level of care maximizes the camera’s effectiveness and longevity while preserving your vehicle’s factory features.
If you want a professional dash cam installation in Vancouver, Toronto, or surrounding areas, check out our dash cam installation services for expert solutions tailored to your vehicle.
Additional Resources and Products to Enhance Your Dash Cam Setup
- VIOFO A229 Plus Front and Rear Dash Cam – For high-quality 2K Quad HD front and rear recording.
- VIOFO Industrial Grade MicroSD Cards – Reliable storage options optimized for dash cams.
- Circular Polarizing Lens (CPL) Filter – Reduces glare and protects your camera lens.
- Professional Dash Cam Installation – Learn why professional installation ensures the best performance and safety.
Conclusion: A Clean, Safe, and Effective Rear Camera Installation on the 1999 Honda CRV
Installing a rear dash camera on a 1999 Honda CRV requires thoughtful planning due to its unique hatchback design and factory wiring layout. Using a dedicated mounting bracket allows for a clean installation that doesn’t interfere with factory wiring or vehicle safety features.
By removing the rear seat belt bolt temporarily, you can neatly route the camera cable from the rear to the front of the vehicle without visible wires or damage. The VIOFO A229 Plus rear camera offers a compact, low-cost, and high-quality solution for rear view recording.
This approach preserves the vehicle’s original functionality, protects the camera from environmental exposure, and ensures the driver maintains a clear rear window view. For anyone looking to install a rear dash camera on an older vehicle, this method provides a reliable blueprint to follow.
Explore more about dash cams and professional installation services at Safe Drive Solutions, your trusted dash cam specialists in Vancouver and Toronto.

