
Toyota Prius Prime Rear Dash Camera Installation
Installing a rear dash camera in a 2026 Toyota Prius Prime hatchback is all about clean wire routing. The goal is simple: get the rear-camera cable from the vehicle body into the hatch, hide the extra length, and mount the camera neatly without leaving loose wiring behind.
This installation uses the factory hatch wiring boot and the available space behind the rear hatch trim. It is a clean, factory-style route that keeps the cable protected as the hatch opens and closes.
What You Need for the Rear Dash Camera Wiring
You do not need a massive tool kit for this job, but having the right tools makes a big difference. For this Prius Prime rear dash camera installation, use:
- A plastic panel popper or trim removal tool
- A wire fish tool
- The rear dash camera cable
- A clean cloth for the camera mounting area
Use plastic trim tools wherever possible. They help release clips without marking the painted metal, weatherstripping, or interior panels.
Start by Lifting the Hatch Weatherstripping
Begin at the upper rear hatch opening. Carefully pull back the weatherstripping enough to create a route for the rear camera cable. There is no need to remove the seal completely. Just lift the section needed to tuck the wire underneath it.
Once the weatherstripping is lifted, route the cable along the hatch opening and toward the factory rubber wiring boot. This keeps the cable out of sight and follows a natural path toward the hatch.
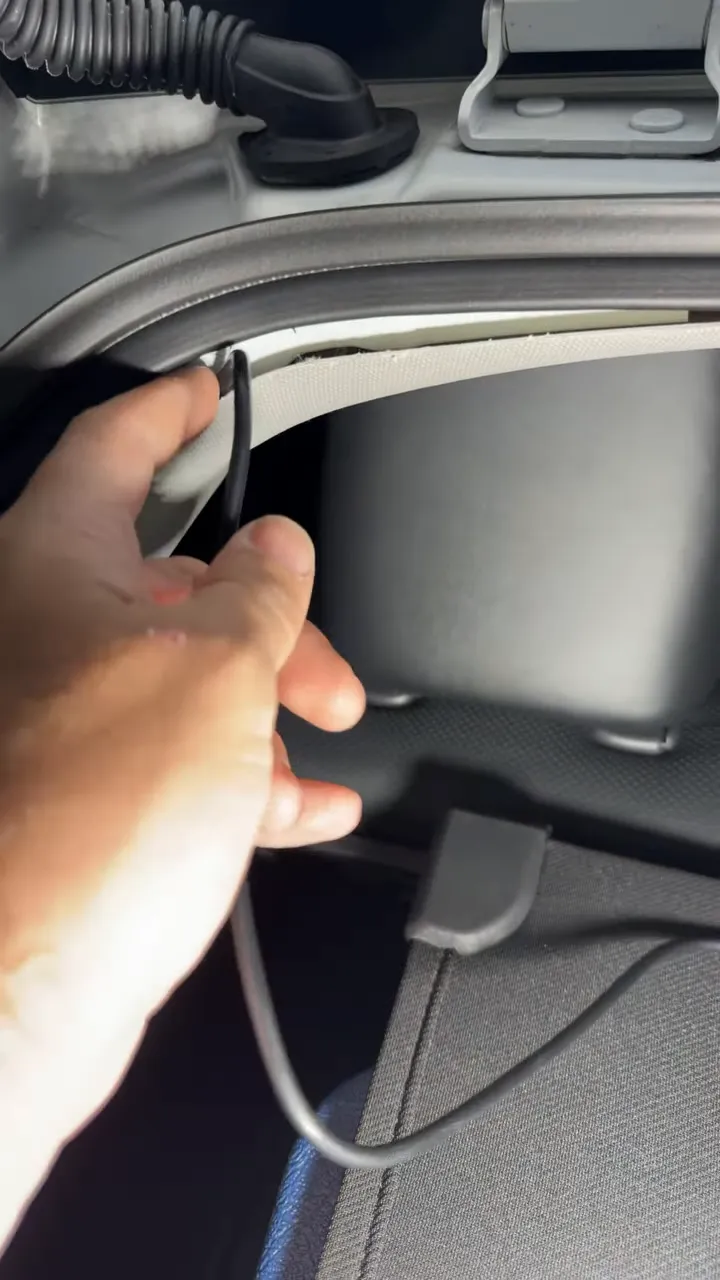
After the cable has been fed through this area, press the weatherstripping firmly back into position. Run your hand along the seal to make sure it is fully seated and tight.
Release the Factory Wiring Boot Connections
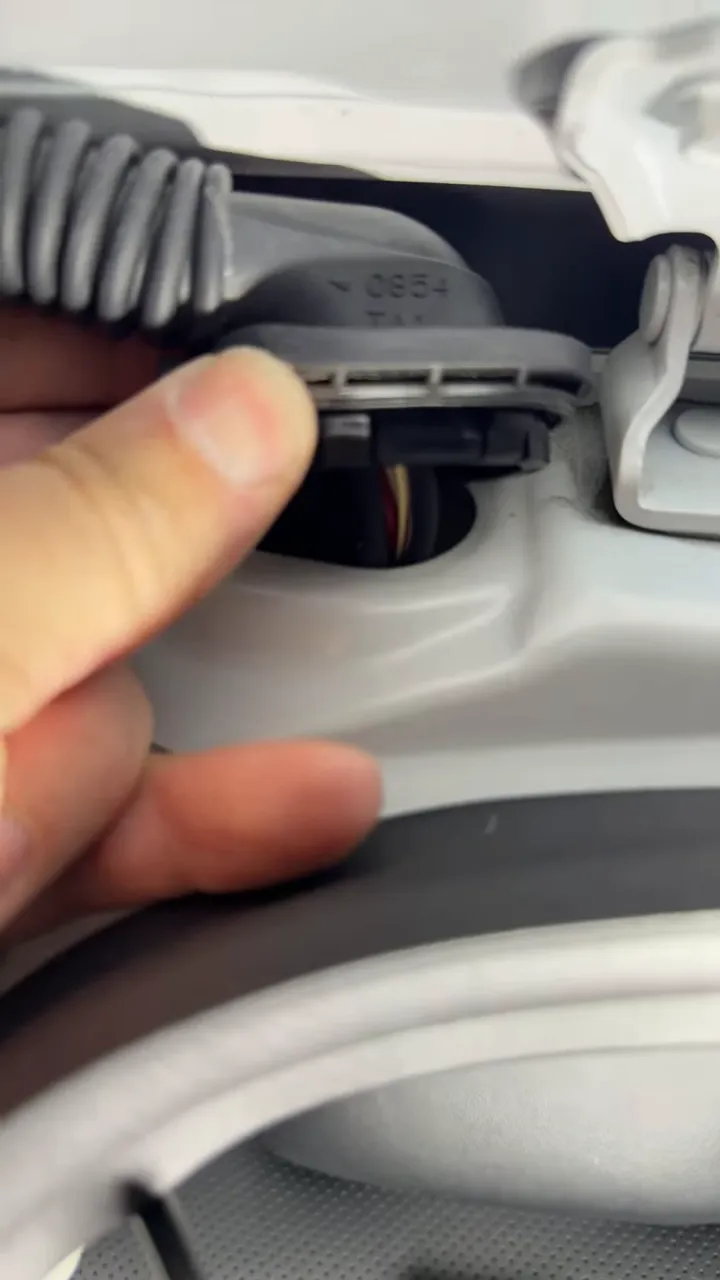
The Prius Prime hatch has a factory rubber boot that carries vehicle wiring between the body and the hatch. This is the best route for the rear dash camera cable because it protects the wire from exposure and movement.
Use the panel popper tool to release the retaining tabs at the boot connections. Look for the small circular locations that indicate where the clips are positioned, then place the tool beneath the retaining point and gently release the connector.
Take your time here. You want the grommet and its clips to come free without damaging the trim, metal, or factory wiring.
Fish the Rear Camera Cable Through the Rubber Boot
With the factory boot accessible, feed a wire fish tool through it first. Once it comes out the other side, attach the rear camera cable to the loop on the fish tool.
Then pull the cable through the boot slowly and smoothly. Do not force it. The idea is to get the dash camera wire through the flexible factory boot while keeping both the cable and the existing hatch wiring in good shape.
When the wire is through, pull any excess cable toward the hatch side. Before reinstalling anything, confirm there is enough cable length for the camera mounting position.
Once the cable is routed, clip the boot connectors back into place. Listen for each clip to click, then give the connection a gentle pull to confirm it is locked in securely.
This is important on any hatch vehicle. The cable must be protected inside the flexible wiring boot, with enough slack to move naturally as the hatch opens and closes. For more detail on routing a cable through a hatch, see our rear dash cam wiring guide.
Remove the Rear Hatch Trim Panels Carefully
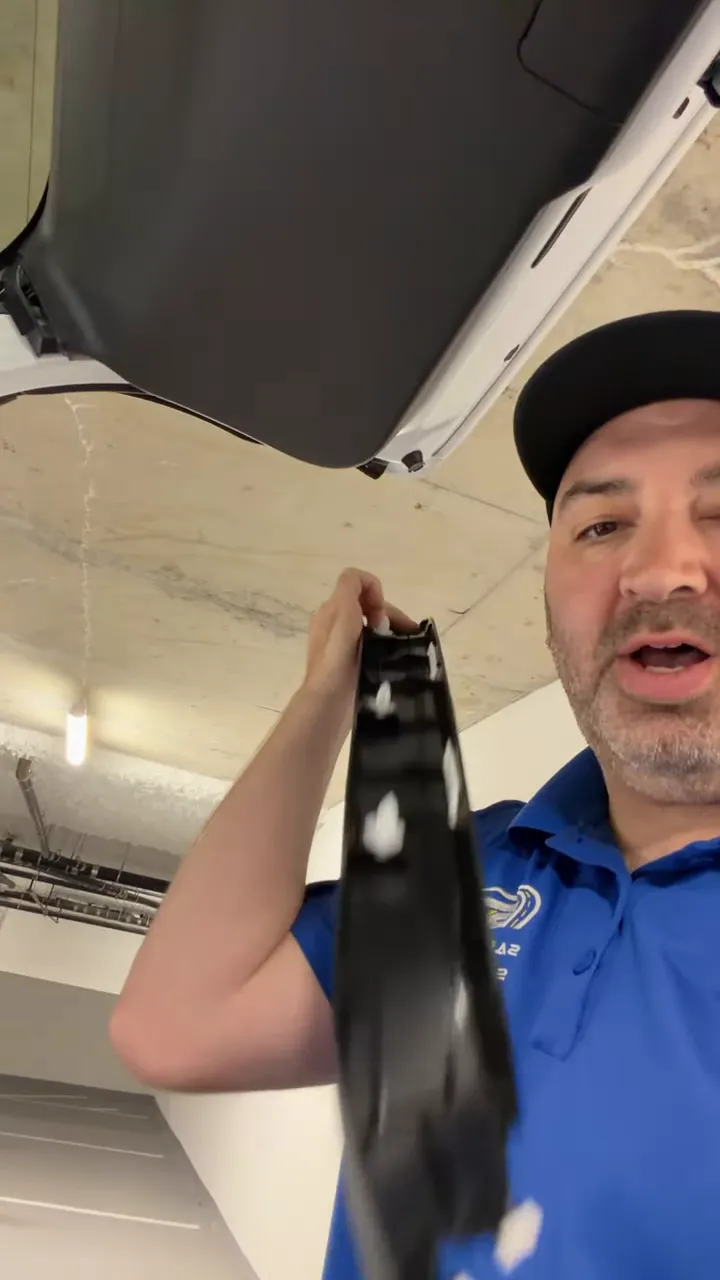
Next, remove the rear hatch panels so the cable can be hidden inside the hatch. The larger rear panel is held in place by clips. Once it is removed, the clips are visible on the back of the panel.
The side panel can be removed by pulling it away gently. Be especially careful around the upper edge. The panel will release, but pulling too hard or at the wrong angle can damage it.
With the trim off, you have access to the open space inside the Prius Prime hatch. This space is exactly where the extra rear camera cable belongs.
Hide the Excess Rear Dash Camera Cable
Set the cable length before mounting the camera. Leave only the amount required to reach the final camera location, then tuck the remaining wire into the available channel and open cavity behind the hatch trim.
Do not leave a bundle of cable hanging near the hatch hinge or wiring boot. Keeping the excess inside the hatch panel gives the installation a much cleaner finish and prevents the wire from interfering with hatch movement.
Once the cable is tucked away, reinstall the side trim and rear hatch panel. Press each panel into place until the clips engage. A proper reinstall should feel solid, with no loose sections around the trim.
Mount the Rear Camera on the Prius Prime Hatch
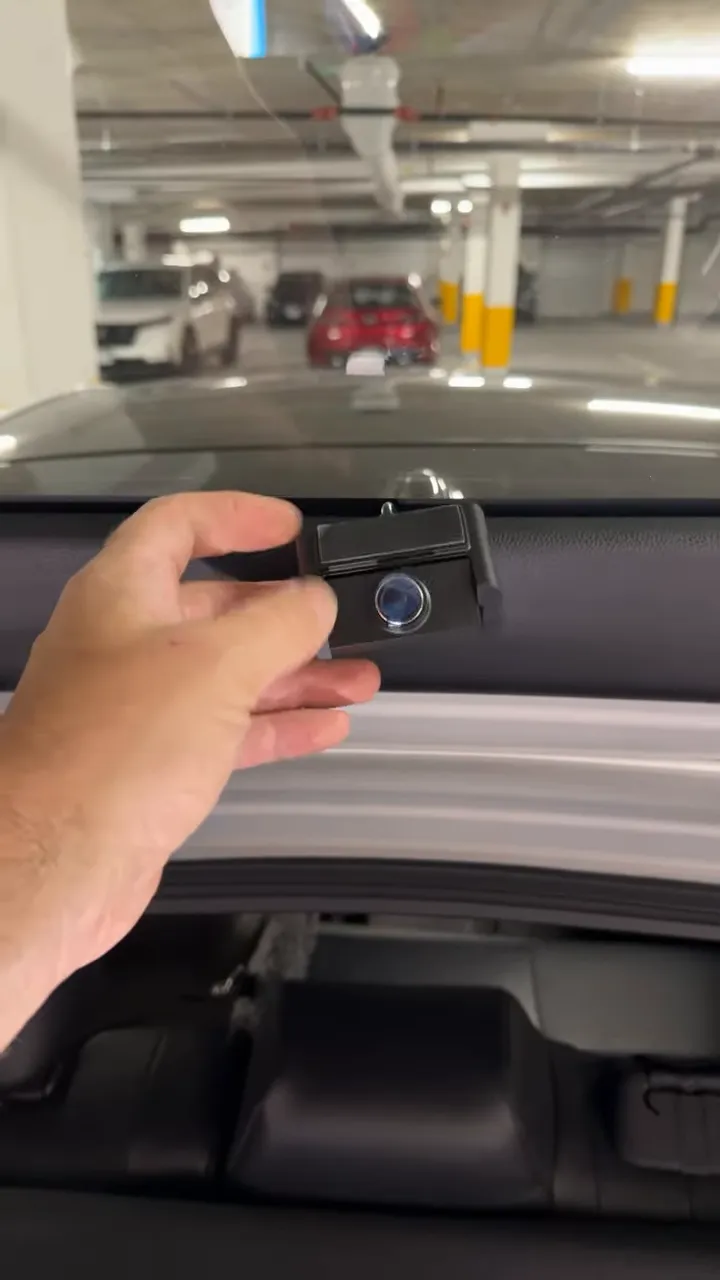
With all wiring hidden and the hatch trim clipped back in place, mount the rear dash camera on the rear hatch. Position it centrally so it has a clear view through the rear glass.
Make sure the camera is securely attached and aimed correctly before finalizing the installation. The finished result should have a clean camera position, no visible excess cable, and a protected wire route through the factory hatch boot.
Why This Wiring Route Matters
Routing a rear dash camera cable through the factory grommet is not just about making the installation look better. It also protects the cable where the hatch moves every time the vehicle is opened or closed.
A rear camera adds valuable coverage behind the vehicle while driving and can be especially useful when paired with a front and rear dash cam system. If parking protection is part of the plan, learn more about how dash cams record while parked.
For a clean installation, keep all wiring away from moving parts, ensure every trim panel and grommet is fully secured, and test the rear camera before calling the job complete.
Get it Professionally installed in Greater Vancouver or Greater Toronto area.