
Urgent Viofo Dash Camera Update for A229 Plus and A229 Pro
If you have a Viofo A229 Plus or A229 Pro, check your firmware version and update it if you are running one of the affected releases. This is important.
We have seen an issue where the camera can generate a slow card error while it powers down. The next time the vehicle is started, the dash camera may not turn on at all. It does not happen to every camera, and it can be sporadic, which makes it especially frustrating. Some people never see it. Others may see it more than once.
In one case, a camera temporarily started working again after being removed from its mount and reconnected. A reset also got it running again. But those are temporary fixes. The proper solution is installing the newer firmware release that corrects this issue.
What You'll Learn
- Affected A229 Plus and Pro firmware can cause intermittent card errors and startup failures.
- The corrected August firmware can be installed directly through the Viofo dash camera app.
- Manual updates require the correct firmware file on a freshly formatted microSD card.
- Every firmware update resets dash camera settings, so verify and restore your preferences afterward.
Table of Contents
- Which A229 Firmware Versions Need Attention?
- Before You Update: One Important Warning
- How to Check Your Firmware Version in the Viofo App
- Update the Viofo A229 Through the App
- How to Update a Viofo A229 Manually With a Computer
- Why You Should Not Wait on This Update
- Need Help With Your Dash Cam?
Which A229 Firmware Versions Need Attention?
The concern applies to Viofo A229 Plus and A229 Pro firmware releases that introduced geo-fencing, including the affected December release and another release from June. The firmware version is date-based, so the numbers identify the year, month, and day of the build.
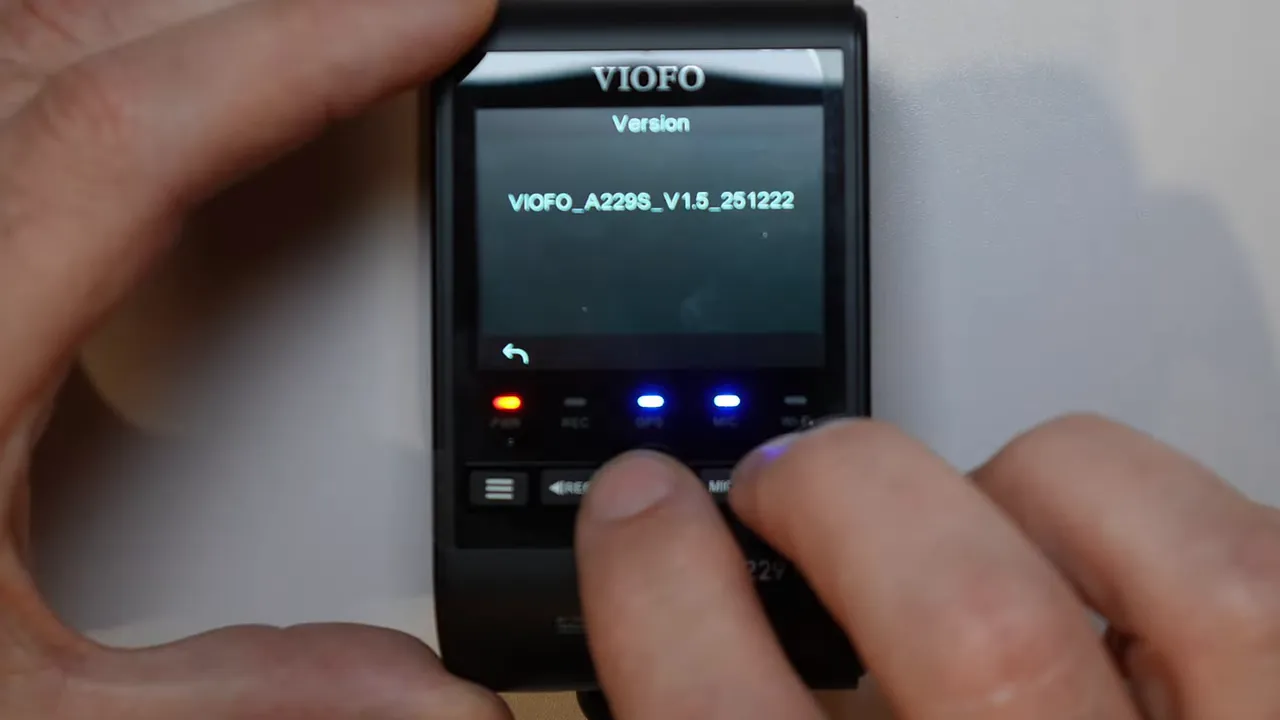
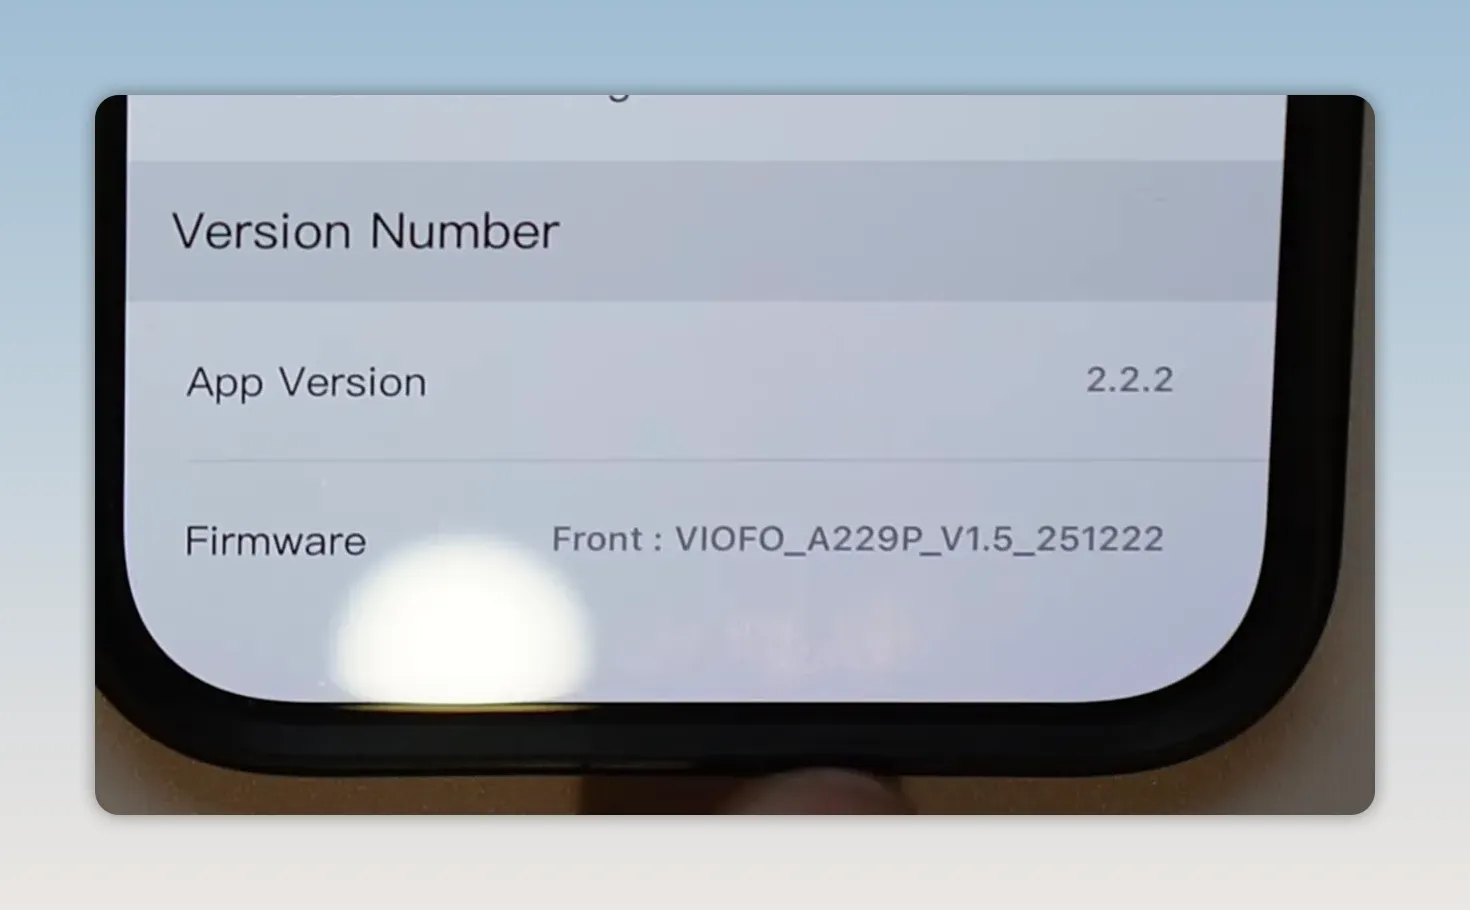
For example, an affected A229 Pro firmware version appears as V1.5_251222, which corresponds to December 22, 2025. The A229 Plus can show a similar version format.
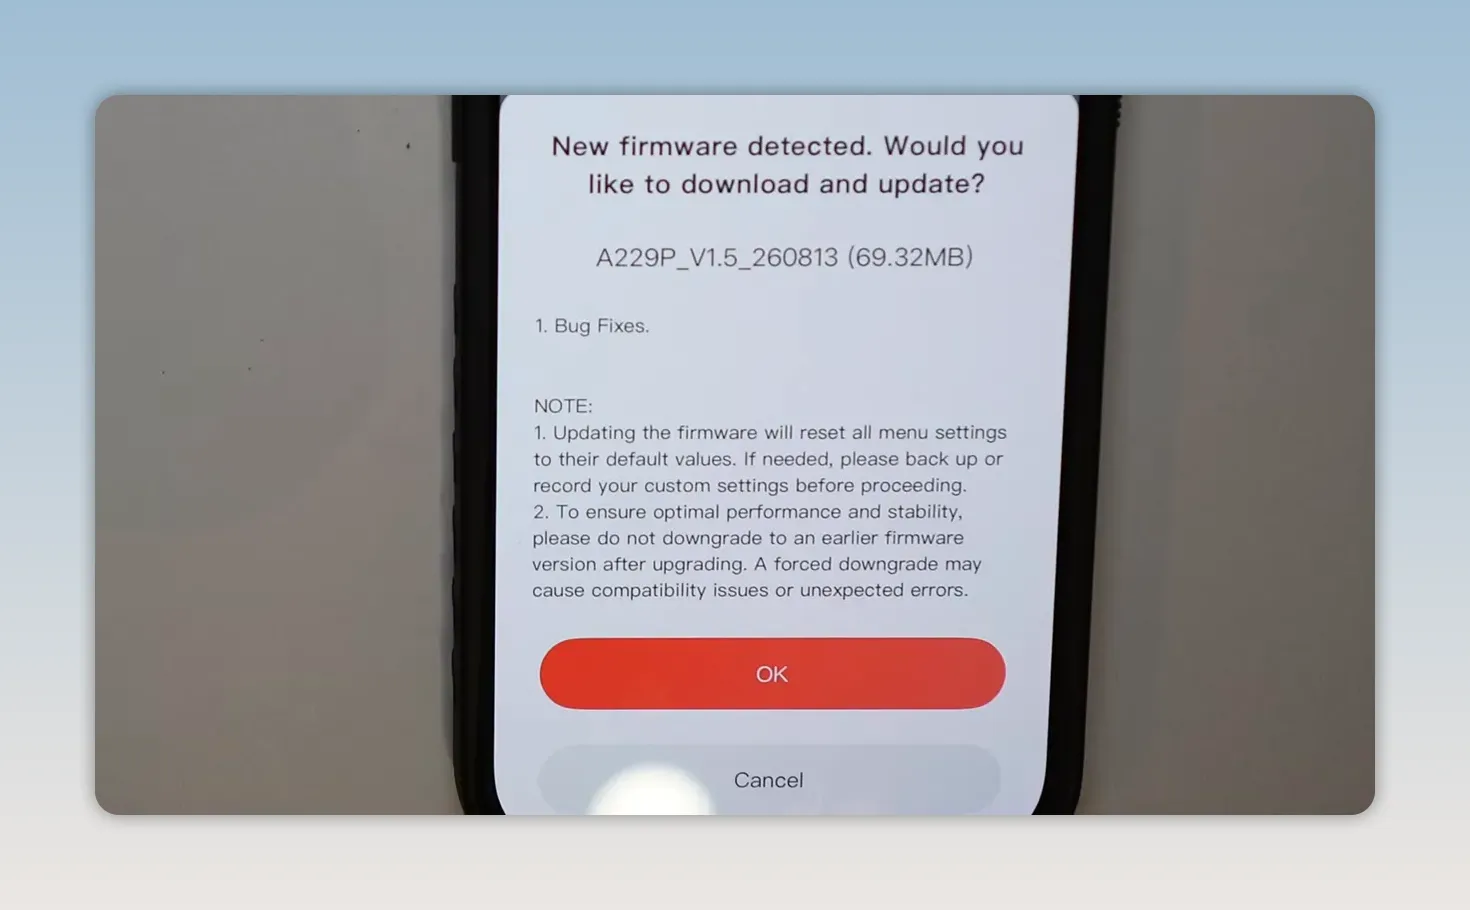
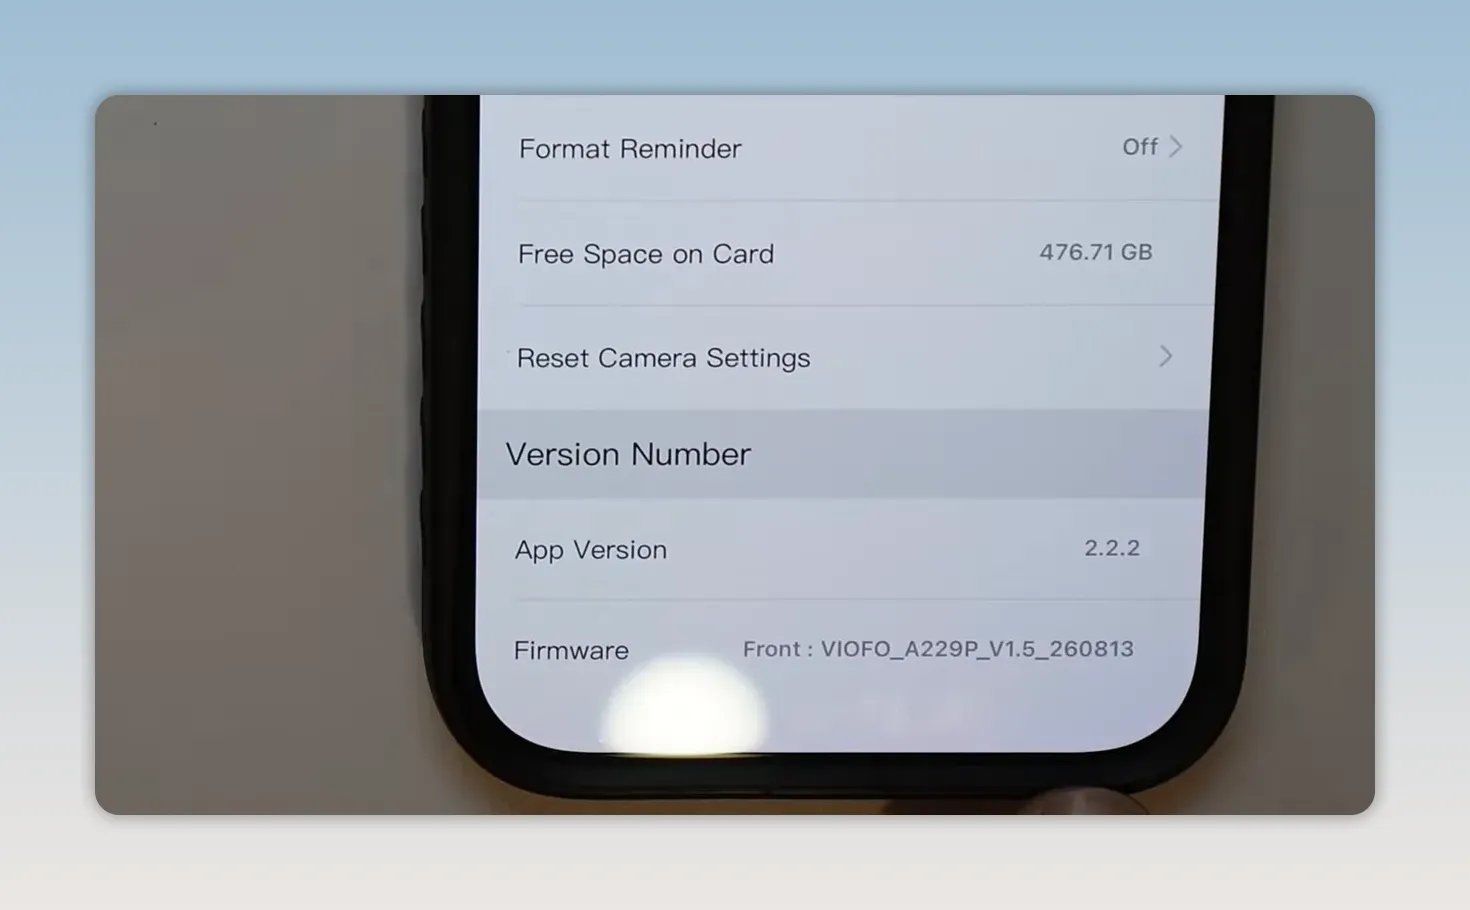
The update demonstrated here is the August 13 build, shown as V1.5_260813. If your camera is on one of the affected newer builds, update it to the current corrected firmware discussed here as soon as possible.
Before You Update: One Important Warning
A firmware update resets the dash camera settings. That means settings such as recording preferences, parking mode configuration, audio, Wi-Fi, time settings, and other custom options may need to be set up again afterward.
If your dash cam is currently set up exactly how you like it, make a quick note of the important settings before updating. The update is still worth doing, but it is better to know in advance that the camera will return to its defaults.
How to Check Your Firmware Version in the Viofo App
The easiest update method is through the newer Viofo dash camera app.
- Connect your phone to the dash camera in the Viofo app.
- Enter the dash camera.
- Open Settings.
- Scroll to the bottom and select Version Number.
- Check the firmware listed for the front camera.
This is where you can confirm whether your A229 Pro or A229 Plus is running an affected version. If it is, proceed with the app update.
Update the Viofo A229 Through the App
Once connected to the camera, return to the app and open the Help tab. From there, choose Software Version and select the device firmware option.
If a new firmware version is available, the app will prompt you to download and update. Confirm the update, then let the firmware transfer from the phone to the dash camera.
Do not interrupt the camera while the firmware is transferring or installing. Let the process complete fully before touching the camera, disconnecting Wi-Fi, or removing power.
Update time can vary based on the connection. Once the firmware is installed, the camera will restart and its settings will be reset.
Verify the App Update Was Successful
There are two simple ways to confirm the version changed.
- On the camera, press the record button, open System Settings, and find the firmware version.
- Reconnect to the dash cam in the Viofo app, open Settings, scroll to Version Number, and confirm the updated build is displayed.
To reconnect through Wi-Fi, press and hold the camera's Wi-Fi button for about five seconds, then use the app's Connect to Dash Cam option.
How to Update a Viofo A229 Manually With a Computer
If using a smartphone app is not your thing, you can update the A229 Plus or A229 Pro manually with the microSD card. This method is straightforward, but file naming and card preparation matter.
1. Remove the Camera and Take Out the microSD Card
Disconnect power from the unit by sliding the camera sideways off its mount. Remove the microSD card from the side of the camera.
Insert the card into the included full-size SD adapter, then connect it to your computer. Some computers have a built-in SD card reader. If yours does not, use an appropriate card reader or USB hub with microSD and SD card slots.
2. Download the Correct Firmware File
Go to the Viofo website, open Support, then choose Firmware and Manual. Find the exact model you are working on, either A229 Plus or A229 Pro, and download its corresponding firmware.
Do not install A229 Pro firmware on an A229 Plus, or the other way around. Always match the file to the specific camera model.
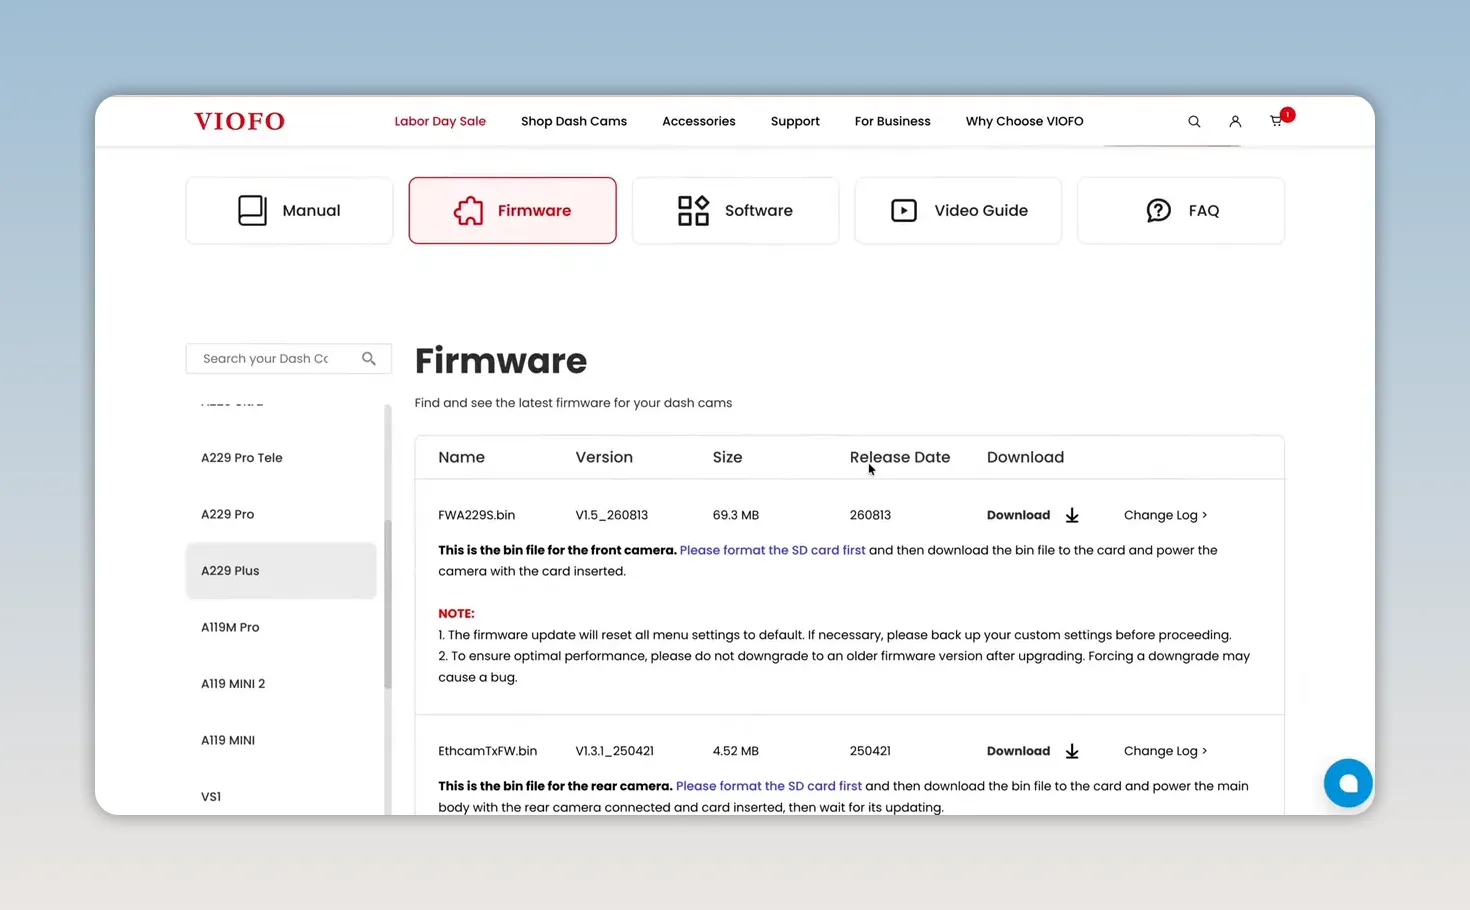
After downloading, check the file name carefully. The firmware file needs to retain its exact required name. In the example shown, the downloaded file is named FWA229S.bin.
If your computer automatically changes the name by adding a number, such as “1” or “2,” correct it before copying the file. A renamed firmware file can prevent the camera from recognizing the update.
3. Format the microSD Card
For a clean update, format the microSD card before copying the firmware file onto it. This removes old files so the camera only sees the firmware update file.
On a Mac, open Disk Utility, select the microSD card, choose Erase, and format it as MS-DOS (FAT). On a Windows computer, use that computer's formatting tools to erase and format the card.
Formatting erases everything on the microSD card. If there are recordings you need to keep, save them somewhere safe first.
4. Copy Only the Firmware File to the Card
Open the newly formatted microSD card and drag the firmware file onto it. The card should contain only the required firmware file, with the exact filename intact.
Then safely eject the card from the computer.
5. Reinstall the Card and Power Up the Dash Cam
Put the microSD card back into the A229 camera, slide the camera onto its mount, and power it on. It is a good idea to have the vehicle running while doing this so the dash cam has stable power.
The camera should recognize the file, perform the update, and restart. Give it a few seconds and leave it alone while the update runs.
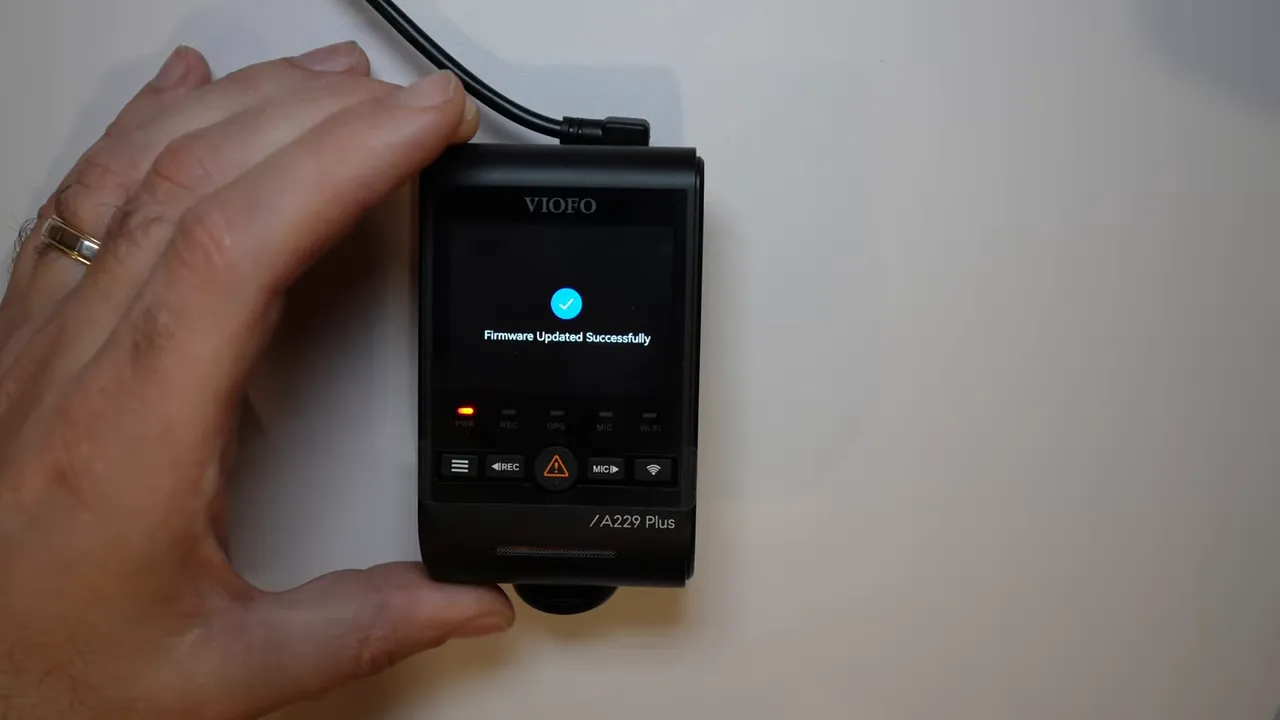
6. Confirm the New Version on the Camera
After the camera restarts, press the record button and open System Settings. Scroll to the firmware version screen and verify that it now shows the corrected August build.
Once confirmed, go through your dash cam settings again. Since the update resets preferences, this is the time to restore your recording mode, parking mode, audio settings, time and date, and any other options you use.
Why You Should Not Wait on This Update
The problem is intermittent, which is exactly why it is easy to put off. Your A229 Plus or Pro may work normally for weeks, then fail to power on after a shutdown because of the card error issue.
A reset may bring it back temporarily, but that does not remove the firmware problem. Updating now is the practical way to avoid getting into the vehicle and finding that the camera did not start recording.
Dash cameras are there for the unexpected. Keeping the firmware current helps make sure the camera is ready when you need it.
Need Help With Your Dash Cam?
Safe Drive Solutions provides professional dash camera installation in Greater Vancouver and Greater Toronto, and ships dash cameras across Canada. If you need a new camera, you can also shop dash cameras selected for reliable front, rear, and interior coverage.
|