How to Safely Run Dash Cam Wiring by Vehicle Airbag
When it comes to installing a dash cam, safety is paramount, especially when dealing with sensitive areas like airbags. In this guide, we’ll explore the best practices for running dash cam wiring in a way that ensures both functionality and safety. By following these steps, you can avoid potential issues while keeping your vehicle’s airbag system intact.
Understanding Airbag Systems
Airbags are critical safety components in modern vehicles, designed to protect passengers during a collision. They deploy rapidly in an accident, and any obstruction in their path can lead to ineffective deployment or even injury. Therefore, it's essential to plan the installation of dash cam wiring carefully.
In this process, we will run the dash cam wiring behind the airbag, securing it in place to prevent any interference. This technique not only keeps the wiring out of the way but also ensures that the airbag can deploy as intended without any hindrance.
Preparing for Installation
Before beginning the installation, gather the necessary tools and materials:
- Dash cam and hardwire kit
- Zip ties or tie straps
- Wire cutters
- Clean cloth (to avoid transferring dirt onto the headliner)
- Safety gloves (optional)
Make sure your working area is clean and well-lit to avoid any complications during the installation. It’s also advisable to wear gloves to keep your hands clean, especially when dealing with light-colored interiors.
Installation Steps
Now that you have everything ready, let's go through the steps for safely running dash cam wiring behind the airbag.
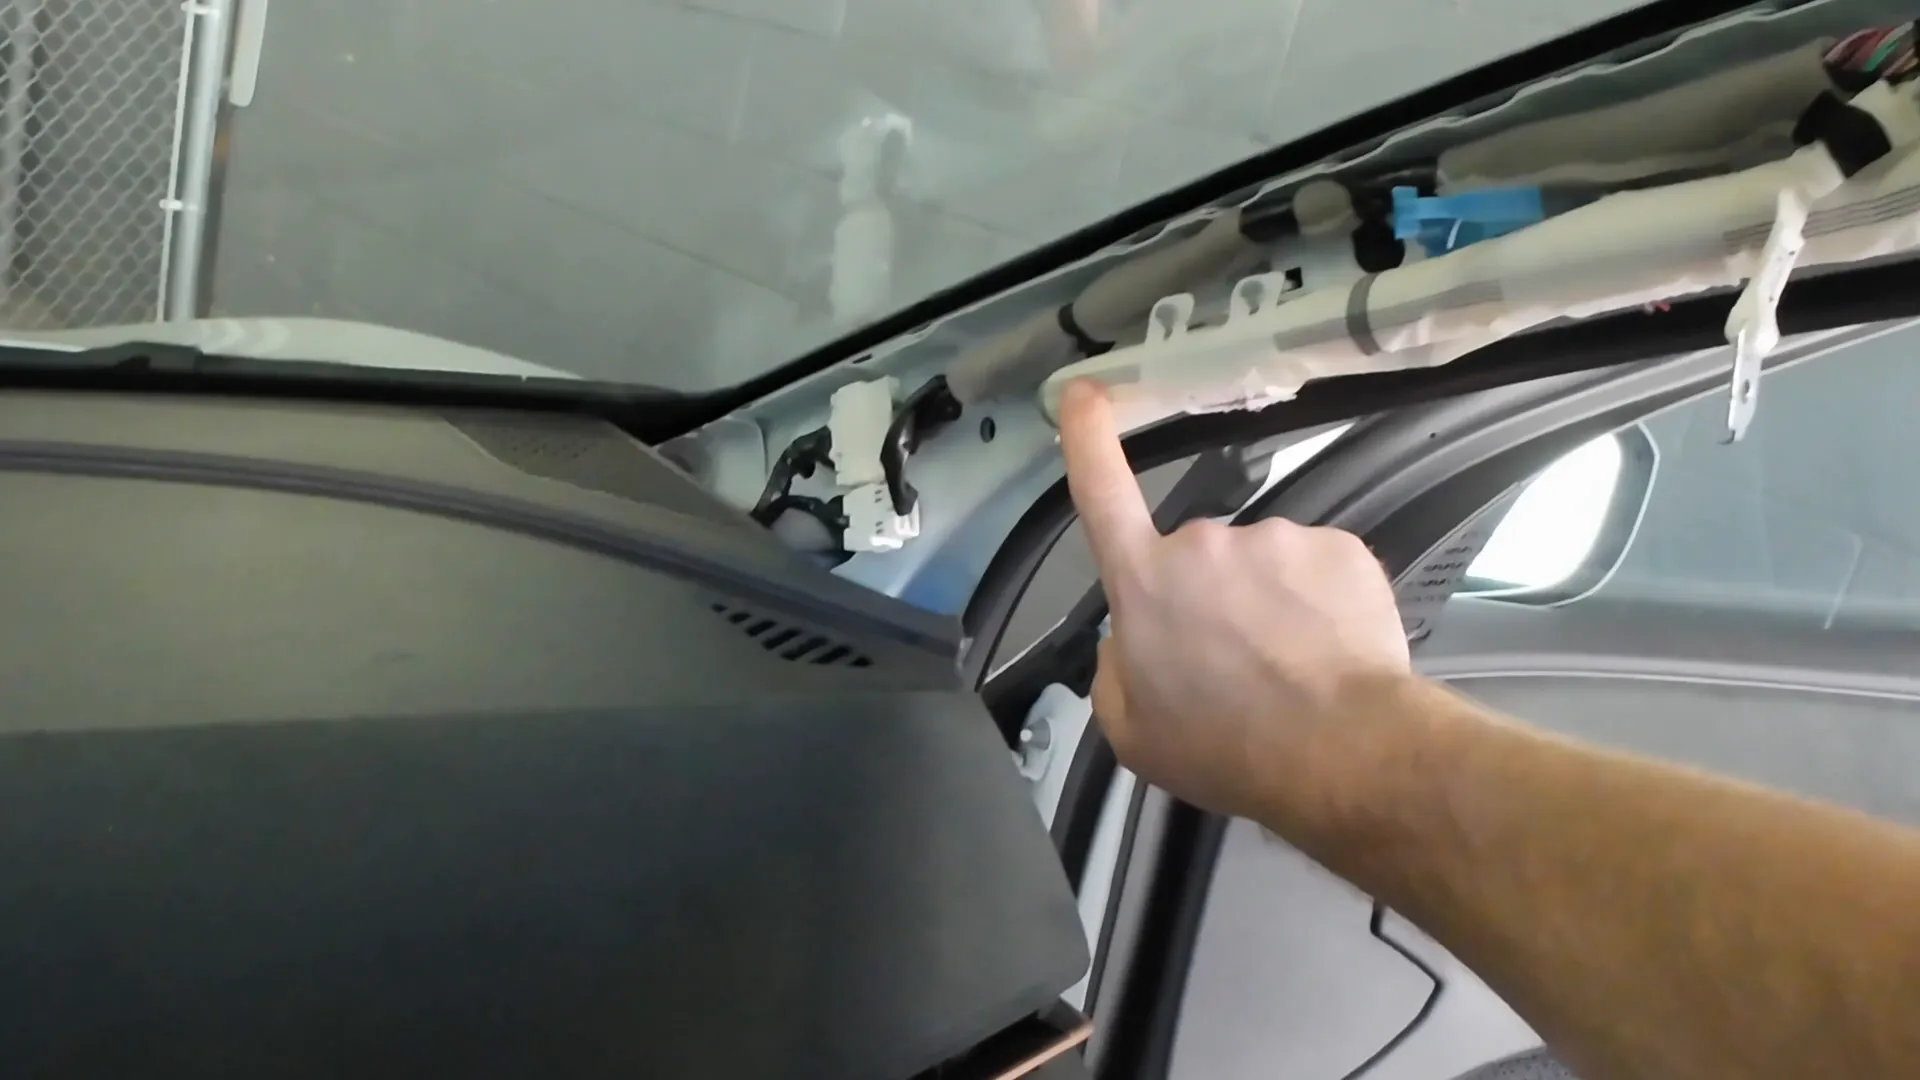
Step 1: Access the Airbag Area
First, you need to gain access to the area behind the airbag. This usually involves removing the necessary panels in your vehicle. Be cautious and ensure you follow the manufacturer's guidelines to avoid damaging any components.
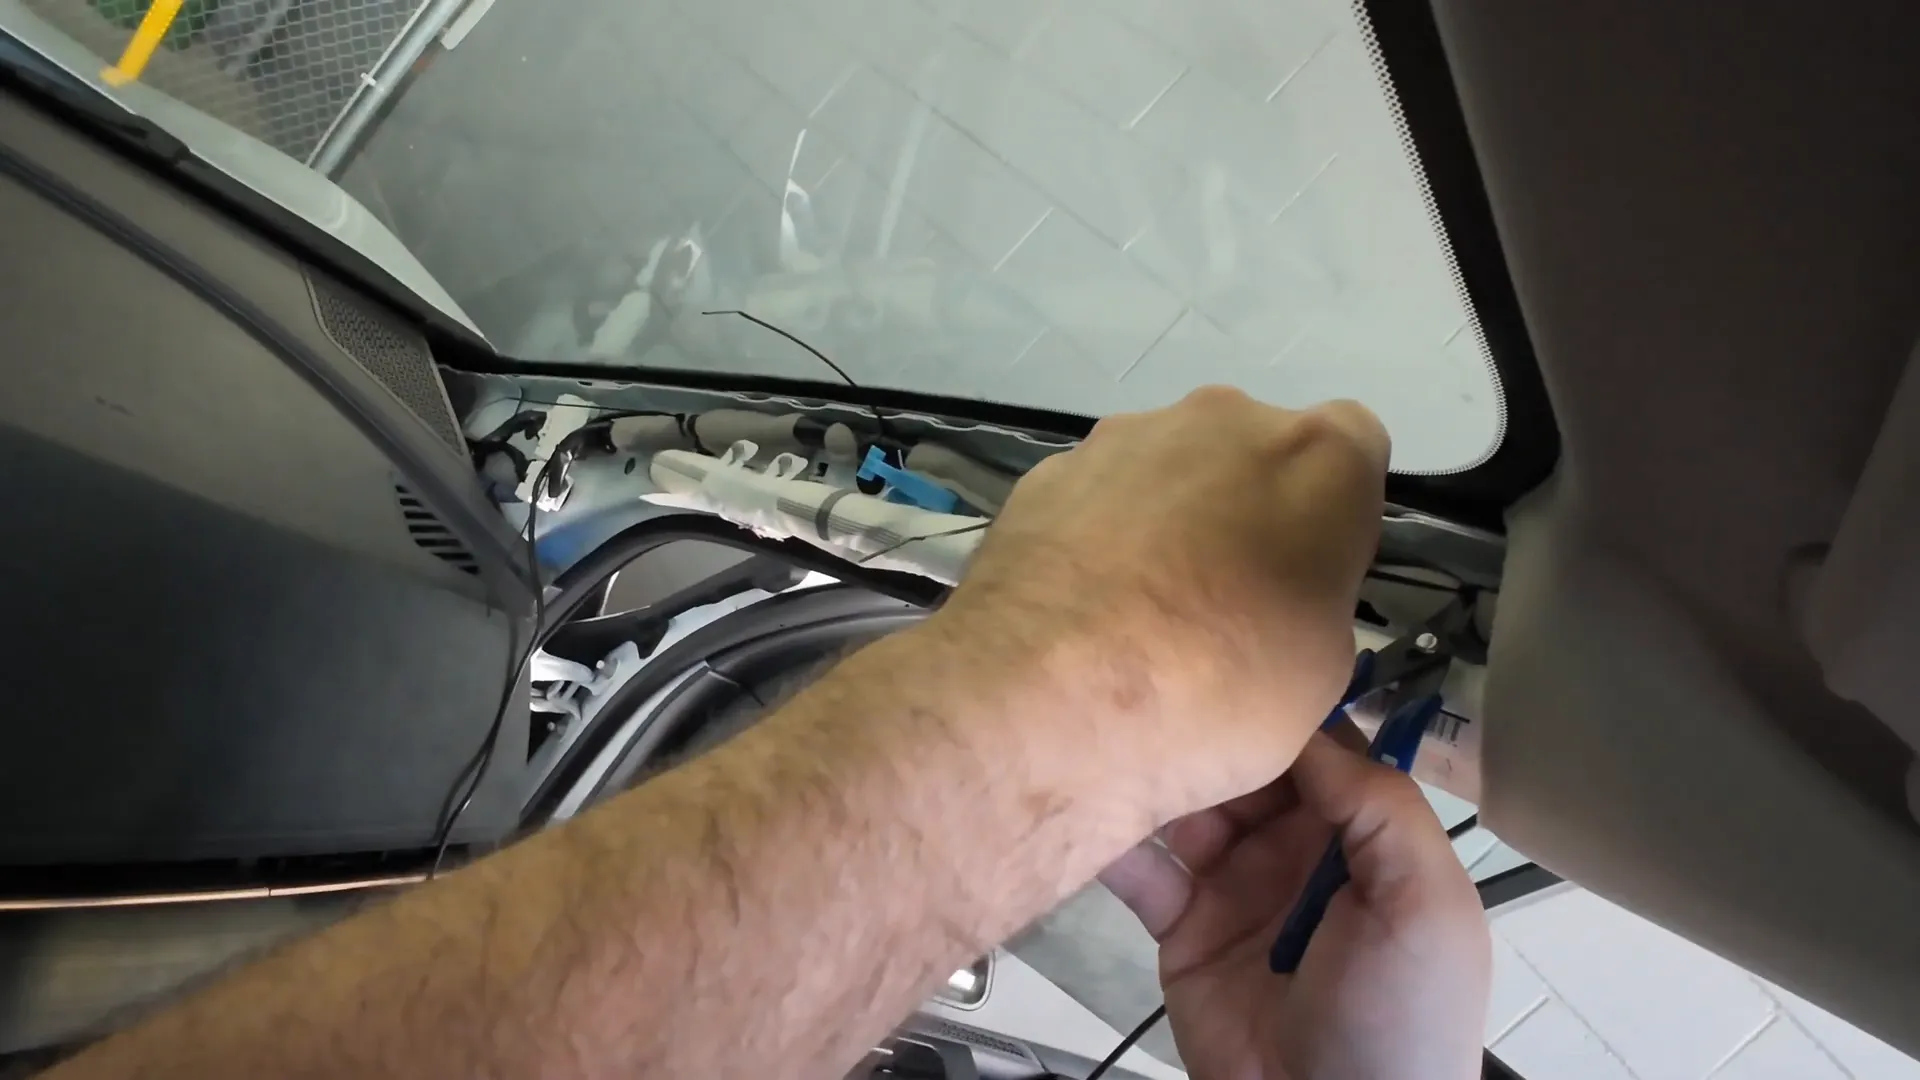
Step 2: Running the Wiring
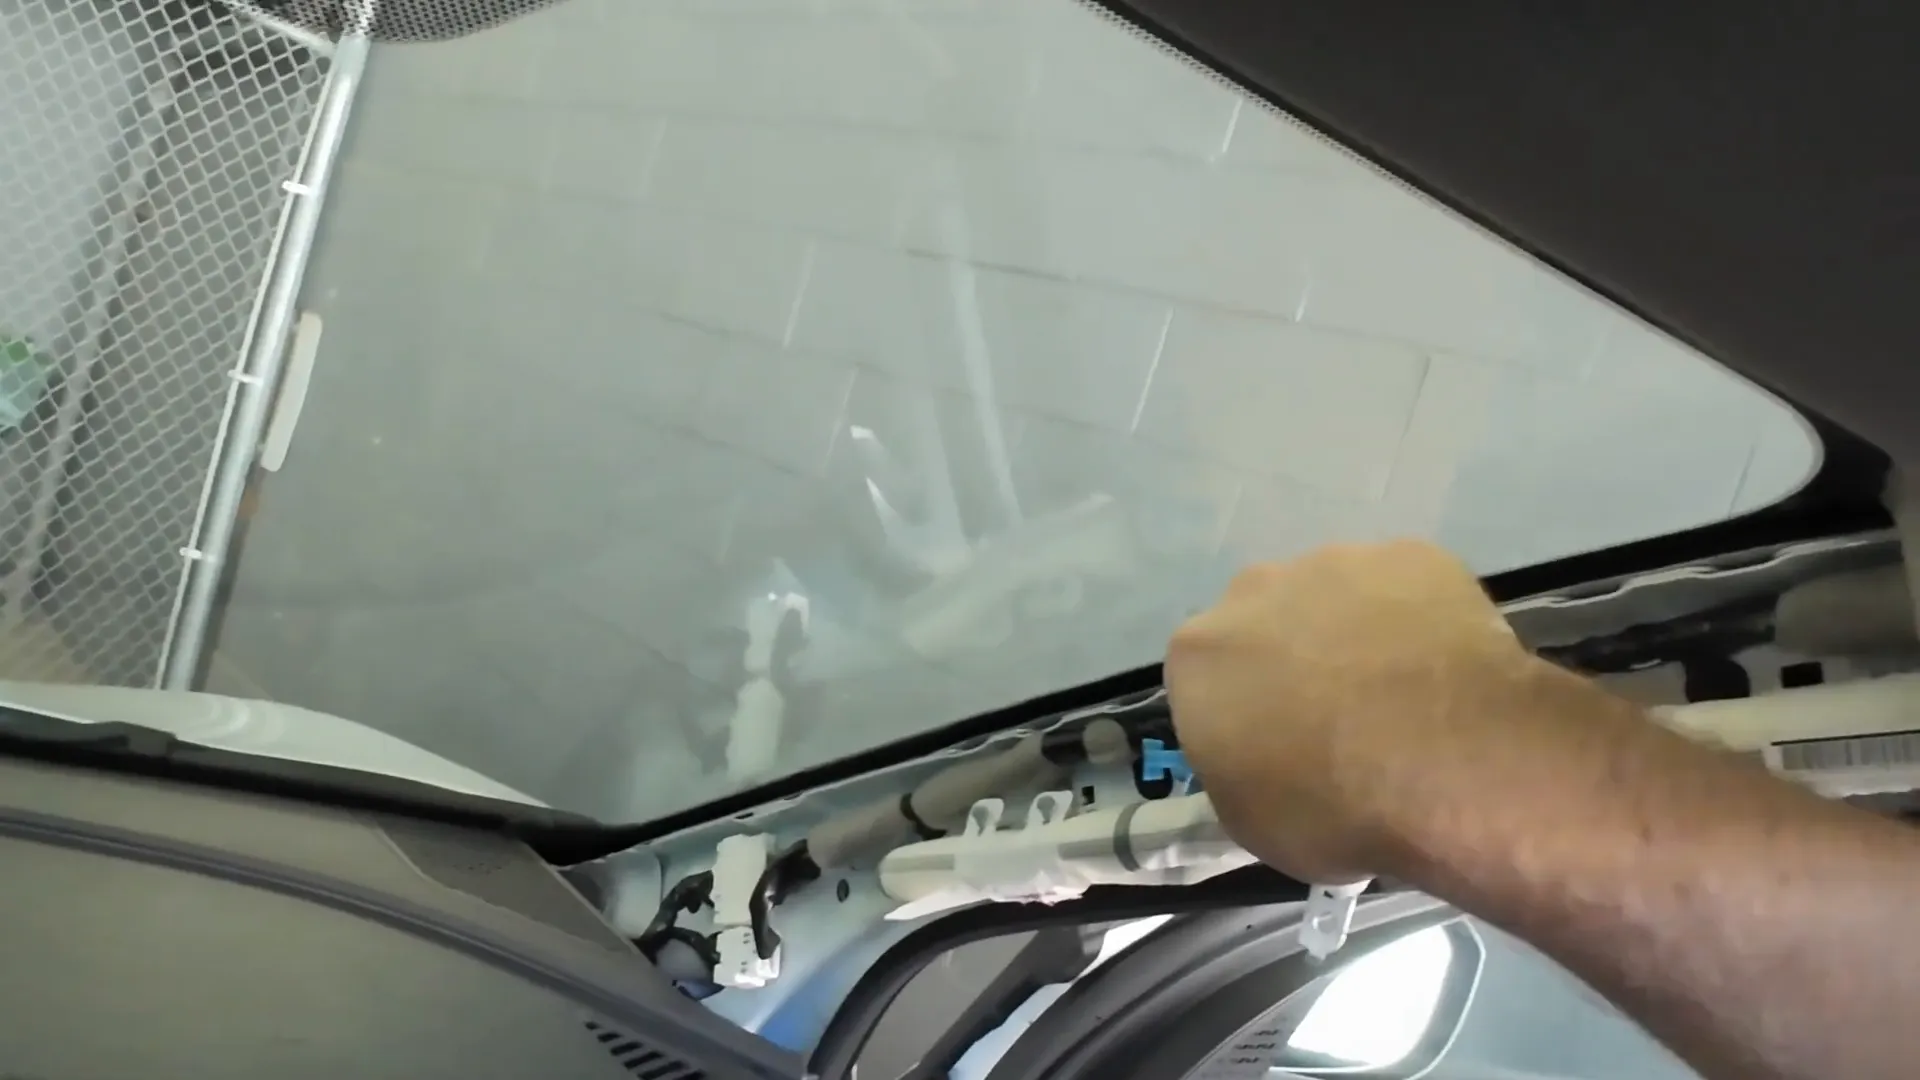
Once you have access, take the dash cam wiring and run it behind the airbag. This is crucial as running the wiring over the airbag can lead to serious issues if the airbag deploys.
As you run the wiring, keep it behind the existing wiring harness for the airbag. This will help secure it in place and prevent any movement that might expose it during an airbag deployment.
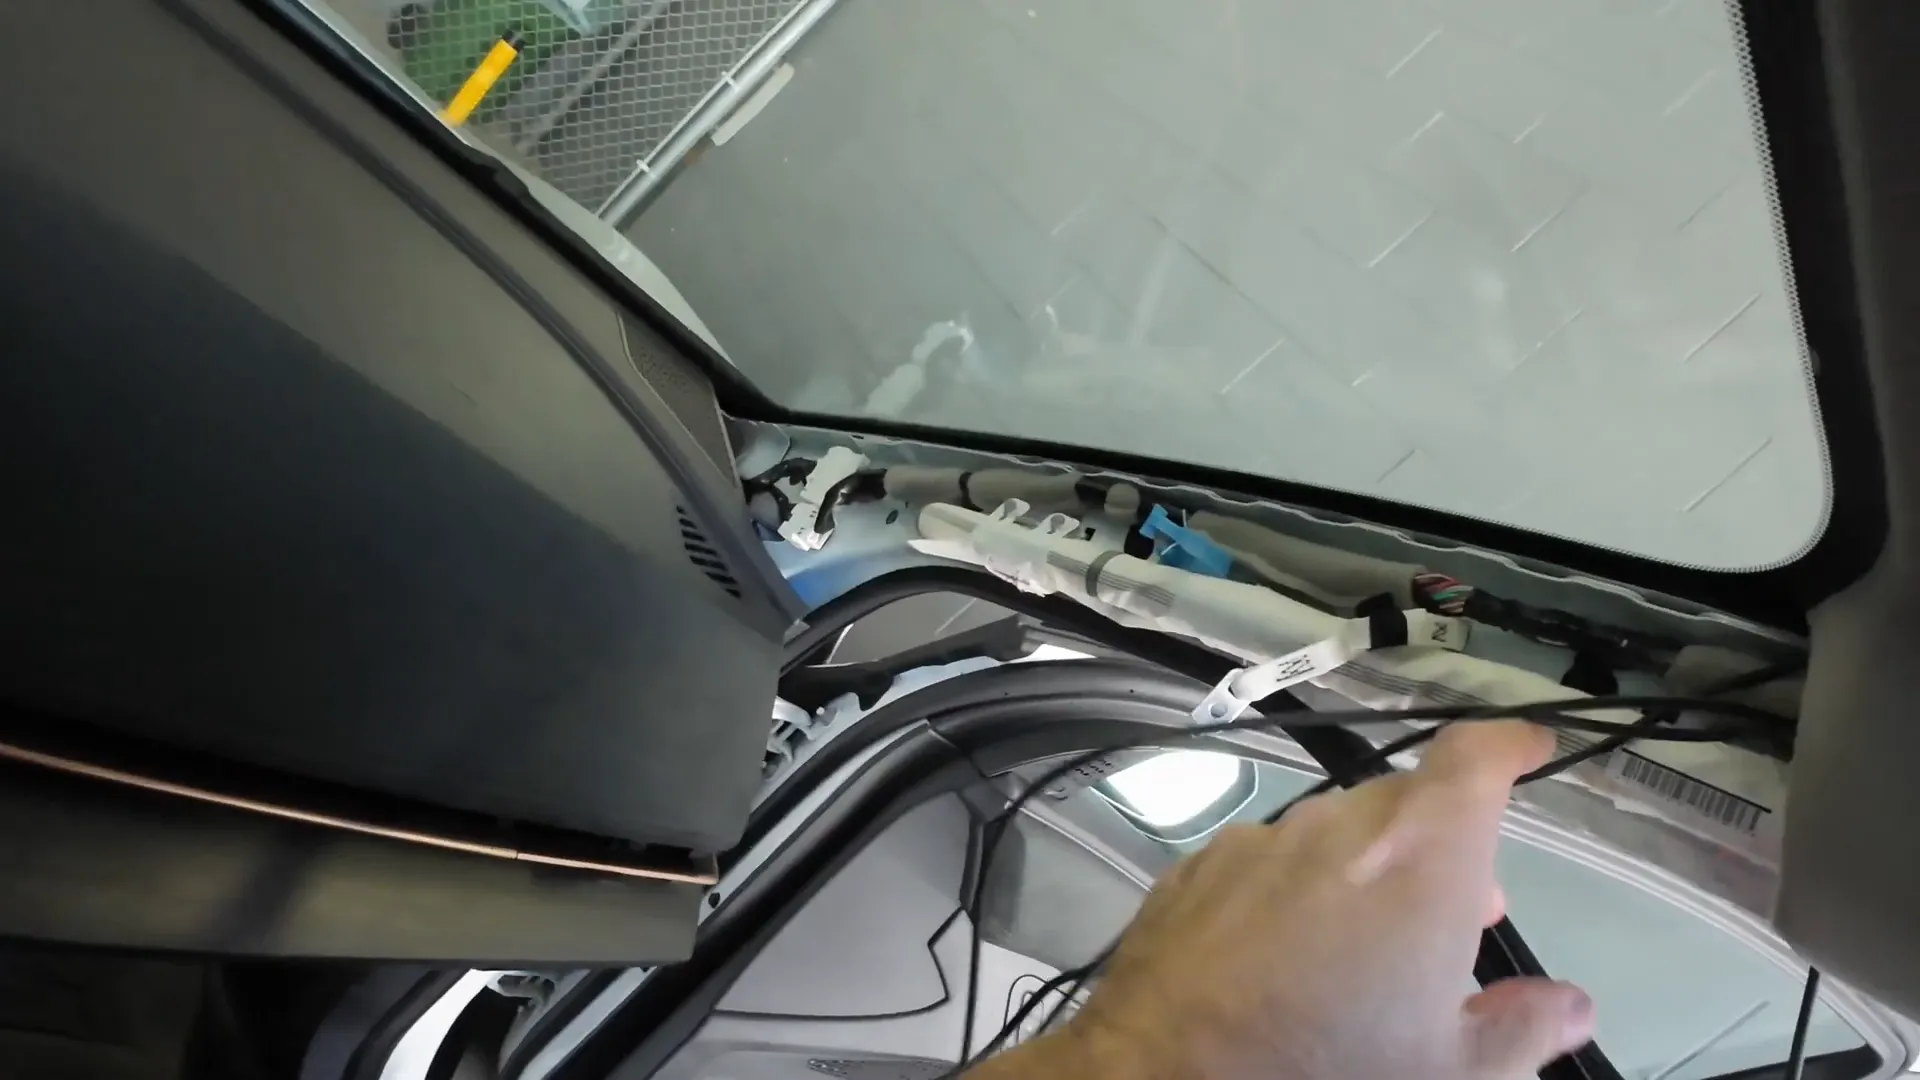
Step 3: Securing the Wiring
After positioning the wiring, use zip ties or tie straps to secure it in place. Make sure they are tight enough to hold the wiring securely but not so tight that they could damage the wiring or the airbag system.
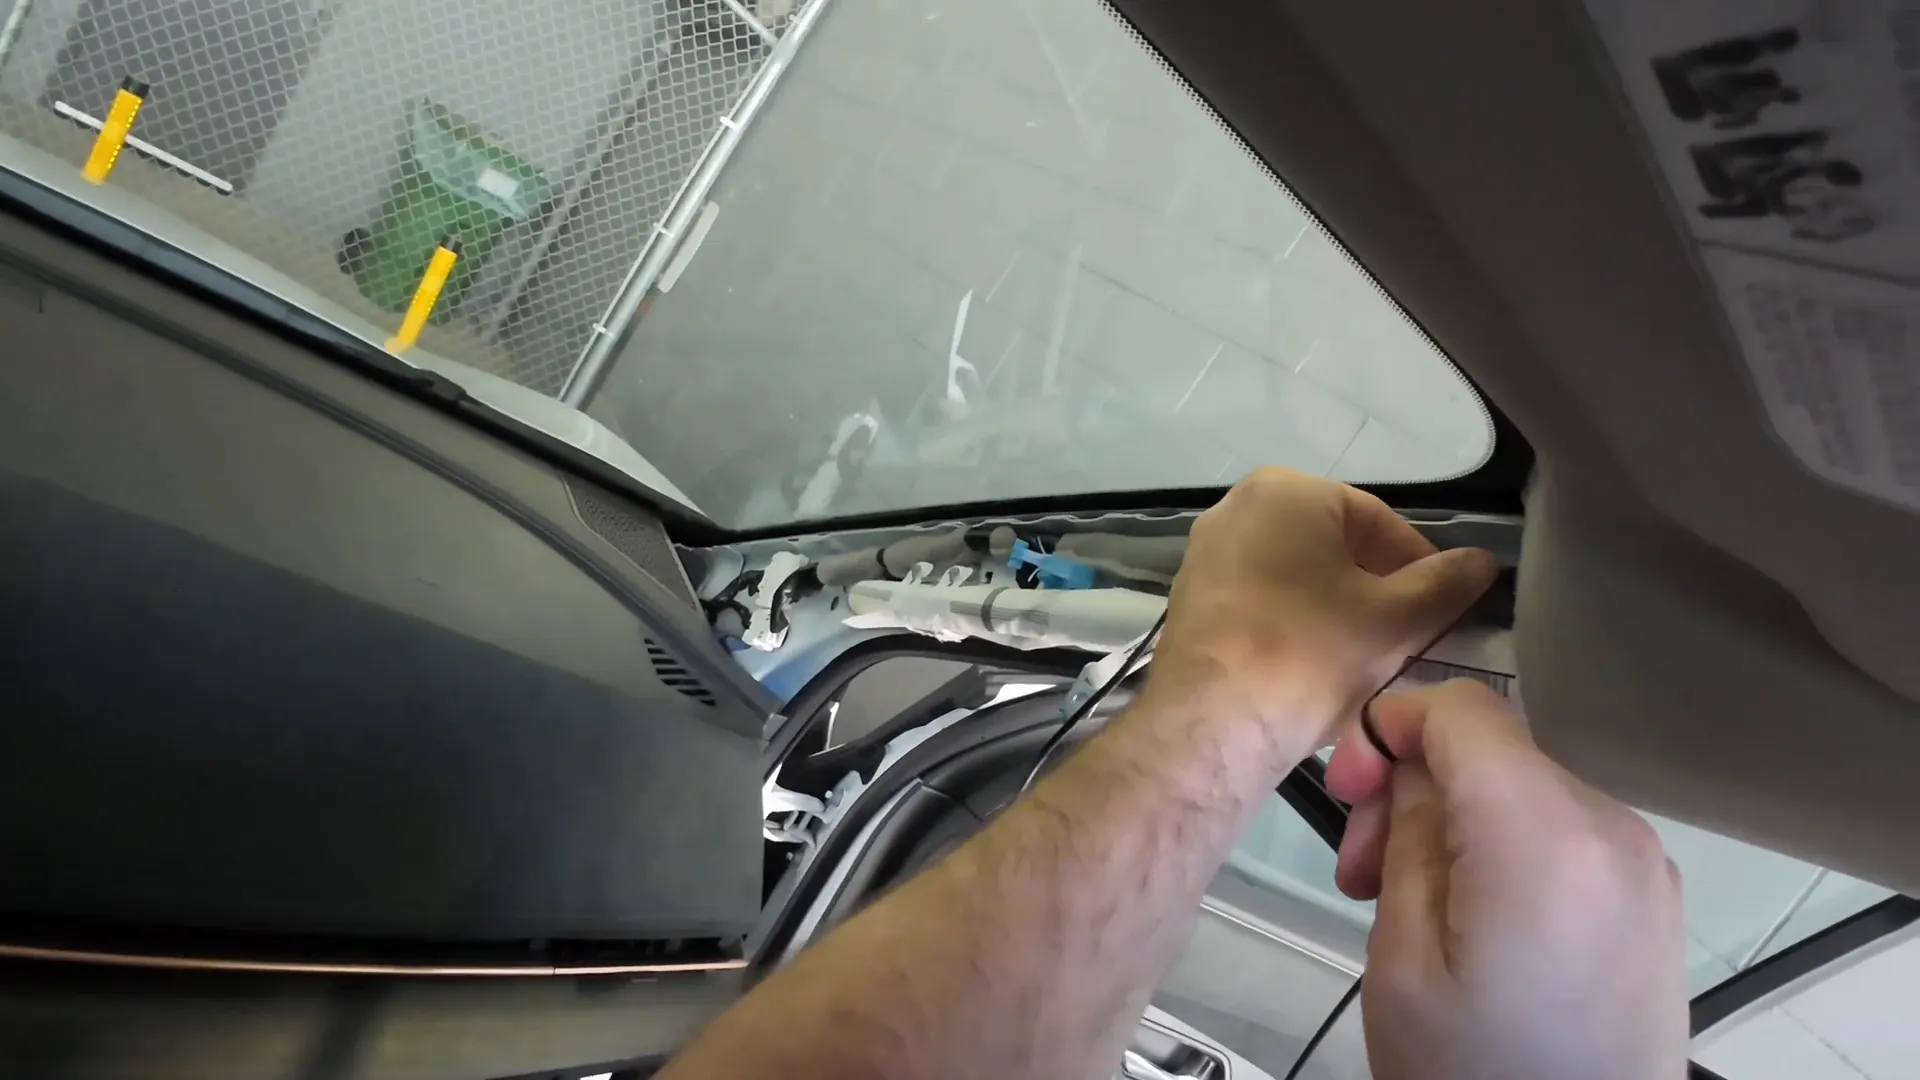
Step 4: Final Adjustments
Once everything is secured, double-check that there are no loose wires or obstructions. Ensure that the wiring does not interfere with the airbag deployment path.
Step 5: Reassemble the Panels
With the wiring securely in place, you can now reassemble the panels you removed earlier. Ensure everything clicks back into place properly without any gaps.
Why Professional Installation Matters
While DIY installations can be successful, there are significant benefits to having your dash cam professionally installed. Professionals have the experience and tools needed to ensure that everything is done correctly and safely. If you’re considering an installation, check out Safe Drive Solutions, where experts can assist you in Greater Vancouver and Toronto.
Conclusion
Running dash cam wiring behind airbags can be done safely with proper planning and execution. By following these steps, you can ensure that your dash cam operates effectively while keeping your vehicle’s safety systems intact. Remember, if you’re unsure about any part of the process, it’s always best to consult with professionals.
For more information on dash cam products and professional installation, visit Safe Drive Solutions today!
Stay safe on the road!

