Proper Dash Cam Installation: Avoid These Common Mistakes
When it comes to dash cam installation, the quality of the setup can significantly impact the performance and reliability of your device. In this post, we'll discuss the importance of proper wiring techniques, highlight common mistakes seen in installations, and guide you on how to ensure your dash cam operates flawlessly. Let's dive in!
Understanding Dash Cam Wiring
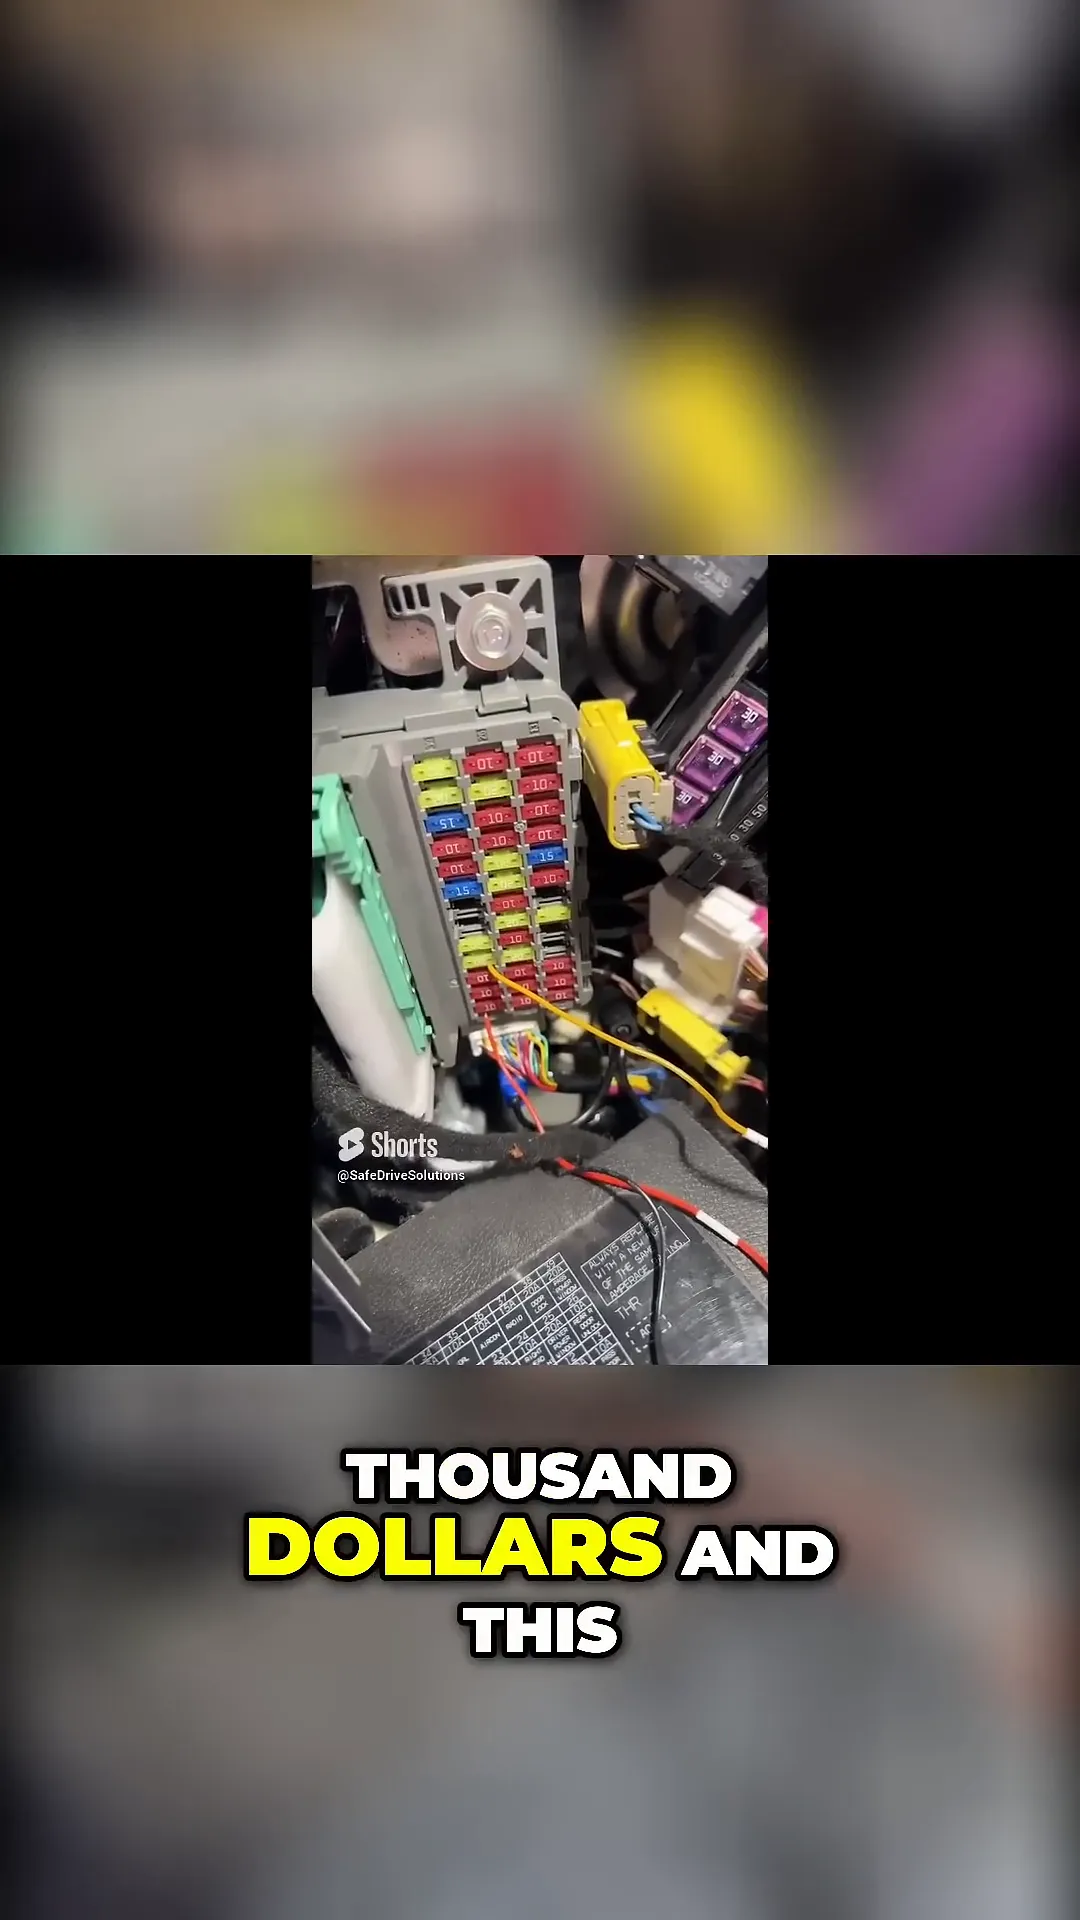
Wiring your dash cam correctly is crucial. Missteps during installation can lead to malfunctioning devices, safety hazards, and potentially costly repairs. One of the most common issues arises from improper connections to the vehicle's fuse box.
For instance, if you're using a Honda Odyssey and the installation was performed at a car dealership, you may find yourself shocked by the quality of the work done. Imagine paying around $1,000 only to discover that the installer simply poked the wires into the fuse box without any soldered connections or proper fuse taps.
Why Proper Fuse Taps Matter
Using a proper fuse tap is essential. A fuse tap allows you to connect your dash cam to the vehicle's electrical system safely and securely. This method ensures that your dash cam can draw power when needed and prevents any potential damage to your vehicle's wiring.
When you simply poke a wire into the fuse box, you're risking loose connections that can lead to power interruptions. This not only affects your dash cam's performance but could also pose electrical challenge in the future.
Common Installation Mistakes
Here are some common mistakes people make when installing their dash cams:
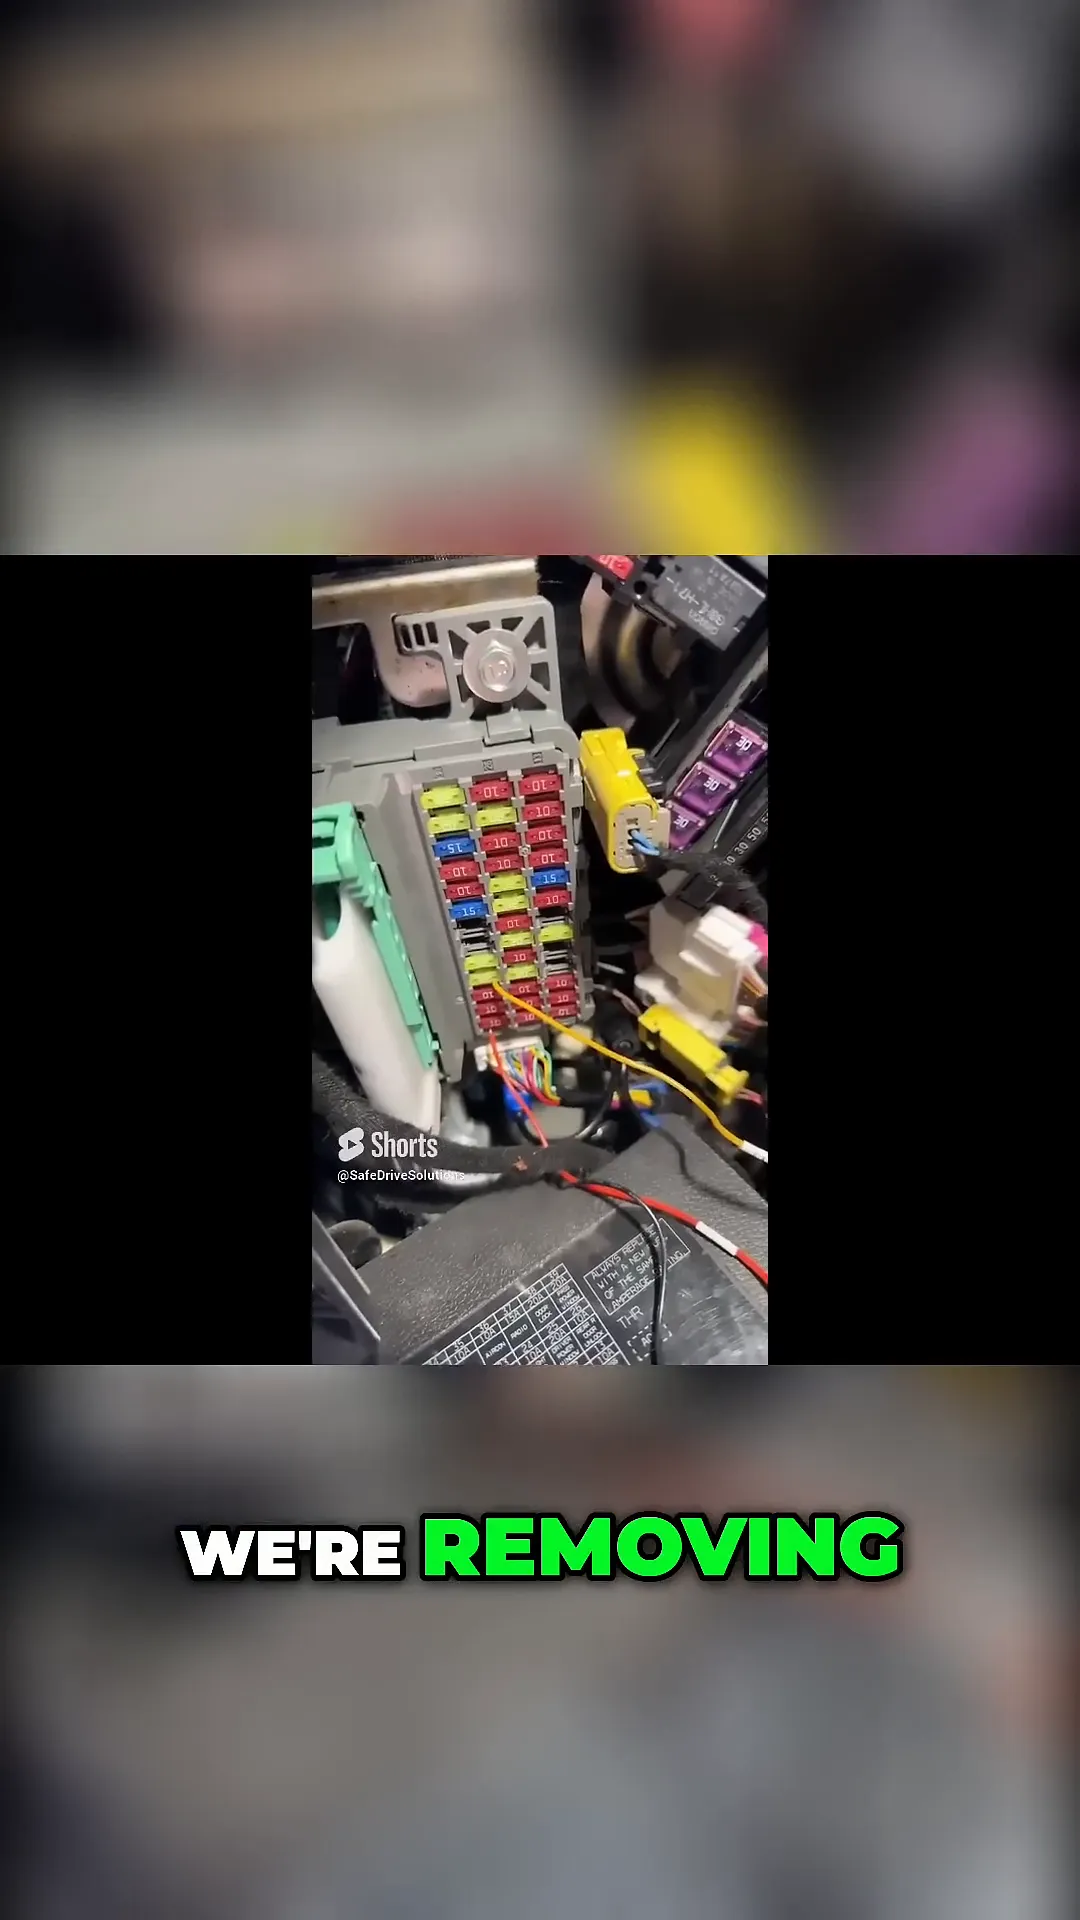
- Poking Wires: As mentioned, simply poking wires into the fuse box is a recipe for disaster. Always use proper fuse taps.
- Ignoring Ground Connections: A bad ground can lead to intermittent power issues. Ensure your ground connection is secure and reliable.
- Using the Wrong Fuses: Not all fuses are created equal. Make sure to select fuses that are appropriate for your dash cam’s power requirements.
- Failure to Test: After installation, always test your dash cam to ensure it powers on and captures footage correctly.
Steps for a Successful Dash Cam Installation
Now that we’ve discussed what not to do, let’s look at the steps for a successful dash cam installation:
Step 1: Gather Your Tools
Before starting, make sure you have everything you need, including:
- Dash cam with all accessories
- Fuse tap kit
- Wire strippers and crimpers
- Electrical tape
- Multi-meter for testing
Step 2: Locate the Fuse Box
Check your vehicle’s manual to find the fuse box location. It’s typically located under the steering wheel or in the glove compartment.
Step 3: Identify the Correct Fuses
Use a circuit tester to identify which fuses are powered when the vehicle is on and which ones are always powered. This will help you connect your dash cam correctly.
Step 4: Use the Fuse Tap
Insert the fuse tap into the correct slot and connect the dash cam's power wires to the corresponding connections on the fuse tap. Make sure to follow the instructions provided with your dash cam for the best results.
Step 5: Test the Setup
Once everything is connected, turn on your vehicle and check if the dash cam powers on. Review the footage to ensure everything is functioning correctly.
Additional Resources
For more information on dash cam features and installation, check out these resources:
- Get Your Dash Cam Professionally Installed
- Dash Cam Buyers Guide: What to Consider Before You Buy
- How Dashcams Protect You in the Event of an Accident
Conclusion
Proper installation of your dash cam is pivotal for ensuring it functions optimally. By avoiding common mistakes and following a systematic approach, you can ensure that your dash cam operates reliably, providing you with valuable video evidence when you need it most. Remember, when in doubt, consult a professional installer to avoid the pitfalls of a DIY installation.
For those looking for high-quality dash cams and installation services, visit Safe Drive Solutions and explore our range of products tailored for your needs.

