Nissan Ariya Dash Cam Installation Guide
Installing a dash cam in your vehicle is a smart decision for enhancing safety and providing video evidence during unexpected events. In this guide, we’ll walk through the step-by-step process of installing the Viofo A229 Plus dash camera in a 2024 Nissan Ariya, ensuring you have all the information you need for a successful installation.
Preparation for Installation
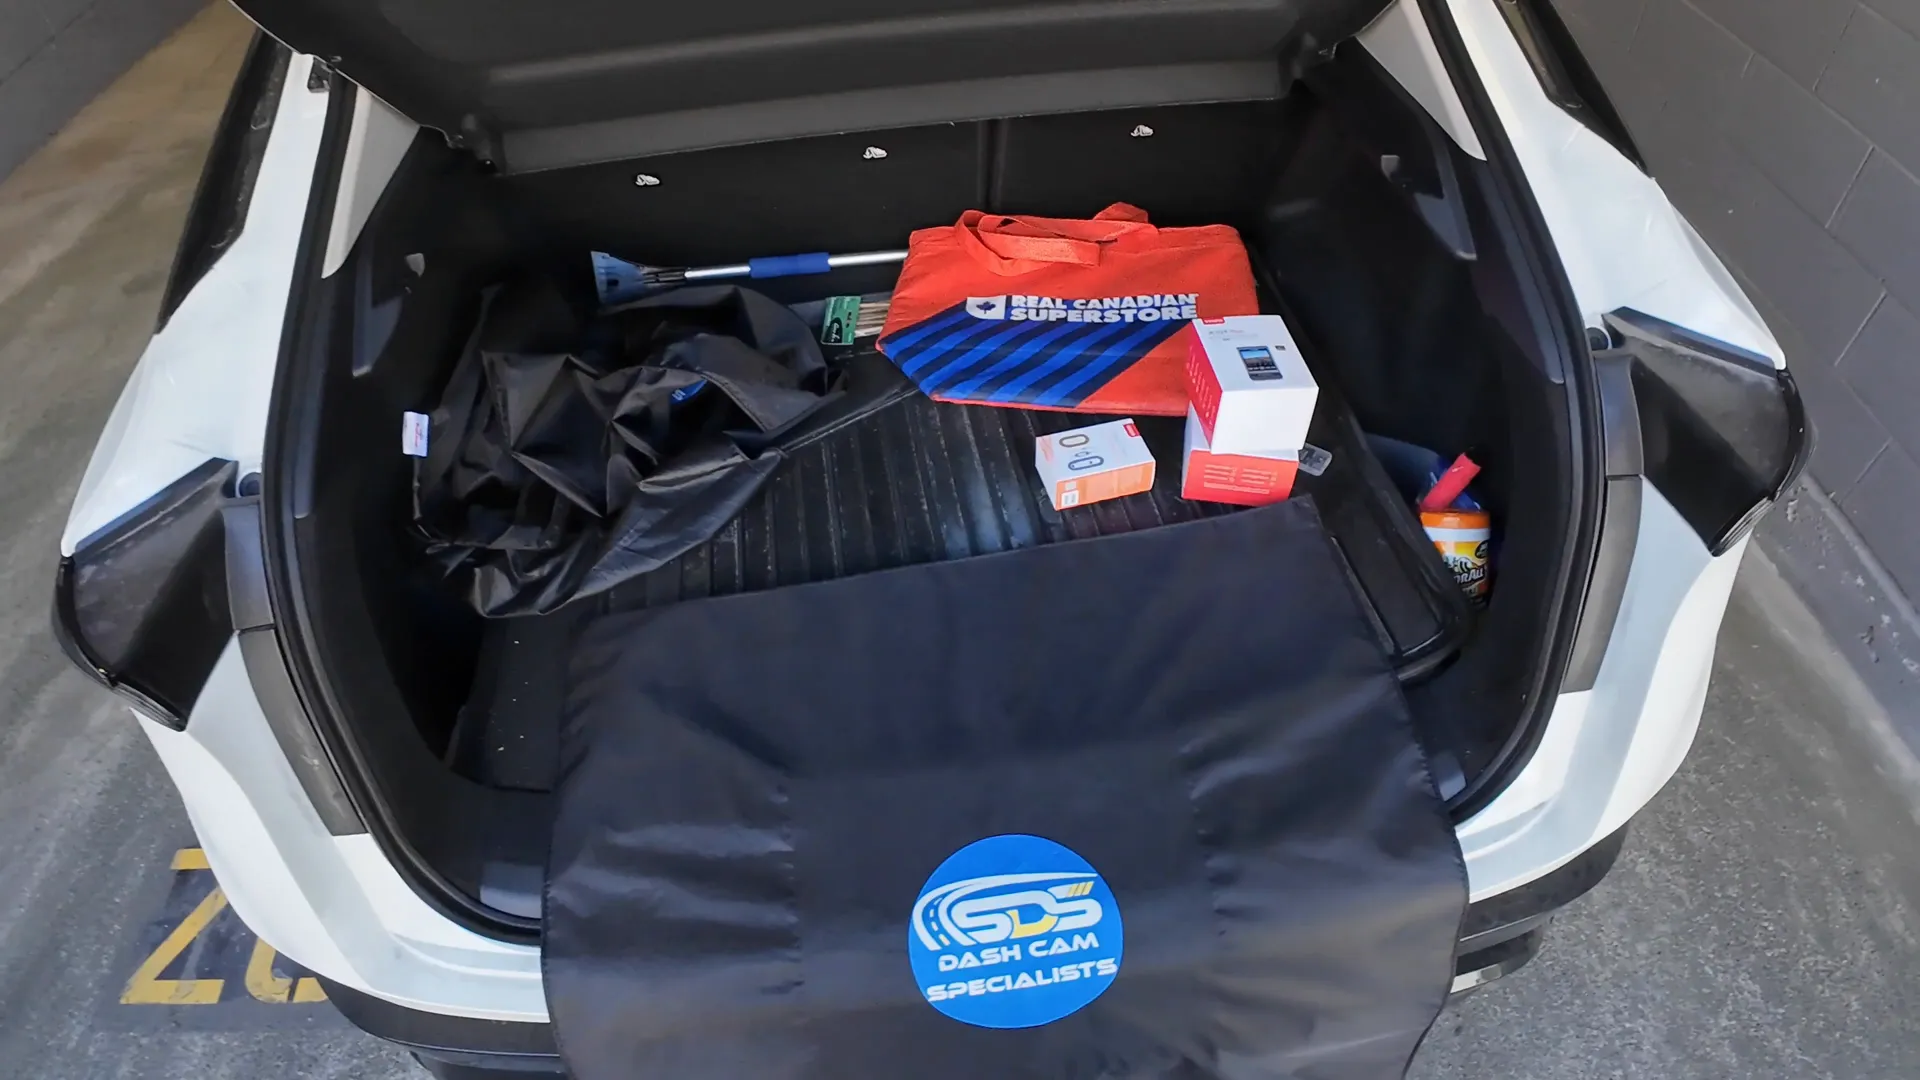
Before diving into the installation, it’s important to prepare your workspace and gather the necessary tools. We will be using a Viofo A229 Plus dash camera along with a rear camera add-on and the required hardware cable.
First, we need to put on safety garments to prevent any accidental damage to the vehicle's interior, especially the rear bumper. Additionally, using proper seat covers is essential to protect the seats from dirt and debris during the installation. We recommend Proc Cover seat covers, which can be found in the UK.
Choosing the Dash Cam Location
One of the key decisions during the installation process is determining where to mount the dash camera. Most drivers prefer a discreet location that doesn’t obstruct their view. The ideal spot for the Viofo A229 Plus is typically on the passenger side, behind the rearview mirror. This placement ensures that the camera is hidden from the driver's line of sight while still capturing a clear view of the road.
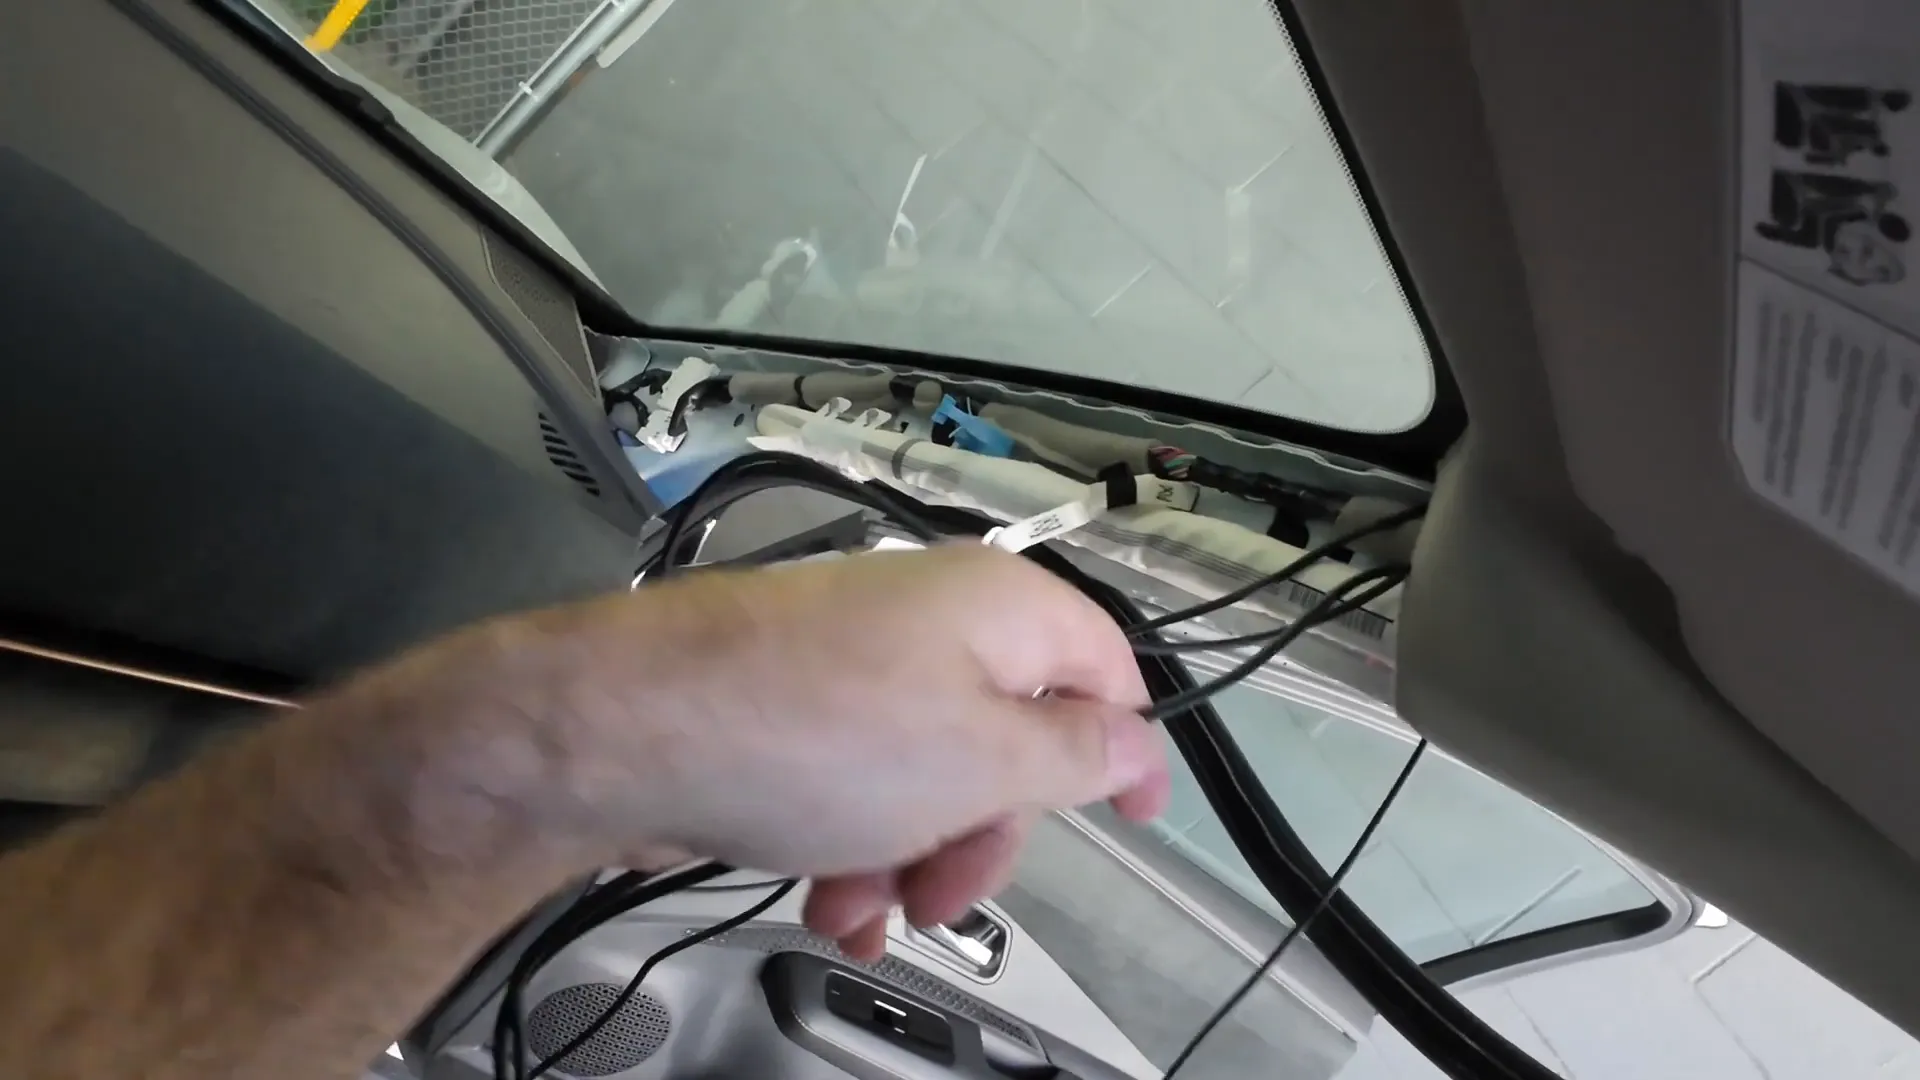
Once we finalize the location, we can begin the installation process. We’ll start by removing the necessary paneling to tuck the wiring behind the rearview mirror. Using Tesa tape helps keep the wiring organized and concealed.
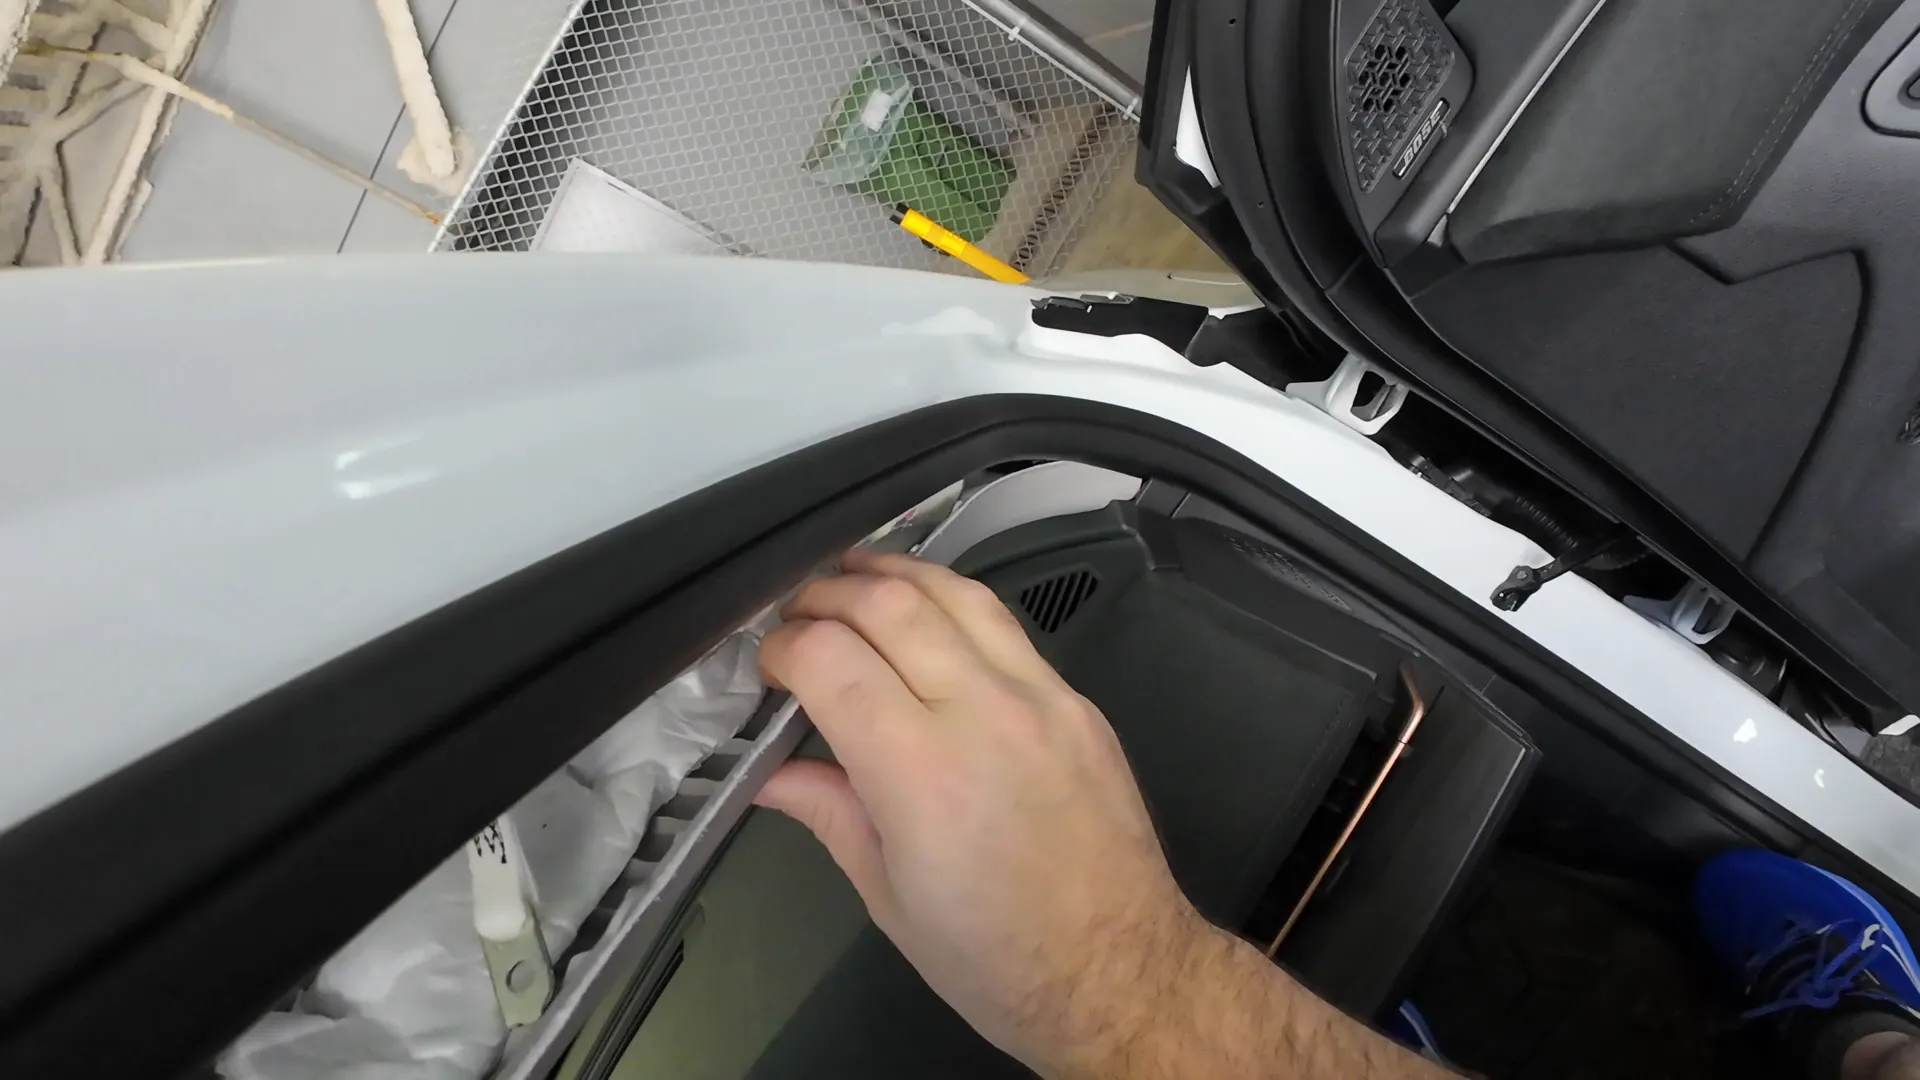
Removing the A-Pillar Cover
The next step involves removing the A-pillar cover to access the wiring for the dash cam. Using a 4140 tool, we carefully bend and pull the cover off. There is a support clip that holds it in place, which can be easily removed with a Phillips screwdriver.
It’s crucial to handle the airbag wiring with care. We avoid unplugging the airbag connector, as this can lead to airbag codes that are difficult to clear. Instead, we leave it hanging during the installation.
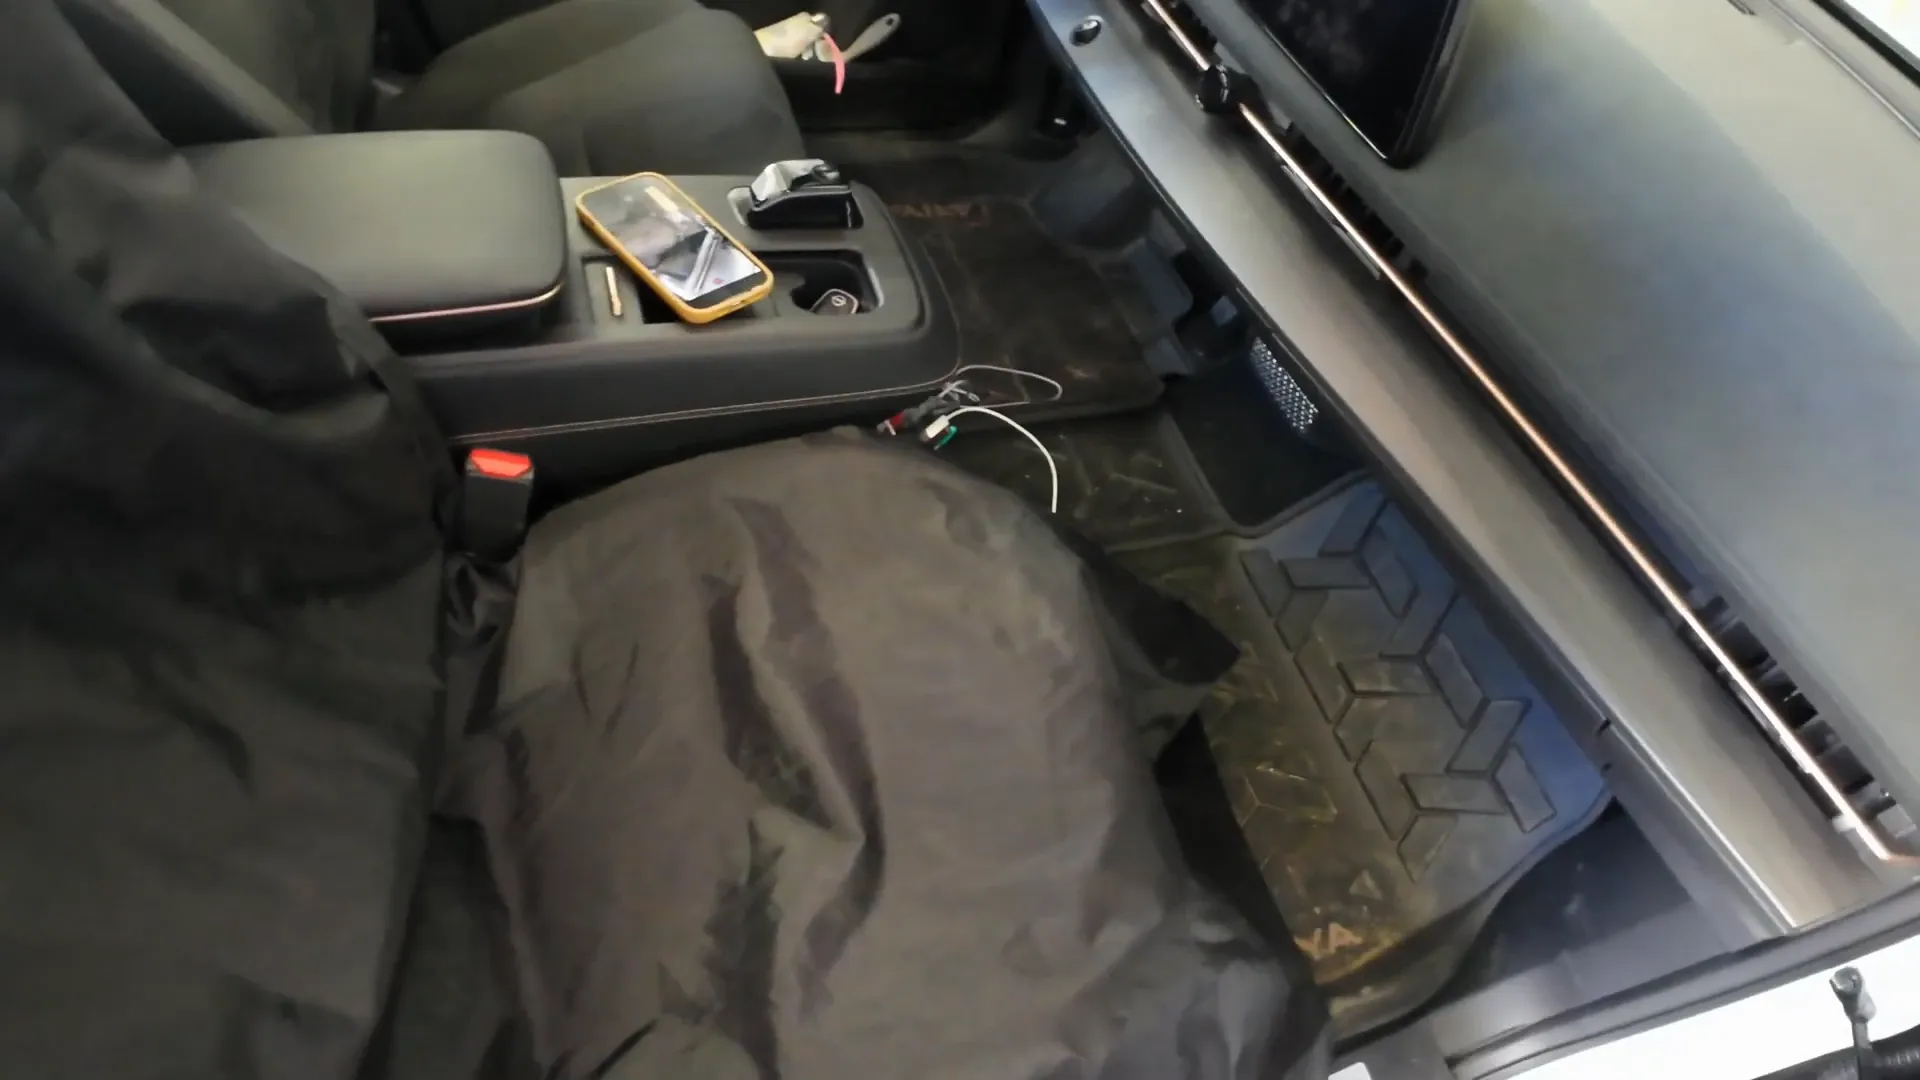
Running the Wiring
With the A-pillar cover removed, we can now run the wiring behind it. It’s essential to secure the wiring to the existing airbag wiring to ensure safety when the airbag deploys. We use tie straps to keep everything organized and avoid running wires over the airbag, which could cause problems in an emergency.
Next, we’ll run the cable from the front camera to the rear camera. This involves taking out the weather stripping and carefully tucking the wire into place. Do not tie strap the rear cable; it should be free to move without restriction.
Accessing the Rear Grommet
To run the wire through to the back of the vehicle, we need to access the rear grommet. This can be tricky, as the grommet is rubber and has no tabs. We carefully pull it out to create a pathway for the wire. Specialty tools like a Meg 20 from Vim Tools can make this process easier, allowing for flexibility and ease of access.
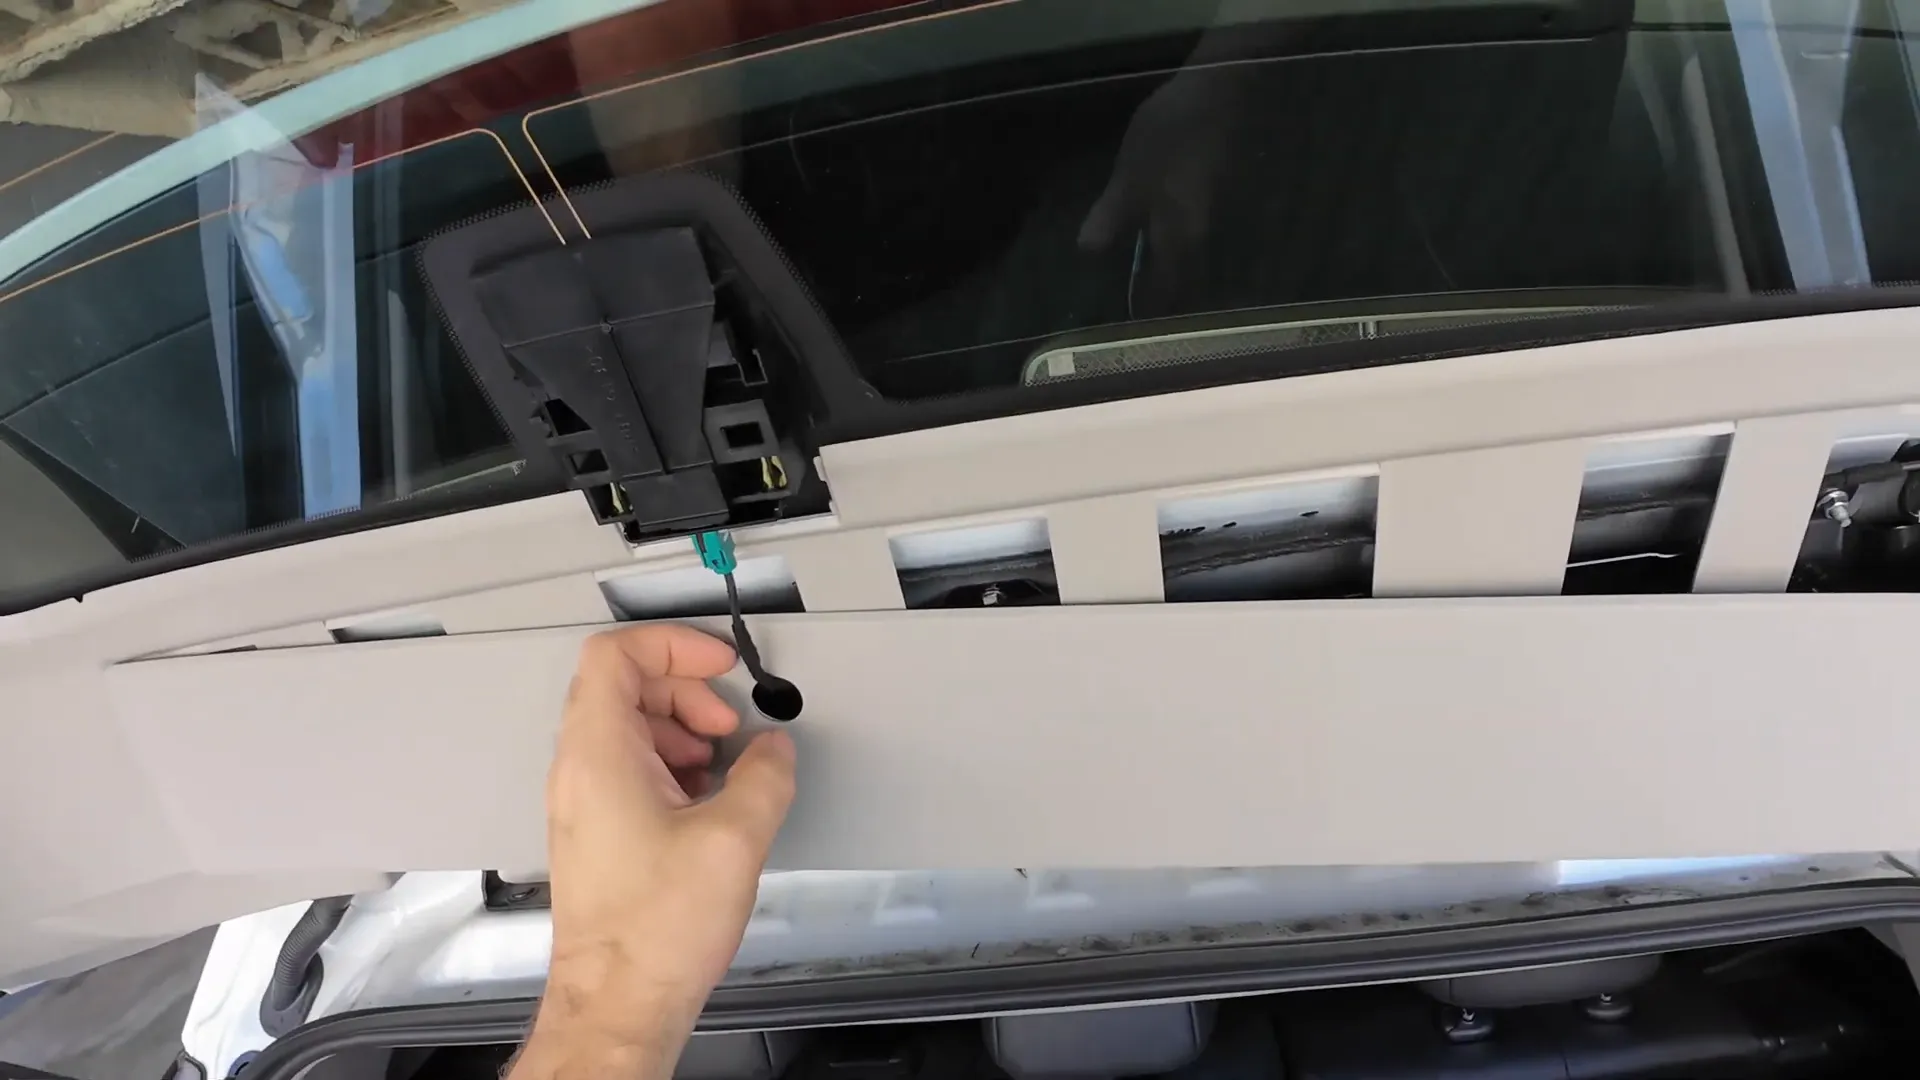
Connecting Power to the Dash Cam
Now that the wiring is in place, we need to connect the power source for the dash cam. We’ll access the fuse box to find a suitable location for both constant power and ignition. Look for empty slots in the fuse box that provide 12 volts for constant power and check the ignition power by turning the vehicle on to identify which slots are active.
Once we identify the appropriate slots, we can connect the wiring for the dash cam and secure it properly. This ensures that the dash cam will receive power when the vehicle is running.

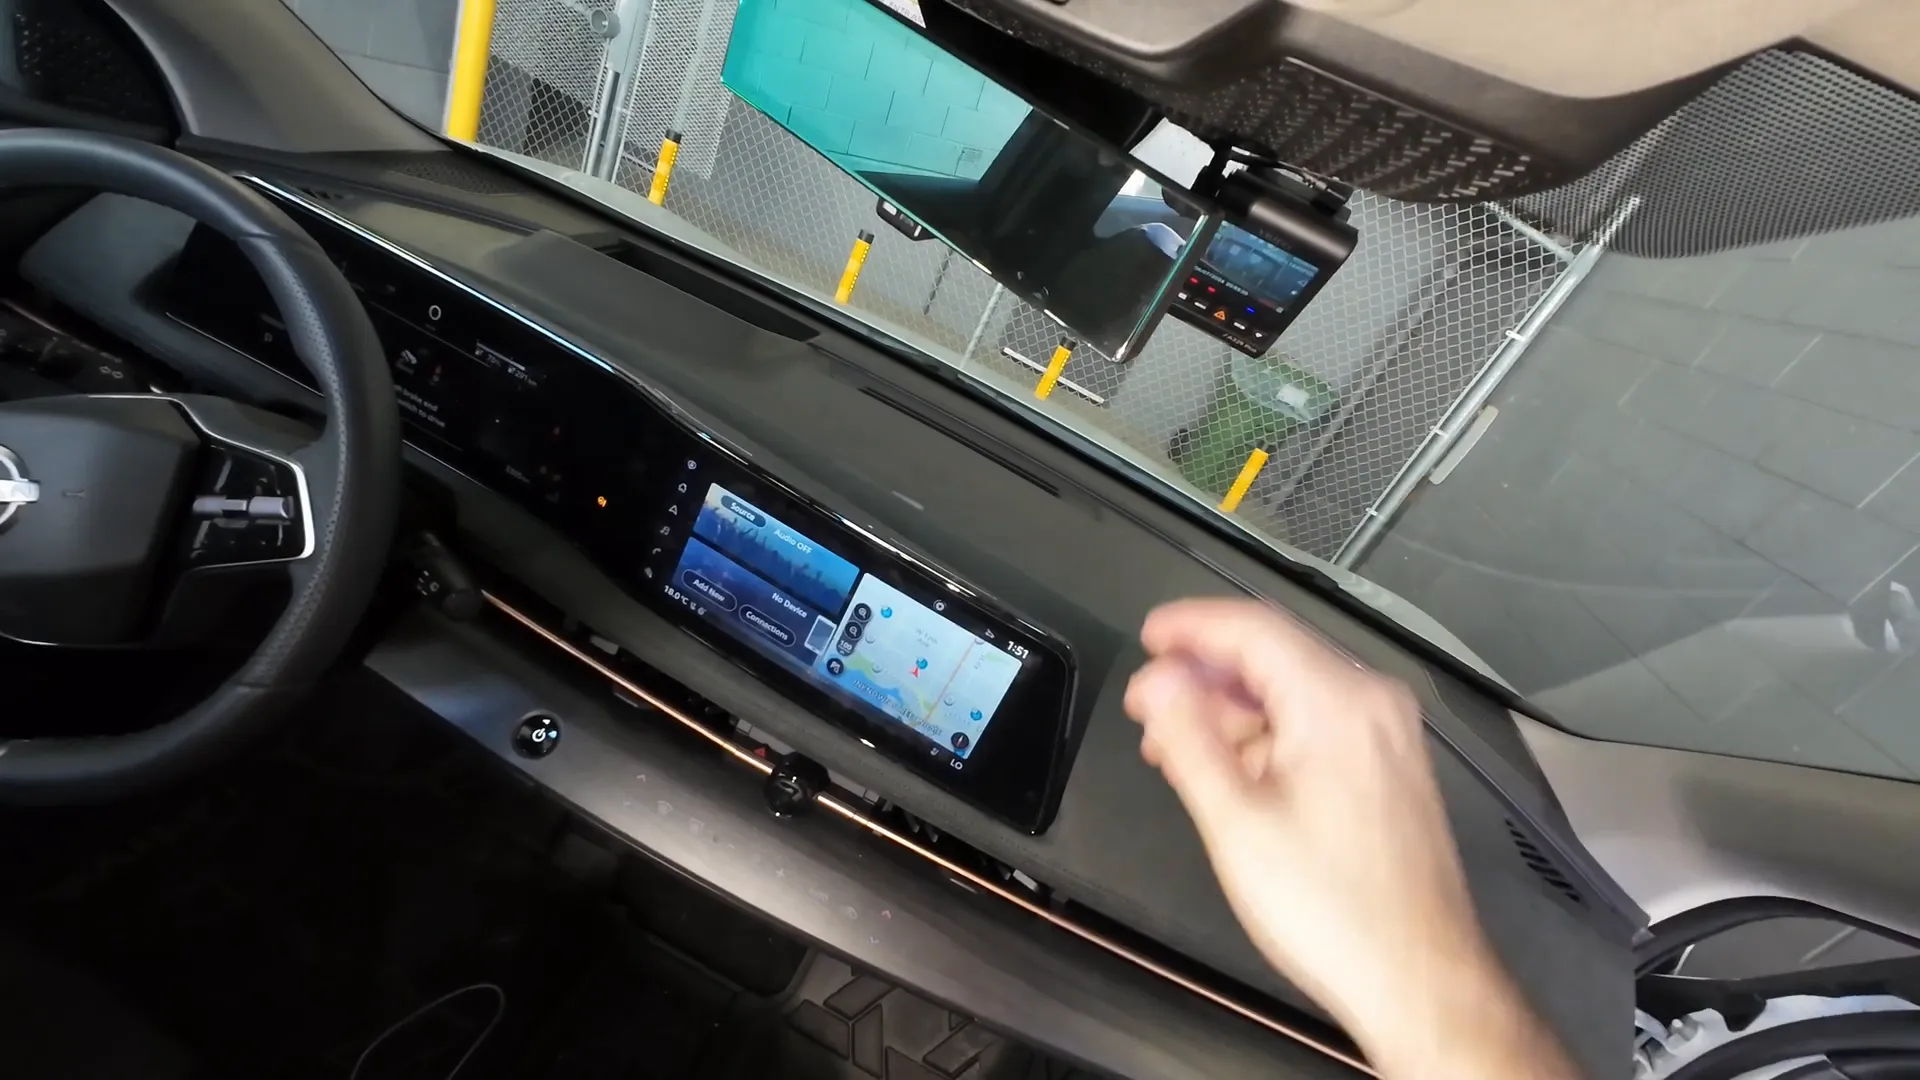
Finishing Touches and Testing
With the wiring installed and powered, we can now mount the Viofo A229 Plus dash camera on the windshield. It’s important to clean the area with antiseptic wipes to ensure a strong bond for the camera mount. After securing the camera in place, we’ll reassemble any removed panels and ensure everything is tidy.
Finally, we start the vehicle to test the dash cam. The camera should power up without any issues, and we can proceed to set the time zone and other settings as needed.
Conclusion
Installing a dash cam in your Nissan Ariya can greatly enhance your driving experience by providing peace of mind and video evidence in case of incidents. By following the steps outlined in this guide, you can ensure a professional installation that keeps your vehicle safe and your dash cam functioning optimally.
If you’re interested in purchasing a dash cam or need installation services, consider visiting Safe Drive Solutions: Dash Cam And Installation Specialists for more information.
For those looking for professional installation in Vancouver or Toronto, check out Dash Cam Installation | Safe Drive Solutions.

