How to Hardwire a Dash Camera to a Battery Pack
Wiring a dash camera to a battery pack can seem daunting, especially with the amount of conflicting information available online. Many DIY enthusiasts have reached out with questions after encountering confusion from various forums and threads. In this guide, we aim to clarify the process and provide accurate, step-by-step instructions for hardwiring dash cameras, including popular models such as Thinkware, Viofo, Vantrue, and BlackVue.
Understanding the Basics
The need for hardwiring a dash camera to a battery pack arises from the desire for a clean installation that allows for continuous recording, even when the car is parked. This process ensures that your dash cam has a constant power supply without relying on the vehicle’s accessory power, which can be interrupted when the engine is off.
Gathering Your Materials
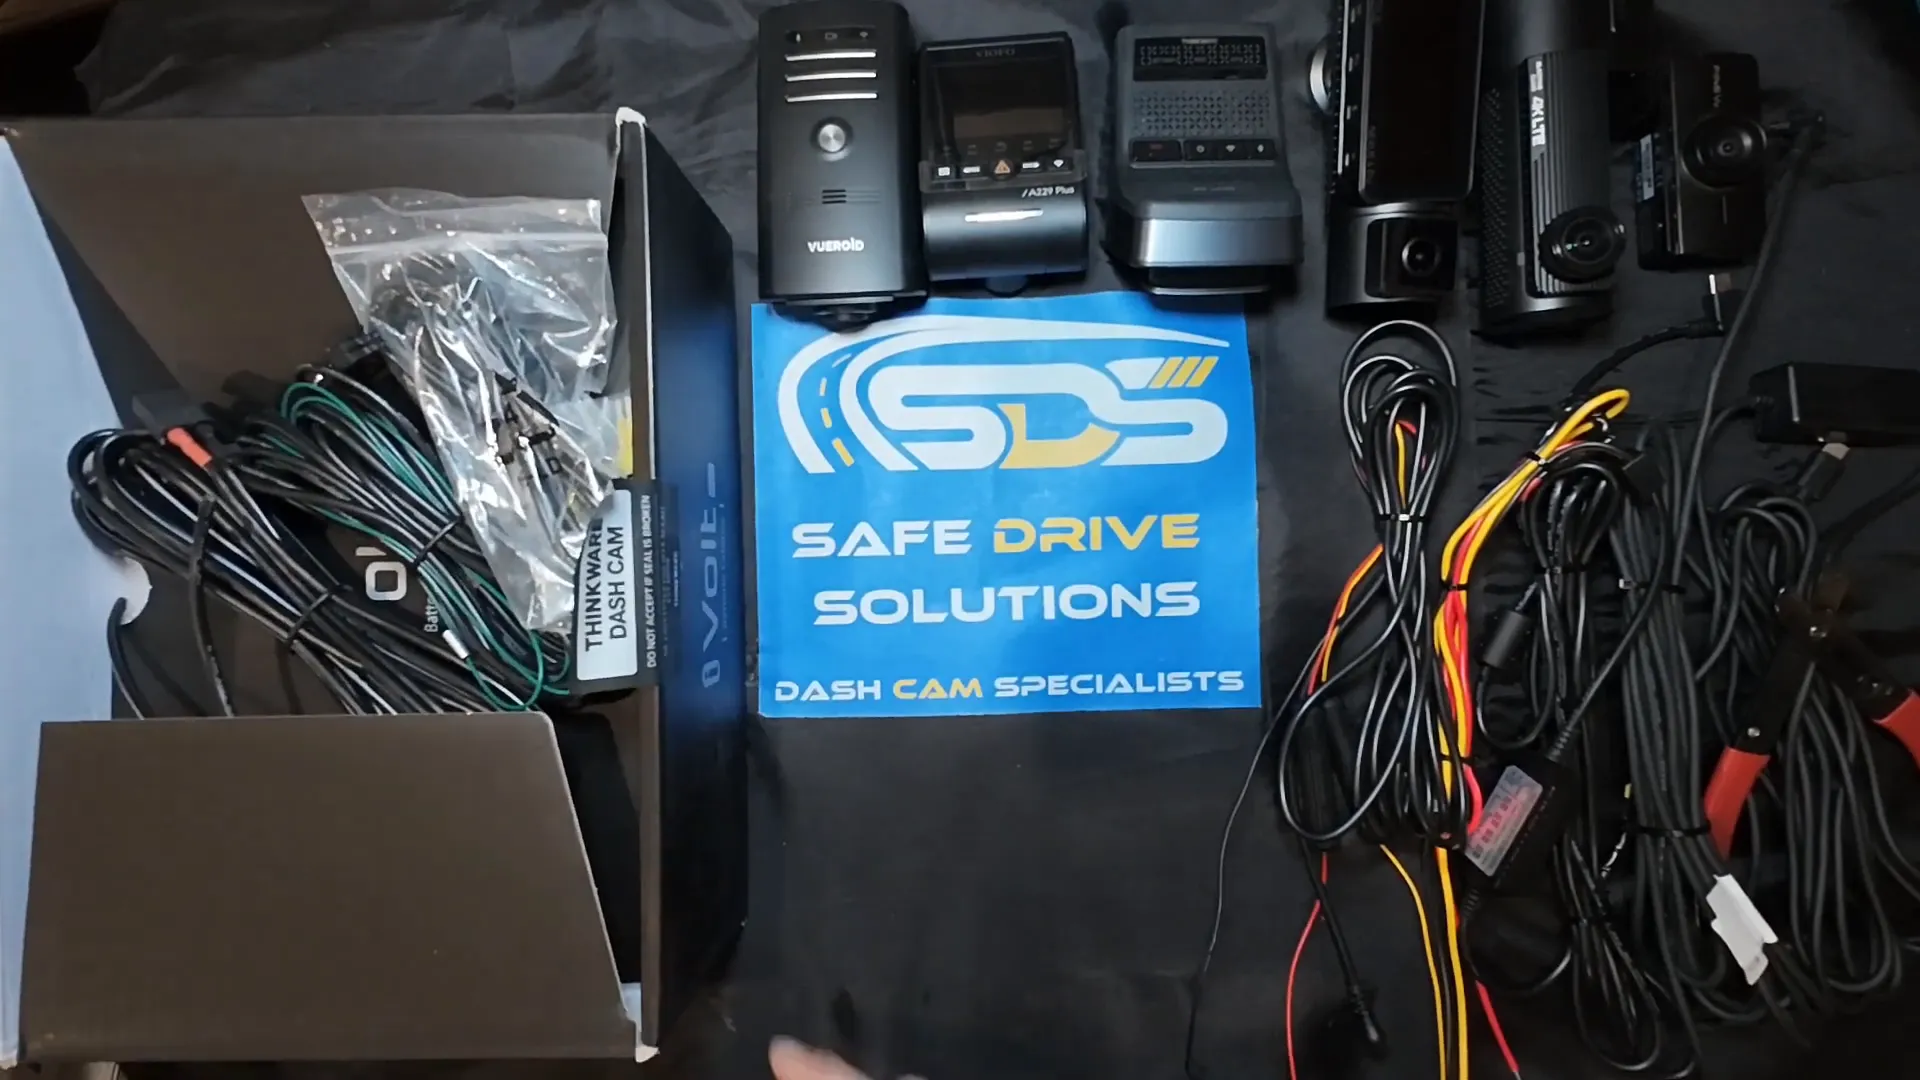
Before diving into the installation, gather the necessary tools and components:
- Dash camera
- Battery pack
- Wire strippers
- Soldering iron (or butt connectors, depending on your preference)
- Heat shrink tubing (optional)
- Electrical tape
Opening the Battery Pack
Start by opening the Thinkware battery pack. You'll notice various wires and connections, which can be overwhelming if you’re not familiar with them. This is a crucial step, as you’ll need to identify which wires connect to the dash camera.
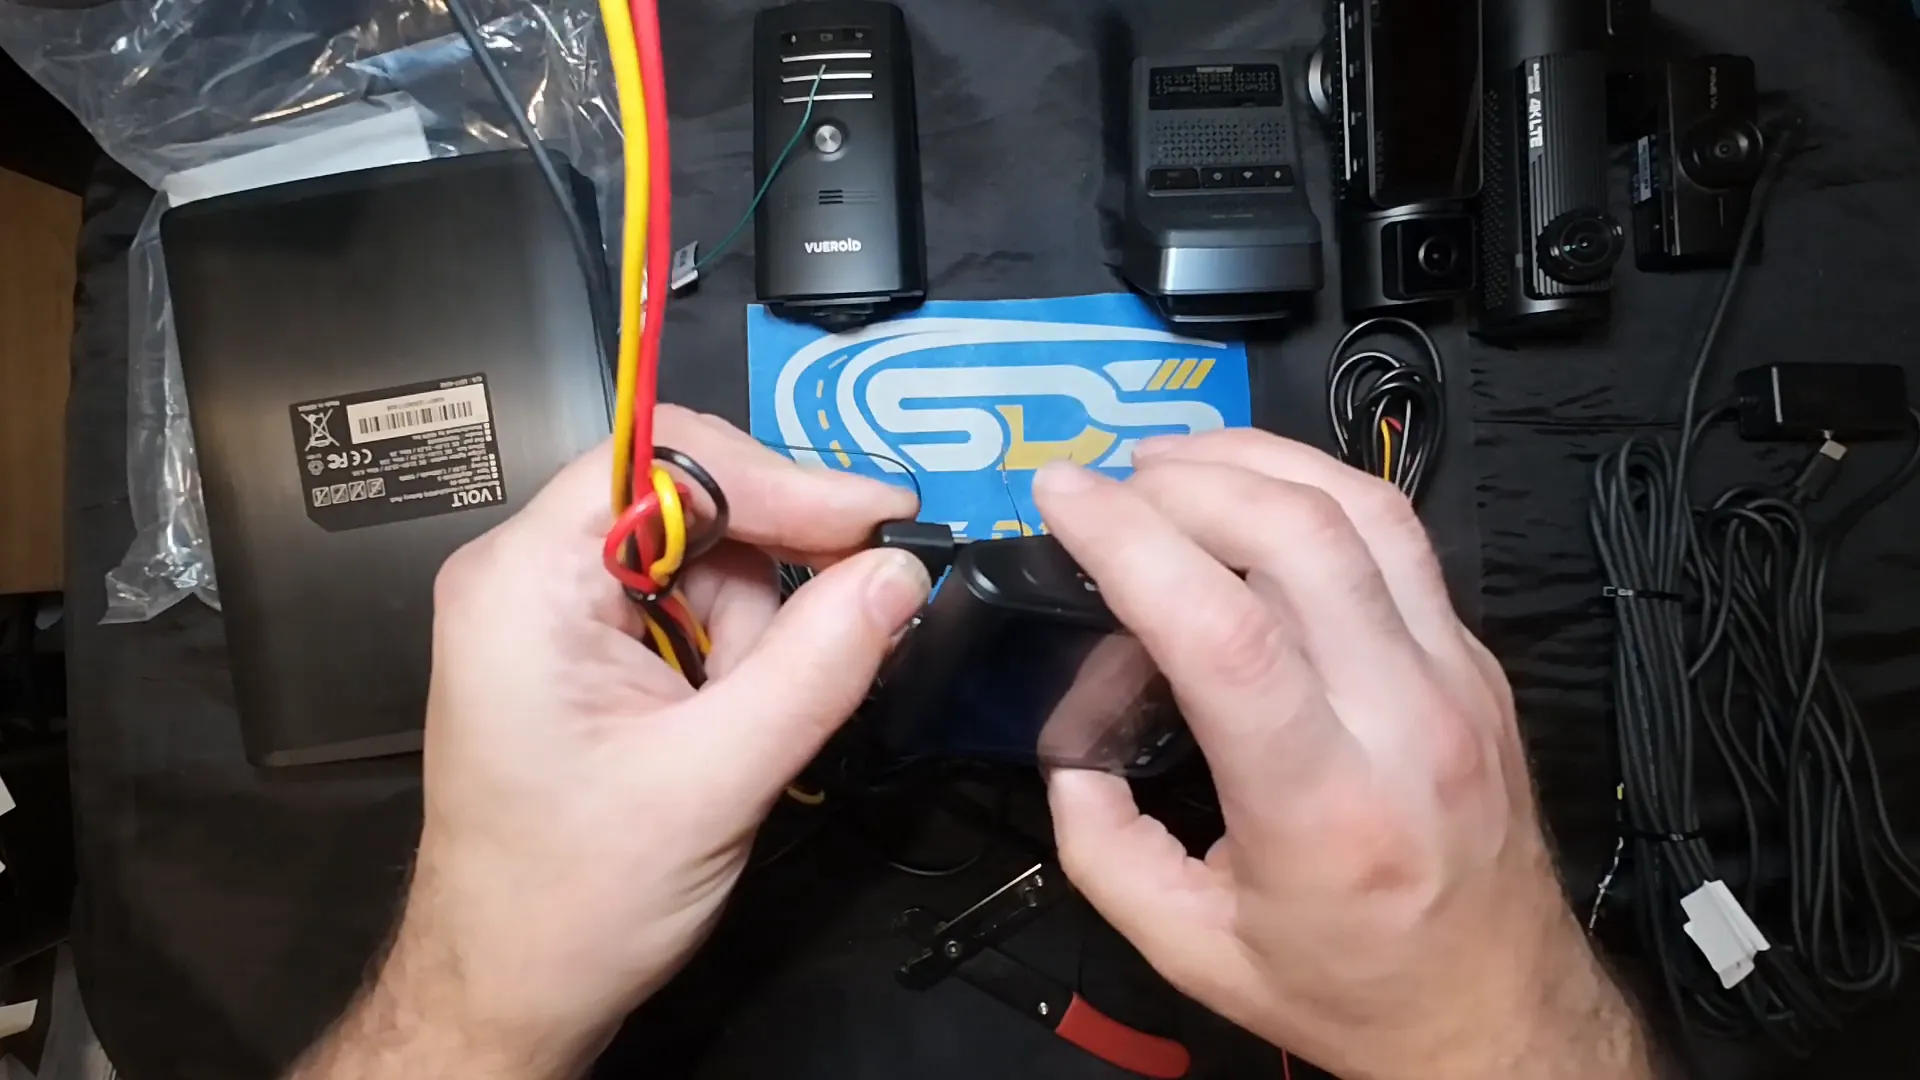
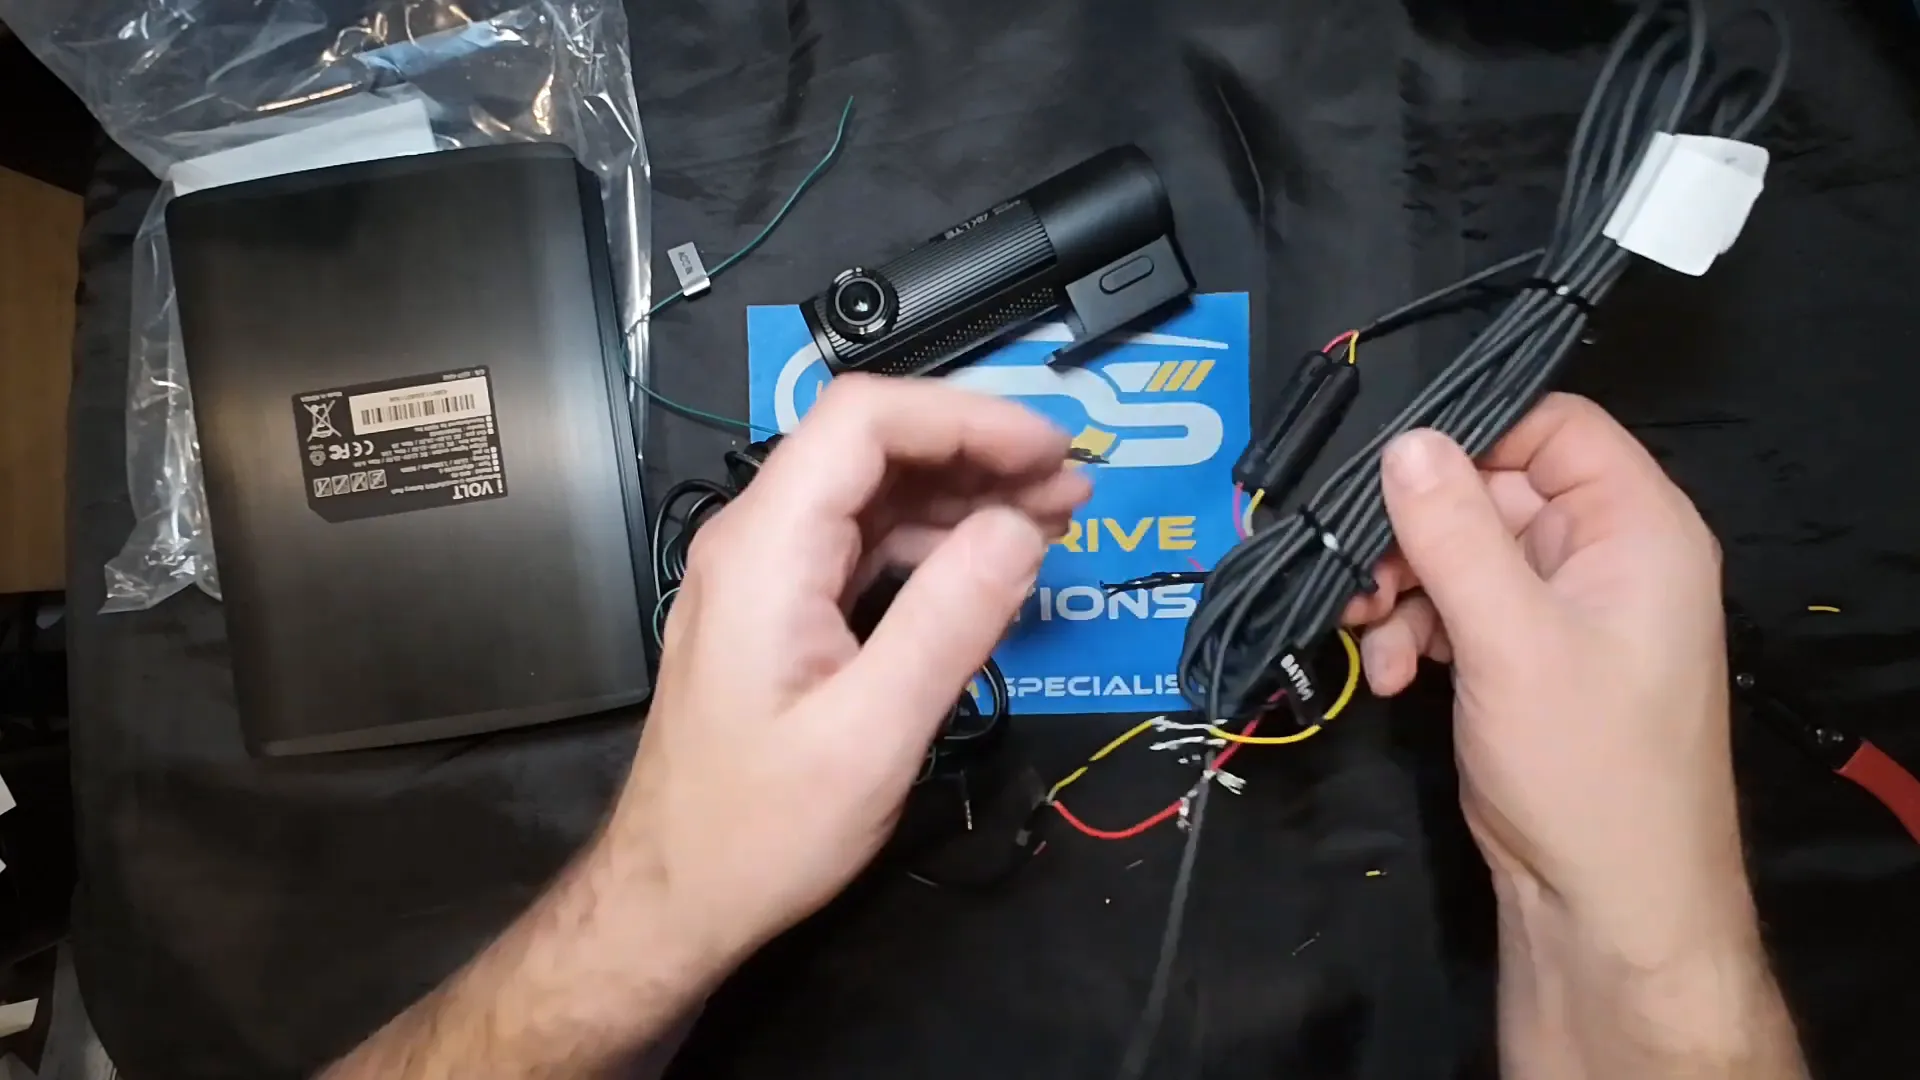
Identifying the Wires
Inside the battery pack, you’ll find multiple wires. The key ones to focus on are:
- Red Wire: Typically for battery positive.
- Yellow Wire: Usually for ignition or accessory power.
- Black Wire: Ground connection.
However, the color coding can differ between manufacturers, leading to confusion. For example, with Viofo, the red wire connects to the yellow, and yellow to red.
Wiring the Dash Camera
Let’s break down the wiring process for different brands:
1. Viofo Dash Cameras
For Viofo models, connect as follows:
- Black wire to black (ground).
- Red wire to yellow (ignition).
- Yellow wire to red (battery positive).
2. Vantrue Dash Cameras
For Vantrue, the wiring is similar:
- Black to black (ground).
- Red to yellow (ignition).
- Yellow to red (battery positive).
3. BlackVue, Vueroid and Thinkware Dash Cameras
For BlackVue, Vueroid and Thinkware, the wiring follows the standard color codes:
- Red to red.
- Yellow to yellow.
- Black to black.
Important Safety Tips
While wiring, ensure you avoid connecting the wrong wires, as this could potentially fry the dash camera. Double-check the specifications for your specific model to ensure you’re using the correct wiring.
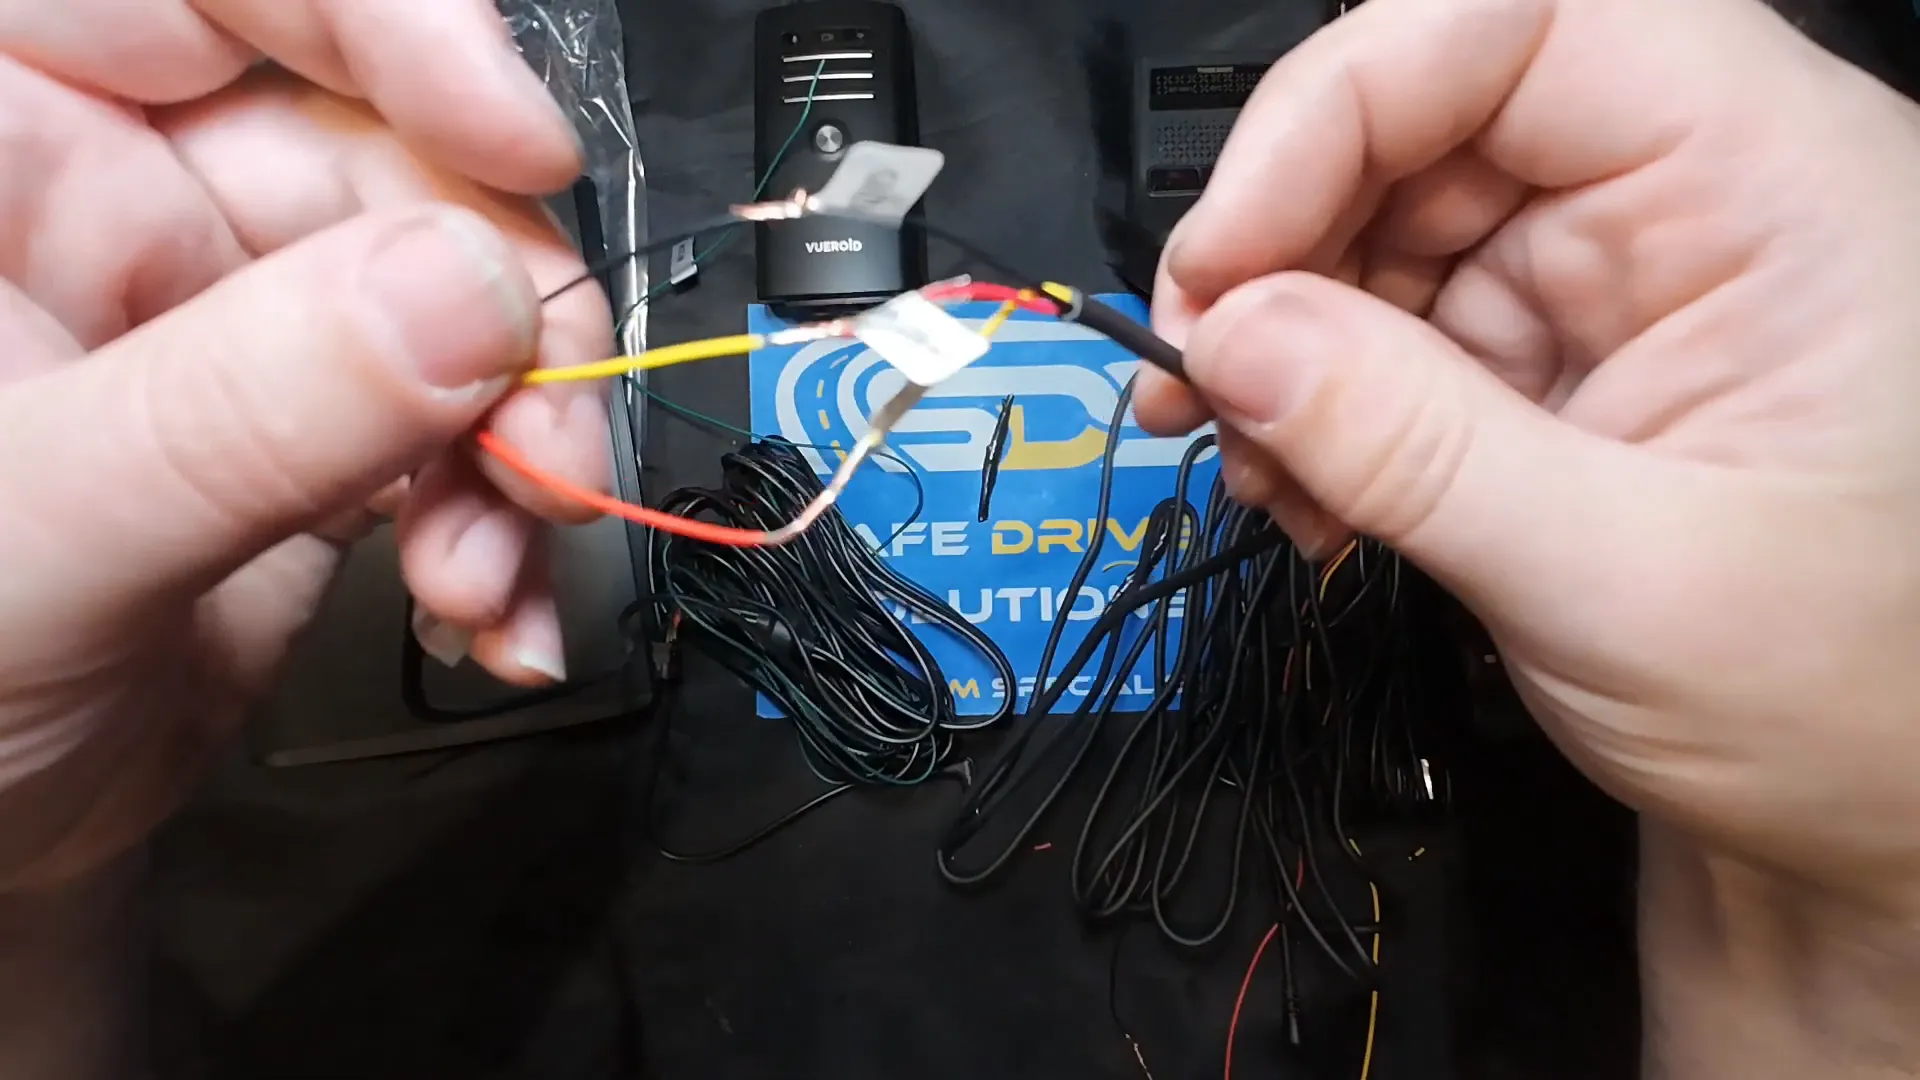
Finalizing the Installation
Once all connections are made, it’s time to secure them. If you’ve soldered the connections, apply heat shrink tubing and secure everything with electrical tape to prevent any shorts. For those using butt connectors, ensure they are properly crimped and insulated.
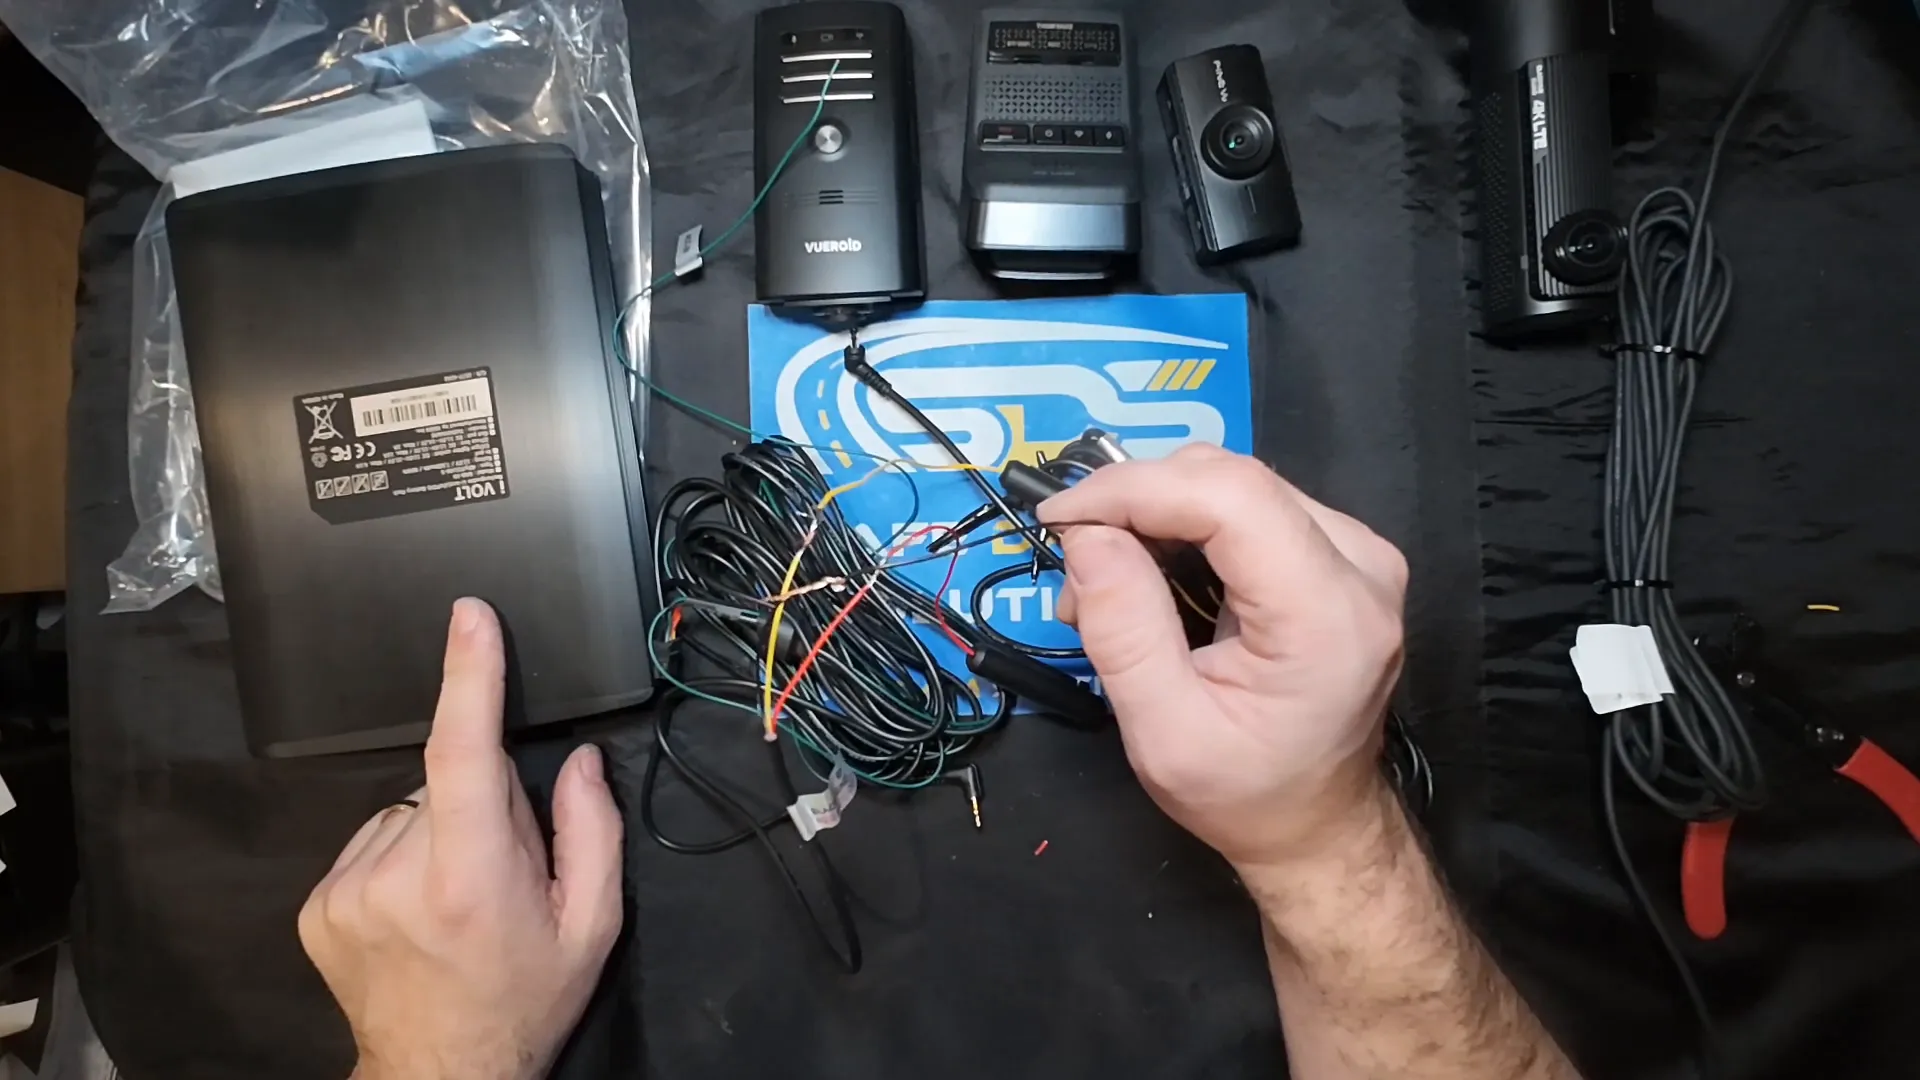
Testing Your Setup
After installation, it’s crucial to test the setup. Start your vehicle and check if the dash camera powers on and begins recording as expected. Most dash cams will indicate this with a light or voice prompt.
Conclusion
Hardwiring a dash camera to a battery pack doesn’t have to be complicated. By following the steps outlined above and understanding the wiring differences between brands, you can ensure a successful installation. Always take your time, double-check connections, and consult your dash cam's manual if you're unsure.
If you need more information or wish to purchase a dash camera, check out the Safe Drive Solutions Shop.
For professional installation services, visit our Dash Cam Installation page.
For additional resources and guides, explore our blog.

