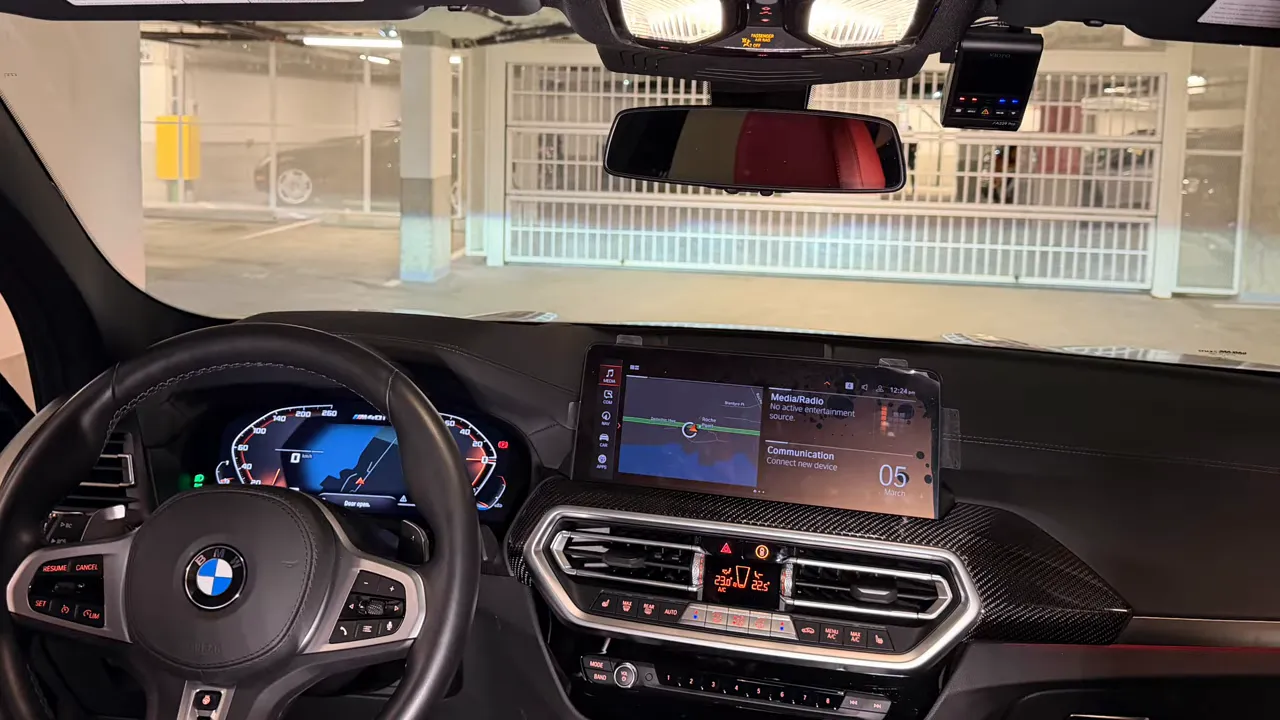
Dash Camera Installation in BMW X4 - Full Breakdown
Installing a dash camera in a BMW X4 can be done a few different ways. Below is a clear, practical guide covering the four common installation methods, why I usually hardwire into the passenger kick panel, step-by-step instructions for that approach, and important do's and don'ts to avoid electrical or safety issues.
Four ways to power and install a dash camera
Choose the method that matches your comfort level, need for parking mode, and willingness to modify vehicle wiring.
-
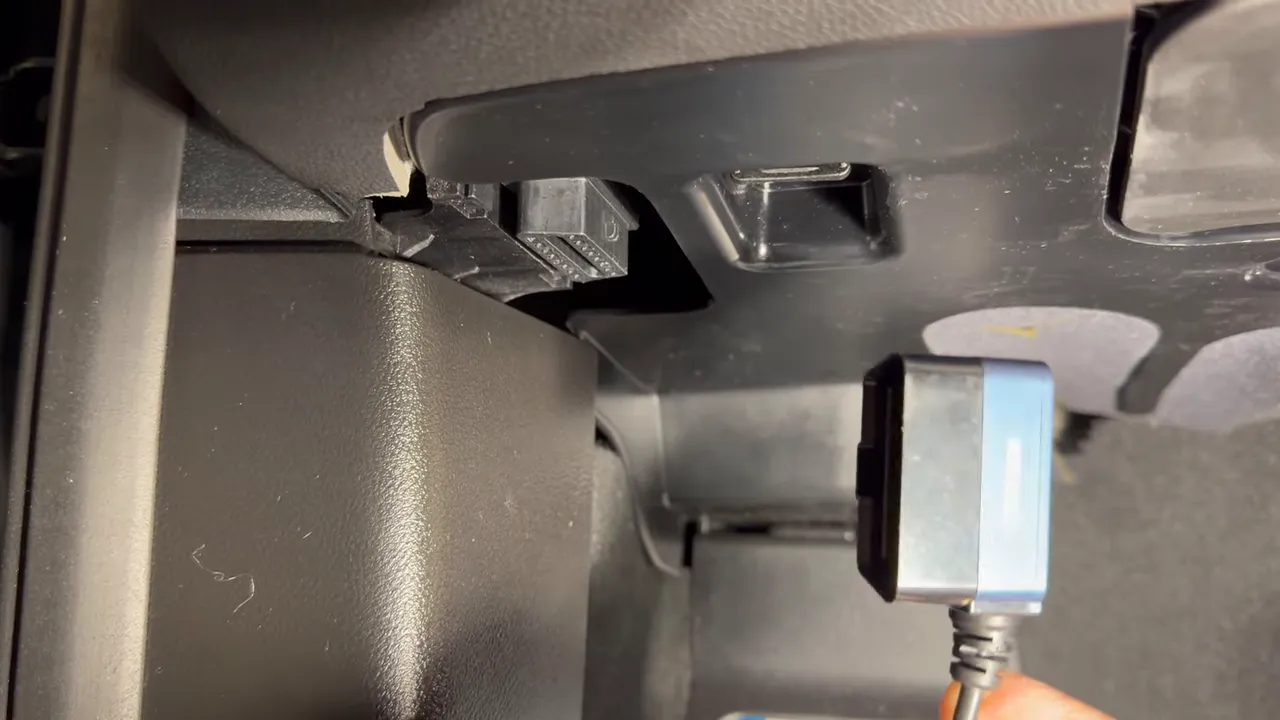
OBD2 power adapter - plugs into the OBD2 port under the dash and gives instant power. With some dash cams (for example Viofo), the OBD2 cable may need modification or a specific HK4/HK6 adapter to work with the camera's hardwire kit.
- Cigarette lighter / 12V accessory socket - simplest plug-and-play option. No parking mode and it is not a professional hardwire. Good for temporary or non-permanent installs.
- Fuse box taps - drop the under-dash panel, access the fuse box and use fuse taps to pick a constant 12V and an ignition-switched 12V. Provides parking mode when wired correctly, but many BMWs take a while to fully sleep which delays parking-mode activation.
-
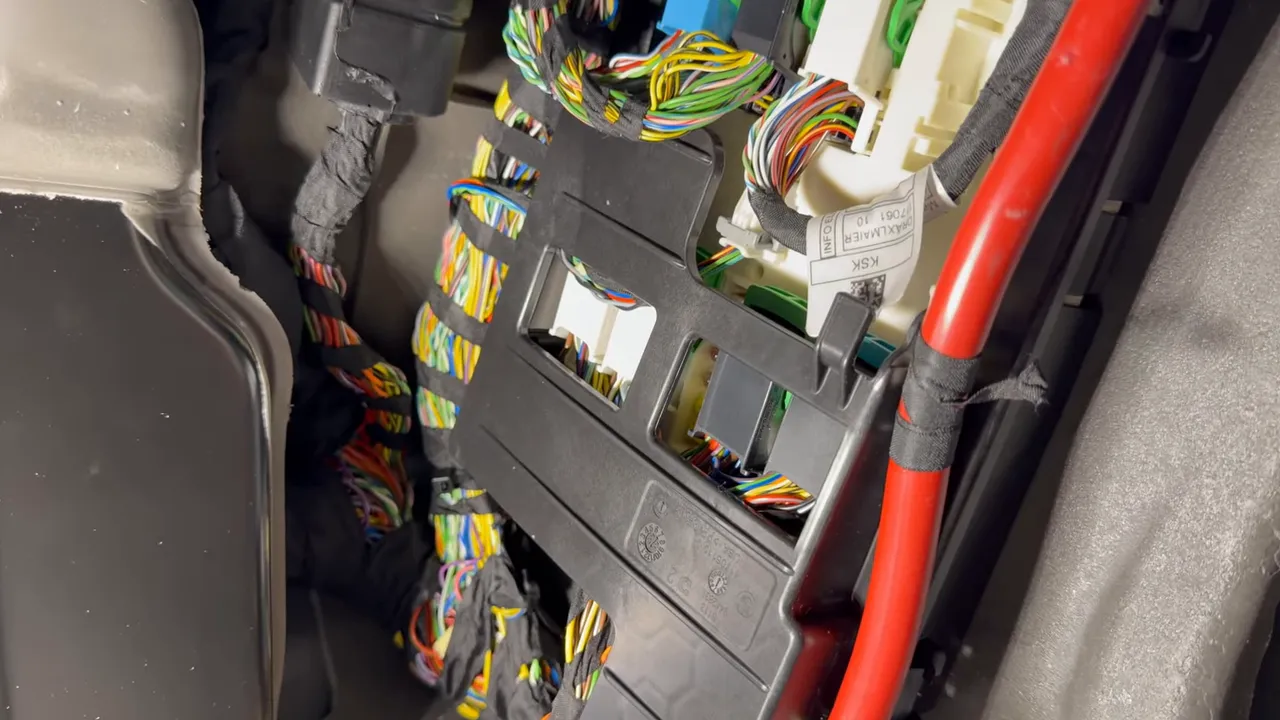
Hardwire to the passenger kick panel - tap directly into the vehicle harness in the passenger kick panel and connect to the ignition sense, constant power, and ground at the connector level. This method gives the most reliable, instant parking-mode behavior on many BMWs.
Why I prefer hardwiring into the passenger kick panel
Many BMW models will keep electronics awake for a minute or more after the key is removed. If you use OBD2 or fuse taps, the dash camera often waits anywhere from about 1.5 to 9 minutes before entering parking mode or shutting off. Hardwiring directly to the ignition sense and constant power at the harness in the passenger kick panel makes the dash camera go into parking mode or power down almost instantly. That translates to better energy efficiency and reliable parking-mode recordings.

Quick pro tips before you start
- Keep the key far from the vehicle while unplugging connectors or working on harnesses. If the key is nearby the car can stay awake and set fault codes or keep the radio and modules active.
- Do not put a load on the ignition sense wire. On this BMW the ignition sense wire (yellow) is only a sensing circuit. It is fine to connect a three-wire parking-mode hardwire kit to it, but do not try to power devices (radar detectors, accessories) from that wire.
- If you lack testing equipment or experience, hire a professional. Mistakes can cause electrical damage or safety issues.
- If using a Viofo dash cam with an OBD2 adapter you will likely need the HK4 or HK6 adapter and may need to modify the OBD2 cable to work with Viofo hardwire kits.
Step-by-step: Hardwiring the dash cam in the passenger kick panel
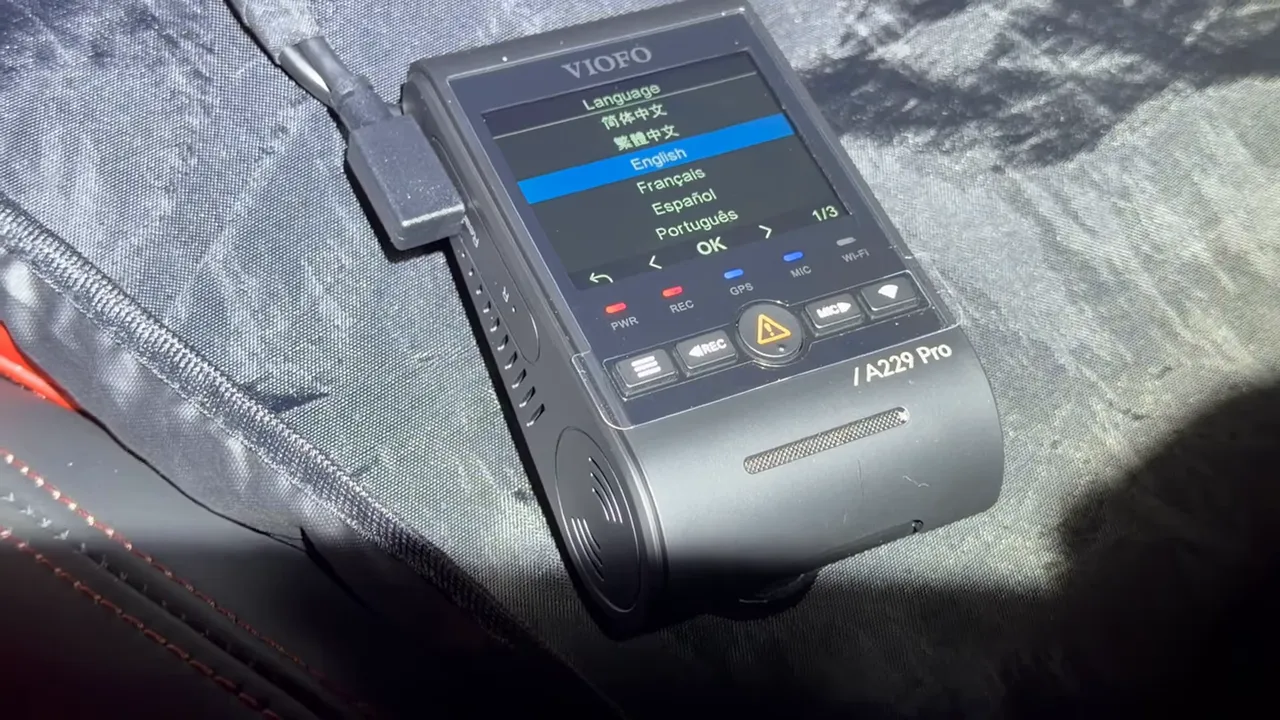
Below are the core steps used for a clean, professional install of a Viofo A229 Pro front and rear system in a BMW X4. Adjust details for other models but follow the same safety principles.
Tools and parts you will need
- Panel popper tool
- Torx drivers (T20 and T25 commonly used here)
- Soldering iron, solder, and 3M electrical tape
- Tie straps
- Hardwire kit compatible with your camera (3-wire parking mode cable if you want parking mode)
- Viofo HK4 or HK6 Hardwire cable
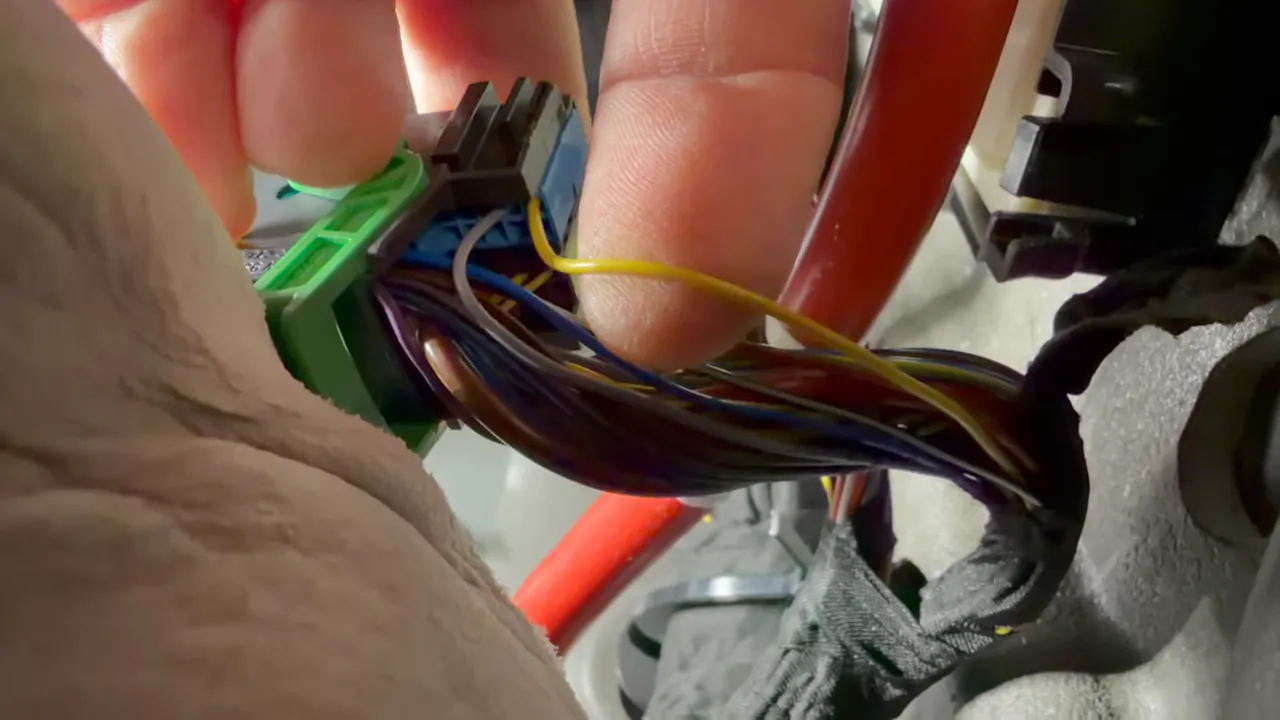
Register connectors and wiring pins
Locate the passenger kick panel connector that contains the ignition sense (yellow)coulours may vary, ground (thick brown), and constant power (big red). On this BMW the ignition sense is typically the bottom corner pin.
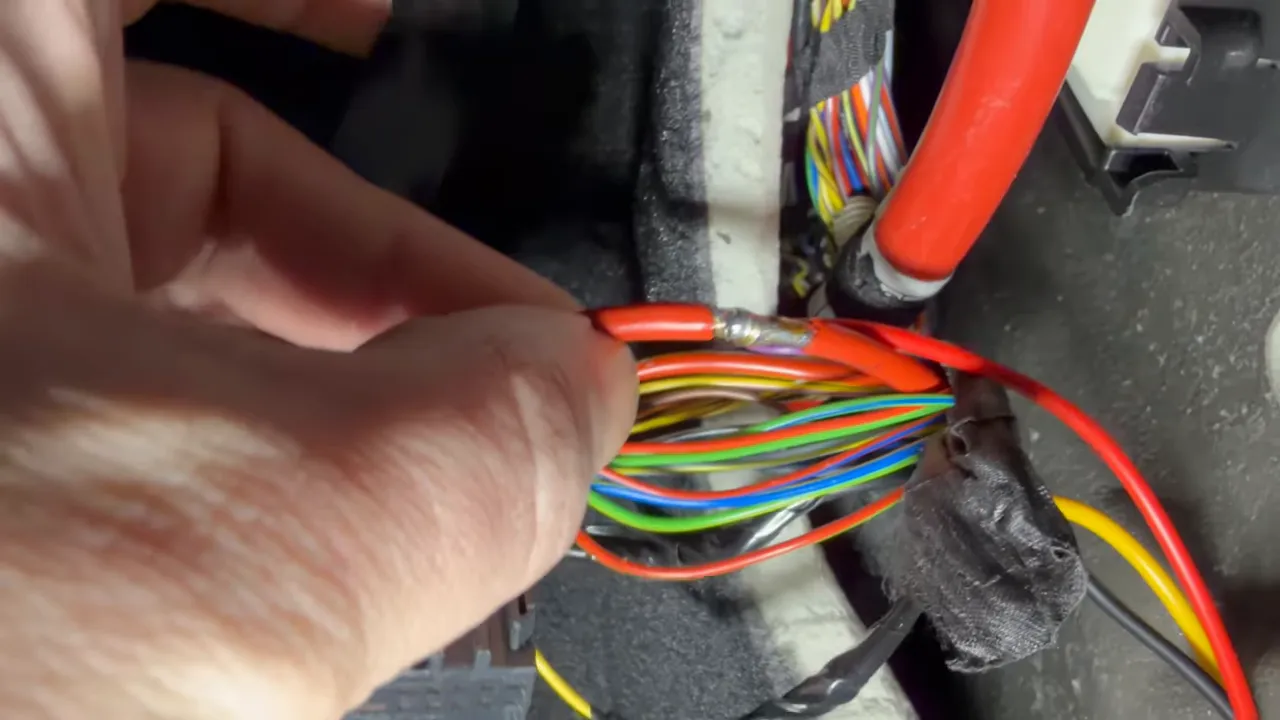
Wiring and soldering
- Identify and verify pins with a multimeter before cutting or soldering.
- Solder the ignition sense (yellow) to the ignition lead from the dash cam hardwire kit. Remember: do not place any load on the ignition sense wire.
- Solder ground to the thick brown ground wire or to a good chassis ground.
- Solder the constant power to the large red power wire in the harness last.
- Cover solder joints with 3M electrical tape and bundle the harness neatly. Use tie straps to secure the harness to factory wiring so nothing is loose near the airbag or moving panels.
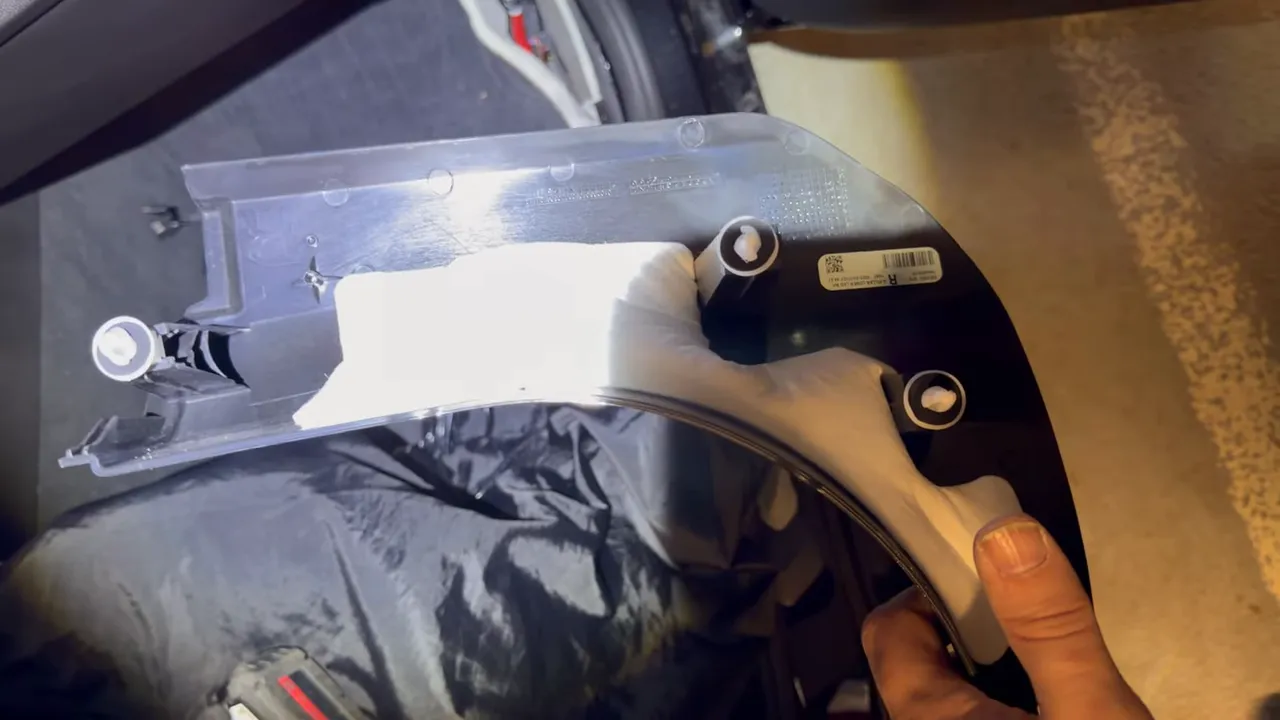
Panel removal and cable routing
Remove the side kick panel by prying out the clips with a panel tool. The panel on this X4 has three main clips at the corner, and the under-dash must be dropped to remove it cleanly.
Remove the A-pillar trim to route the rear camera cable behind the airbag and into the roof area. On this vehicle you will remove the small airbag retainer clip and a T25 Torx fastener. Take care when working near airbag components and avoid disturbing any sensor connectors. 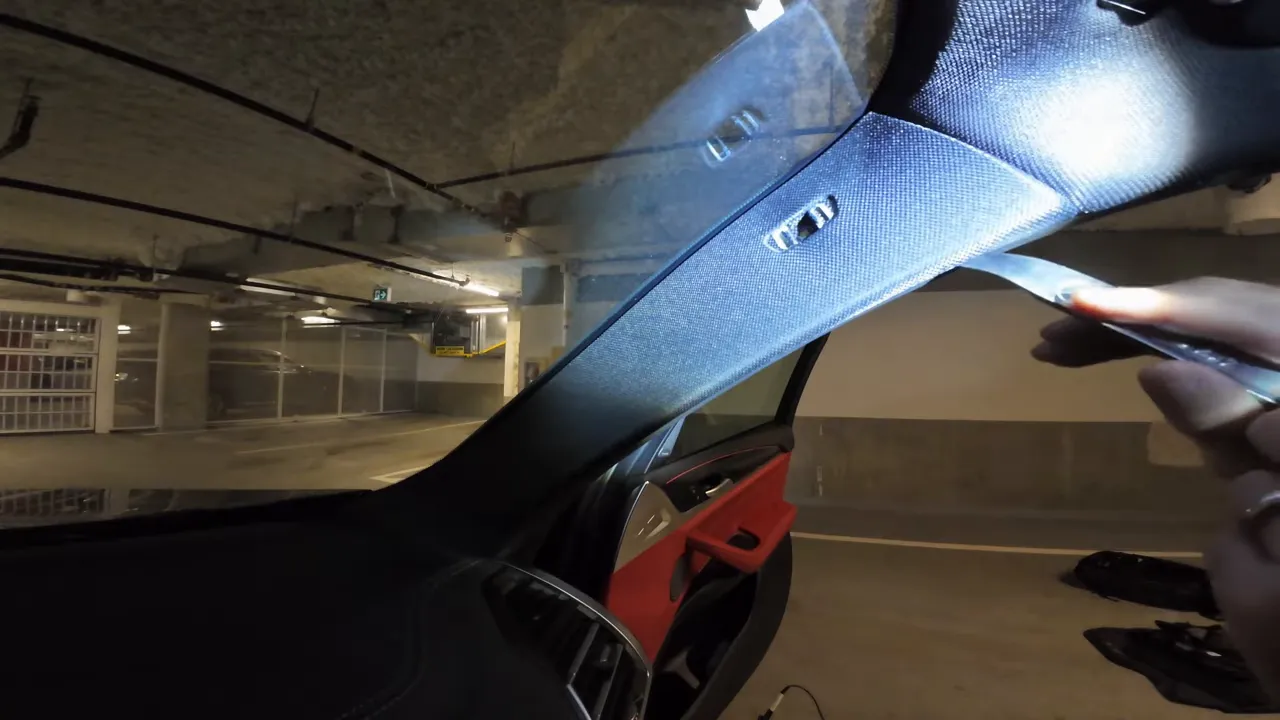
Slip the rear camera cable into the gap behind the airbag and pull it through so it sits completely behind the airbag and factory harness. Bundle and tie-strap the camera cable with the factory wiring at the A-pillar and along the roof rail to the rear. 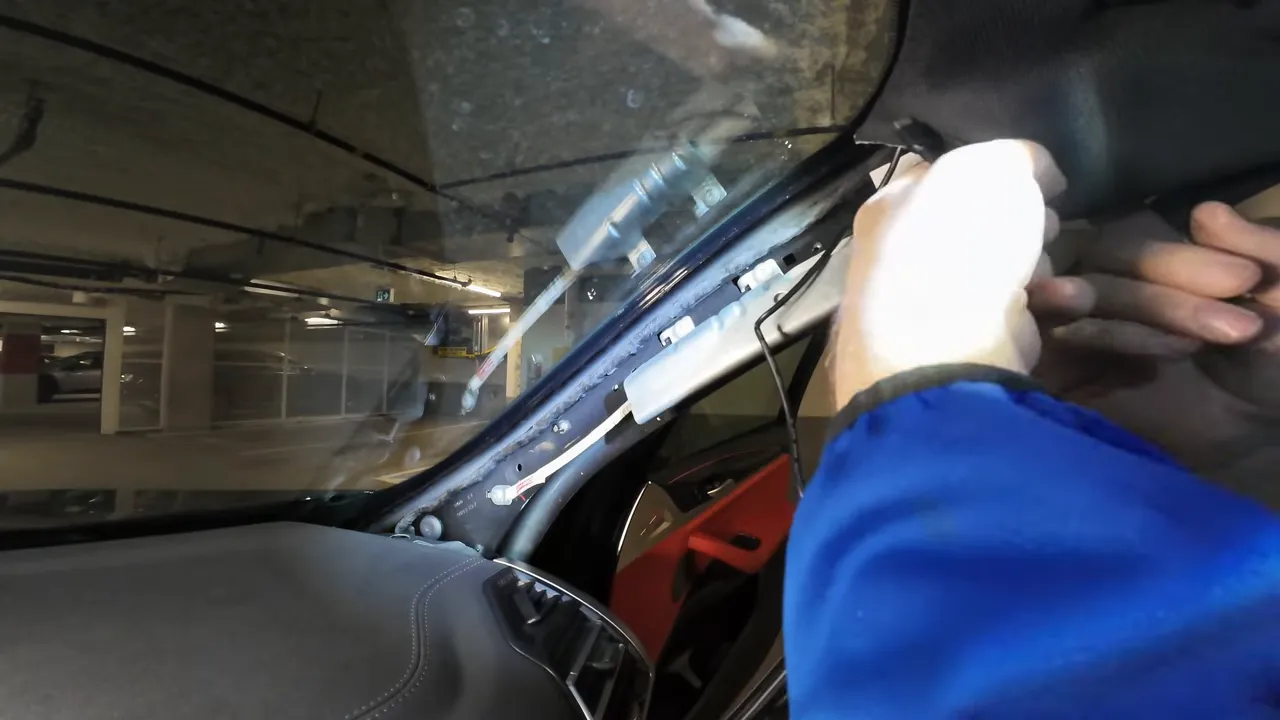
Running cable into the rear hatch and mounting the rear camera
Remove the rear hatch trim pieces using a T20 Torx and a panel popper. There are seven clips on the hatch panel (three per side and one center). Fish the rear camera cable through the hatch harness area and tie-strap it with the factory wiring. The camera housing may cause a slight bulge in the hatch trim; mounting slightly off-center toward the driver side avoids windshield line interference. 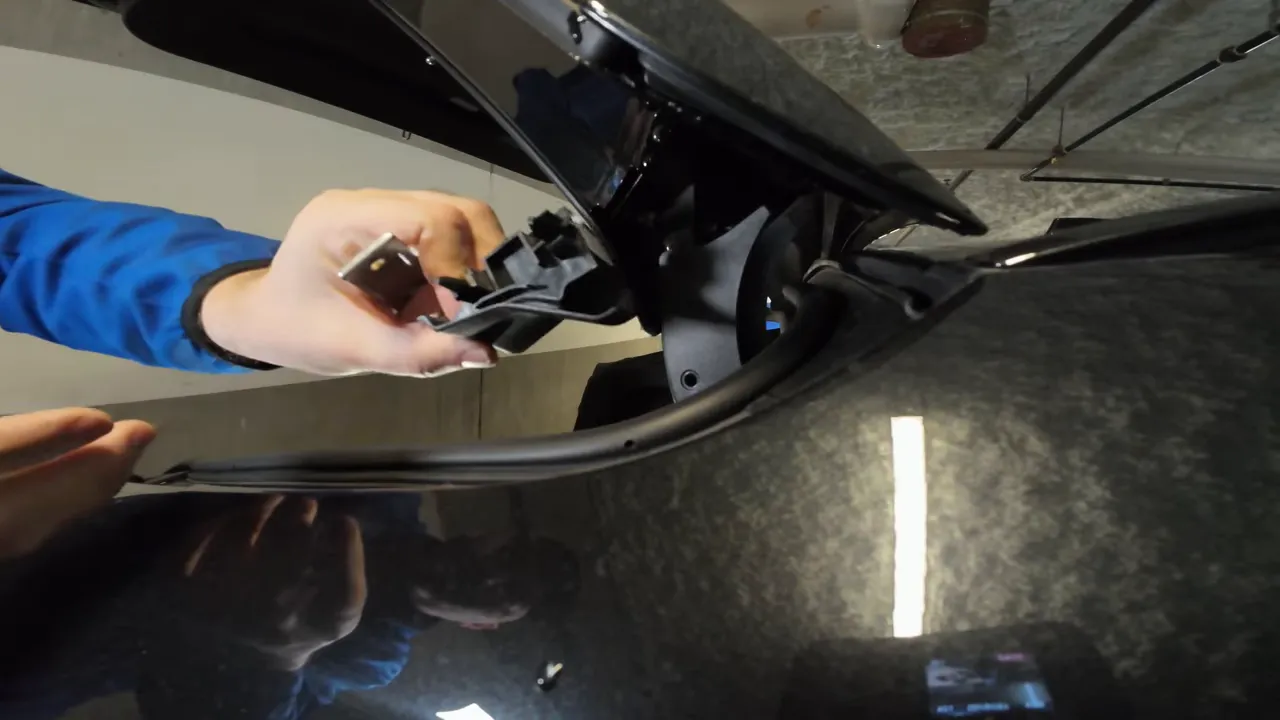
Final assembly and verification
- Reinstall all trim and seals and ensure all clips and fasteners are fully seated.
- Start the vehicle and verify the dash cam powers up (watch for LED indicators). On this install the dash cam powered up immediately and entered normal operating mode.
- Turn the vehicle off and verify the dash cam powers down or enters parking mode instantly. That instant behavior confirms the ignition sense and constant power connections are correct.
Common problems and how to avoid them
- Delayed parking mode - If the camera waits minutes before parking mode, it’s likely powered via OBD2 or a fuse tap that does not follow immediate module sleep. Hardwiring into the harness usually fixes this.
- Fault codes or modules staying awake - Keep the key away from the vehicle during connector work and use correct reconnection order. If codes appear, diagnostic clearing may be required.
- Electrical damage - Always test with a multimeter and solder connections instead of relying on temporary splices. If unsure, get professional help.
When to hire a professional
If you do not have the tools or experience to identify pins, solder safely, or work around airbags, it is recommended to hire a professional installer. Proper installation protects vehicle electronics and ensures reliable parking mode and safety.
Wrap-up
For BMW X4 owners who want reliable parking-mode behavior and a clean, hidden install, hardwiring into the passenger kick panel is usually the best choice. Follow safety precautions around airbag wiring, do not place loads on ignition sense wires, and make solid soldered connections. If you'd prefer a professional installation or need compatible parts, there are installers and suppliers who specialize in dash cam installs for the Greater Vancouver and Greater Toronto areas and ship across Canada.