
DIY Tacoma Dash Cam: Clean Install With No Exposed Wires
If you want a clean dash cam install in a Toyota Tacoma, the big goal is simple: hide the wiring, keep the cameras in the right spots, and make sure nothing interferes with airbags or factory features. On this 2016 - 2023 Toyota Tacoma, the setup is a Viofo A329S 3 channel system with a front camera, interior camera, and rear camera.
This kind of install is not just about sticking cameras on glass. Placement matters. Cable routing matters. Power source matters. And in a truck like the Tacoma, the sliding rear window changes where the rear camera can go.
Camera placement on a Toyota Tacoma
Before pulling apart any trim, it helps to know exactly where each camera is going.
- Front camera: Mounted behind the rear view mirror so it stays discreet and keeps a clear forward view.
- Interior camera: Mounted above the rear view mirror. This gives it a better look at the cabin and also catches the side windows thanks to the wide fisheye lens.
- Rear camera: Mounted on the fixed section of the rear glass, not on the sliding portion.
That last point is important. If the rear camera goes on the sliding glass, it can get hit, pulled off, or damage the cable every time the window moves. The fixed pane is the safe choice.
Removing the A pillar safely
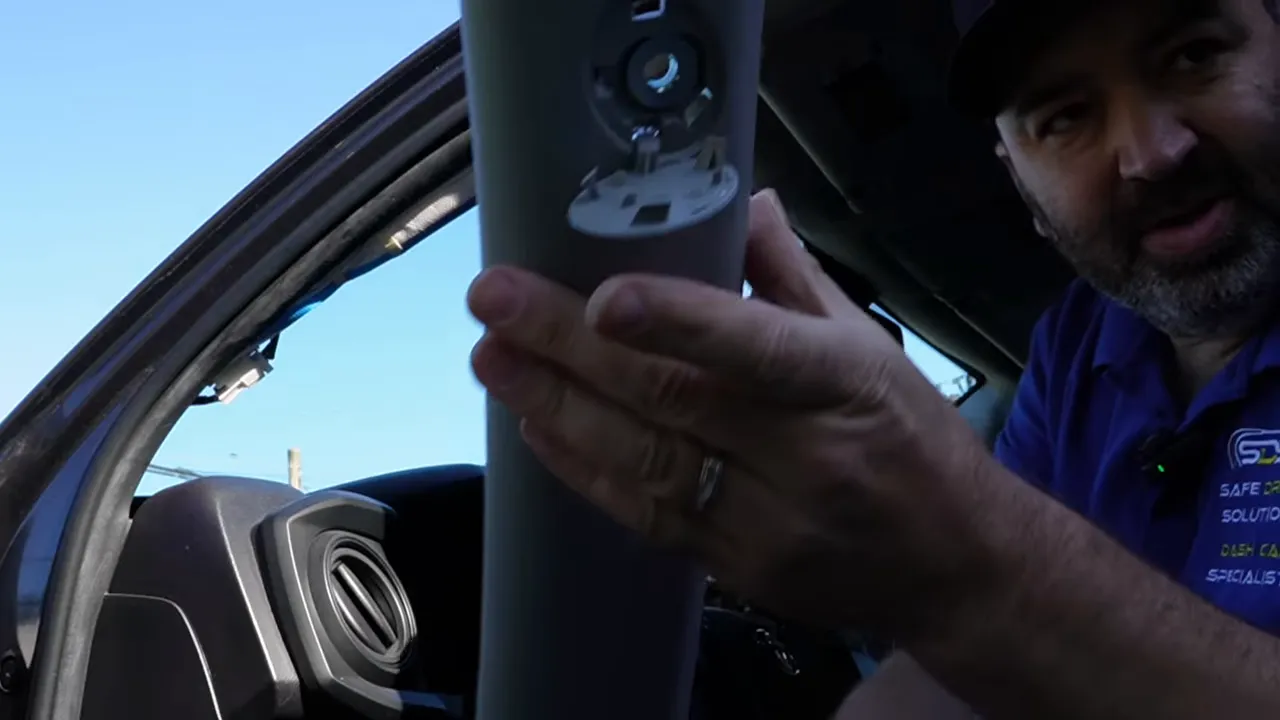
To hide the wiring properly, the A pillar needs to come off. On the Tacoma, that starts with opening the little cover marked for the SRS airbag, then removing the 10 mm fastener behind it. After that, the A pillar trim can be pulled away.
One nice thing on this truck is there is no tweeter or speaker attached to the pillar trim, so removal is a bit simpler.
Once the trim is off, you have access to the factory wiring path and can start routing the dash cam harness into the headliner where the front and interior cameras will mount.
How to run dash cam wiring by airbags the right way
This is one of the biggest concerns people have, and rightly so.
The safest approach is to route the wiring behind the airbag area, usually following the factory wiring path. In this Tacoma, the rear camera cable is routed behind the curtain airbag zone rather than crossing over it.
Why does that matter?
Because the airbag deploys downward. If a cable is laid across the front of the airbag, there is a chance it could get pushed out during deployment or become an obstruction. Running the cable behind the airbag and alongside factory wiring reduces that risk and keeps the install much cleaner.
The power wire is tied neatly to the factory harness with small zip ties. Then the rear camera cable is routed behind the airbag area after pulling back the weather stripping.
If this part makes you nervous, that is completely fair. There is a reason this gets treated like a professional level install. If you want more detail on routing wire safely near pillars and airbag areas, this guide on dashcam wiring by airbags in a vehicle is worth reading.
The Tacoma rear window changes the rear camera plan
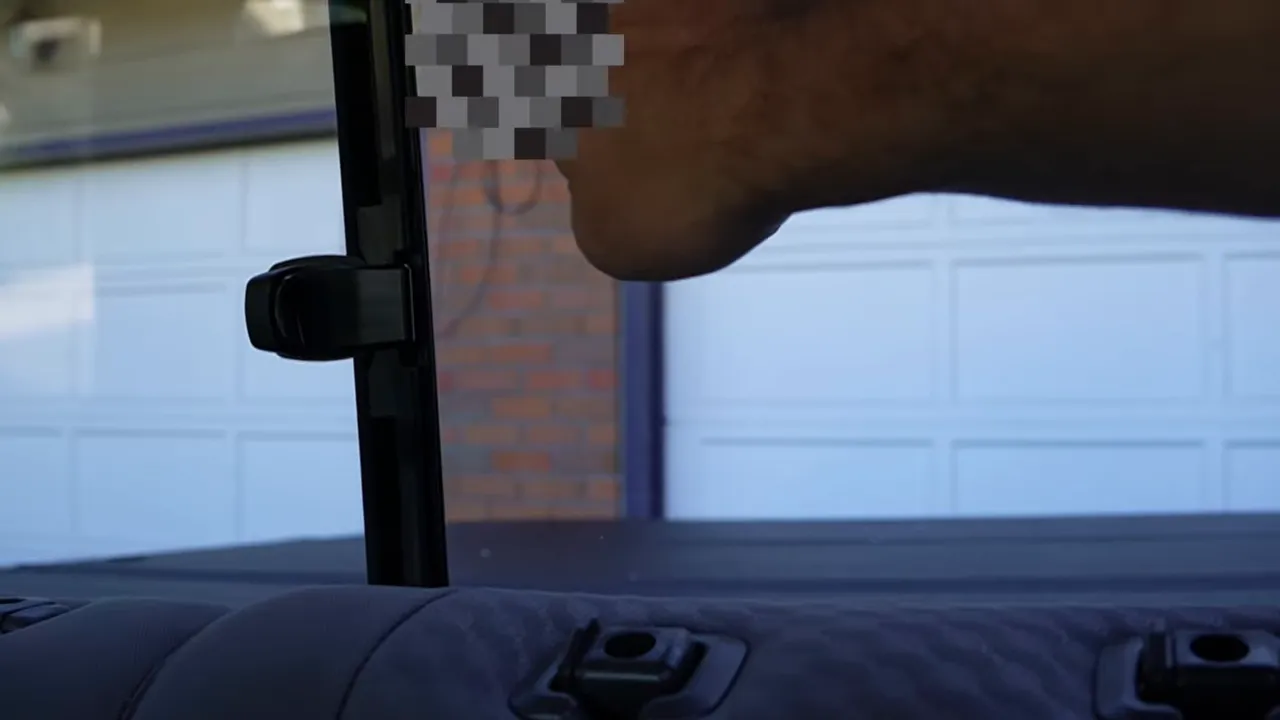
The Toyota Tacoma has a rear sliding window, so the rear camera cannot just go anywhere.
It should not go on the passenger side where it may get hit by the moving glass. It also should not go on the sliding section itself because the cable can be stressed or torn over time.
The better mounting point is up high on the fixed rear glass. That gives a stable mount and still preserves the use of the sliding rear window.
Understanding the rear airbag area in the Tacoma
There is also some confusion around the side trim near the rear of the cabin because it is marked for airbag coverage.
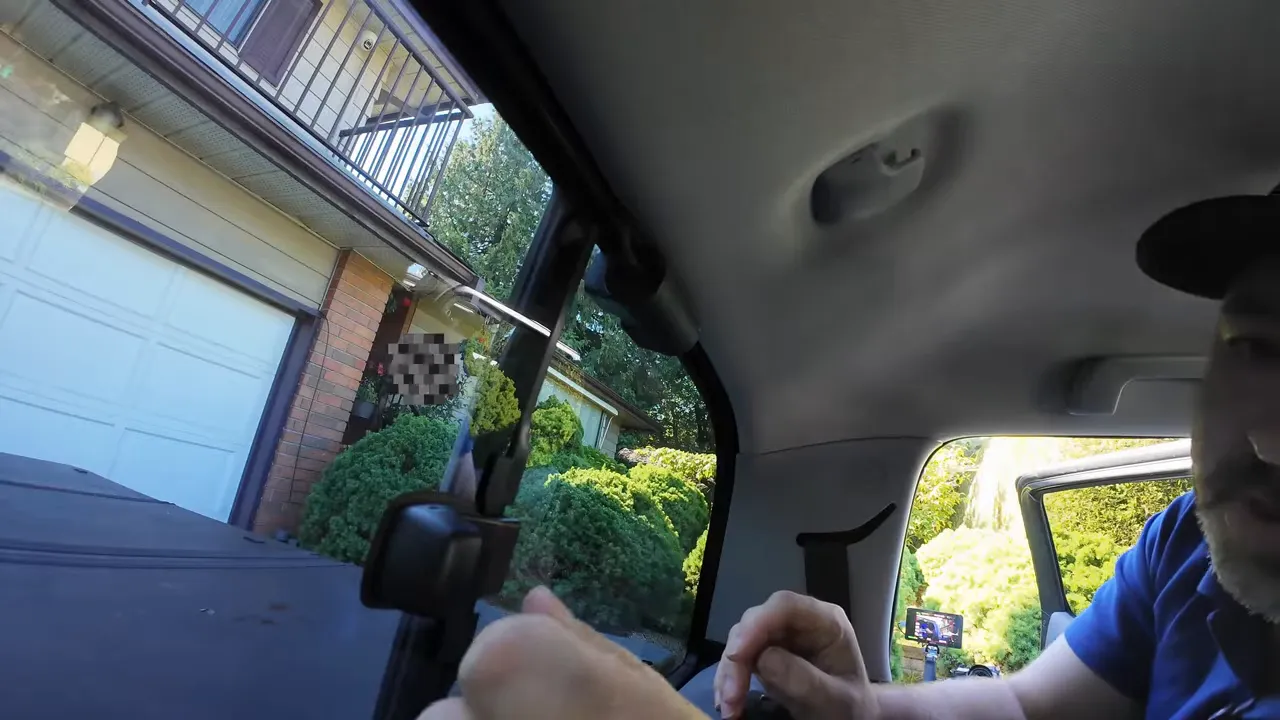
What matters here is knowing where the airbag actually sits. In this Tacoma, the curtain airbag is up in the roofline area, not directly behind every bit of side trim. That means the rear camera wire can be tucked into the appropriate trim gap without interfering with the bag, as long as it is routed in the correct zone.
The cable is tucked carefully into the panel area and weather seal path, leaving just enough slack for the rear camera connection itself.
Mounting the rear camera
Before sticking any camera to the glass, the mounting area should be cleaned with isopropyl alcohol and dried off. That gives the 3M adhesive the best chance to bond properly.
After peeling the protective films off the camera and plugging it in, the rear unit is mounted high on the fixed glass. Once it is in place, the cable gets tucked a little tighter for a finished look.
The final check is simple but important: open and close the rear slider and confirm the camera does not interfere at all.
Reassembling the A pillar and hiding the front wiring
After the cables are routed, the extra rear camera wire is secured and kept away from the airbag area. Then the A pillar goes back on, the 10 mm fastener is tightened, and the weather stripping is reinstalled.
Once that trim is back together, the wiring for this section is fully hidden.
That is the whole point of a clean install. You want protection from the dash cam, not a bunch of loose cable hanging around your windshield and door opening.
Removing lower trim to access power
Next comes the lower interior trim so the power cable can be routed cleanly.
On the Tacoma, that means removing:
- The sill plate
- The kick panel
- The lower dash trim
- Several screws and 10 mm fasteners
There is also a small plastic retainer near the driver footwell that twists off before the kick panel can be removed. Once the lower dash panel is loose, several plugs on the back need to be disconnected carefully and put back in their original spots during reassembly.
Extra wiring is then tucked deeper into the dash so the finished install stays neat and the weather stripping can go back into place properly.
Three ways to power a dash cam in a Tacoma
There are a few different ways to wire a dash cam in this truck.
1. OBD2 cable
You can plug into the OBD2 port with a compatible dash cam power cable. For Viofo, that means either a dedicated Viofo OBD2 cable or a custom solution built for that system.
2. Direct fuse box taps
This is common for DIY installs, but it has downsides in the Tacoma. The fuse box location is tight, the cover may not go back on properly, and add a fuse taps hanging down can get bumped by feet. Some people even run into loose fuses over time.
3. Hardwire connection
This is the method used here. Constant power and ground are pulled from the OBD2 wiring, while ignition is taken from the back side of the fuse box. That keeps the install more secure and helps the dash cam switch into parking mode more cleanly.
If you are still deciding which power method makes sense for your vehicle, this breakdown of 5 ways to install a dash cam covers the pros and cons well.
Why this install does not use a standard fuse tap setup
There is nothing magical about a fuse tap, but in this Tacoma it is not the favourite approach.
The fuse box is in a spot where adapters can hang down into the footwell area. That creates a few issues:
- The fuse box cover may no longer fit
- Adapters can get kicked accidentally
- Loose or awkward wiring is more likely
- It can look messy compared to a cleaner integrated approach
Instead, constant power is taken from OBD2 pin 16 and ground from pin 4, which are standard on these vehicles. Then the ignition trigger is picked up from the back side of the fuse box.
Testing for the correct ignition wire
This part is where experience matters.
The ignition wire is identified by testing for voltage with the key on and confirming there is no voltage with the key off. That tells you the wire is truly switched with ignition.
On many Toyota and Lexus platforms, the pin locations are often similar, but that does not mean you skip testing. You still verify everything before making the connection.
This is also why this kind of job can move from casual DIY territory into more advanced installation work. If you are not comfortable identifying pins, testing voltage, and making secure electrical connections, it may be worth booking a professional dash cam installation.
Soldering, taping, and blending the wiring in
Once the correct wires are confirmed, the hardwire cable is connected for constant power, ignition, and ground. The connections are soldered, then wrapped with quality electrical tape.
Tesa tape is added over the wiring so it blends in with the factory harness and helps prevent rattles. Any extra slack is bundled and secured to existing wiring rather than left loose behind the dash.
This part often gets overlooked, but it makes a huge difference in long term reliability and how factory the final install feels.
Reassembling the lower dash
After the wiring is complete, all the disconnected plugs go back into the lower dash panel. Then the screws, bolts, kick panel, sill plate, and weather stripping are all reinstalled.
At this stage, the power wiring is hidden, secure, and out of the way.
Mounting the front and interior cameras
To make the upper windshield area easier to work with, the rear view mirror is removed with a T20 Torx. That opens up access for routing the front, rear, interior, and power cables where the main front camera will mount.
The windshield is cleaned with an alcohol pad and dried. Any extra cable slack is wound up, taped, and tucked into the headliner so the area stays tidy.
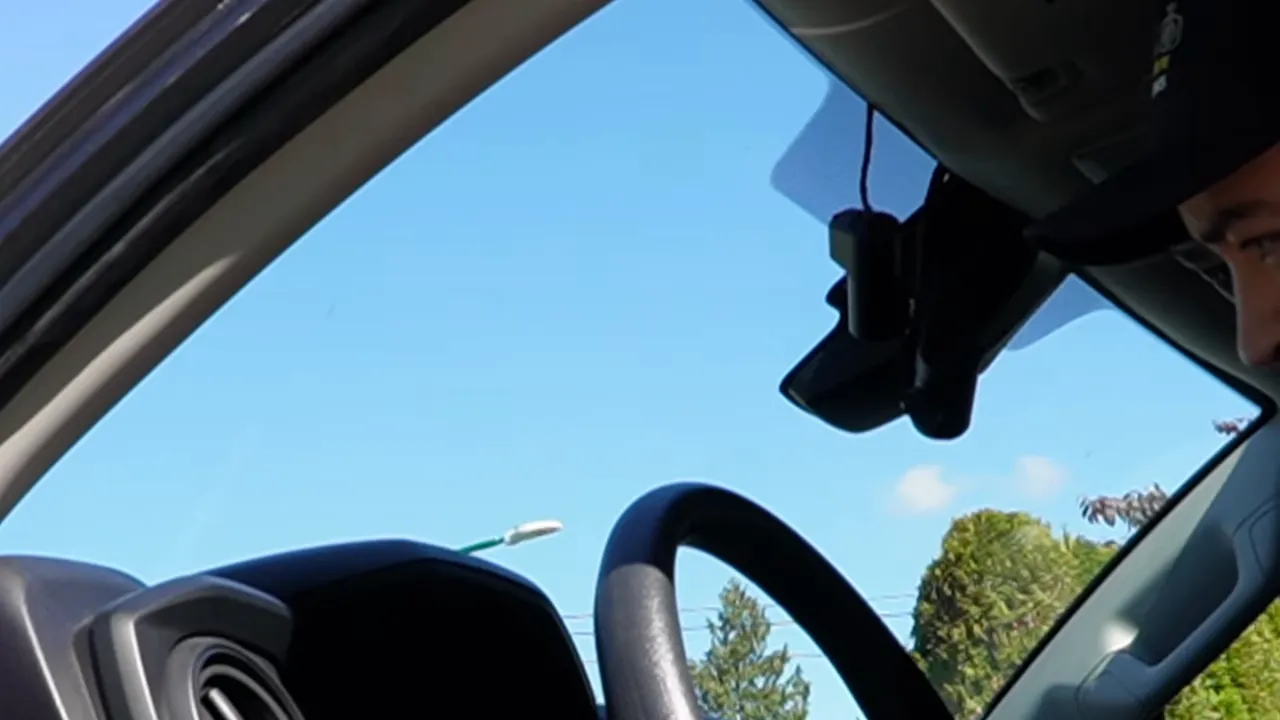
Then the interior camera is plugged in and positioned above the mirror, while the front camera receives:
- Power
- Rear camera connection
- Interior camera connection
After confirming everything powers up, the front camera is pressed firmly onto the glass and the mirror is reinstalled.
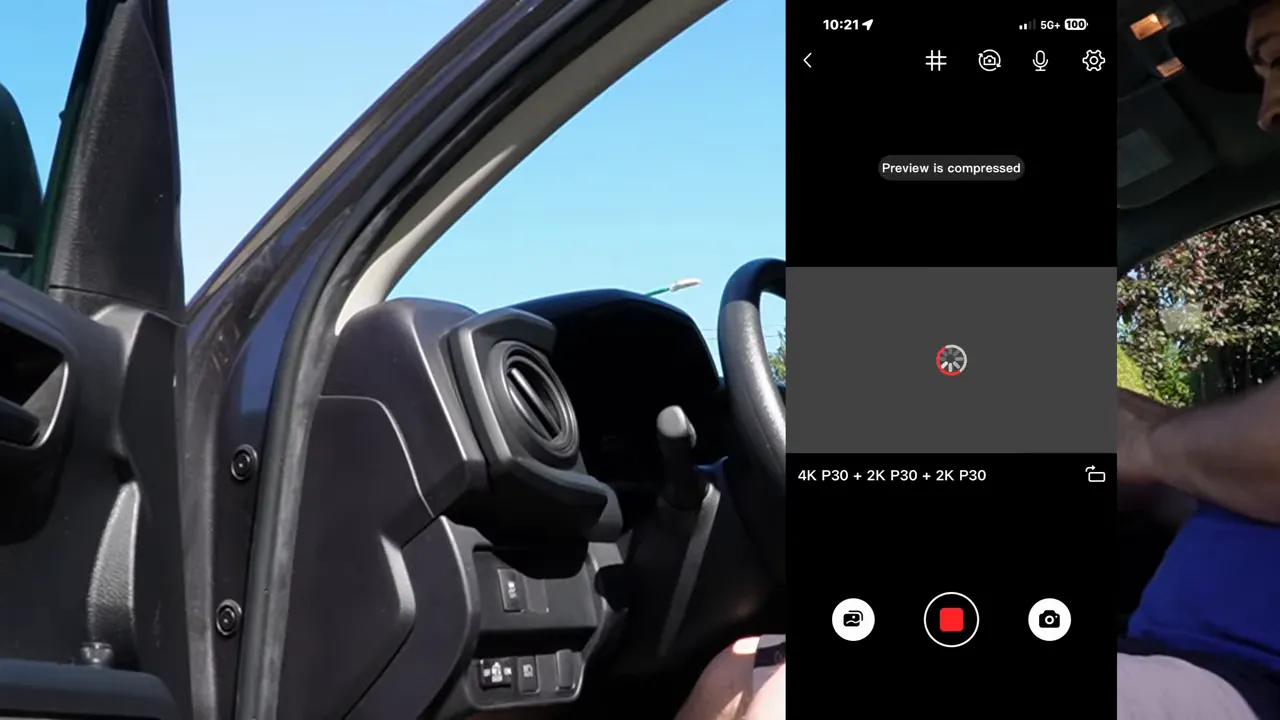
Checking the video feed in the app
Once the system is powered, it is time to confirm all three channels are working.
The app shows:
- The front view
- The interior view
- The rear view
One quick adjustment was needed here. The interior camera image initially appeared upside down, so the image rotation setting was changed in the app. After that, the interior feed displayed properly.
What the finished 3 channel Tacoma install looks like
When everything is done right, you end up with a setup that looks clean and works the way it should.
- The front camera is tucked behind the mirror
- The interior camera sits above the mirror for a full cabin view
- The rear camera clears the sliding glass
- No wires are left exposed
- The wiring path avoids interfering with airbags
- The power setup supports proper driving and parking mode operation
For anyone adding a dash cam to a 2016 to 2023 Toyota Tacoma, those are the details that make the difference between a basic install and a really clean one.
A few final thoughts before you tackle this yourself
A Tacoma dash cam install can absolutely be done neatly, but neat is only half the job. The other half is safety and reliability.
If you are doing this yourself, pay close attention to:
- Airbag locations and deployment paths
- Rear window movement
- Proper wire testing
- Secure electrical connections
- Cleaning glass before mounting cameras
- Bundling extra slack so nothing rattles
And if you are just starting out with dash cams in general, the guide to common questions about dash cams can help clear up a lot of the usual confusion around power, parking mode, recording, and setup.
The end result on this 2023 Toyota Tacoma is a proper front, rear, and interior dash cam install that looks factory, stays out of the way, and gives solid video coverage all around.