Honda Civic hatchback rear dashcam: how to route the rear camera without losing your patience
Installing a rear camera on a Civic hatchback is one of those jobs that looks simple until you start. The camera itself mounts nicely to the rear window, but getting the cable from the glass into the car and up to the front takes planning, the right tools, and a lot of persistence. Below I’ll walk through a reliable approach that avoids unnecessary panel damage and gets the job done cleanly.
Why hatchbacks are harder than sedans
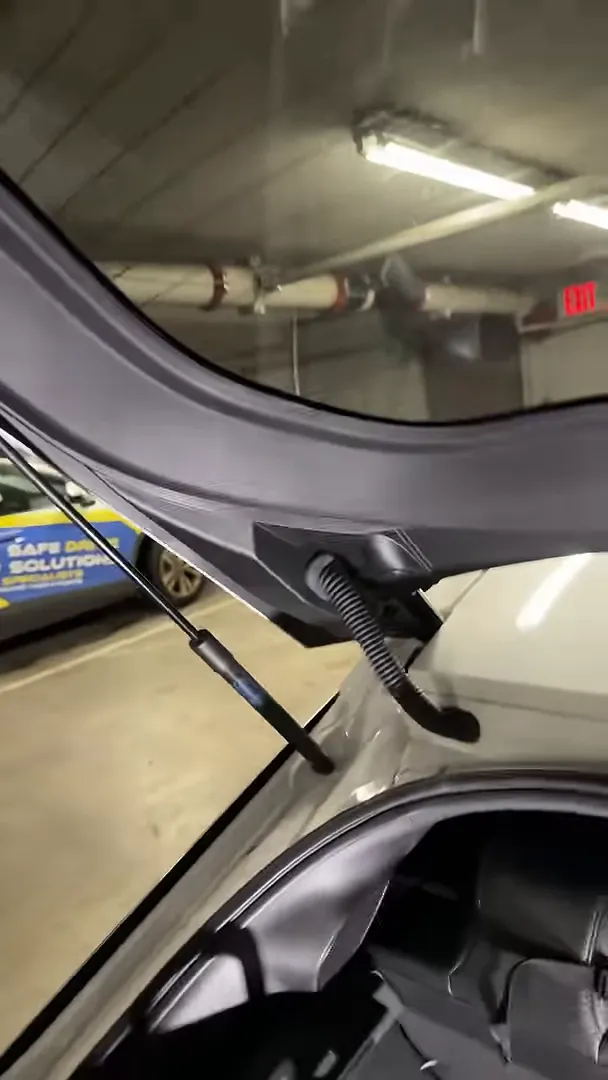
Hatchbacks have luggage lids with tighter panel gaps and more internal structure behind the trim. Unlike a trunk with a clear path, the hatchback’s interior forms little choke points where the cable can catch. That’s why a technique that works on most cars often needs to be adapted for a Civic hatchback.
"These things are a complete pain in the butt to do."
Common obstacles you’ll run into
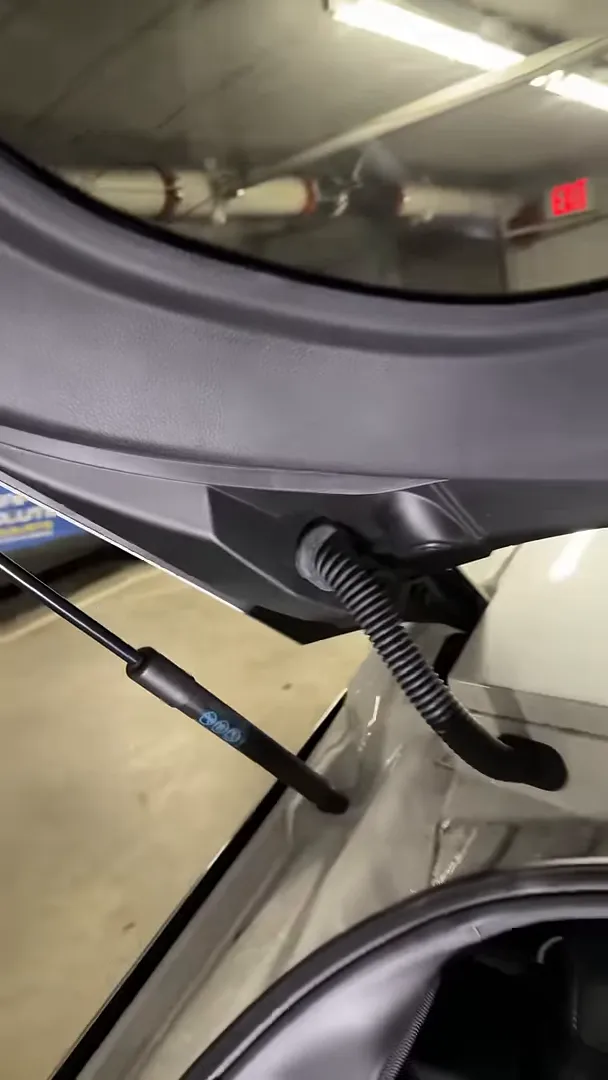
- Tight gaps and interior walls: The wire can hit a structural stop behind the trim and refuse to pass without careful maneuvering.
- Limited access: The hatchback trim and weather seals give you less room to fish cable through compared with typical trunks.
- Panel clips and trim fragility: Too much force in the wrong spot leads to broken clips and extra time replacing trim pieces.

Tools and parts that make the job possible
You’ll want a well-stocked kit before you start. In many installs one puller is enough, but for this Civic I used multiple extensions to get the wire through the hatch.
- Plastic trim tools to remove panels without scratching.
- Flexible fish tape or long nylon pulling rope — and more than one section so you can extend when you need to.
- Small adhesive cable tabs or clips to hold the cable to the glass and keep it tidy.
- Electrical tape and zip ties to secure and protect the run.
- Patience and a steady hand. Not a tool you can buy, but you’ll use it often.
Step-by-step approach
-
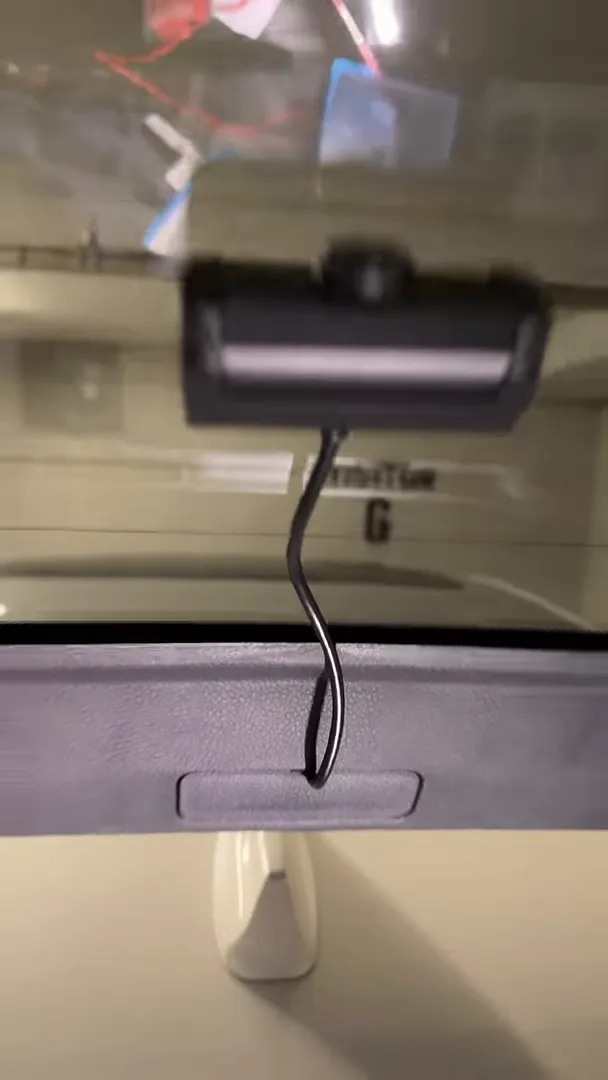
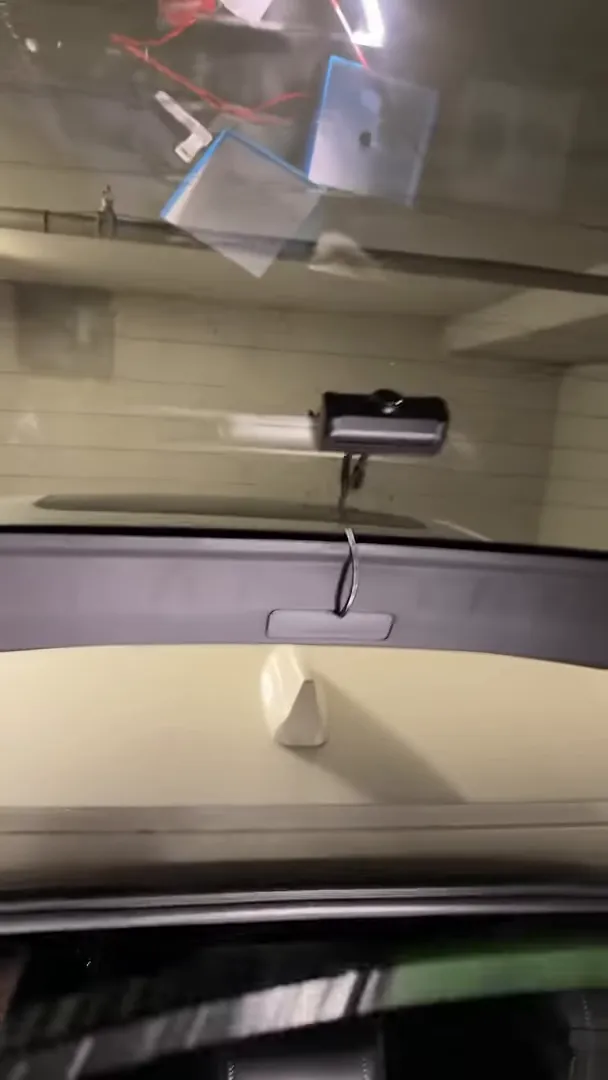
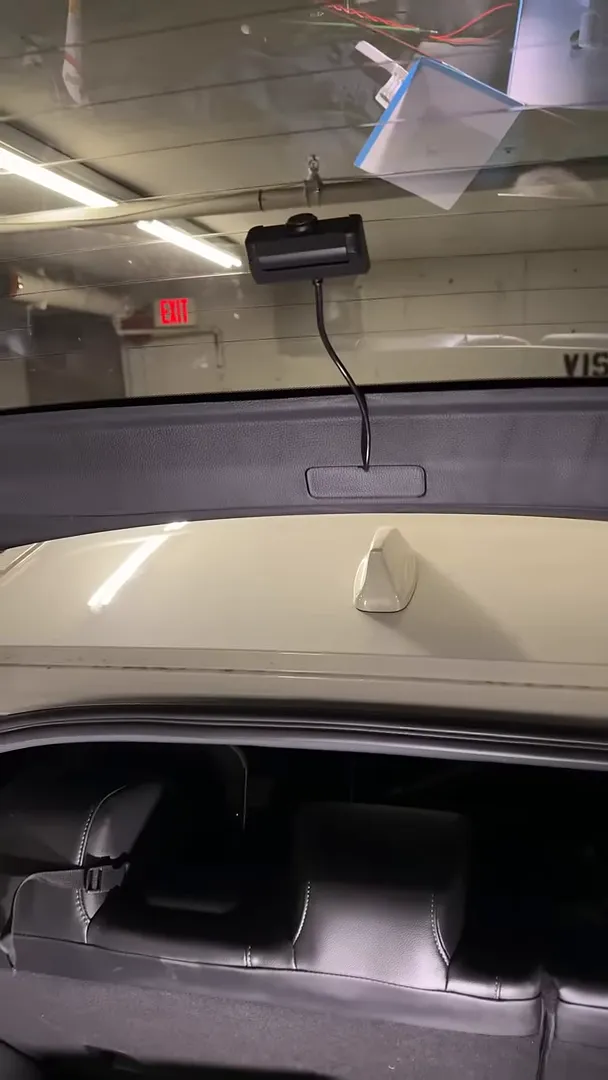
Mount the camera on the rear glass. Place the camera where it has a clear downward view, clean the glass, and secure it. Use a small cable tab near the mount to hold the wire against the glass so it does not flop around.
-
Prepare for the pull. Remove the hatch interior trim panels you need to access. Work slowly and keep track of clips and fasteners. Leave the hatch open and supported so the wiring path is stable.
-
Use staged pullers for long runs. On the Civic hatch I didn’t get the cable through with one puller. I used three sections, connecting them together as needed to reach the spot where the cable had to pass through. Be ready to disconnect and reconnect sections while you work the cable past tight points.
-
Work past the wall. When the cable meets a hard stop behind the trim, don’t yank. Gently jiggle, rotate, and apply steady pressure while guiding the puller or wire. You’ll often find that a little movement makes a path open up and the cable will slide through.
-
Route the cable up to the front. Once the wire clears the hatch, route it along the headliner and down the A-pillar toward the dash. Secure it with adhesive tabs or zip ties at intervals so it stays hidden and won’t rattle.
-
Test before reassembly. Power up the dashcam and confirm the rear camera image and parking mode work correctly. With everything confirmed, reinstall trim panels and tidy up loose ends.
Practical tips that save time
- Use multiple pullers or extendable fish tape. One short puller often won’t reach or give you the maneuverability you need.
- Label your clips and screws. It speeds reassembly and avoids panel mismatch.
- Don’t force the trim. If a clip refuses to line up, check for an obstruction rather than increasing torque.
- Secure slack near the camera. A small adhesive tab near the mount keeps the cable aligned and prevents it from getting pinched in the hatch seal.
- Test then tidy. Verify camera function with temporary routing before you commit to final fastening and reinstallation.
Final notes
Honda Civic hatchbacks can be fiddly, but once you know where the pinch points are and come prepared with flexible pullers and small cable tabs, the job becomes repeatable. Expect to use more tools and a bit more elbow grease than on other vehicles, but with care you can get a clean, secure rear dashcam installation that lasts.
If you already tried this and ended up giving up mid-job, try again with the staged puller approach and tab anchoring — it makes a big difference.

