How I Installed a Dash Camera in an Audi A5 Sportback | Viofo A329S 3 Channel dashcam
Installing a three-channel dashcam in an Audi A5 Sportback requires careful routing, clean fastening, and respect for factory safety systems. The goal here was a tidy, near-factory installation of the Viofo A329S (front, interior, and rear) with all wiring hidden, the hatch camera routed through the factory boot, and power taken cleanly from the OBD2 location.
What I installed and why
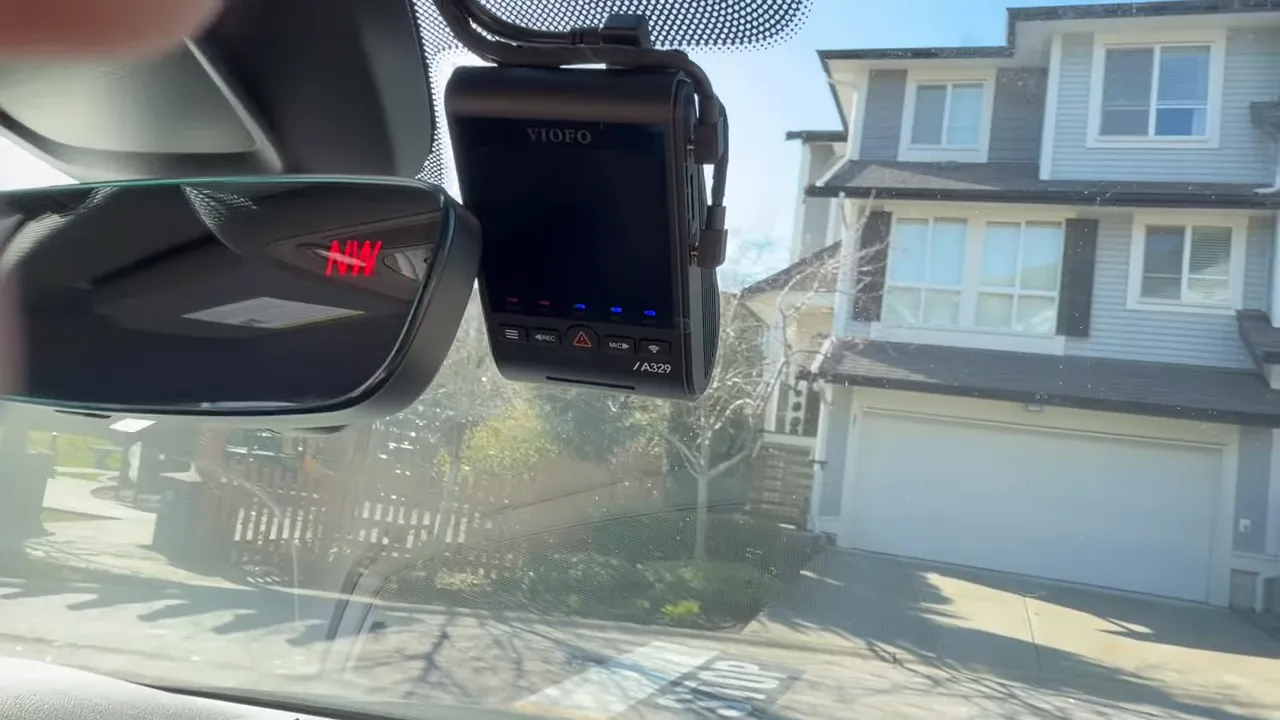
- Dashcam: Viofo A329S 3-channel (front 4K, interior, rear)
- Rear glare reduction: CPL600 polarized lens for the rear camera (helps reduce reflections on untinted glass)
- Power method: Hard-wired to OBD2 pins for ignition, ground, and constant power
Tools and parts
- Panel popper (4140) or trim tool
- Small hook or specialty hook for releasing proprietary clips
- Meg-20 style fish tool (rubberized coating) — do not use a coat hanger
- 8 mm socket for dash fasteners
- Soldering iron and shrink or electrical tape
- Tesa tape for bundling and slim-tucking wires
- Antiseptic wipes and lint-free paper towel (for CPL/front lens cleaning)
- CPL600 polarized lens for the rear camera (optional but recommended for untinted rear glass)
Step-by-step installation
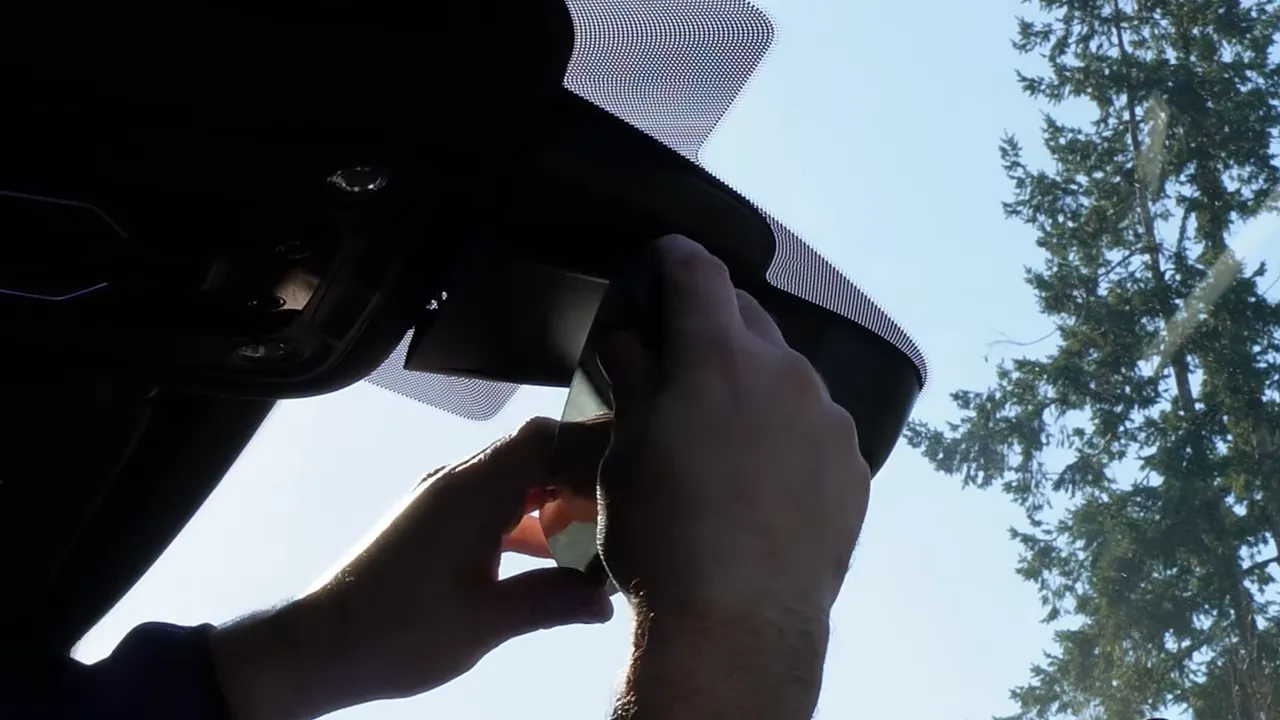
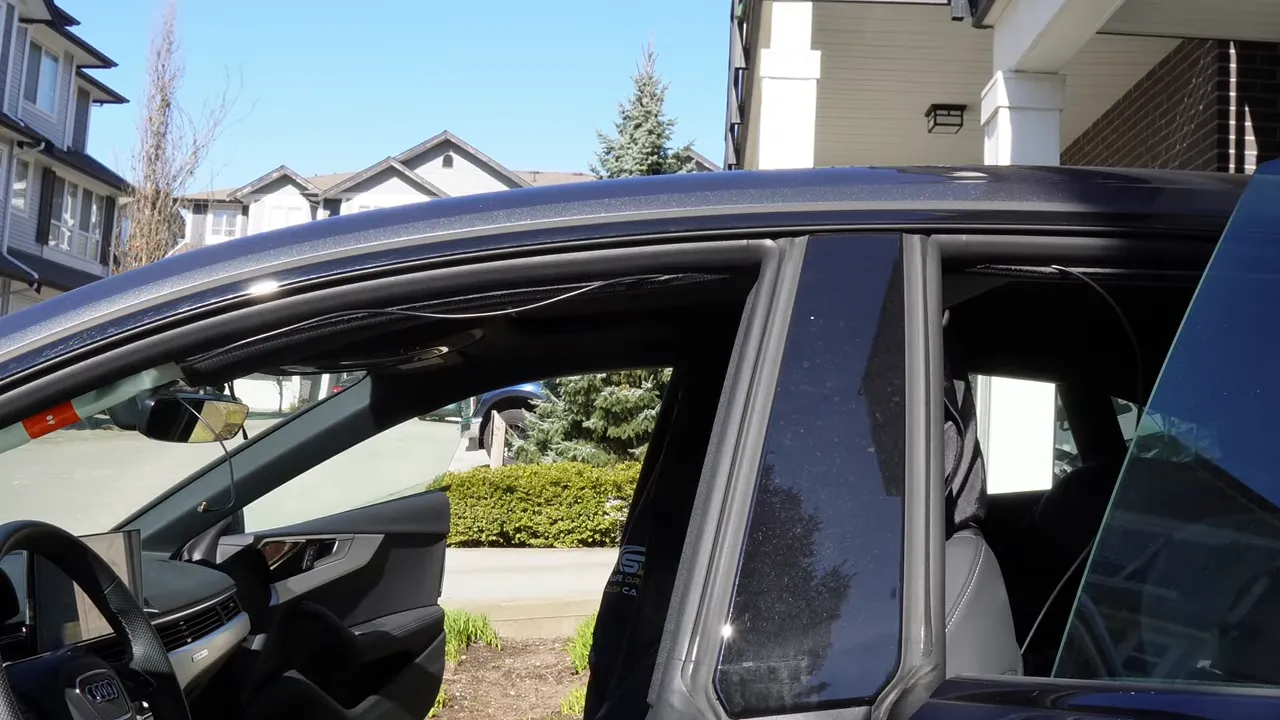
1. Remove the rearview mirror housing
Start at the headliner. There are two clips at the top of the rearview mirror housing. Use a panel popper to massage the passenger side and pry gently above those clips. Rotate the mirror down and slide the housing out. Work slowly — these clips release with a small amount of leverage.
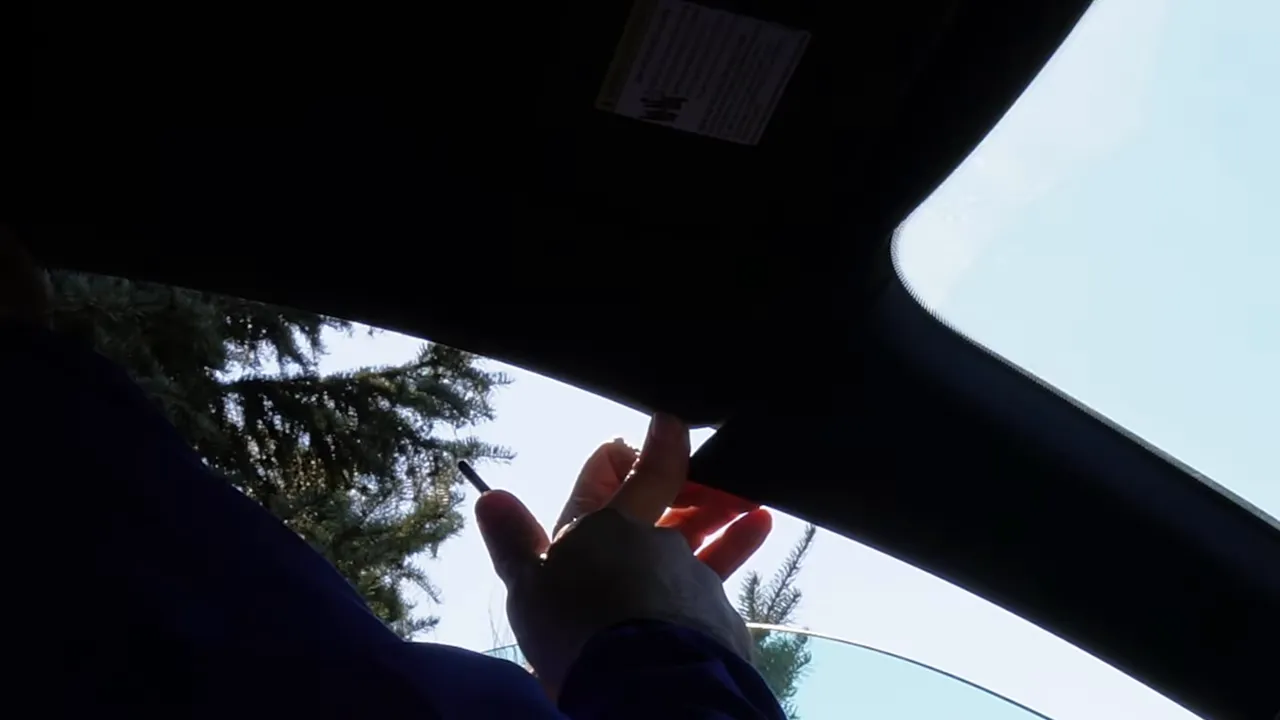
2. Loosen and remove the A-pillar trim
The A-pillar won't simply pop off; Audi (and related brands) often use a proprietary clip that requires a particular motion to release. Use your hook to lift and position the clip so the trim will come free. On the A5 you may only get a finger-width of movement at first — move the lower dash side panel first for easier removal.
3. Remove the driver-side dash side panel
There are several clips behind this panel. Remove the panel and the small U-shaped panel beneath it to expose the A-pillar clip and the airbag area. On the A5 there are no speaker or electrical connections in this pillar, so once the clips are released the trim will come free.
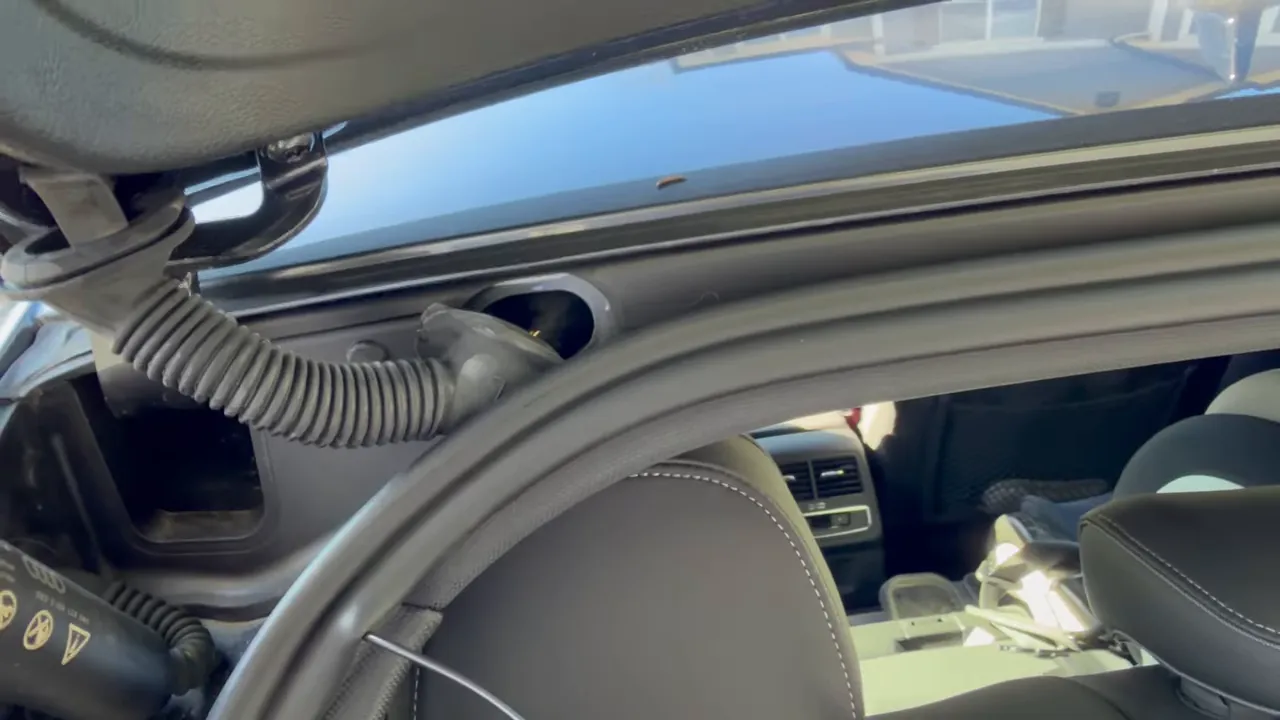
4. Route the wiring behind the airbag — safety first
Never run camera or rear camera wires over the face of an airbag. Route the cable behind the airbag and tie it to the factory harness so it follows the vehicle’s wiring path. This prevents the cable from becoming a projectile if the airbag deploys and keeps the airbag’s travel unobstructed.
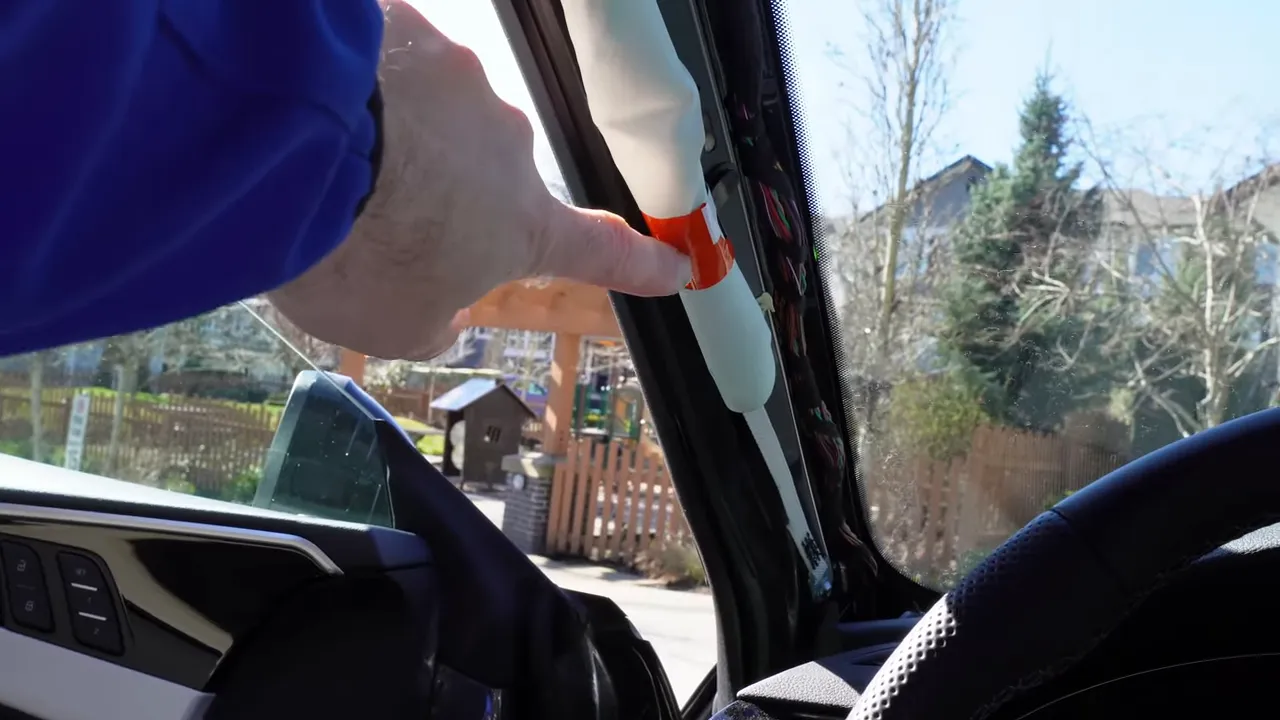
5. Fish the cable from front to rear using a coated fish tool
A Meg-20 style fish tool with rubber coating is ideal — it minimizes the risk of puncturing or damaging soft trim and the airbag curtain. Do not use a coat hanger or similar hard tool when working adjacent to the airbag.
Work the fish tool along the window side of the pillar so the wiring rests there; the airbag deploys towards the interior, so this keeps the cable out of the deployment path.
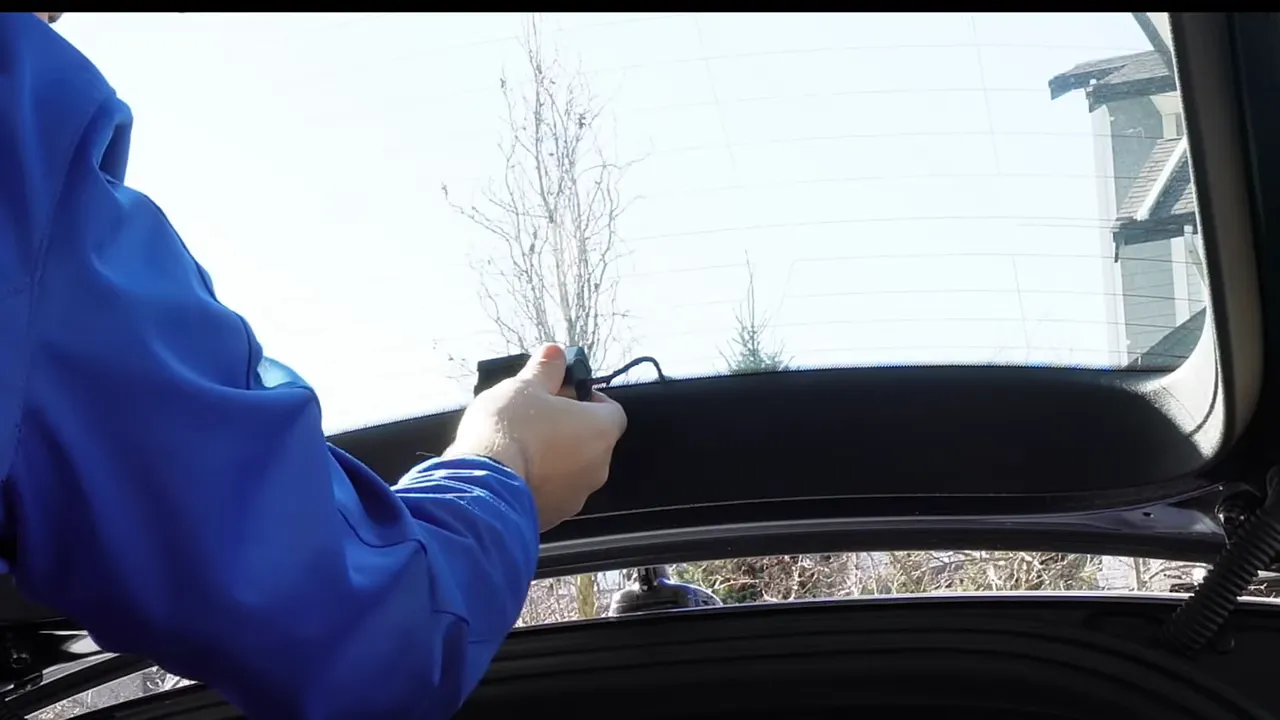
6. Getting the wire into the hatch: tricks for a clean pass
The factory boot on the A5 is rubber and is relatively easy to pry out, but fishing the wire into the body hole is the tricky part. I made a small loop on the cable, used the hook to pull it through, and re-routed it under the weather stripping so it looks factory-installed.
If you accidentally route the cable over the weatherstrip, pull it back and refish it under the strip — it’s worth the extra effort for a professional finish.
7. Tucking, taping, and dealing with tight panels
Audi paneling can be very tight. Any cable thickness can prevent a panel from seating 100% flush. Use Tesa tape to slim the cable, tuck excess slack into an accessible area, and expect small panel dips in tight corners. Bundle excess cable neatly with tape and tie straps so the hatch closes normally and the trims reseat as cleanly as possible.
8. Rear camera: mount, filter, and angle
Because this car’s rear glass wasn't tinted, I fitted the CPL600 polarized lens on the rear camera to reduce glare and reflections. Clean the lens with antiseptic wipes and a lint-free towel before attaching the CPL and mounting the camera to the hatch glass. Adjust the angle approximately and fine-tune after final testing.
9. Lower dash removal and OBD2 access
To access the OBD2 wiring, remove five 8 mm bolts:
- One 8 mm on the side
- Two 8 mm inside the small glove area
- Two 8 mm on the bottom of the dash
Removing these will let the lower dash drop and expose the OBD2 connector for wiring.
10. Wiring to OBD2: pins and safety
For a hard-wired install, solder directly to the OBD2 wires:
- Pin 1: Ignition — connect dashcam ignition trigger
- Pin 4: Ground — solder dashcam black to ground
- Constant power pin 16: Red wire for the dashcam’s constant power (this install used the dashcam’s parking mode features, so constant power was needed)
The A329S draws around half an amp from the OBD2 circuit, which generally won’t overload the port. Many professional installers use the OBD2 for power, telematics, and GPS devices on Audi, Volkswagen, and Porsche. If a customer prefers not to open panels, an OBD2 power adapter is an option, though hard-wiring gives a cleaner look.
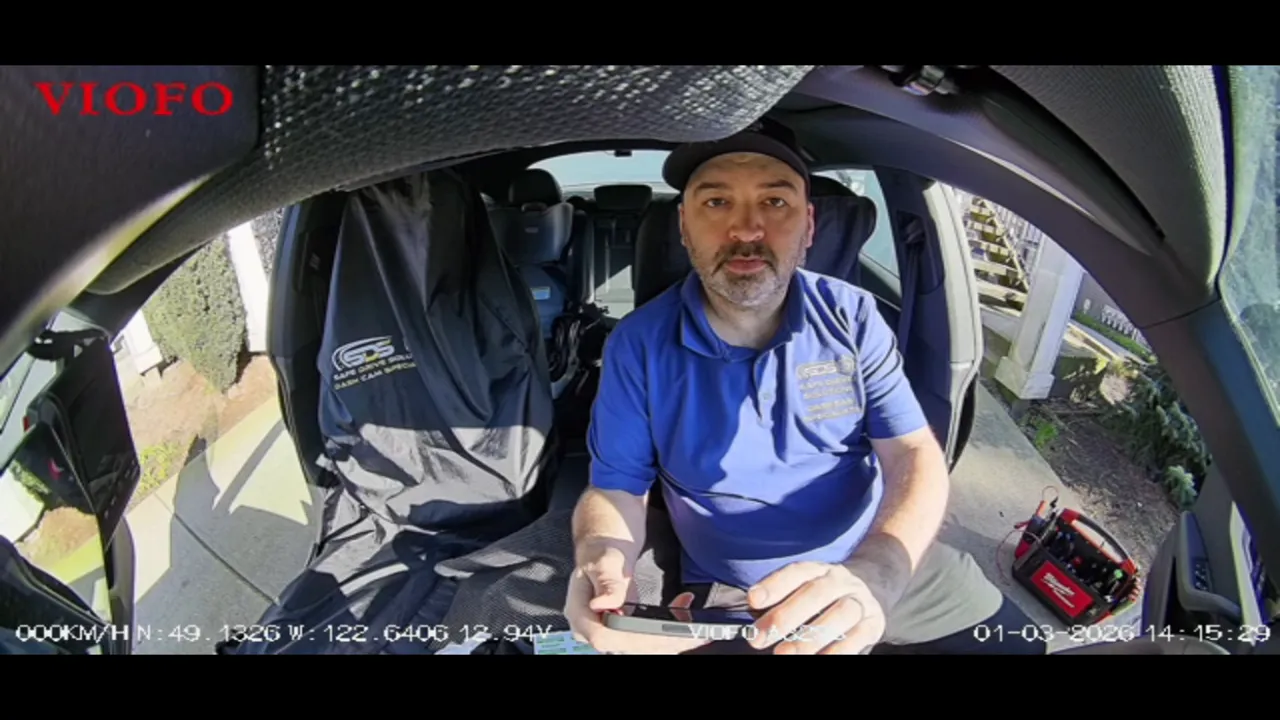
11. Power up, test cameras, and finish
Power the unit and verify each channel — front, interior, and rear. Take screenshots or short footage clips to confirm view angles, exposure, and that the CPL is reducing glare at the rear.
Common hiccups and tips
- Do not use a coat hanger near airbags. Use a rubber-coated fish tool.
- If a trim won’t fully seat because of cable thickness, re-bundle with Tesa tape and tuck excess where it’s accessible.
- Always route behind airbags, not in front of them, and secure camera cable to factory harness.
- Consider a polarized filter for rear cameras on untinted rear glass to reduce reflections.
- If you want an easier installation with no panel removal, use a quality OBD2 power adapter — it’s a clean alternative but not as factory-integrated.
Final notes
A clean dashcam install on the Audi A5 Sportback looks factory, protects safety systems, and keeps cameras unobtrusive while driving. Take your time on the A-pillar clips and the hatch boot pass-through; those are the places where professional installs stand apart from quick hacks. With care, you’ll have a reliable three-channel system that records front, cabin, and rear with minimal visual impact.
Have a safe drive.

