Toyota 4Runner Front and Rear Dash Camera
Overview
This install covers a front and rear dash camera setup on a Toyota 4Runner. The goal is a clean, reliable installation that keeps cameras secure, wiring hidden, and functionality intact when using the vehicle as intended.
Why not screw into the headliner or stick to the glass?
Many installers take shortcuts like screwing into the headliner or mounting a camera on the rear glass. Those approaches create problems. Screwing into the headliner can be invasive and messy, and mounting to the glass is unreliable because the glass window opens. That defeats the purpose of a permanent rear camera mount.
Our money clip mounting method
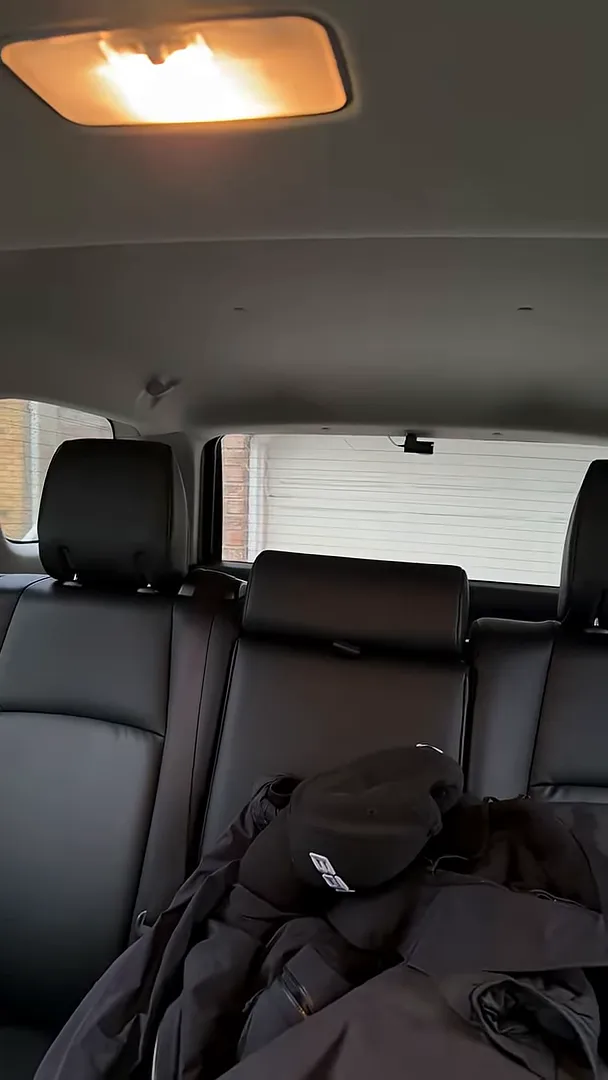
Instead of screws or glass adhesive, we use a simple money clip formed to the headliner. By shaping the clip to the contour of the headliner, the rear camera can mount directly to it while the wiring tucks neatly behind the headliner.

There are a few practical notes to keep in mind:
- Only certain dash camera models will fit this style of mount. Check fitment before purchase.
- If something strikes the camera, the clip-mounted camera could fall off. In normal use that risk is low since the camera sits out of the way.
- The clip mount does not interfere with the rear window operation. The camera still has a clear view out the rear window while the window opens and closes.
Front camera placement and wiring
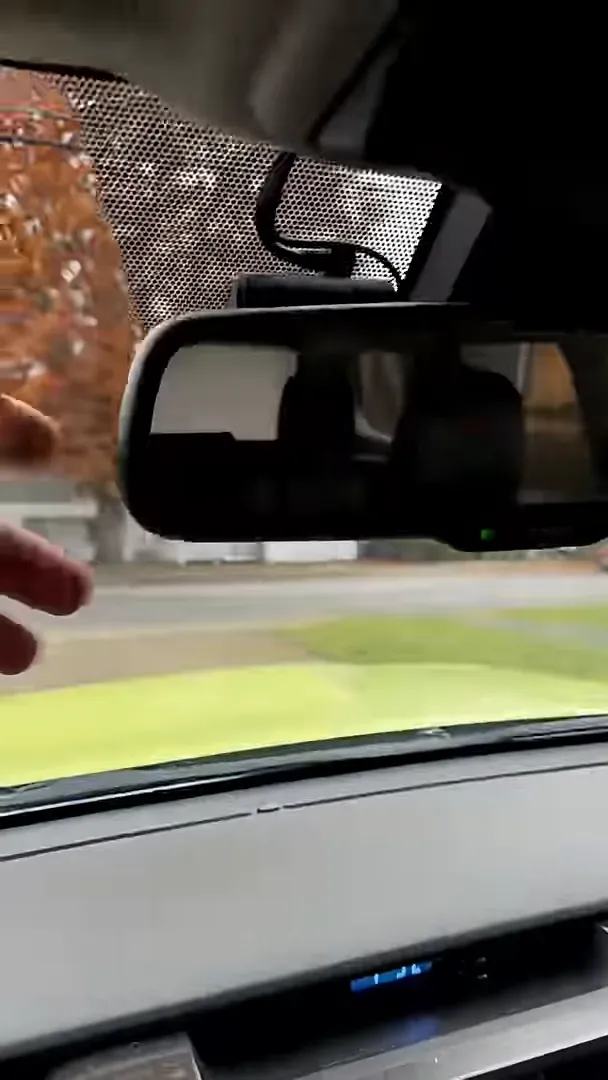
For the front camera we use a VIOFO A329S, which we tuck completely behind the rearview mirror. This keeps the camera hidden yet functional. As I say, the unit is "completely hidden behind the rearview mirror."

All wiring is routed cleanly: wires are hidden in the headliner and run behind the airbags from the front all the way to the back of the vehicle. This approach preserves the interior appearance and protects wiring from snagging or exposure.
Benefits of this approach
- Noninvasive mounting with minimal modifications to the vehicle.
- Neat, factory-like wiring concealment through the headliner and behind airbags.
- Rear camera remains functional and unobstructed even when the rear window moves.
- Lower visual impact with the front camera hidden behind the rearview mirror.
Final notes
This method gives a clean, functional front and rear dash camera installation for the Toyota 4Runner. Use a money clip for a simple rear mount when compatible, tuck the front camera behind the rearview mirror, and run wiring through the headliner and behind airbags for a professional finish.

