Toyota 4Runner Rear Dash Camera Installation Guide
Installing a rear dash camera on your Toyota 4Runner can significantly enhance your driving experience by providing an extra layer of safety and security. Whether you're looking to capture the scenic views on your road trips or protect yourself against liability in the event of an accident, having a reliable dash camera is essential. In this guide, we will cover everything you need to know about the installation process, including the required tools, step-by-step instructions, and tips for maintaining your dash cam.
Why You Need a Rear Dash Camera
Rear dash cameras are incredibly useful for a variety of reasons. They can help document incidents that occur behind your vehicle, providing crucial evidence in case of accidents. Additionally, they can serve as a deterrent against vandalism or theft when your vehicle is parked. Here are some key benefits:
- Accident Documentation: Capture video evidence of incidents that occur behind you.
- Theft Prevention: Deter potential thieves with visible cameras.
- Insurance Claims: Provide undeniable proof to support your insurance claims.
- Peace of Mind: Enjoy driving knowing you have an extra layer of protection.
Choosing the Right Dash Camera
When selecting a rear dash camera for your Toyota 4Runner, consider the following features:
- Video Quality: Look for cameras that offer at least 1080p resolution for clear footage.
- Field of View: A wider field of view will capture more of the area behind your vehicle.
- Night Vision: Ensure the camera performs well in low-light conditions.
- Storage Capacity: Choose a camera that supports adequate storage for your needs.
For high-quality options, check out the Viofo A229 Pro 4K Dash Cam or the Vueroid D21 4K Dash Cam.
Tools and Materials Needed
Before you begin the installation, gather the following tools and materials:
- Dash camera (rear camera)
- Mounting bracket or adhesive pad
- Trim panel removal tool
Step-by-Step Installation Process
Follow these steps to install your rear dash camera in your Toyota 4Runner:
Step 1: Prepare the Camera
Start by reading the manufacturer's instructions that come with your dash camera. Ensure that all components are included and familiarize yourself with the camera's features.
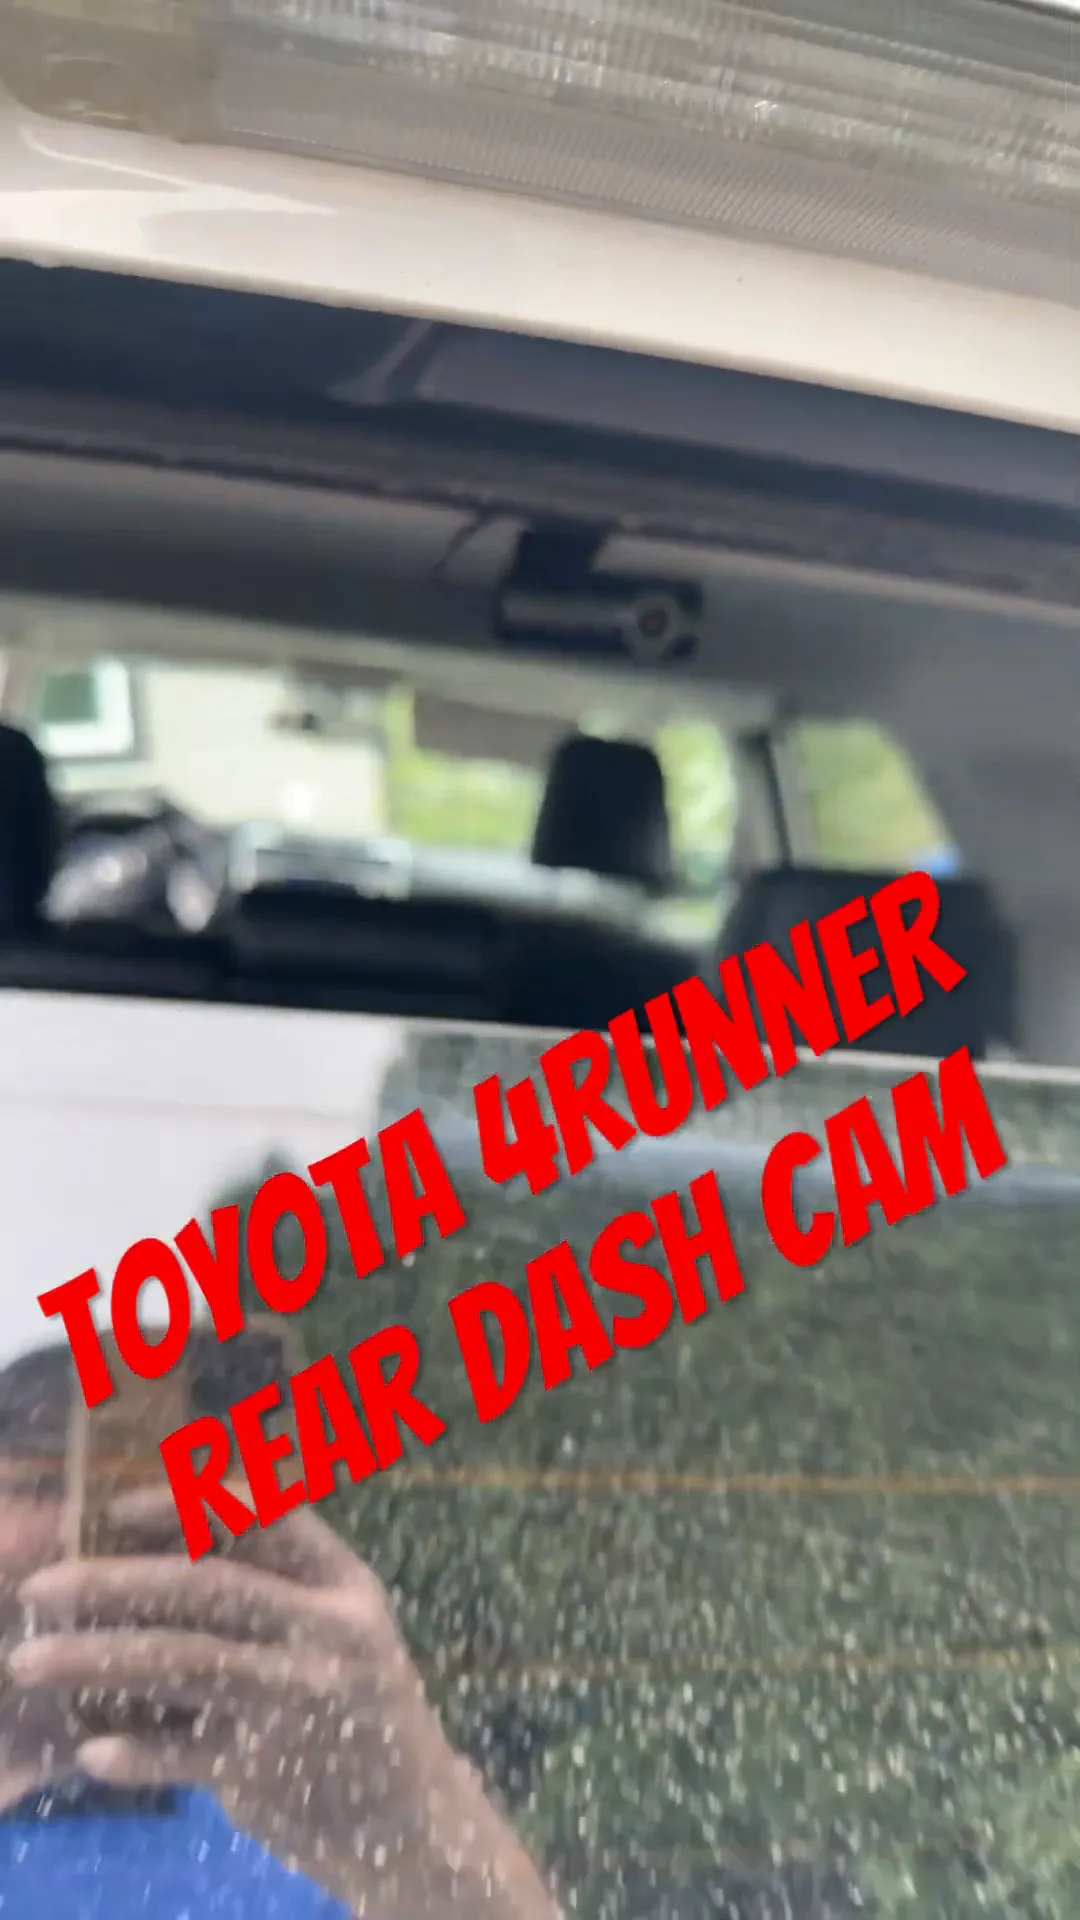
Step 2: Choose the Mounting Location
Select an optimal location for your camera. The best spot is typically near the headliner, not on the rear window like most vehicles are done. Ensure it's unobstructed and provides a clear view of the area behind you.
Step 3: Install the Mounting Bracket
If your camera comes with a mounting bracket, attach it according to the manufacturer's instructions. Use the adhesive pad to secure the camera firmly in place. If you are using a custom bracket, ensure it’s securely attached to the vehicle's interior.
Step 4: Route the Rear Camera Cable
Carefully route the rear camera cable from the camera to the vehicle's front camera. You may need to remove trim panels for a clean installation. Use a trim panel removal tool to gently detach the panels without damaging them.
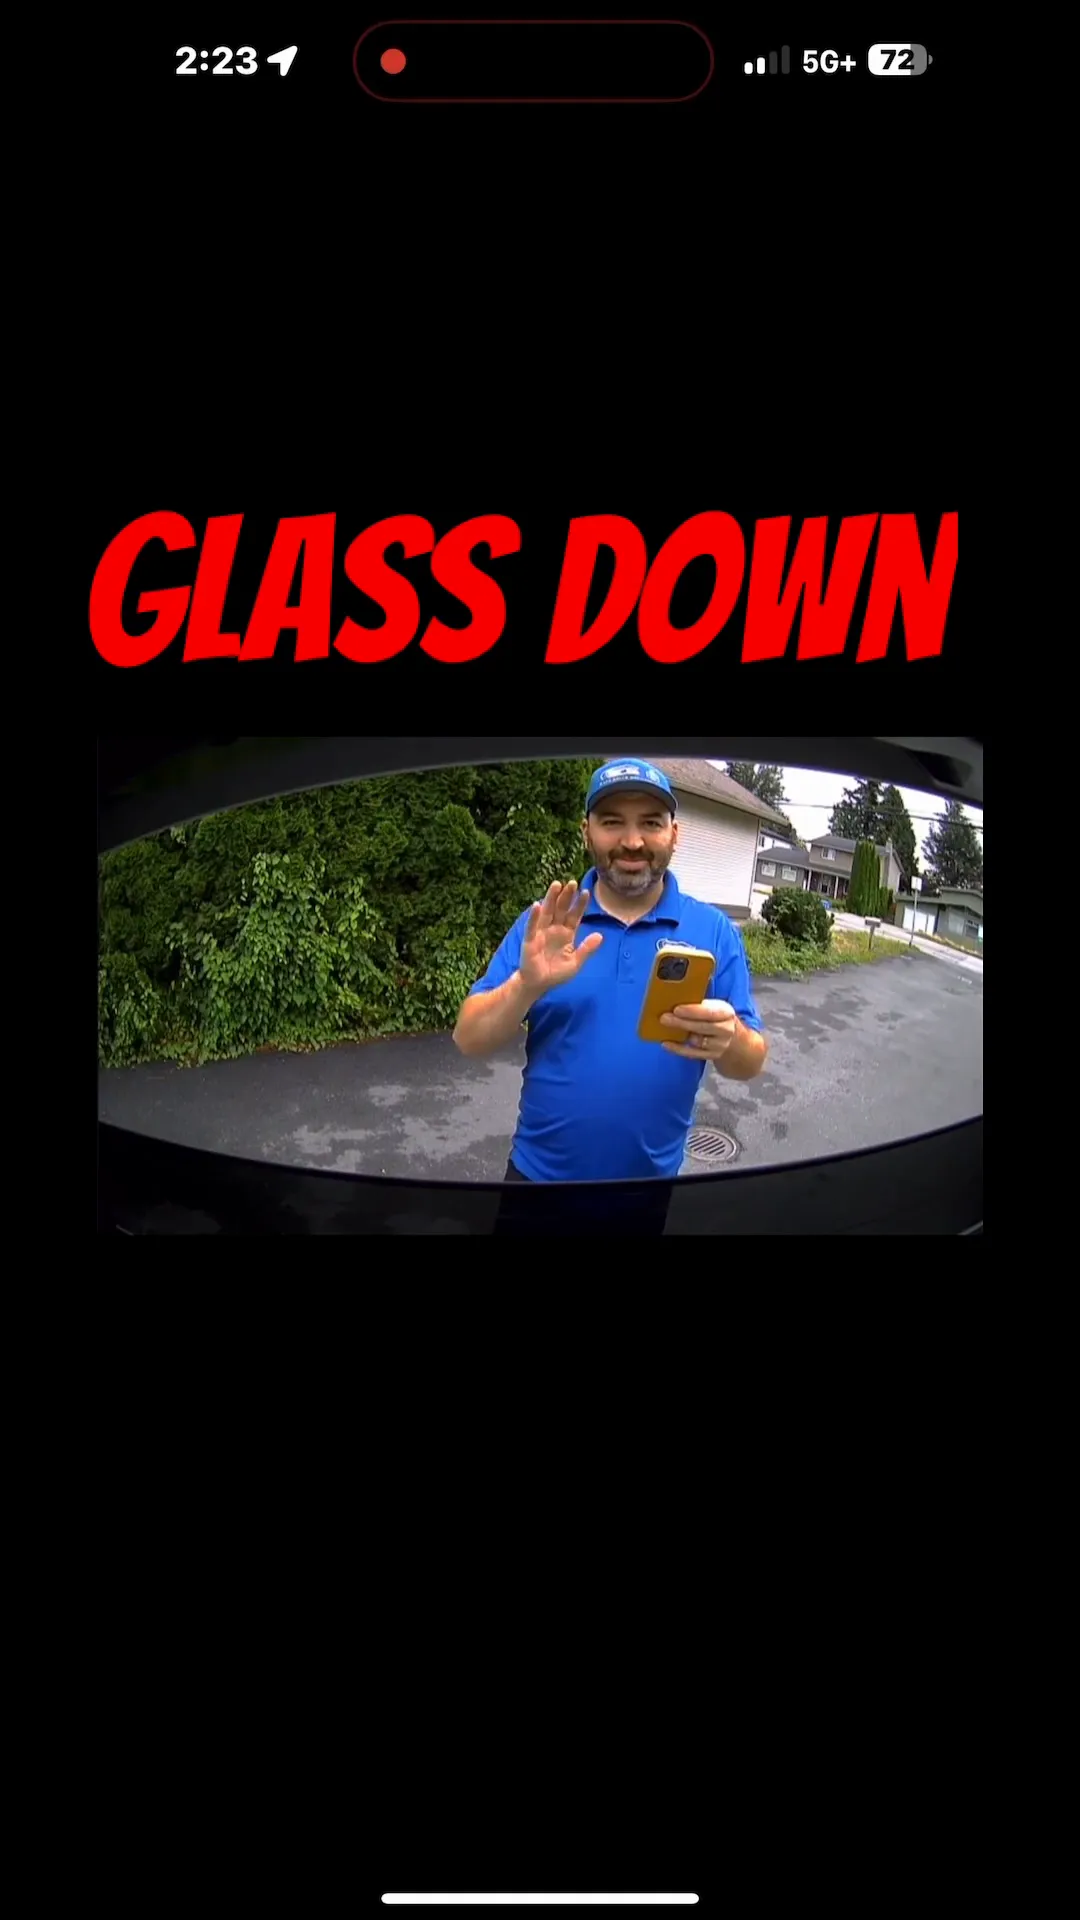
Step 5: Test the Camera
Before reassembling the trim panels, test the camera to ensure it powers up and records properly. Check the video feed to verify that the angle and visibility are satisfactory.
Step 6: Secure the Trim Panels
Once you confirm everything works, reattach any trim panels you removed during installation. Ensure everything is fitted snugly to avoid rattling or noise while driving.
Maintenance Tips for Your Dash Camera
To ensure your rear dash camera functions optimally, keep these maintenance tips in mind:
- Regularly Check the Lens: Clean the lens periodically to remove dirt or debris that may obstruct your view.
- Update Firmware: Keep your camera's firmware updated for the best performance and features.
- Monitor Storage: Check the storage regularly and format the memory card as needed to prevent overwriting important footage.
Conclusion
Installing a rear dash camera in your Toyota 4Runner is a smart investment for safety and security. By following this guide, you can ensure a proper installation that enhances your driving experience. For more information on dash cameras and accessories, visit Safe Drive Solutions for high-quality options and installation services.
With the right camera in place, you can drive with confidence, knowing you have a reliable witness on the road.

