
Mercedes EQB 300 Rear Dash Camera Installation: Routing the Rear Camera Wire Safely
Installing a rear dash camera in a 2025 Mercedes EQB 300 is all about getting the wire through the hatch cleanly, safely, and without damaging the factory wiring or trim. The key area is the upper hatch section, where the factory rubber boots carry wiring between the vehicle body and the liftgate.
This method keeps the rear camera cable protected inside the factory routing path, rather than leaving it exposed around the hatch opening.
Start by Releasing the Upper Hatch Wire Boot
At the top of the EQB liftgate, there are two rubber boots. One side uses a retaining ring with two tabs. Press directly inward on those tabs and the boot will release from the vehicle.
The other boot is much simpler. It is pressure-fit into place, so it pulls out without any tabs that need to be released. Work carefully and do not force the rubber boot or surrounding trim.
Once the boot is loose, there is access to the factory passage used to route wiring through the hatch area.
Use a Safe Fish Tool to Pull the Rear Camera Cable Through
A wire fish tool with a hooked end makes this job much easier. Feed the fish tool through the available opening, attach the rear camera wire, and pull the cable through gradually.
If a purpose-built fish tool is not available, a long zip tie may work as an alternative. What I would not use is a coat hanger. Coat hangers can be sharp and pokey, and it is too easy to pierce or scrape factory wires. That can turn a straightforward rear dash cam install into an electrical problem.
Keep the pull smooth. If the cable catches, stop and check the path instead of yanking on it.
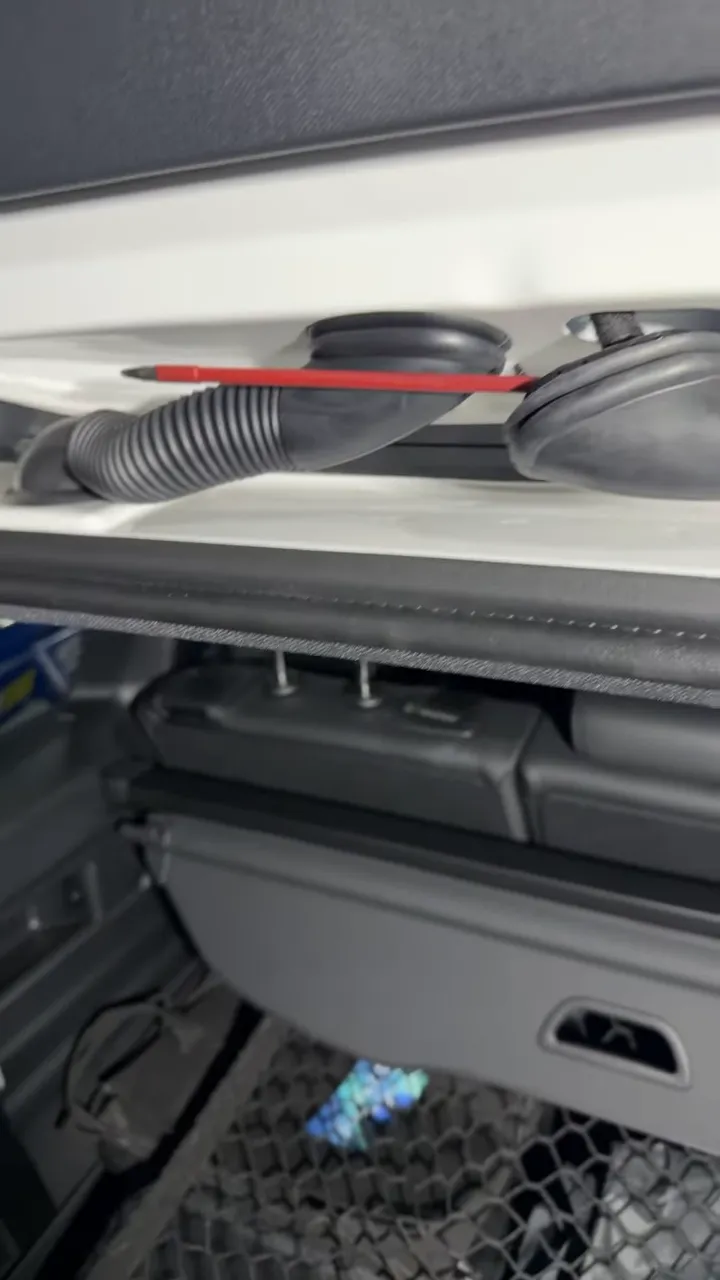
Release Only Enough Trim to Create a Wiring Path
After bringing the wire through the boot area, release the nearby hatch panel just enough to reach behind it. There are two clips in this section. Pull them out slightly so there is room to send the fish tool down and retrieve the rear camera cable.
You do not need to remove more trim than necessary. The goal is simply to create a clean hidden route for the small rear camera wire.
Once the cable is through, fold any small amount of excess wire behind the panel, then clip the panel back into place. Make sure every clip is fully seated.
- Push the panel back into position.
- Pull on it gently to confirm it is secure.
- Check that no wiring is pinched or exposed.
- Confirm the hatch can move normally before finishing the installation.
Proper trim reassembly matters. A cable should remain concealed and should not interfere with the hatch, the boot, or factory harness movement.
Reinstall the Rubber Grommet Securely
Once the rear camera cable has been pulled through, reinstall the rubber grommet and make sure it is seated properly around its full edge. The grommet needs to sit back in its factory position before the job moves forward.
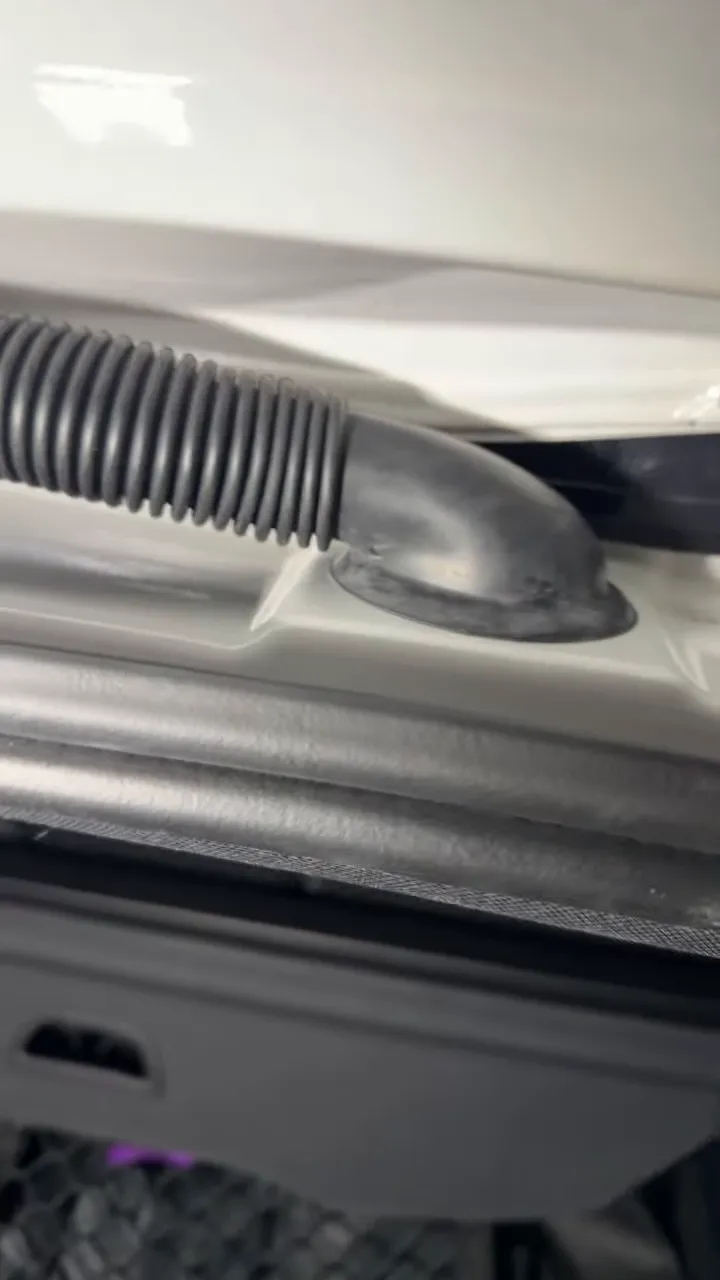
This is the difference between a clean install and a wire that could rub, snag, or become visible over time. If you are routing wiring near side-curtain airbags on the rest of the vehicle, follow a safe cable path that does not obstruct airbag deployment. Our guide to running dash cam wiring safely near airbags explains why this part of the route deserves extra care.
Run the Rear Camera Wire Toward the Front of the EQB
With the hatch section complete, route the rear camera cable from the back of the vehicle toward the front. In this installation, the wire is tucked behind the headliner, which is gently propped open enough to feed the cable through.
The cable can then be routed forward along the vehicle, reaching the B-pillar before continuing to the front dash camera. Keep the routing concealed and avoid leaving loose wire around the rear seats, hatch opening, or cargo area.
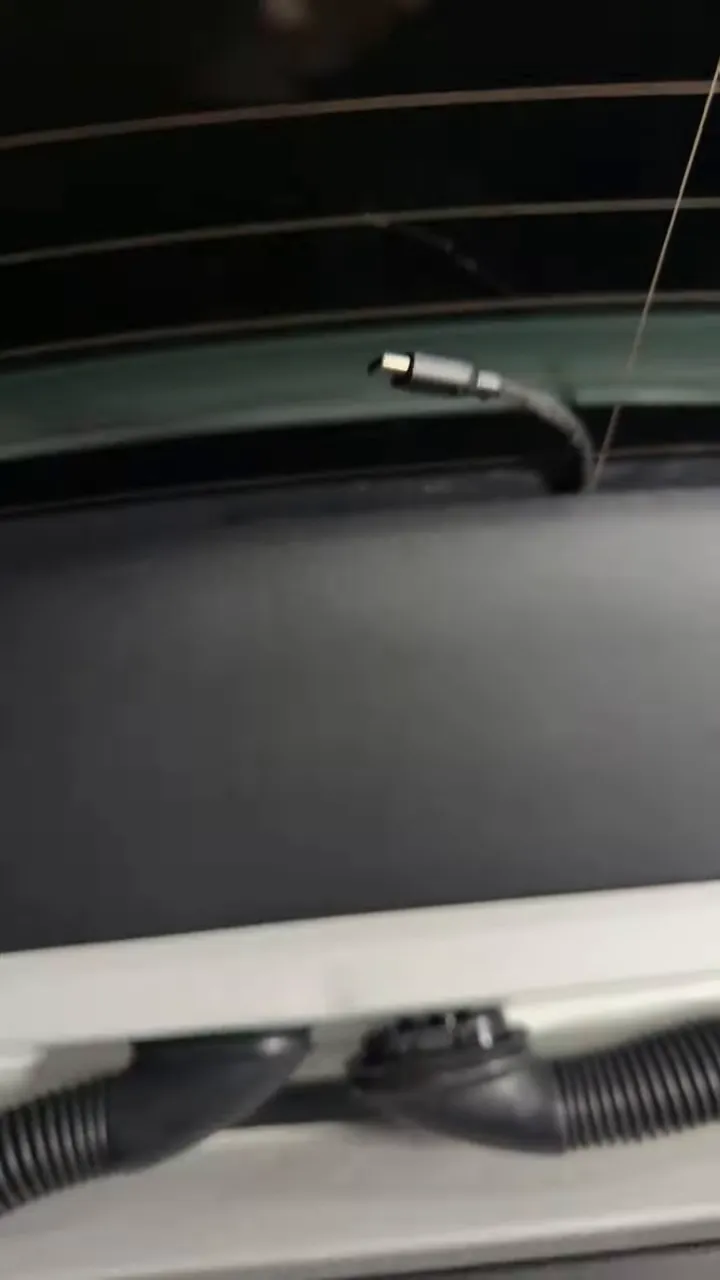
Mount the Rear Camera After the Cable Is Routed
Once the wire has reached the rear camera position and the front-routing work is underway, the final step is mounting the compact rear camera in the hatch area. The important part is that the wiring has already been hidden and protected before the camera is secured.
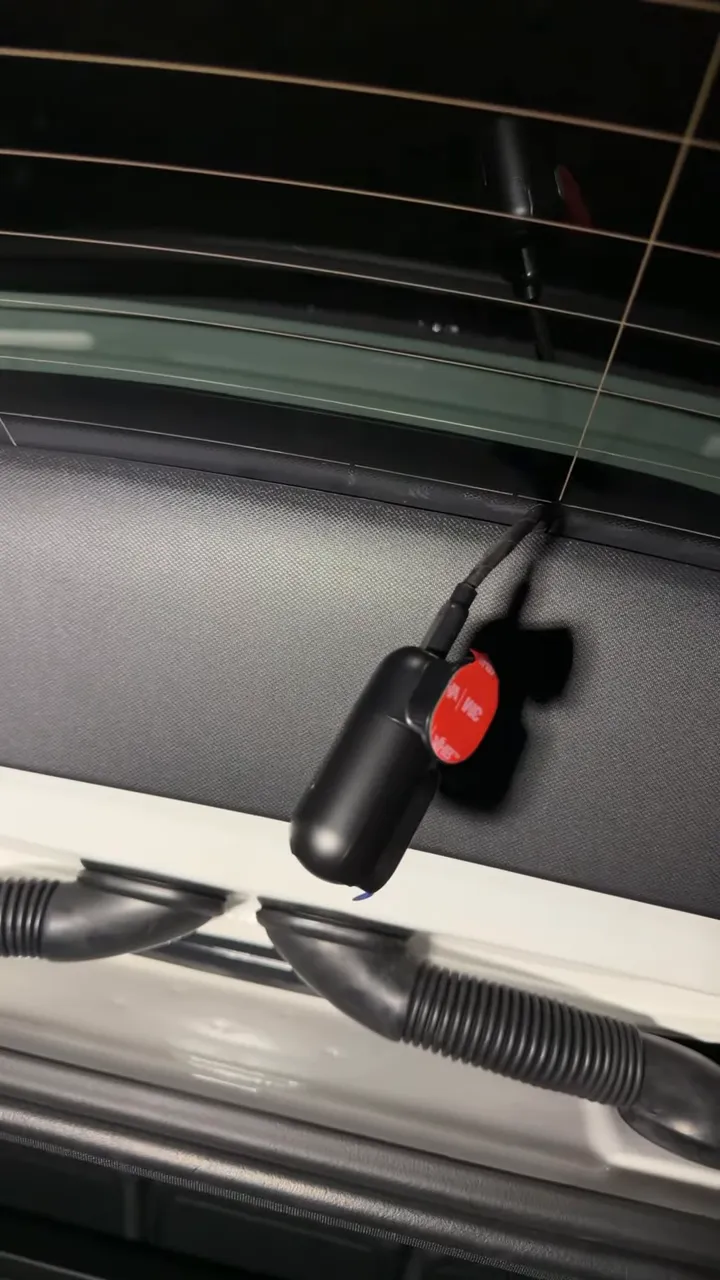
Before calling the installation complete, check that:
- The camera cable has enough slack for normal liftgate movement.
- The rubber boots and grommets are fully seated.
- The hatch trim is clipped back in tightly.
- The wire is routed cleanly from the rear of the EQB toward the front camera.
- The rear camera is ready for final positioning and connection.
A Clean Rear Dash Camera Install Protects the Vehicle and the Evidence
The Mercedes EQB 300 has a tidy factory hatch wiring layout, and taking the time to use that route makes all the difference. Release the correct tabs, use a safe fish tool, avoid sharp improvised tools, pull the wire through patiently, and reinstall every panel and grommet properly.
If you would rather have the rear camera wiring and front camera completed professionally, Safe Drive Solutions dash cam installation is available in Vancouver and Toronto with clean concealed wiring and a finished setup that is ready to use.