Ultimate Guide to Installing a Dash Cam in Your 2025 Hyundai Tucson
Installing a dash cam in your vehicle is an excellent way to enhance your security and provide video evidence in case of accidents. In this guide, we'll walk you through the process of professionally installing a front and rear dash cam in a 2025 Hyundai Tucson. From running wires safely to connecting the camera to power, we’ll cover it all.
Why Install a Dash Cam?
Dash cams serve as an extra set of eyes on the road. They can record incidents, help in disputes, and offer peace of mind while driving. Whether it's capturing an accident or documenting your road trip, having reliable footage can be invaluable.
Tools You'll Need
- Panel removal tools
- Zip ties
- Wire strippers
- Soldering iron and solder
- Electrical tape
- Hardwire kit (if applicable)
- Dash cam (we used the Viofo A229 Plus)
Step 1: Preparing the Vehicle
Start by ensuring your vehicle is parked in a well-lit area and that you have all your tools ready. Open the doors to access the interior panels easily. You'll be working with the hatch area, A-pillar, and the fuse box under the dashboard.
Step 2: Removing Panels for Wire Access
To begin, use your panel tool to carefully pry off the rear hatch panel. There are several clips holding it in place, so take your time to avoid damaging them.
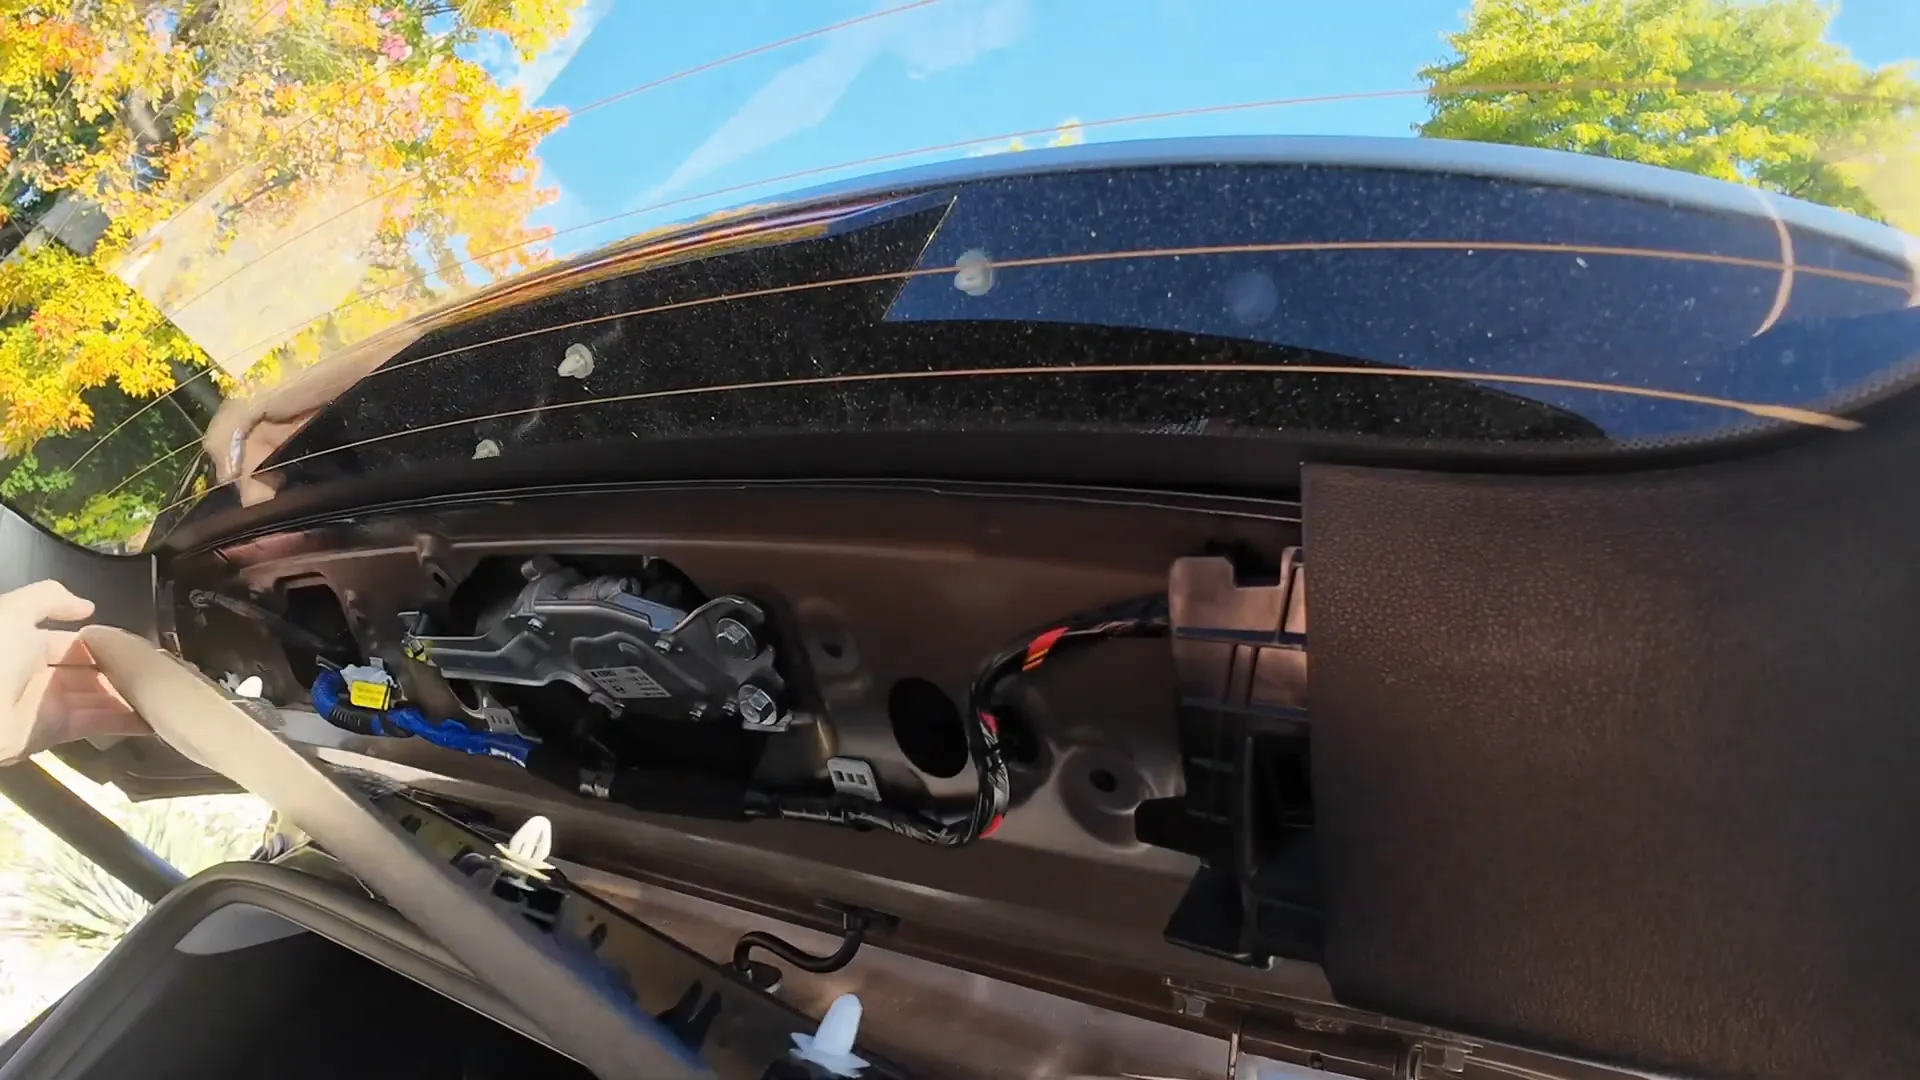
Once the panel is off, locate the rubber boot where the rear camera cable will pass through. This boot is generally wide enough to allow for a clean and easy cable run, which is a plus for the Hyundai Tucson.
Step 3: Running the Rear Camera Cable
With the hatch panel removed, it’s time to run the rear camera cable. Make sure you have adequate length for the cable, and pay attention to the placement of the rear wiper blade. Mount the camera lens in a position that won't obstruct the wiper's movement.
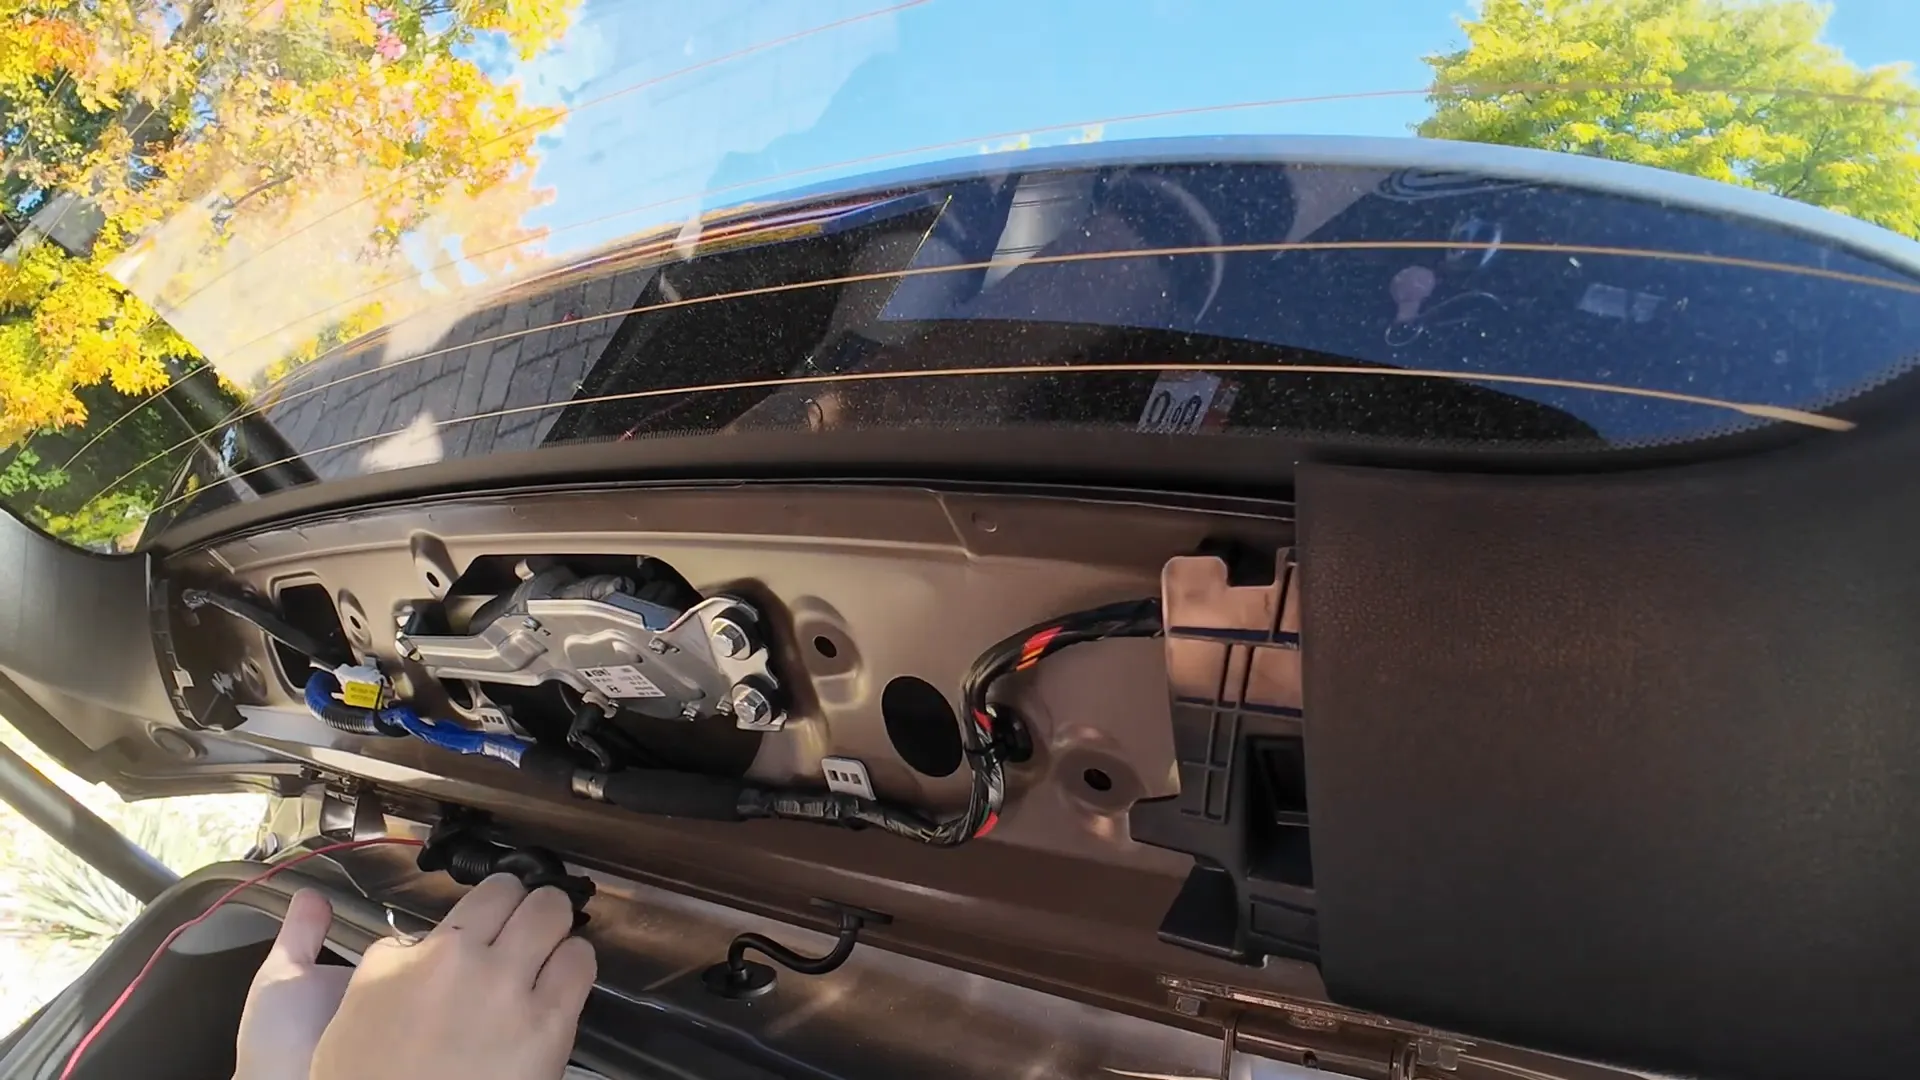
Push the cable through the rubber boot and into the headliner area. Hyundai vehicles are known for their accessibility, making this step relatively straightforward.
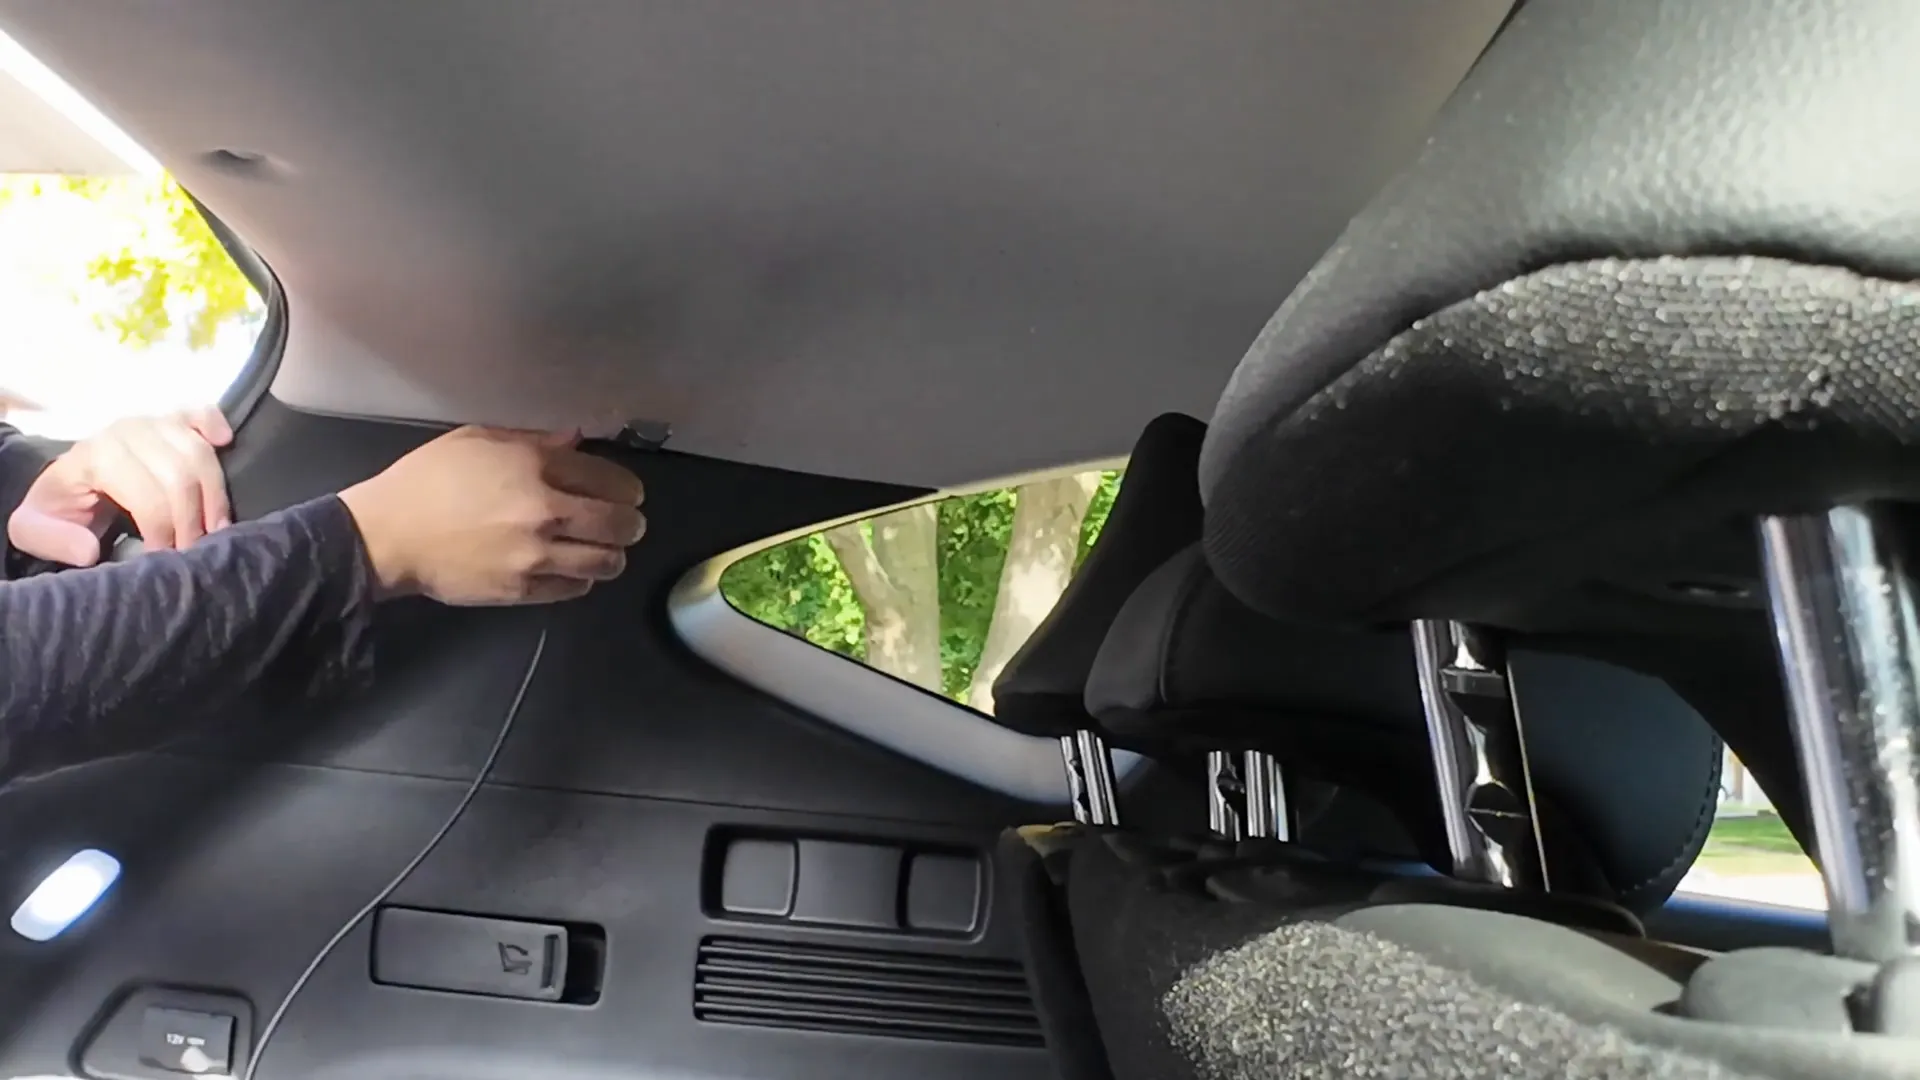
Step 4: Routing the Cable to the Front
Now, you'll need to route the rear camera cable from the hatch to the front of the vehicle. Carefully tuck the cable into the headliner, ensuring it doesn’t interfere with any airbags or other components. Use zip ties to secure the cable along the A-pillar and avoid loose wires.
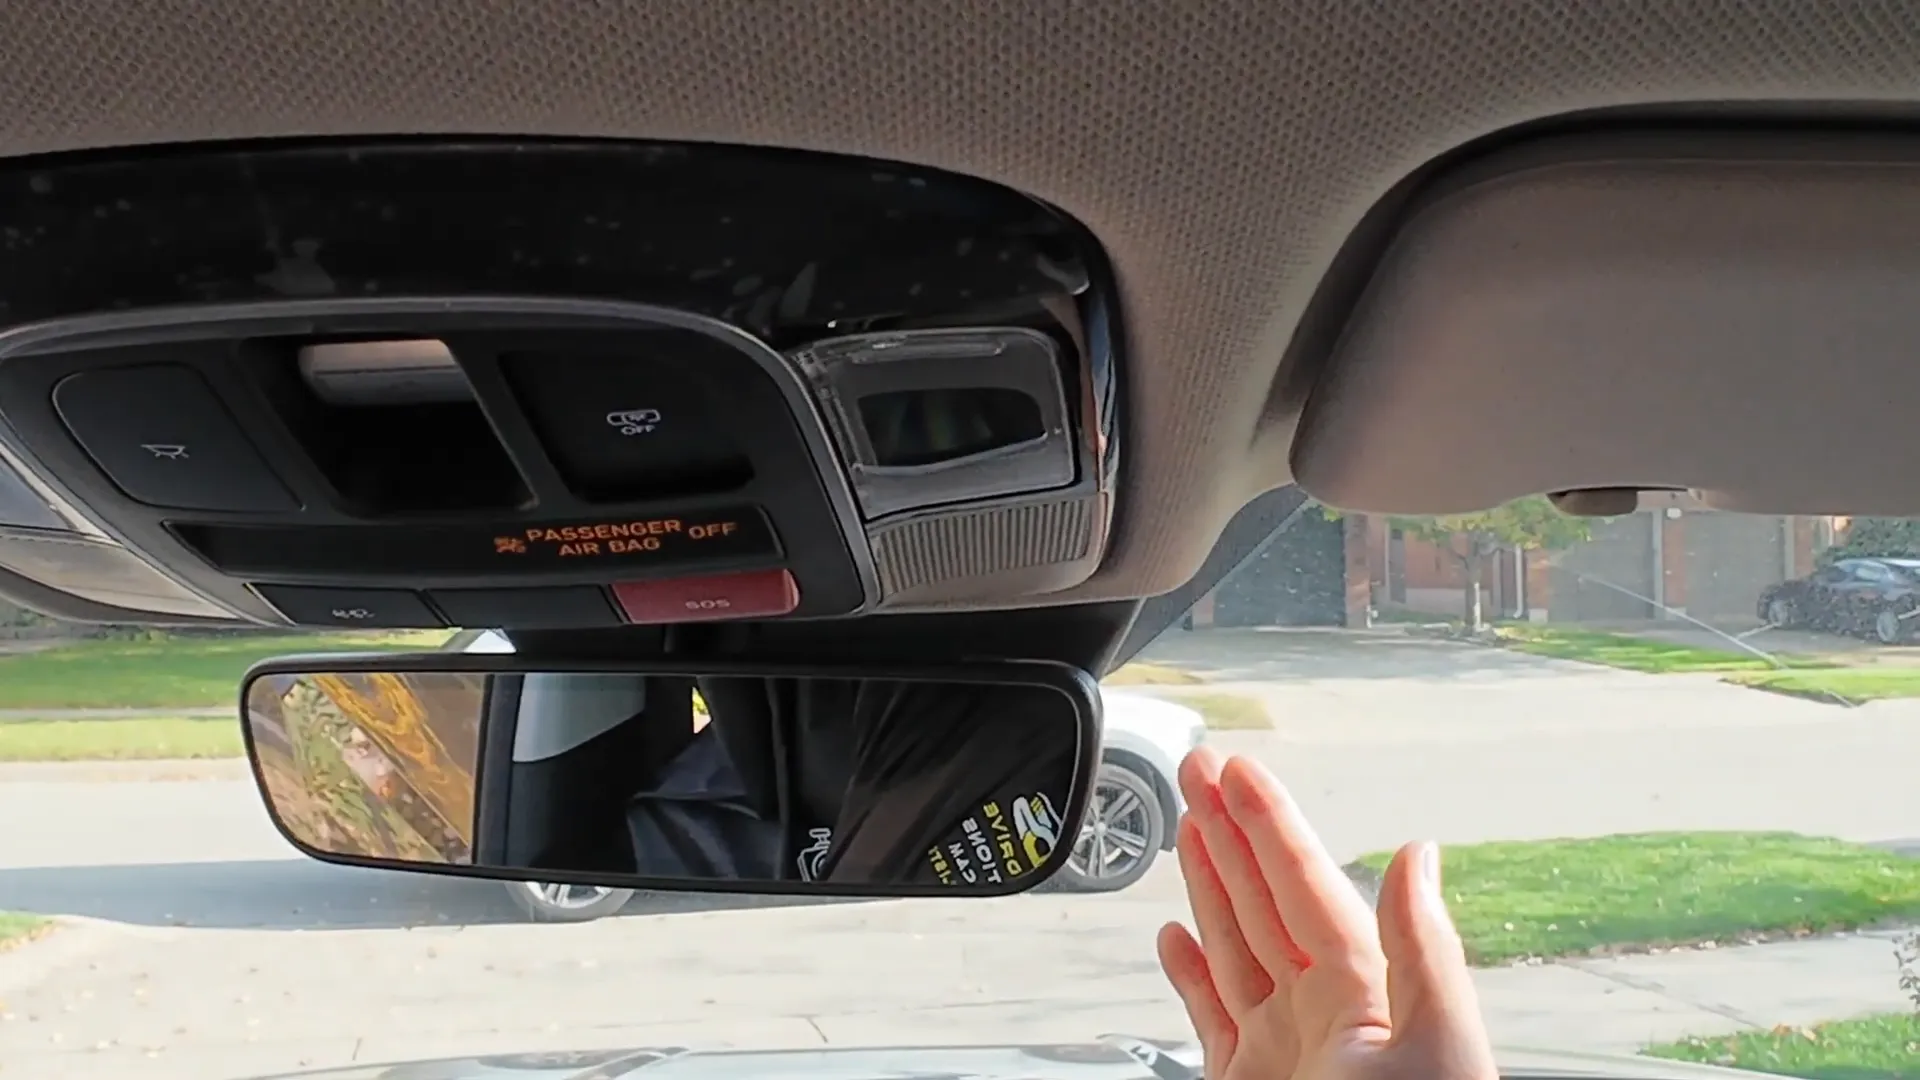
Step 5: Mounting the Front Camera
Next, it’s time to mount the front camera. The ideal location is behind the rearview mirror, where it can capture a clear view of the road without obstructing your line of sight. Clean the windshield area where you will mount the camera to ensure a strong adhesive bond.
Step 6: Running Power Wires
For power, you'll need to connect the dash cam to the vehicle's fuse box. Open the fuse box cover located near the driver's side footwell. Identify the appropriate fuses for your dash cam's power and ground connections; typically, you'll want a constant power source and an ignition source.
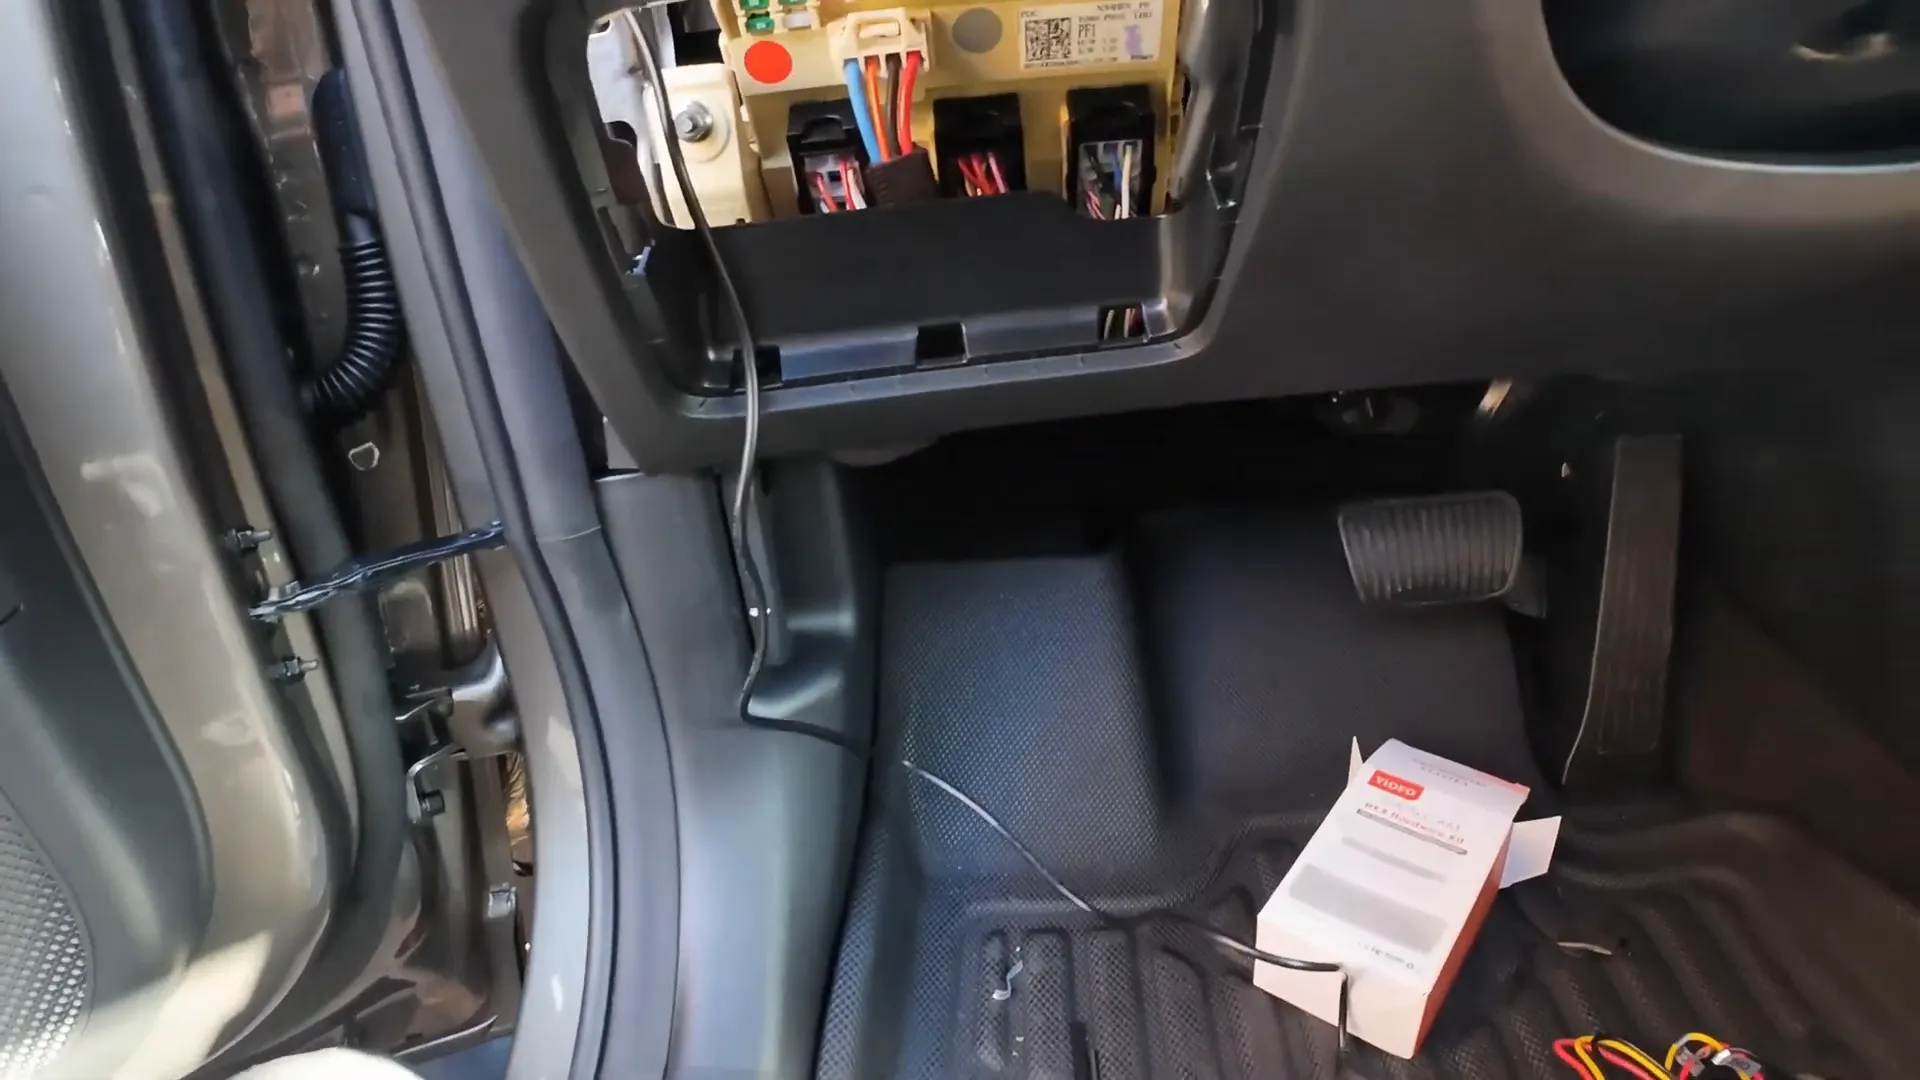
Carefully cut back the wire loom to expose the necessary wires. Use a soldering iron to connect the power wires securely, and wrap them with electrical tape to prevent any short circuits.
Step 7: Final Connections and Testing
Once all connections are made, secure everything back in place. Reinstall the A-pillar and the headliner, ensuring no wires are visible. Then, turn on your vehicle to test the dash cam. Make sure it's functioning correctly and recording as expected.

Conclusion
Congratulations! You've successfully installed a dash cam in your 2025 Hyundai Tucson. Not only does this enhance your vehicle's security, but it also provides peace of mind while you're on the road. If you have any questions or need professional installation, feel free to reach out to us at Safe Drive Solutions. We offer installation services across Greater Vancouver and Toronto.
For more information on dash cams and their benefits, check out our resources at Safe Drive Solutions.
Happy driving, and stay safe out there!

