
Toyota GR86 Front and Rear Dash Cam
A clean dash cam installation in a Toyota GR86 takes a little planning, especially with the Subaru EyeSight camera system positioned near the rear-view mirror. The goal is to keep the front camera unobtrusive, route every wire safely, and add rear coverage without cluttering the cabin.
Key Takeaways
- Mount the front dash cam behind the rear-view mirror to keep it discreet and unobtrusive.
- Use the opening above the mirror and headliner to conceal the front camera wiring.
- Route wiring behind the A-pillar trim for a cleaner and safer-looking installation.
- Use a water-repellent treatment to improve rear camera visibility in rainy conditions.
Mounting the Front Dash Cam Behind the Mirror
For this GR86, we installed a Viofo dash cam directly behind the rear-view mirror. This location keeps the camera out of the driver’s normal line of sight while still giving it a clear forward-facing view of the road.
The important detail here is the space around the factory EyeSight camera. The dash cam is mounted neatly beside and behind the mirror assembly, without obstructing the EyeSight hardware. A well-positioned front camera should look almost factory-installed from the driver’s seat.
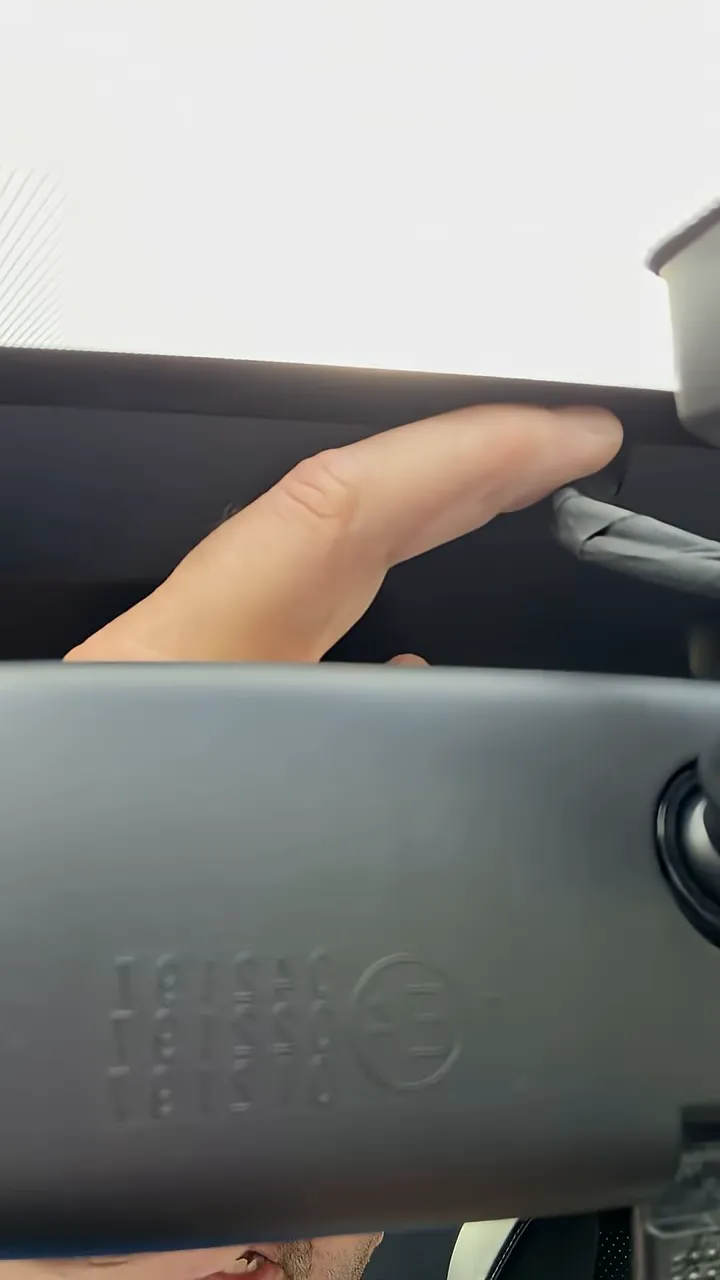
Routing the Wire Through the Headliner
The GR86 has a useful opening above the rear-view mirror area for mirrors equipped with power. We used that opening to guide the dash cam wiring upward, then tucked it cleanly into the headliner.
This keeps the cable hidden rather than leaving it hanging below the mirror or across the windshield. It also creates a much cleaner finish around the front camera and factory sensor assembly.
Running the Cable Behind the A-Pillar
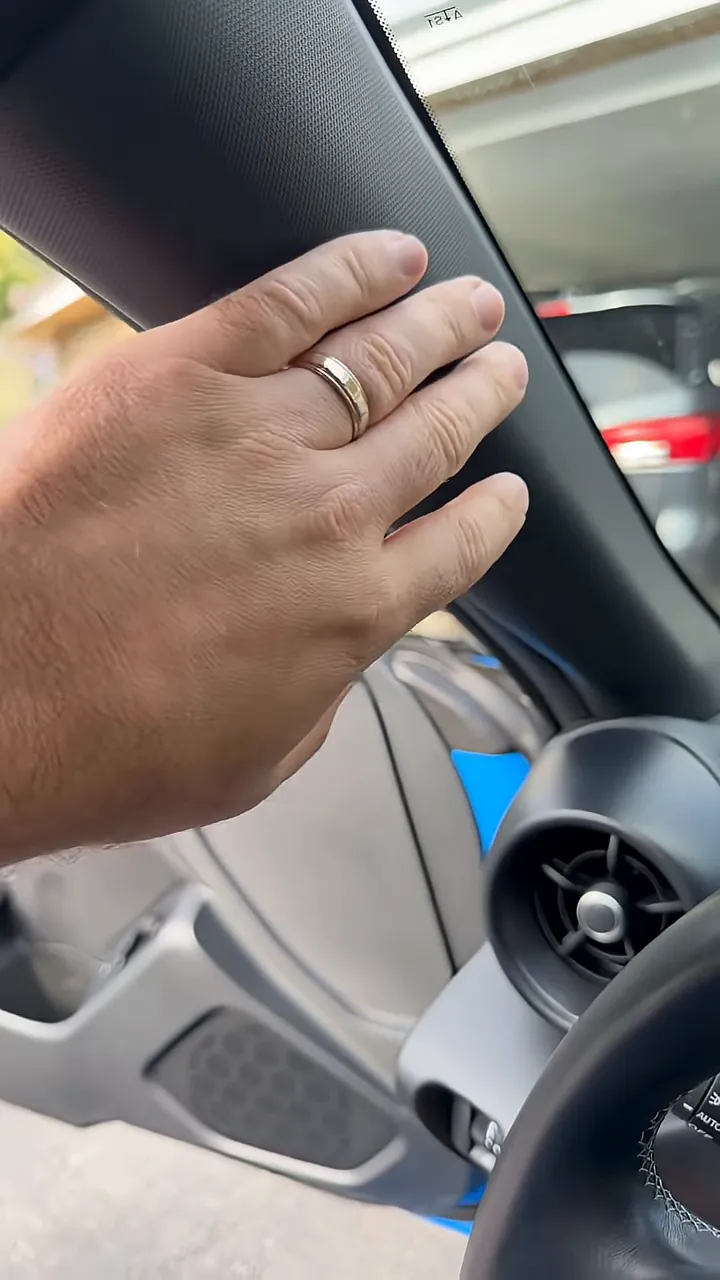
From the headliner, the wire continues down the A-pillar. The A-pillar trim is removed so the cable can be routed safely behind it instead of being pressed around the outside edge.
This matters for both appearance and proper cable management. The wire remains concealed, protected, and out of the way, leaving the GR86 interior looking unchanged once the trim is reinstalled.
Adding a Rear Dash Camera
A front and rear dash cam setup provides coverage in both directions. The rear camera is mounted high on the rear window, giving it a clear view through the back glass while keeping the camera itself as unobtrusive as possible.
High placement is particularly useful in the GR86 because it keeps the rear camera out of the way and preserves a clean view through the rear window.
Improve Rear Camera Visibility in Rain
The Toyota GR86 does not have a rear windshield wiper, so rear-camera footage can be affected by rain and water buildup on the glass. Applying a water-repellent treatment such as Rain-X can help water bead up and dissipate more effectively during wet weather.
It is a small detail, but it can make a real difference in maintaining usable rear-facing footage through the rainy season.
A Factory-Clean Result
With the Viofo front camera hidden behind the rear-view mirror, the wiring tucked through the headliner and behind the A-pillar, and the rear camera mounted high on the rear glass, this Toyota GR86 gets complete front and rear coverage without sacrificing the clean look of the cabin.
The best dash cam installation is the one you barely notice, until you need the footage.