Thinkware U3000 Pro Dash Camera Unboxing and First Look
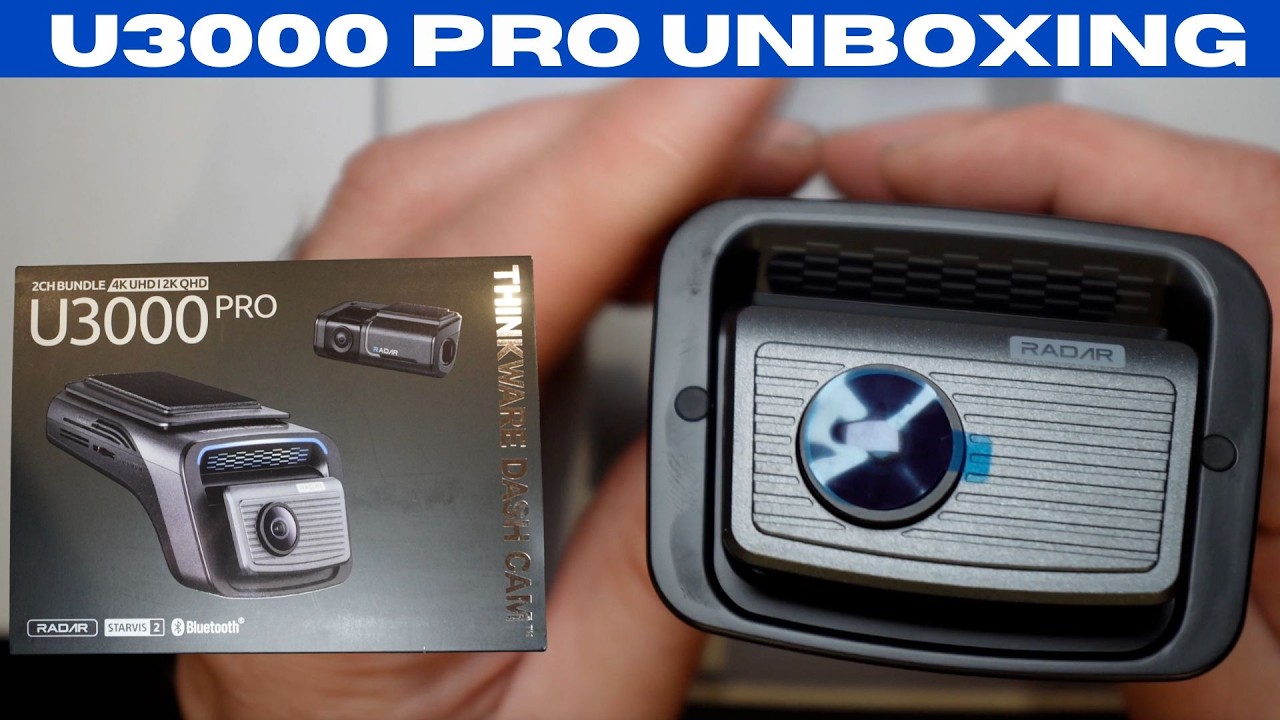
I just unpacked the Thinkware U3000 Pro and wanted to share what comes in the box and what I noticed on first inspection. This looks like a proper production unit — it has a valid serial number and a production date of September 2025 — so this is not a pre-production sample. Below I break down the ports, accessories, compatibility, and a quick spec summary so you know what to expect before you buy or install one.
What comes in the box
The U3000 Pro package is straightforward and includes everything you need for a standard install. Here is what I found:
- Main U3000 Pro front dash camera
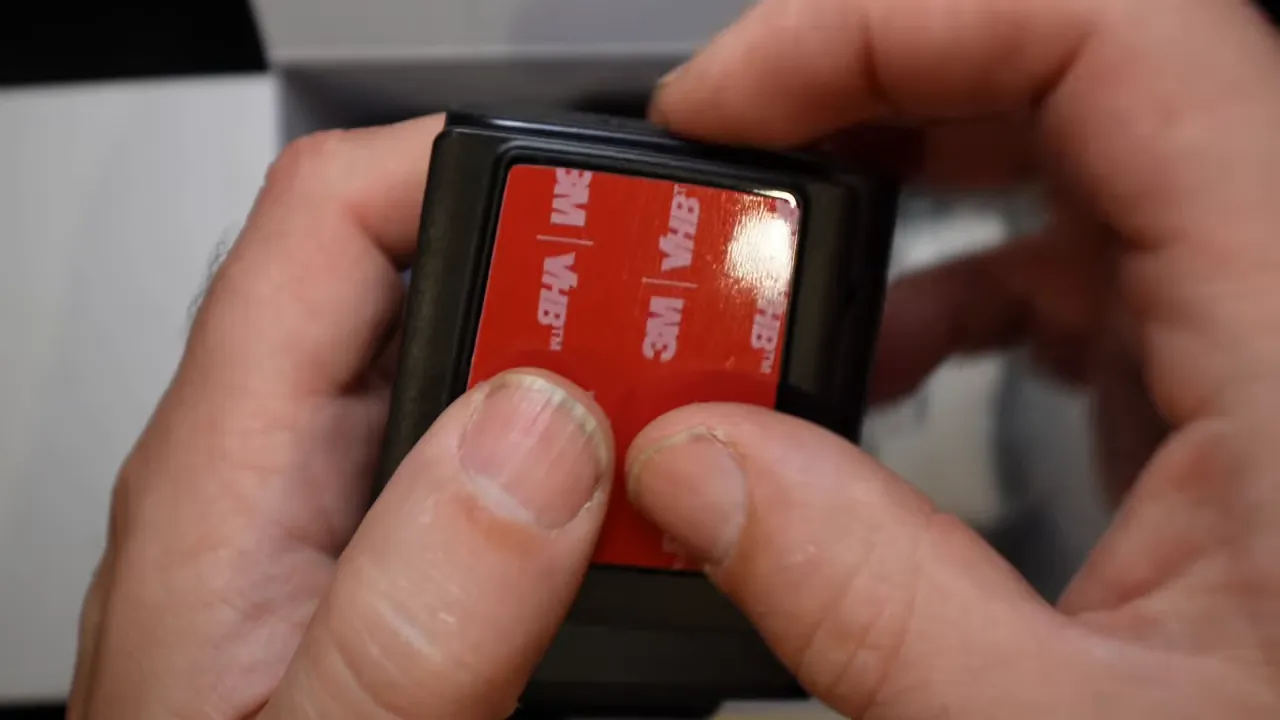
- Mount with sticky tape
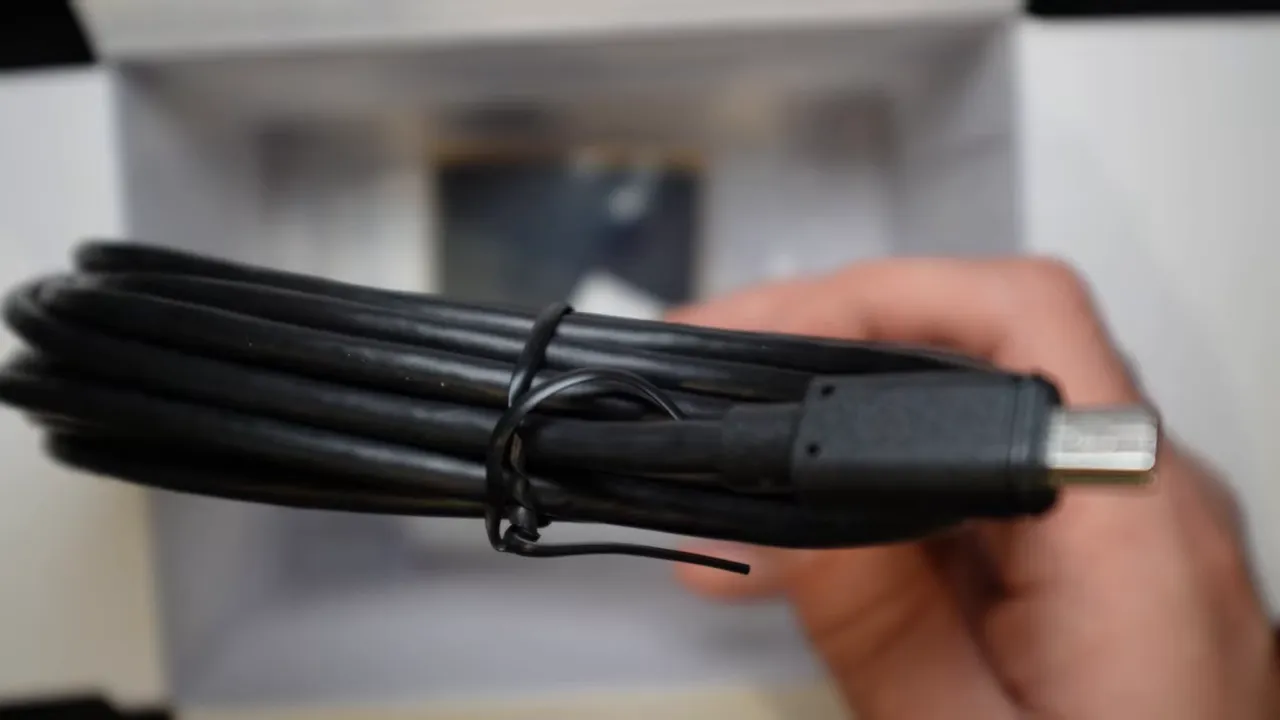
- Rear camera and rear camera cable
- New style OBD2 power cable with fuse taps
- Heat blocking film
- Extra sticky tape and small wire clips for cable management
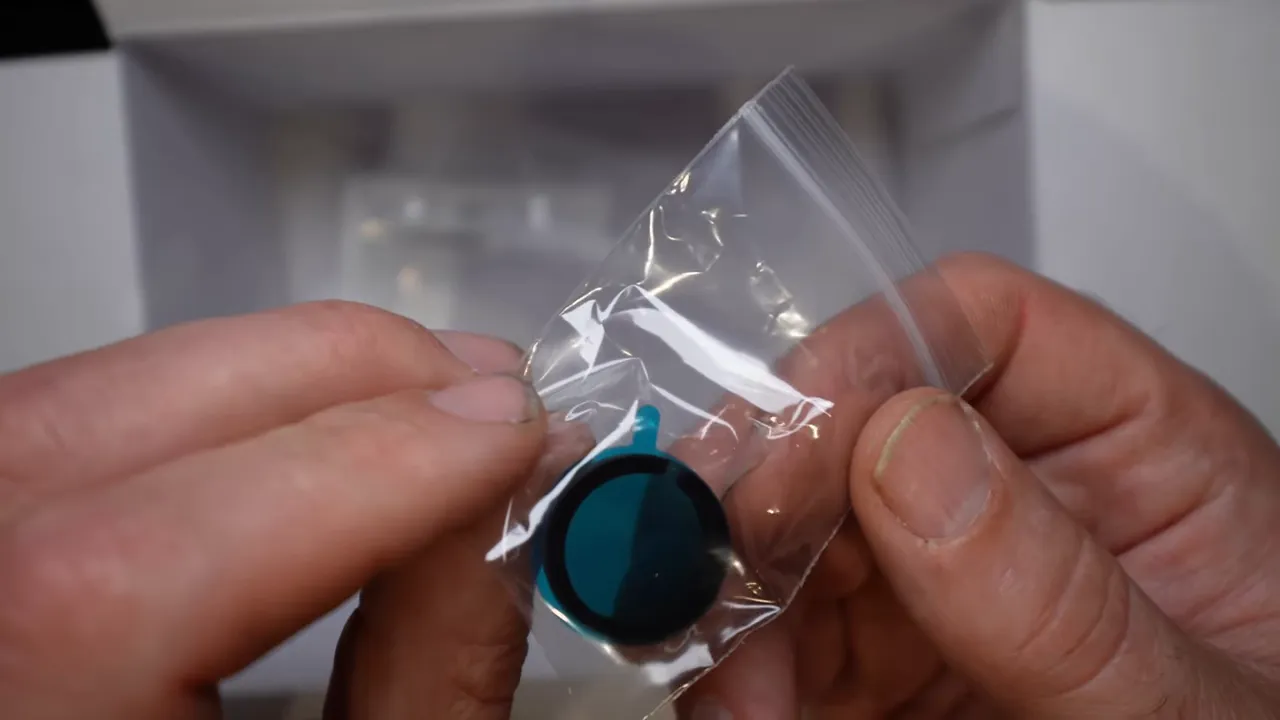
- Clip-on polarized lens (CPL) filter
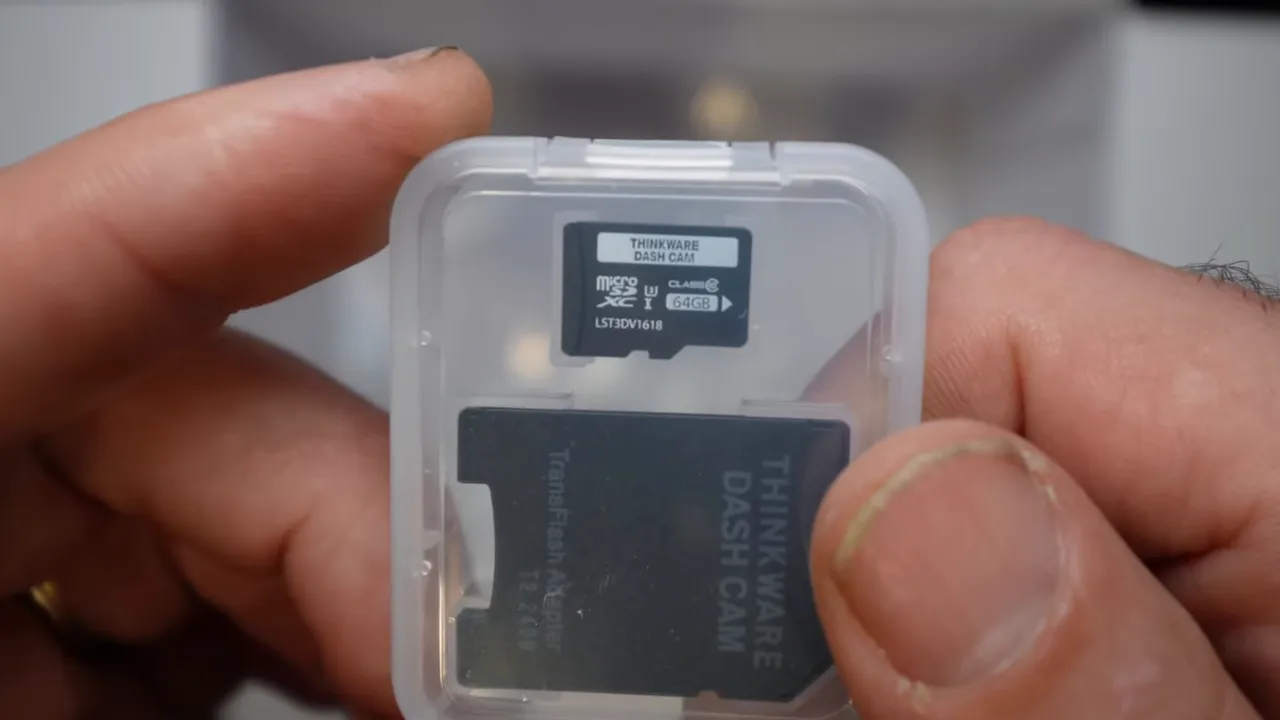
- Thinkware 64 GB microSD card
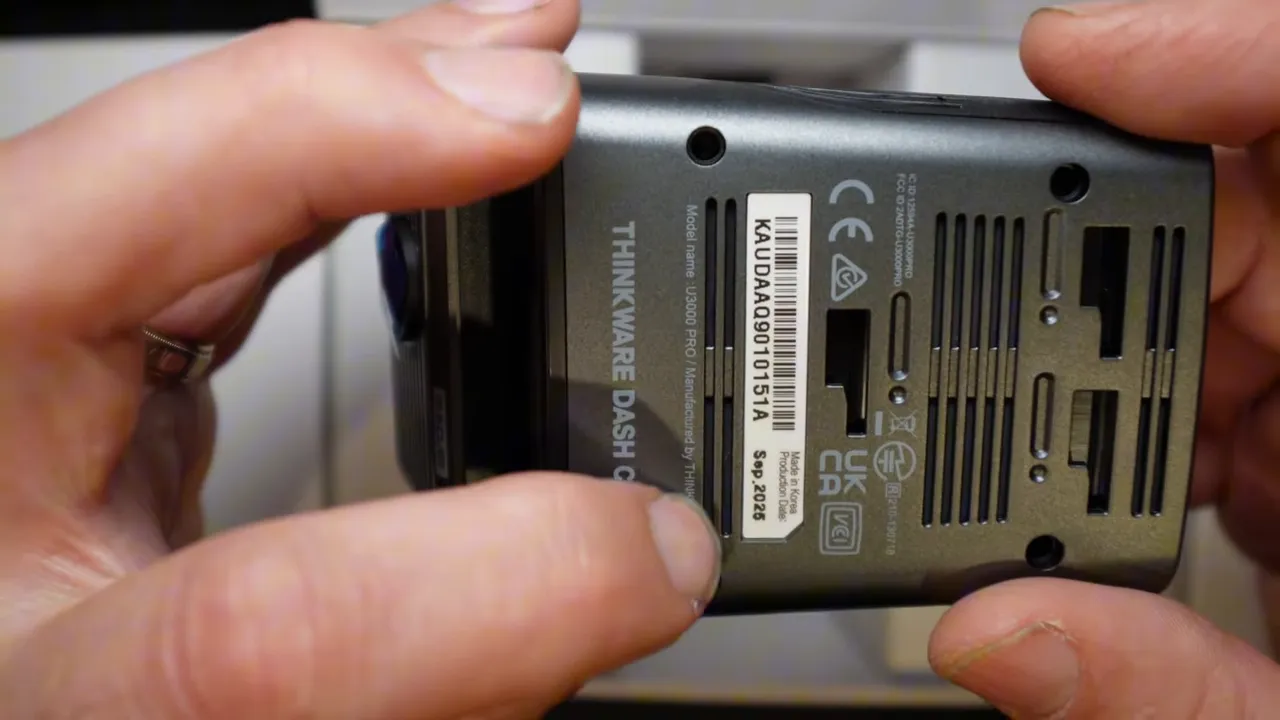
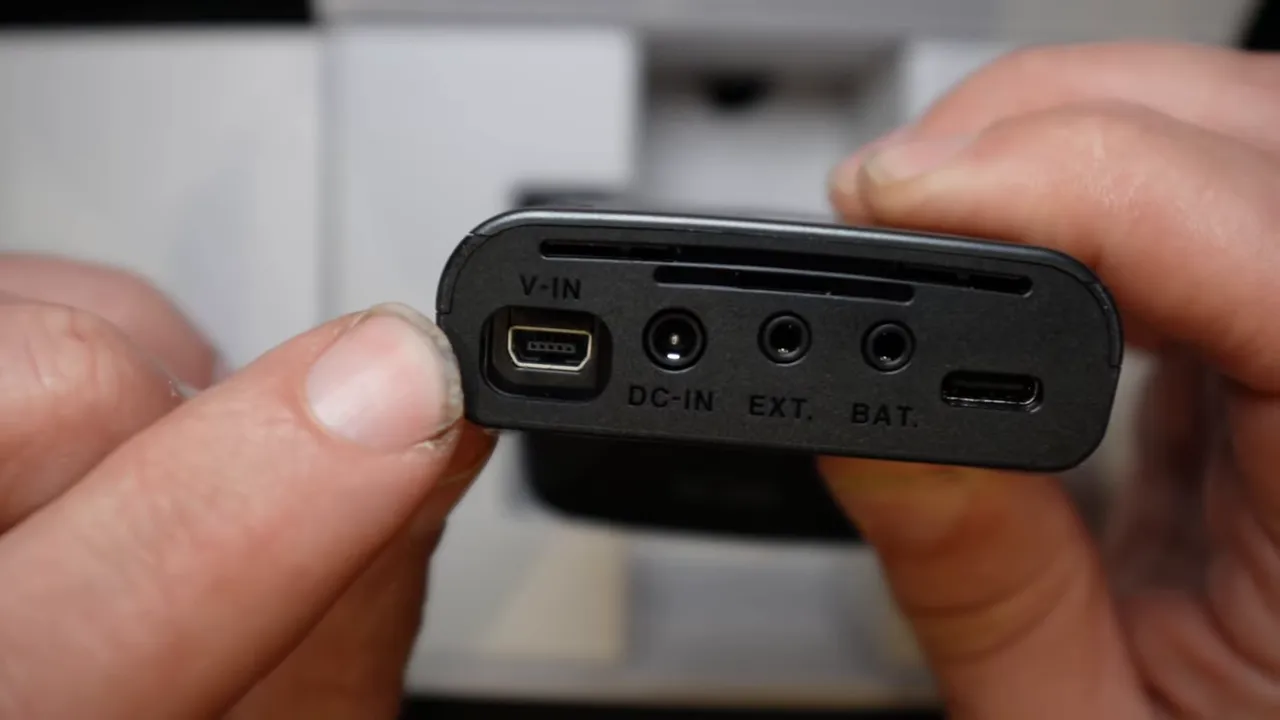
Ports and controls on the U3000 Pro
The top and side ports are clearly labeled and include everything you need for expandability:
- V-IN for the rear camera video input
- DC-IN for the main power cable
- EXT port for an external GPS antenna
- BAT port for an optional external battery pack
- USB-C port for optional LTE module or an optional interior/cabin camera
- MicroSD card slot on the side
On the front you have several physical buttons for easy control: manual recording, power, Wi-Fi, and a microphone on/off switch. These make quick interactions easy without touching the app.

Mount compatibility and physical notes
The mount included with the U3000 Pro appears to be the same mounting style used on the earlier U3000. If you are upgrading from the original U3000, the mount is compatible which makes upgrading painless. The mount and sticky pad look familiar and straightforward to reinstall.
Camera sensors and recording modes
Thinkware upgraded the imaging hardware. The U3000 Pro front uses a Sony STARVIS 2 IMX678 sensor and the rear uses a Sony STARVIS 2 IMX675. That is a meaningful step up in low light performance and dynamic range compared to the prior generation.
- Front recording options: 4K UHD (3840 x 2160) at 30 fps or 2K QHD (2560 x 1440) at 60 fps
- Rear: 2K QHD (2560 x 1440) at 30 fps
- Dual HDR support and dual radar parking mode
Power options and the new OBD2 cable
One of the most welcomed changes is the new style OBD2 cable. It now uses only two pins (pin 4 and pin 16) similar to other modern OBD power adaptors. This simplifies installation and avoids some of the problems seen with earlier multi-pin OBD cables.
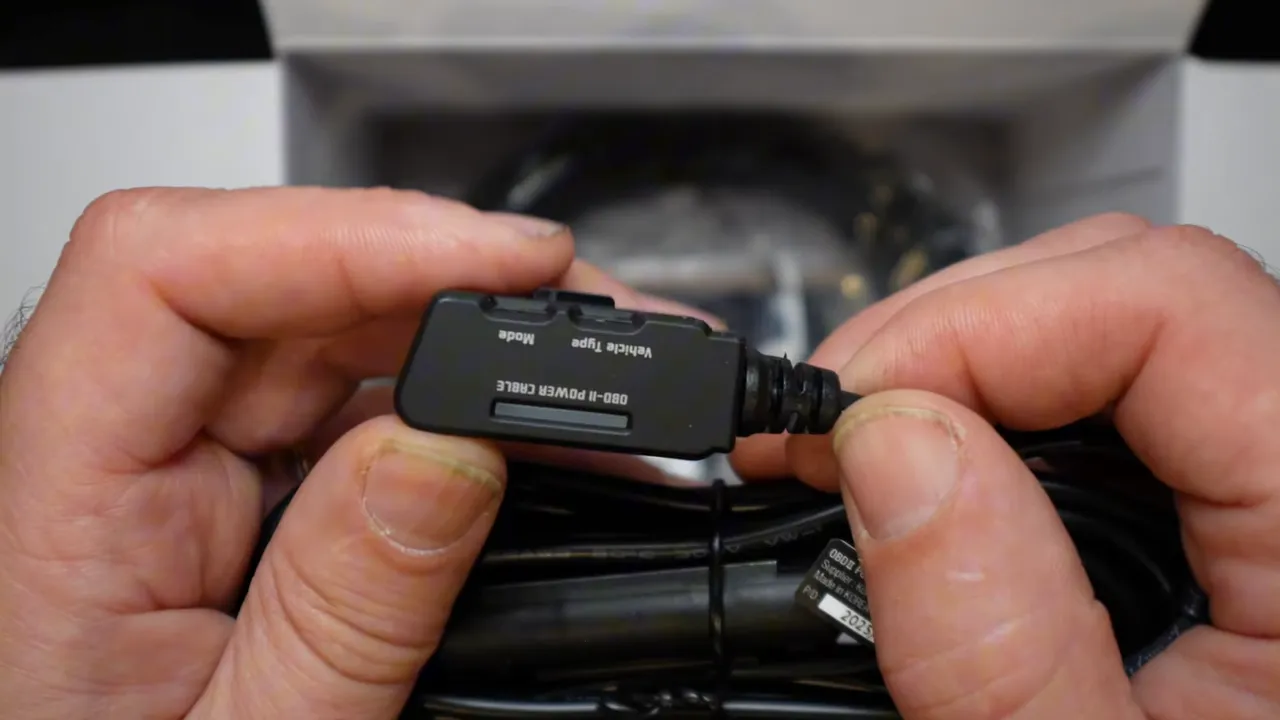
Practical tips about the OBD2 cable:
- The cable comes with inline fuse holders and can be hardwired by cutting the cable where needed, removing the need for a separate hardwire kit in many cases.
- If you prefer a permanent hardwire, you can cut and wire this cable as you would a typical hardwire harness.
Rear camera cable length and connectors
The rear camera cable is the usual generous length: roughly 6.5 to 7 meters (about 20 to 23 feet). For most vehicles and standard installation routes this is more than sufficient. On the connectors you will notice one end is labeled R for rear and the other F for front to make installation straightforward.
Accessories: heat film, CPL, cable management
The kit includes a heat-blocking film strip for the windshield. Depending on your climate this may be more or less useful. I live in Canada where it is not often critical, but drivers in very hot regions like Arizona, California, Florida, or Texas may find it worthwhile.
Thinkware changed their polarizing lens design. Instead of a stick-on CPL, the new version clips over the front lens. It looks different than older CPL styles but serves the same purpose: reduce reflections and glare coming through the windshield.
Extras like additional sticky tape and small wire clips are included for long-term maintenance and tidy cable routing if the windshield needs replacement later.
Storage: microSD card
The unit arrives with a Thinkware-branded 64 GB microSD card in the box. Thinkware supports sizes from 64 GB up to 512 GB depending on your needs and recording configuration.
Key specifications at a glance
- Front sensor: Sony STARVIS 2 IMX678 (8.4MP, 1.18")
- Rear sensor: Sony STARVIS 2 IMX675 (5.14MP, 1/2.8")
- Front resolution: 4K UHD @ 30 fps or 2K QHD @ 60 fps
- Rear resolution: 2K QHD @ 30 fps
- Front viewing angle: 147.2°, Rear viewing angle: 156.4°
- Dual HDR and Dual Radar parking mode
- Connectivity: Optional LTE module or cabin camera via USB-C
- Storage: microSD 64/128/256/512 GB
- Power: DC 12V/24V input with built-in supercapacitor; rear DC 5V
Final thoughts and next steps
This is a solid refresh of the U3000 line. The move to STARVIS 2 sensors, the updated power cable, the option for USB-C add-ons like LTE or a cabin camera, and the improved polarizer design all point to a well thought out incremental upgrade. The LTE module is not yet available at the time of this unboxing, but once it is I will be testing it to evaluate connected features.
If you are upgrading from the original U3000 you should find the new unit physically compatible with existing mounts and installations. The included accessories make a standard install quick, and the cable lengths will cover most vehicles with standard routing practices.
Want a quick checklist before installing?
- Confirm the mount location and test fit for the forward viewing angle.
- Decide whether you will use OBD power or hardwire. The included OBD cable can be cut and hardwired if preferred.
- Plan the rear camera cable route and verify length through your vehicle.
- Install the microSD card and format it in-camera or via the app before first use.
- Keep the extra sticky pads and wire clips for future windshield replacement or cable tidying.
If you want more details on installation or a full review of image quality once I test the sensors in different lighting conditions, I will share follow-up posts. For now, the U3000 Pro looks like a meaningful upgrade and a solid contender in the 4K dash cam space.

