Installing a Dash Cam in Your BMW X5: A Comprehensive Guide
Installing a dash cam in your BMW X5 can significantly enhance your driving experience by providing video evidence in case of accidents or disputes. In this guide, we will walk you through the entire process of installing a front and rear dash camera in the 2014 to 2019 BMW X5. We will cover everything from removing panels, running wires safely, and connecting to your vehicle’s power system. Let’s dive in!
Preparation for Installation
Before embarking on the installation, gather all necessary tools and equipment. You will need:
- Dash camera (front and rear)
- Panel popper tool
- Torx screwdriver (T20 or T25)
- Cable ties
- Wire insertion tool
- Electrical tape
- 3M adhesive tape for camera mounting
Removing the A-Pillar
The first step is to disassemble the A-pillar of your BMW X5. This is crucial for running the camera wires safely and effectively.
Start by removing the airbag clip, which will expose a Torx screw. Use your Torx screwdriver to loosen it. Next, pull back the weather stripping around the door seal to access the A-pillar. Use the panel popper tool to release the clips holding the A-pillar in place.
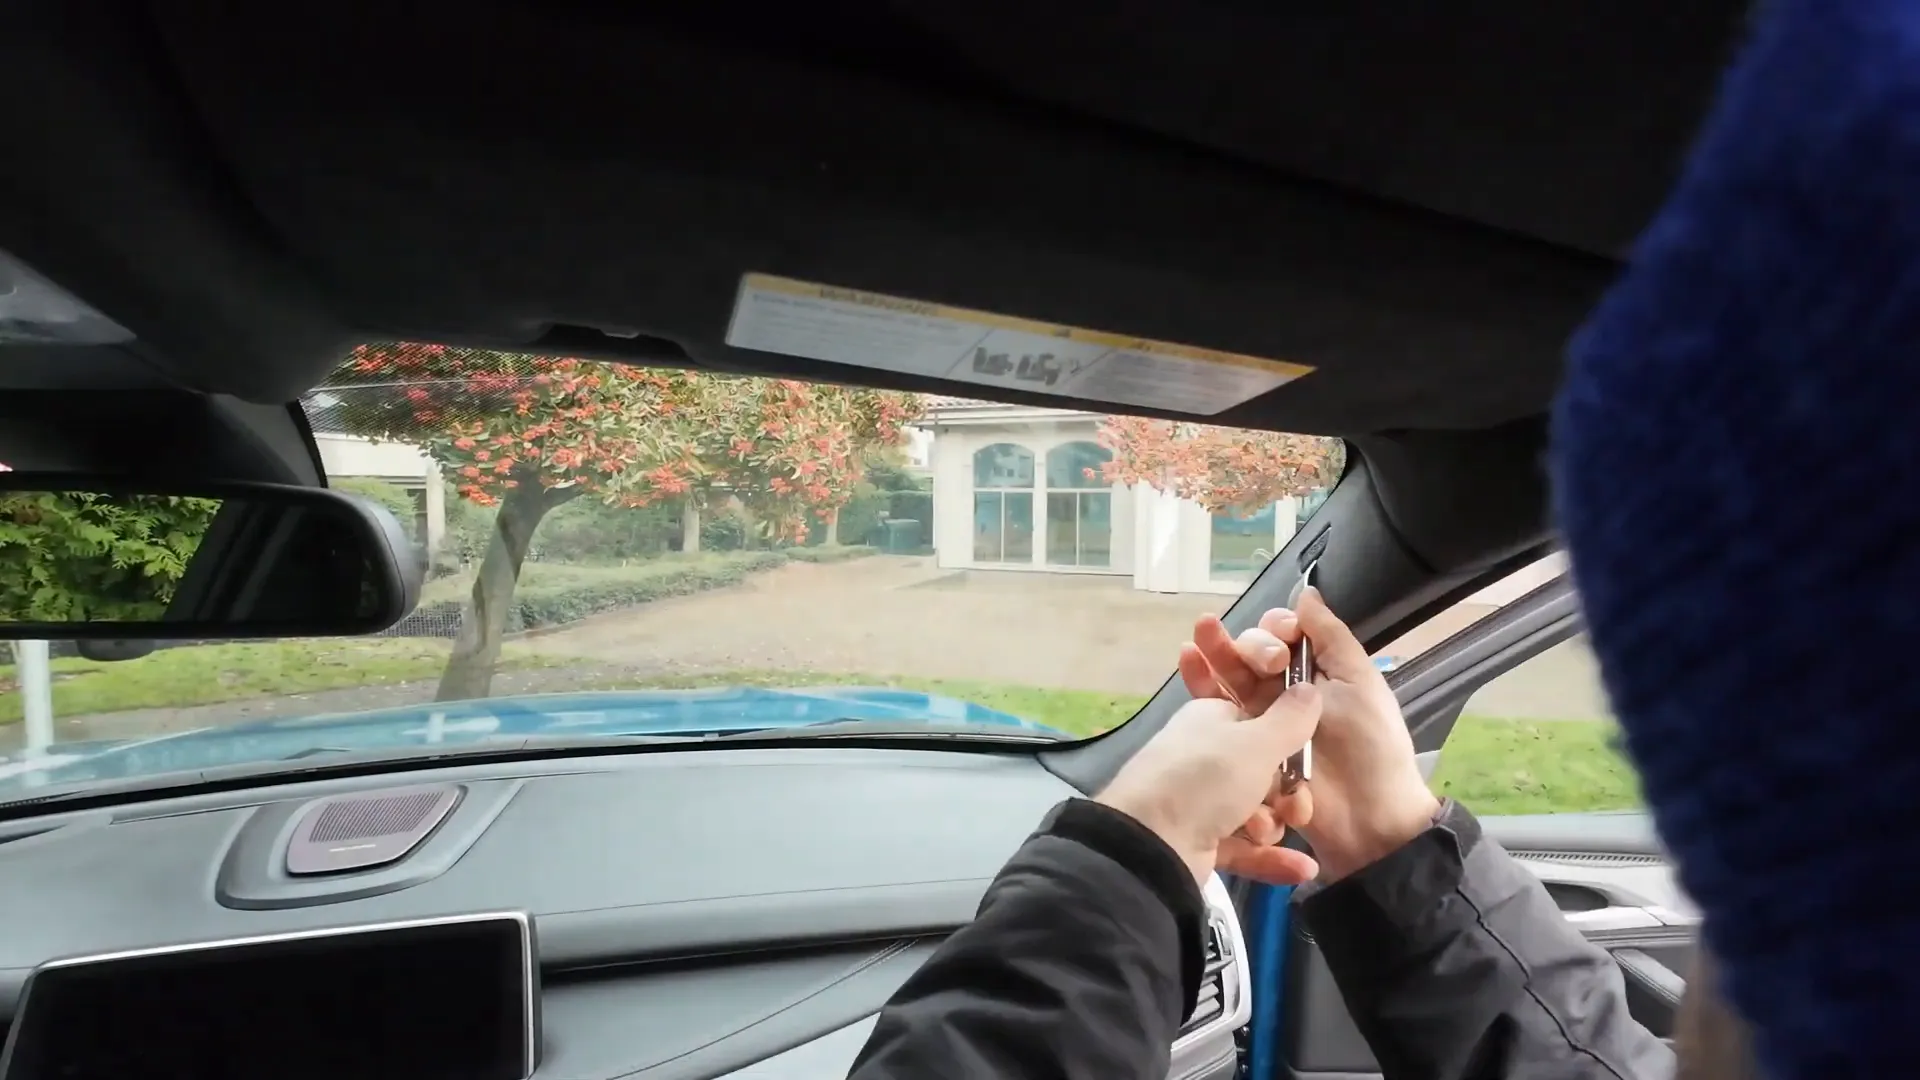
Running the Wires Behind the Airbag
Once you have access to the A-pillar, begin running the wiring. Tuck the wires into the headliner, ensuring there’s a bit of slack to accommodate movement. Secure the power cable to the wiring next to the airbag using cable ties to prevent interference with the airbag deployment.
Continue running the wires down the A-pillar, ensuring that they are neatly tucked away and won’t obstruct any vehicle functions.
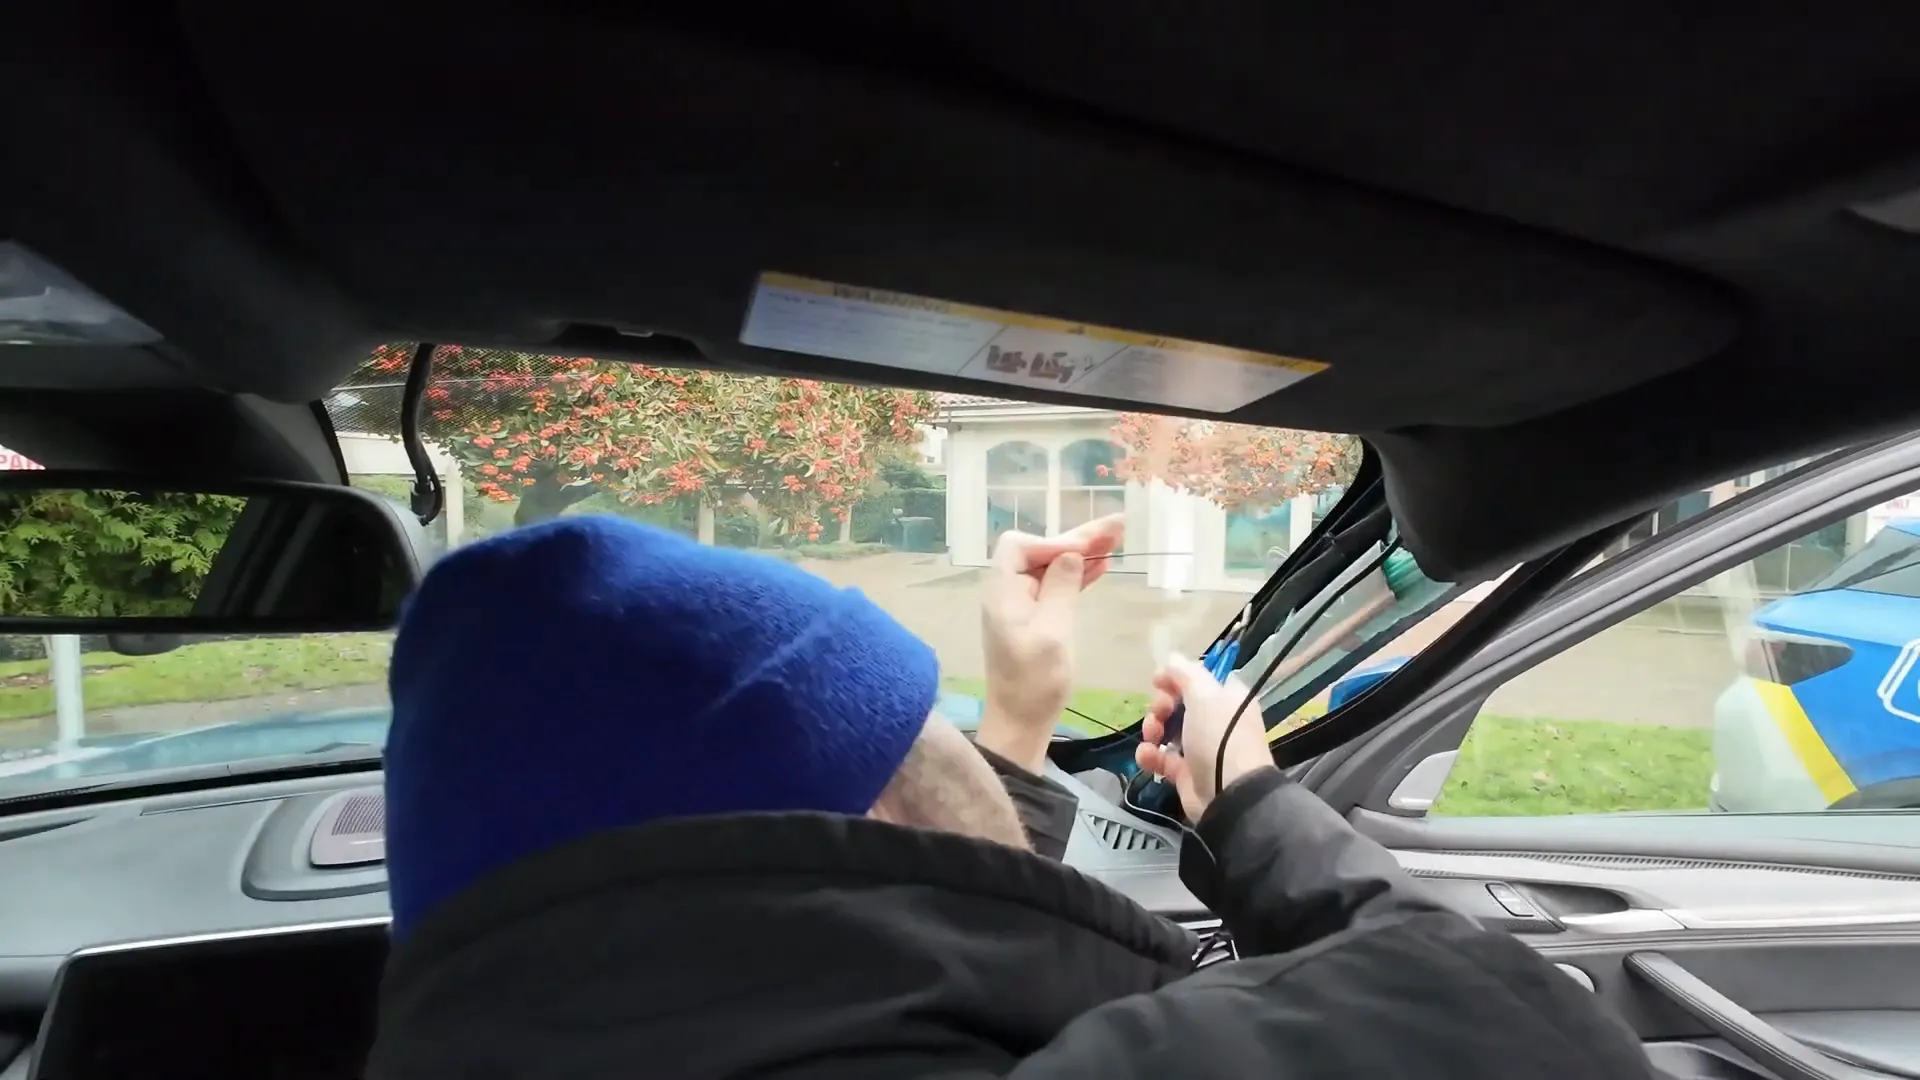
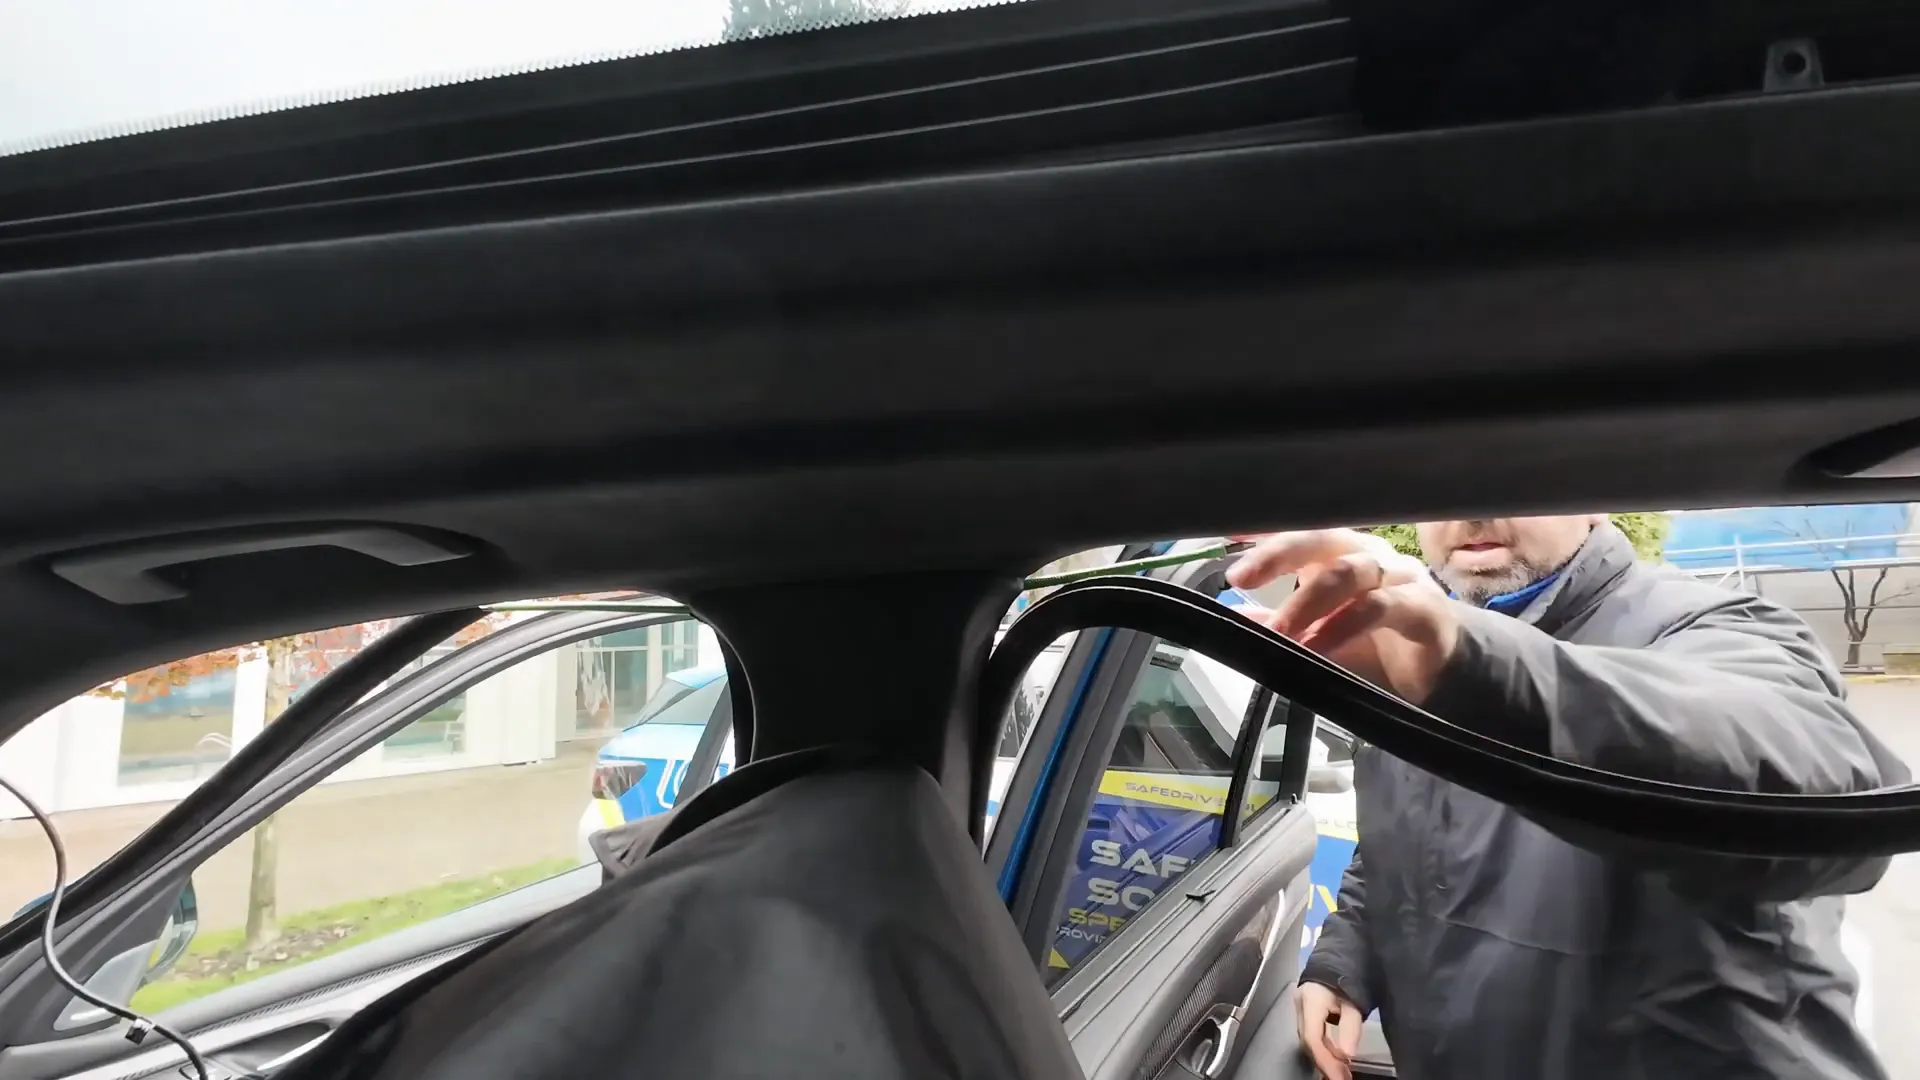
Fishing the Wire Through to the Rear
Next, you need to run the rear camera cable from the front to the rear of the vehicle. Remove the rear weather stripping and use the wire tool to fish the wire through.
Be careful while using tools like coat hangers or tie straps; ensure they won’t damage the vehicle's interior. Once you reach the rear, loosen the rear airbag panel on the C-pillar to tuck the wiring away neatly.
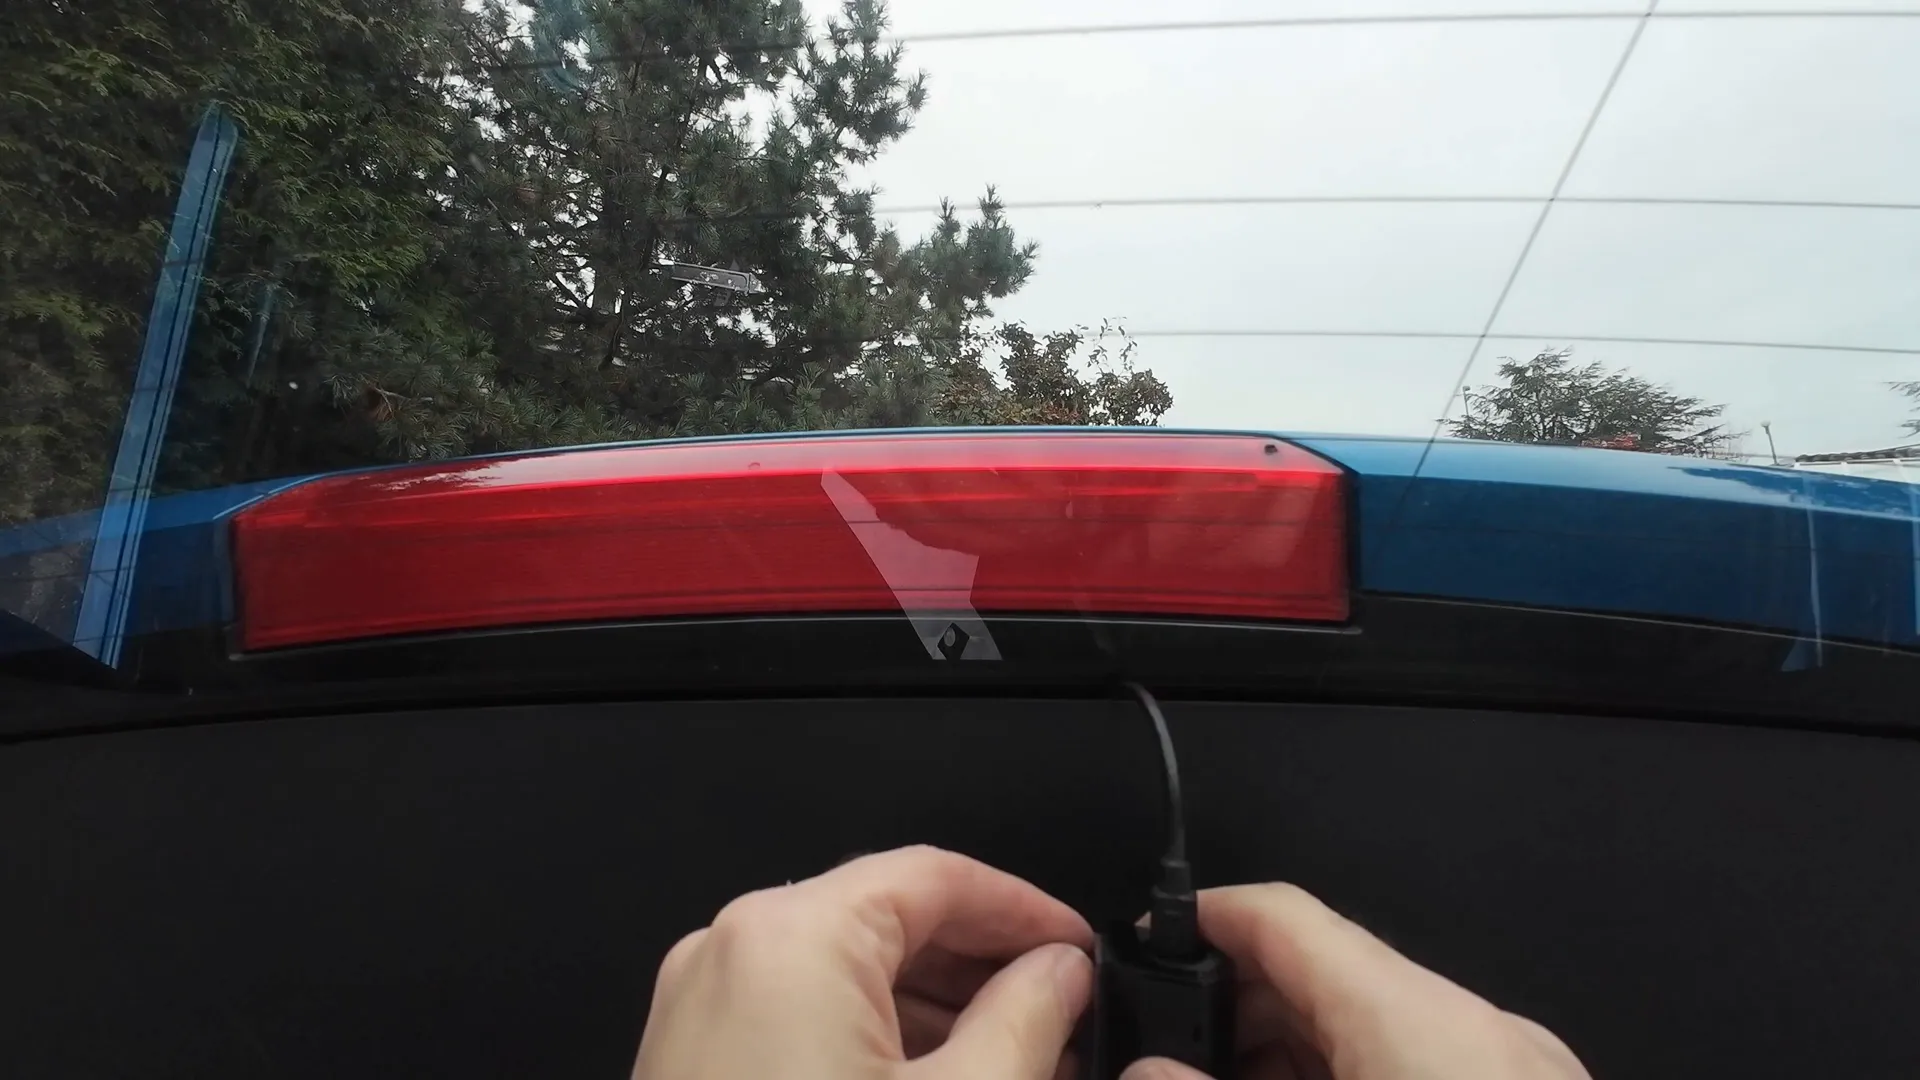
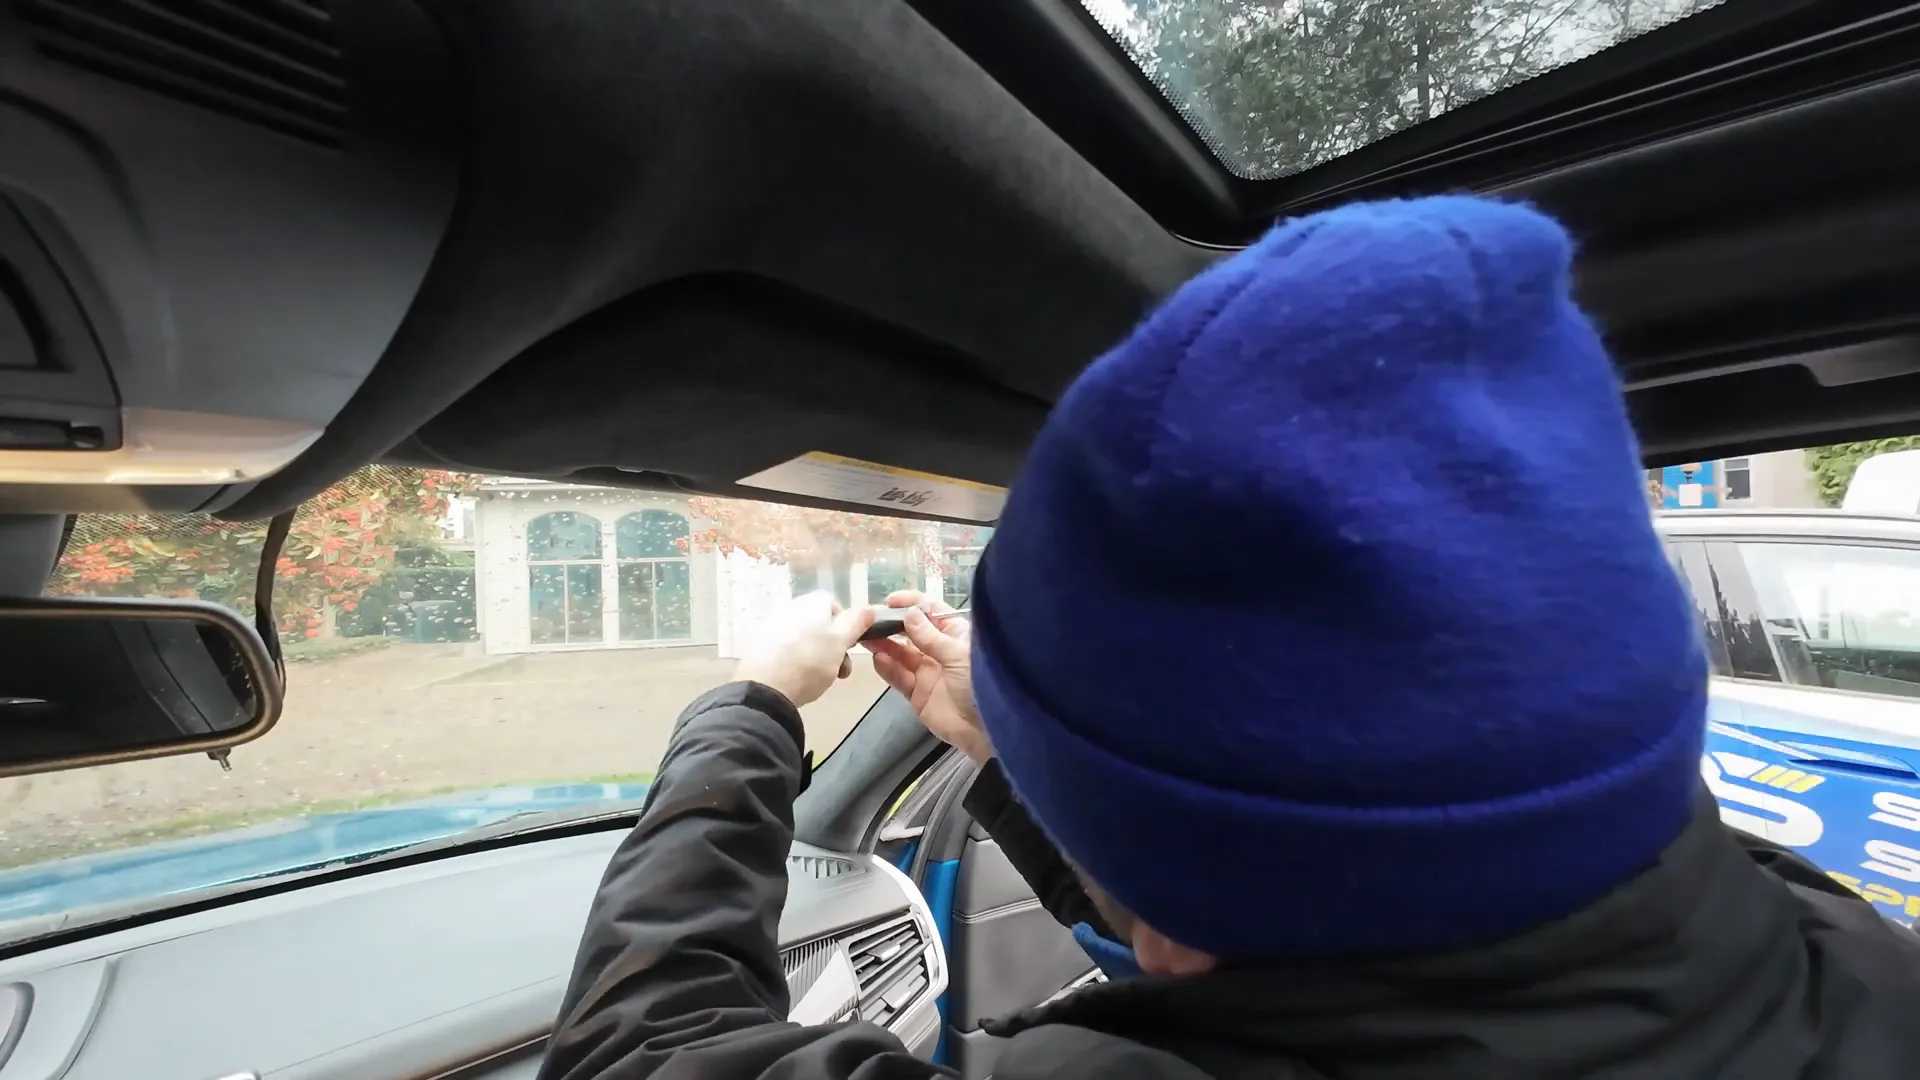
Mounting the Rear Dash Camera
With the wiring in place, it's time to mount the rear dash camera. Clean the surface of the rear hatch with antiseptic wipes and paper towel to ensure good adhesion for the camera.
Once clean, mount the rear camera, adjusting the angle as needed. Keep in mind that further adjustments can be made after connecting the camera to the app.
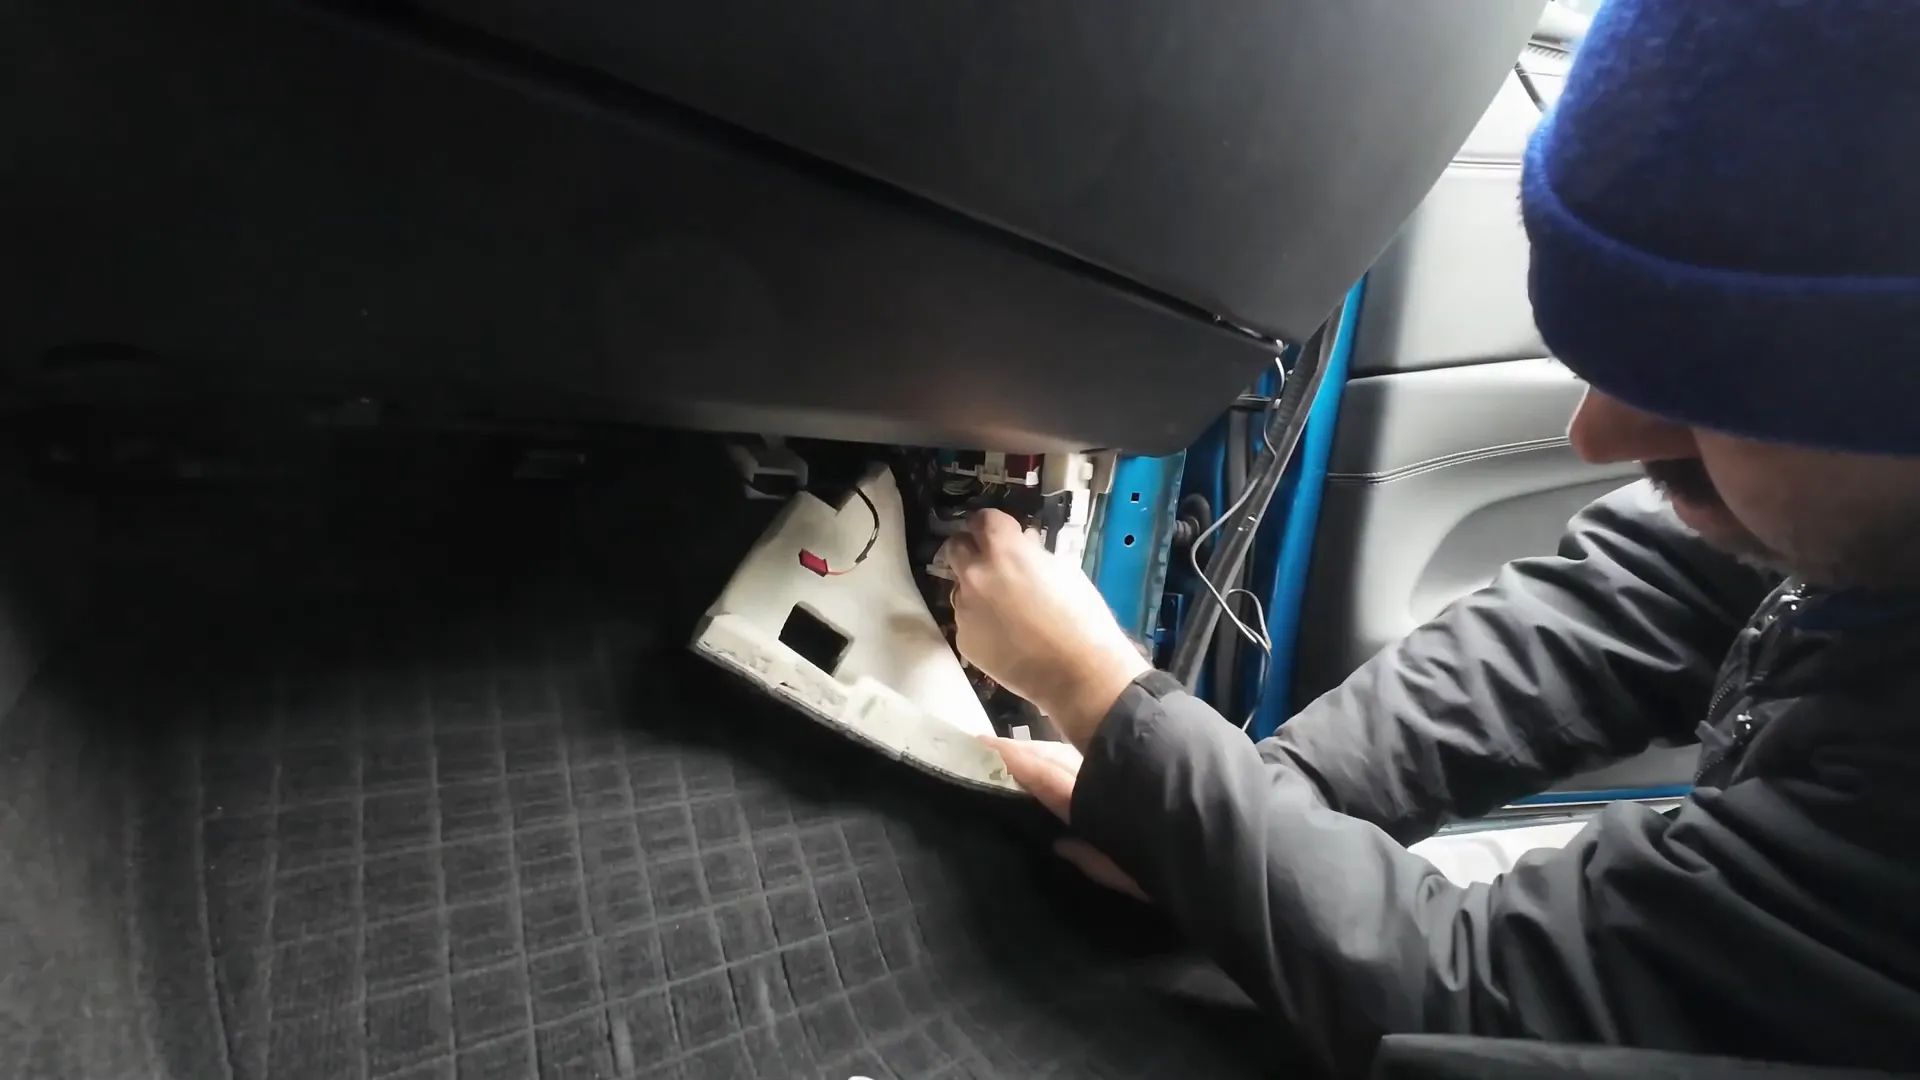
Accessing the Fuse Box
Now, let’s move to the passenger side to access the fuse box. Remove the necessary panels and the weather stripping to expose the wiring. Carefully remove the kick panel and the protective panel over the fuse box.
Locate the ignition sense wire, constant power, and ground wire. This is where you will connect your dash cam to the vehicle’s electrical system.
Connecting the Dash Cam
Once you’ve located the appropriate wires, you have a couple of options for connecting your dash cam:
- Hardwiring: This method involves soldering the wires directly to the ignition sense, constant power, and ground wires. This ensures that your dash cam operates seamlessly and enters parking mode immediately.
- Fuse Taps: If you prefer not to hardwire, you can use fuse taps instead. This method is less invasive and allows you to connect to the fuses directly.
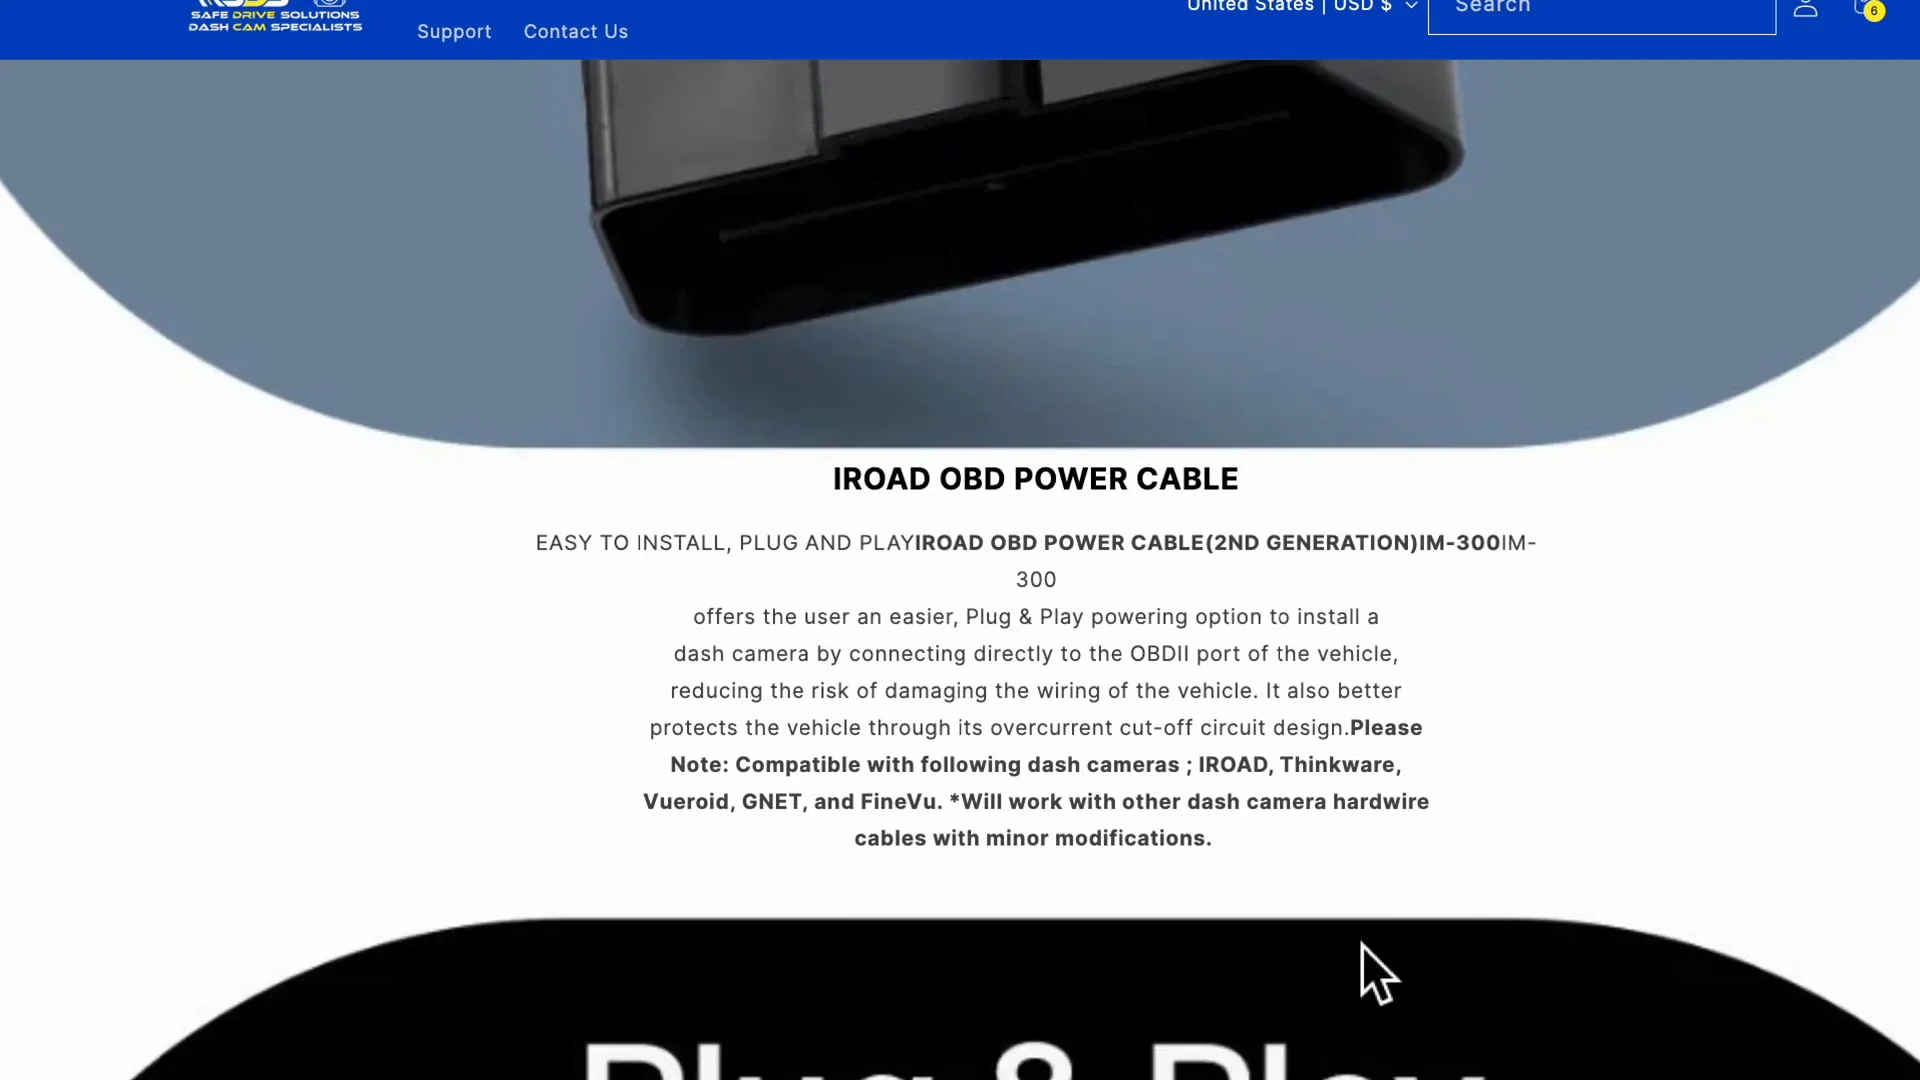
- OBD2 Connector: This option is popular among BMW owners as it avoids direct connections to the fuse box.
Reassembling the Panels
After making the necessary connections, it’s time to reassemble the A-pillar and other panels. Ensure that all clips are securely in place and that the wiring is hidden away neatly. This not only keeps your vehicle looking tidy but also protects the wiring from potential damage.
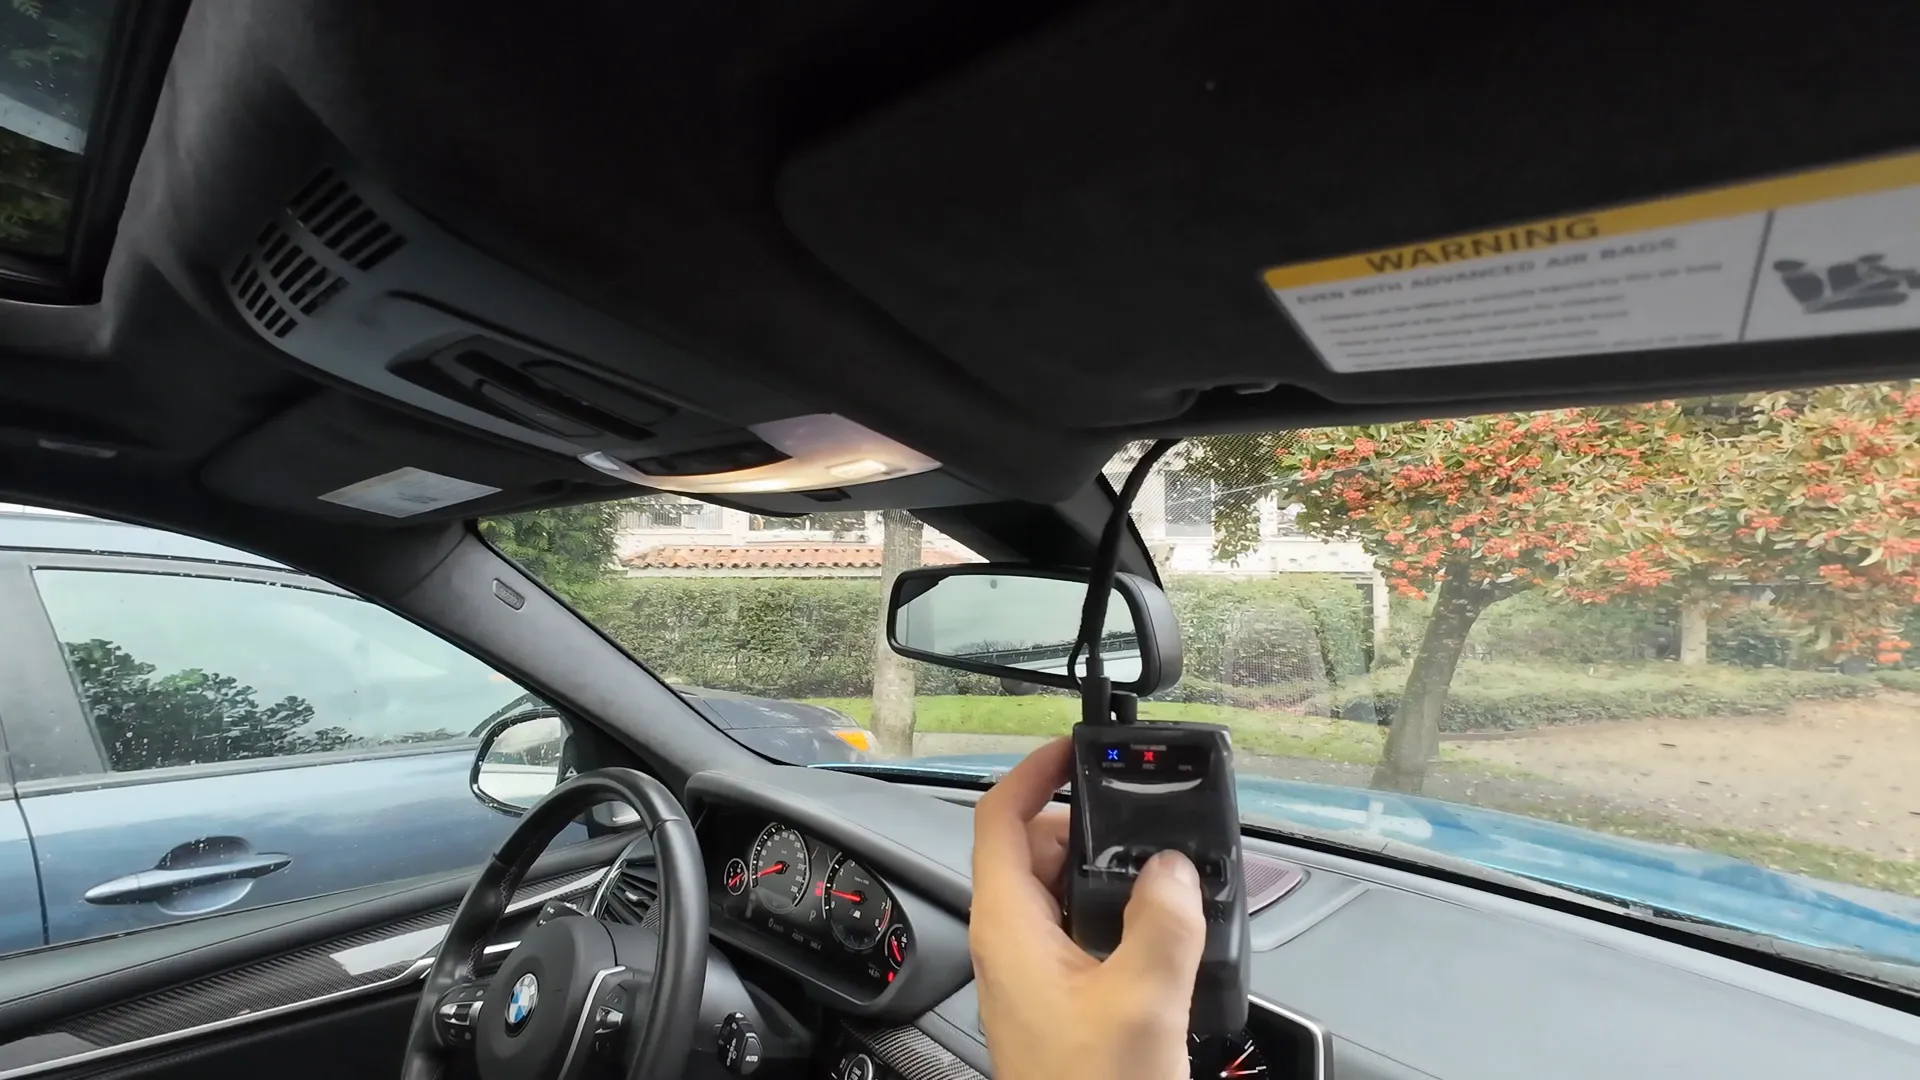
Testing the Dash Cam
With everything mounted and connected, turn on the ignition of your BMW X5. Power up your dash cam and initiate the Wi-Fi connection by holding the Wi-Fi button for five seconds. Connect it to your smartphone app to ensure that everything is functioning correctly.
Check the live view feature to confirm the camera’s positioning and make any final adjustments necessary.
Final Thoughts
Congratulations! You have successfully installed a front and rear dash camera in your BMW X5. This installation not only enhances your safety but also provides vital evidence in case of incidents on the road.
If you have any questions about the installation process or need professional assistance, feel free to reach out to Safe Drive Solutions. We offer professional dash cam installation services in Greater Vancouver and Toronto, ensuring that your dash cam is installed correctly and efficiently.
For more information on dash cams or to explore our selection, visit Shop Dash Cam – Safe Drive Solutions.

