GMC Sierra Denali 2024-2025 Dash Camera Installation Guide
Installing a dash camera on the new 2024-2025 GMC Sierra Denali presents unique challenges due to its modern design and tight interior panels. In this detailed guide, we walk you through the professional installation process of the Thinkware U3000 dash camera, sharing expert tips to ensure a clean, safe, and functional setup. Whether you’re a DIY enthusiast or considering professional installation, this article will help you understand all the steps involved in mounting the dash cam, running wiring safely, and hardwiring the device to your vehicle’s power system.
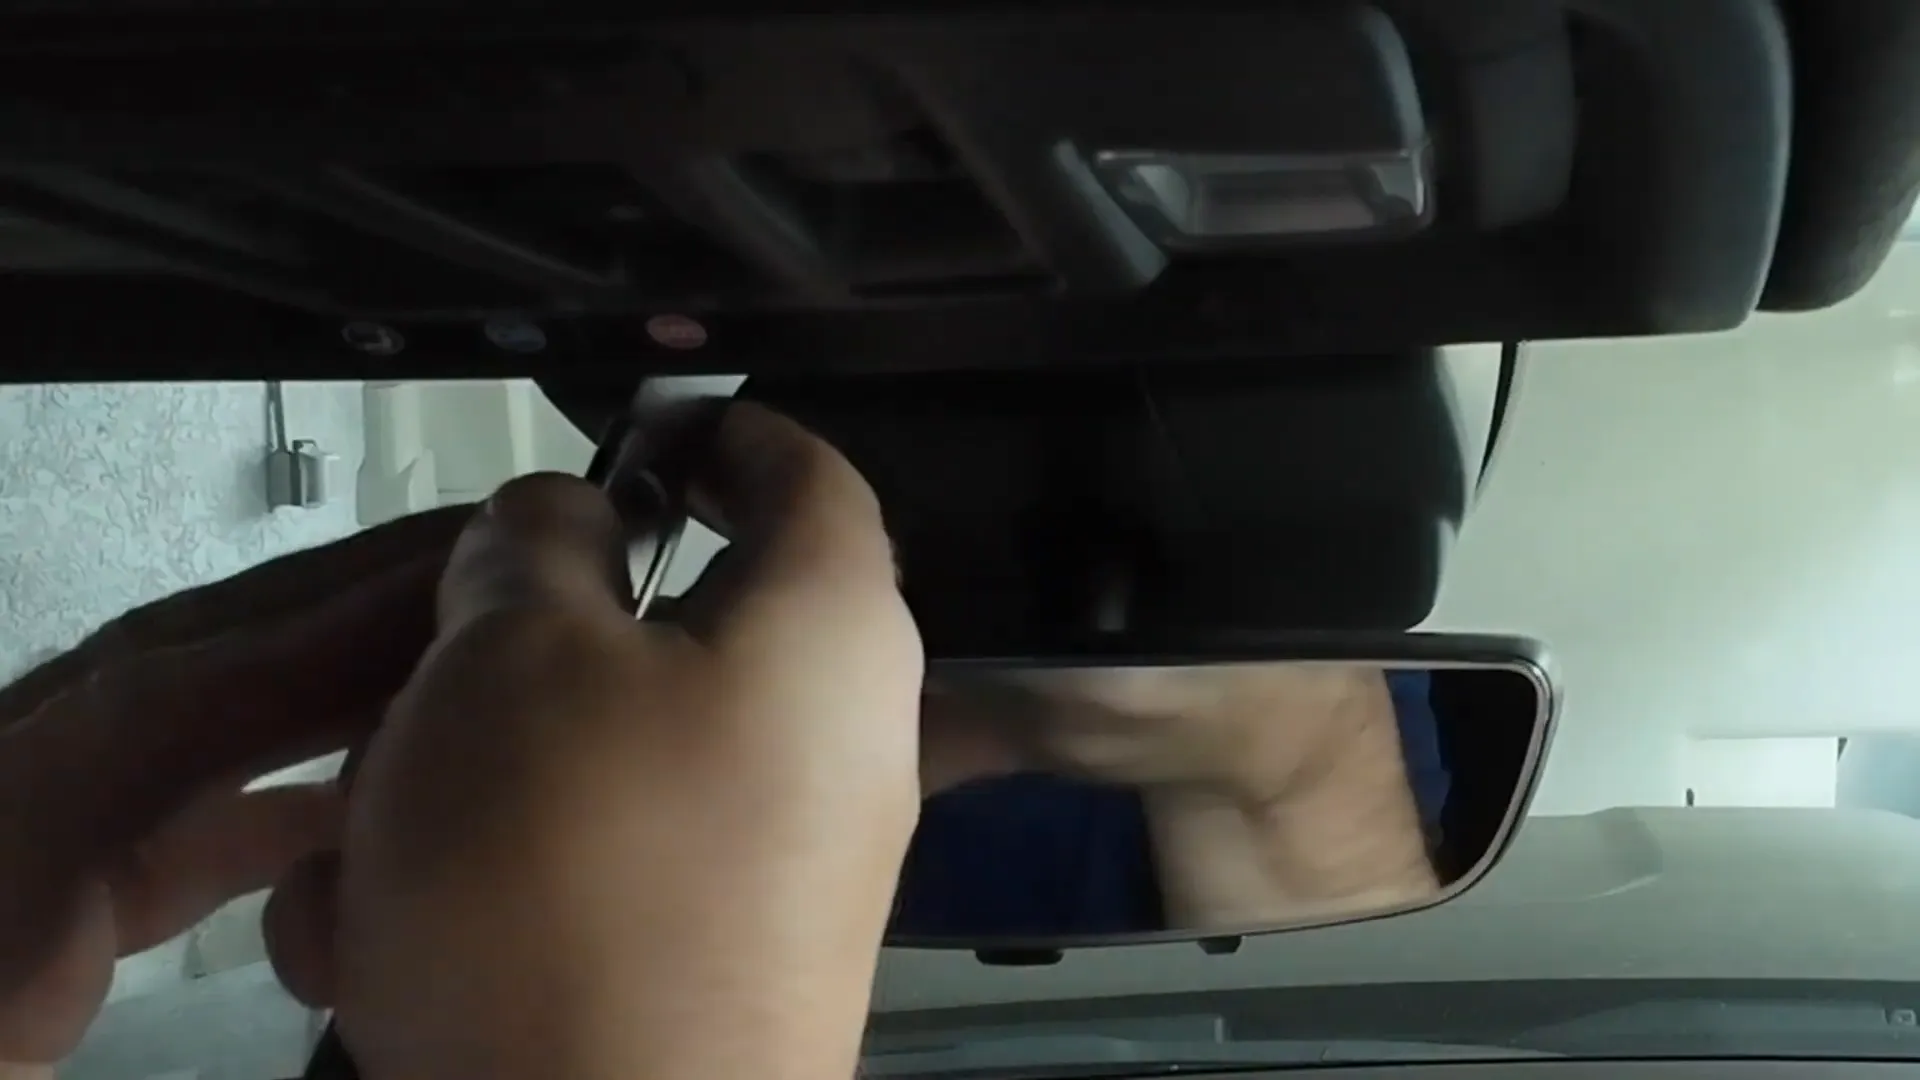
Removing the Rearview Mirror Housing
The first step in the installation is to remove the housing behind the rearview mirror. Using a panel popper tool (such as a 4140 tool), carefully insert it into the small cracks on each side of the housing and gently pop it open.
You’ll find four clips securing the housing. Pulling the housing towards you with your hands releases these clips. Once removed, set the housing aside but keep it handy as it will be reinstalled shortly.
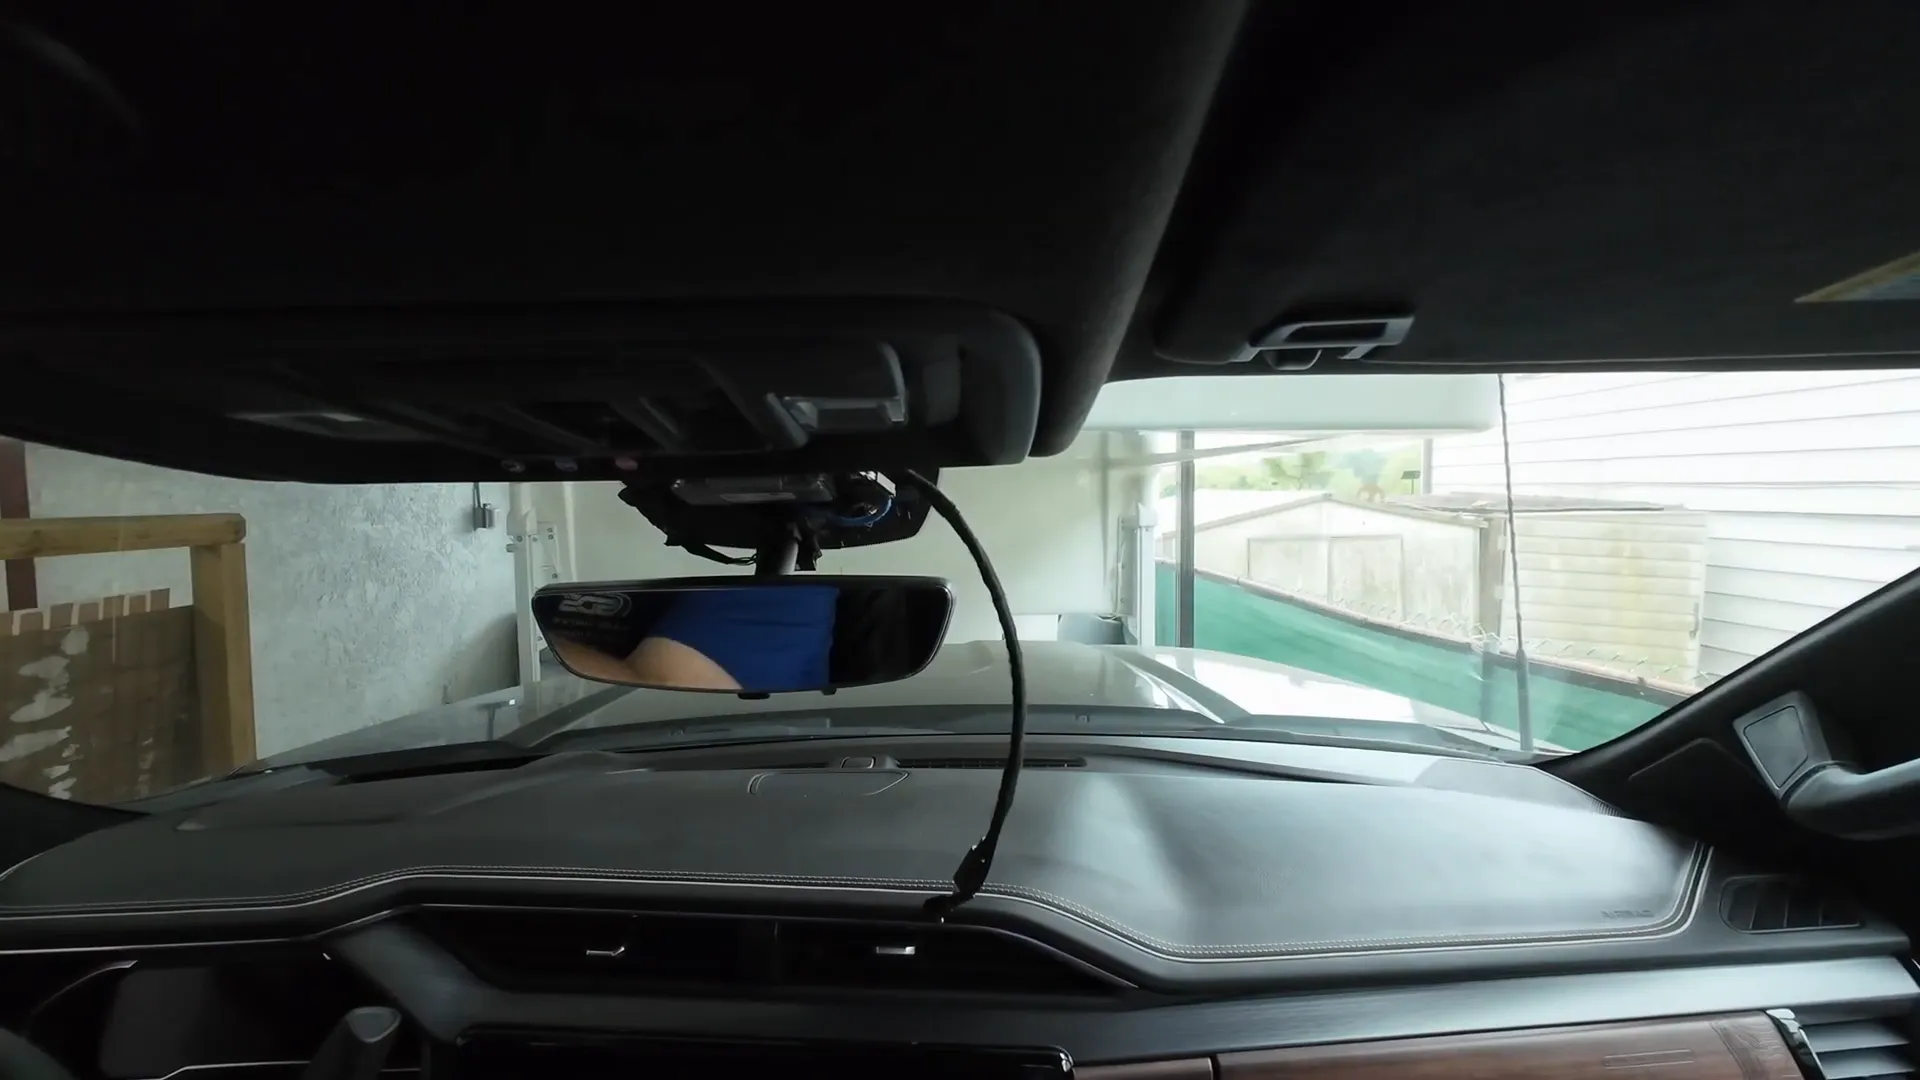
Running Wiring Behind the Headliner
With the housing removed, the wiring for the dash camera needs to be routed behind the headliner, tucked neatly alongside the factory wiring. The headliner on the new GMC Sierra and Chevy Silverado models is exceptionally tight, so expect to spend some time carefully massaging the wiring in place, especially when working with the thicker Thinkware U3000 cables.
After routing the wires, reinstall the rearview mirror housing. The clips can be tougher than on older vehicles, so you might need to push firmly to snap them back into place.
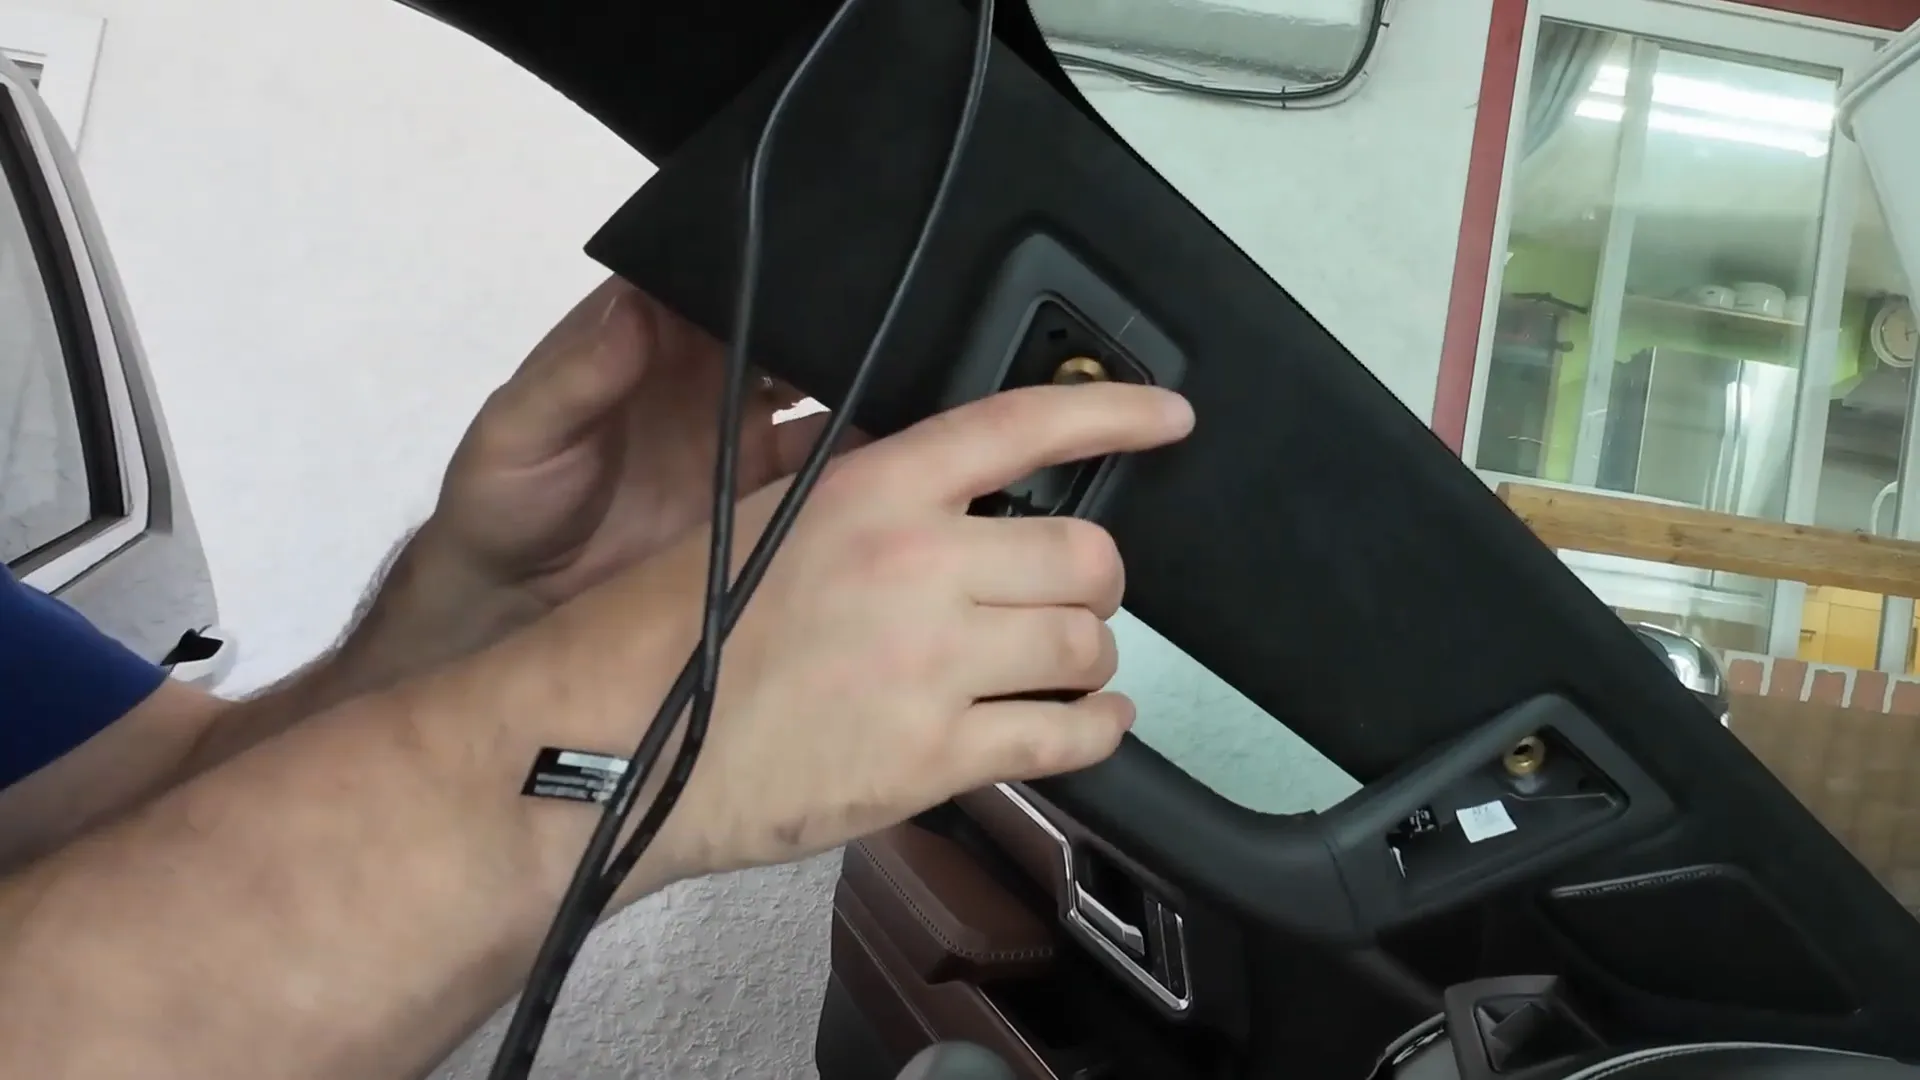
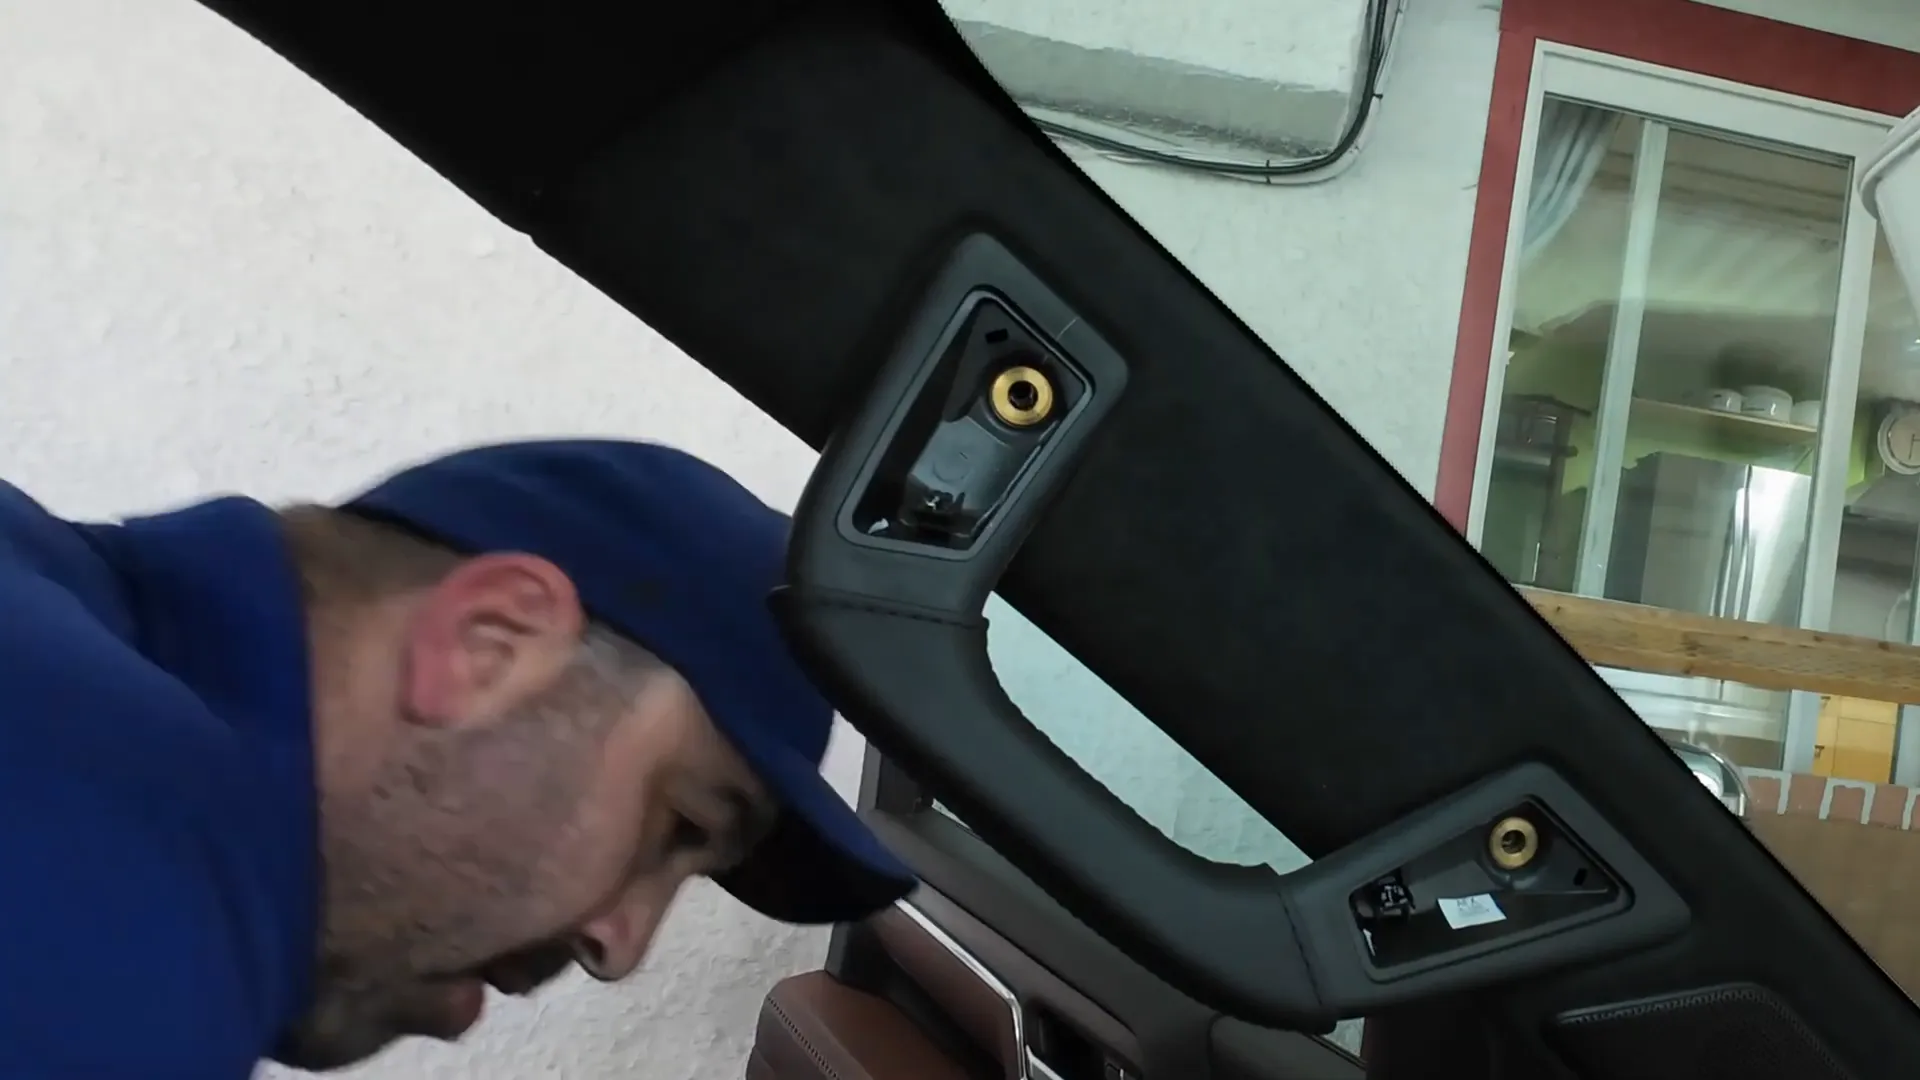
Removing the A-Pillar Panel
Next, remove the A-pillar to safely route wiring down towards the dash and fuse box. Use the panel popper tool to remove the small plastic covers hiding the 10mm bolts. Once exposed, remove these bolts and carefully wiggle the A-pillar panel free—it’s secured tightly by General Motors.
If your vehicle has an upgraded audio system, you’ll also need to disconnect the tweeter speaker connected to the A-pillar. Once removed, place the A-pillar panel aside.
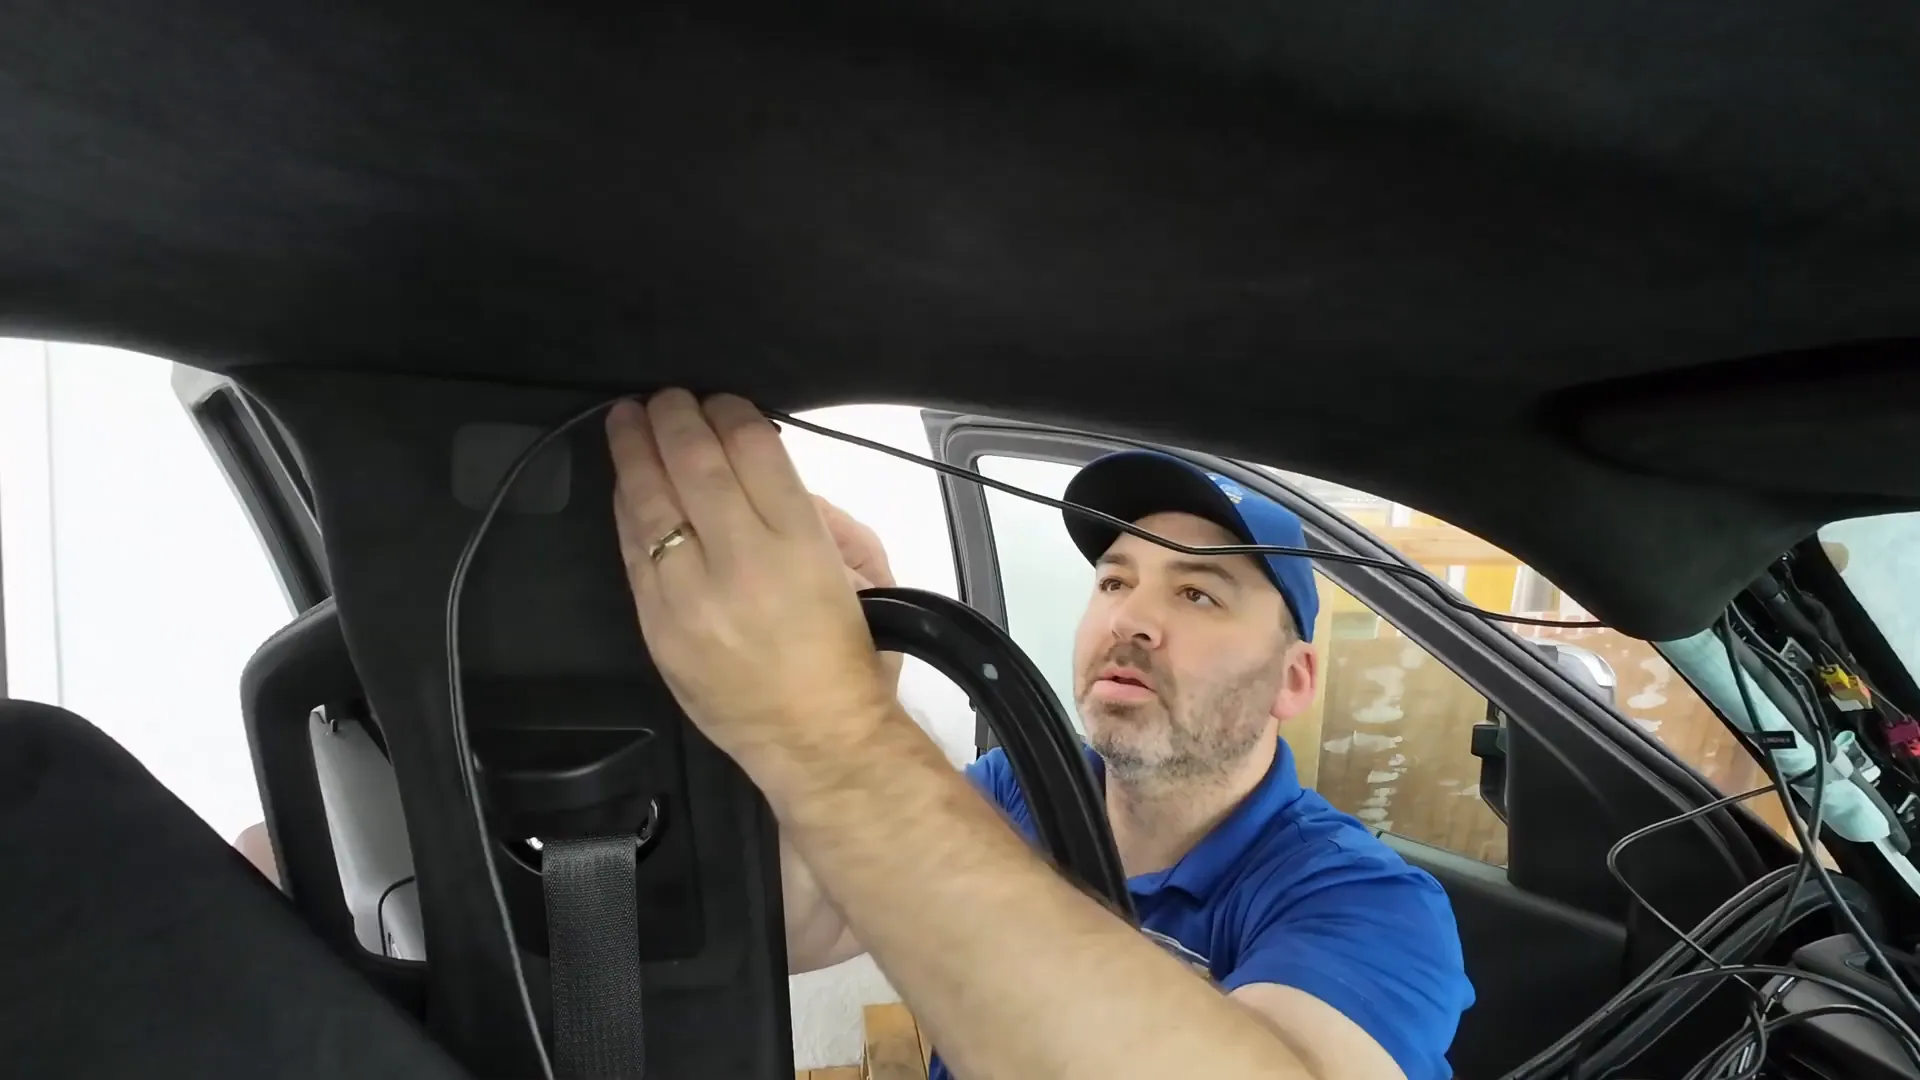
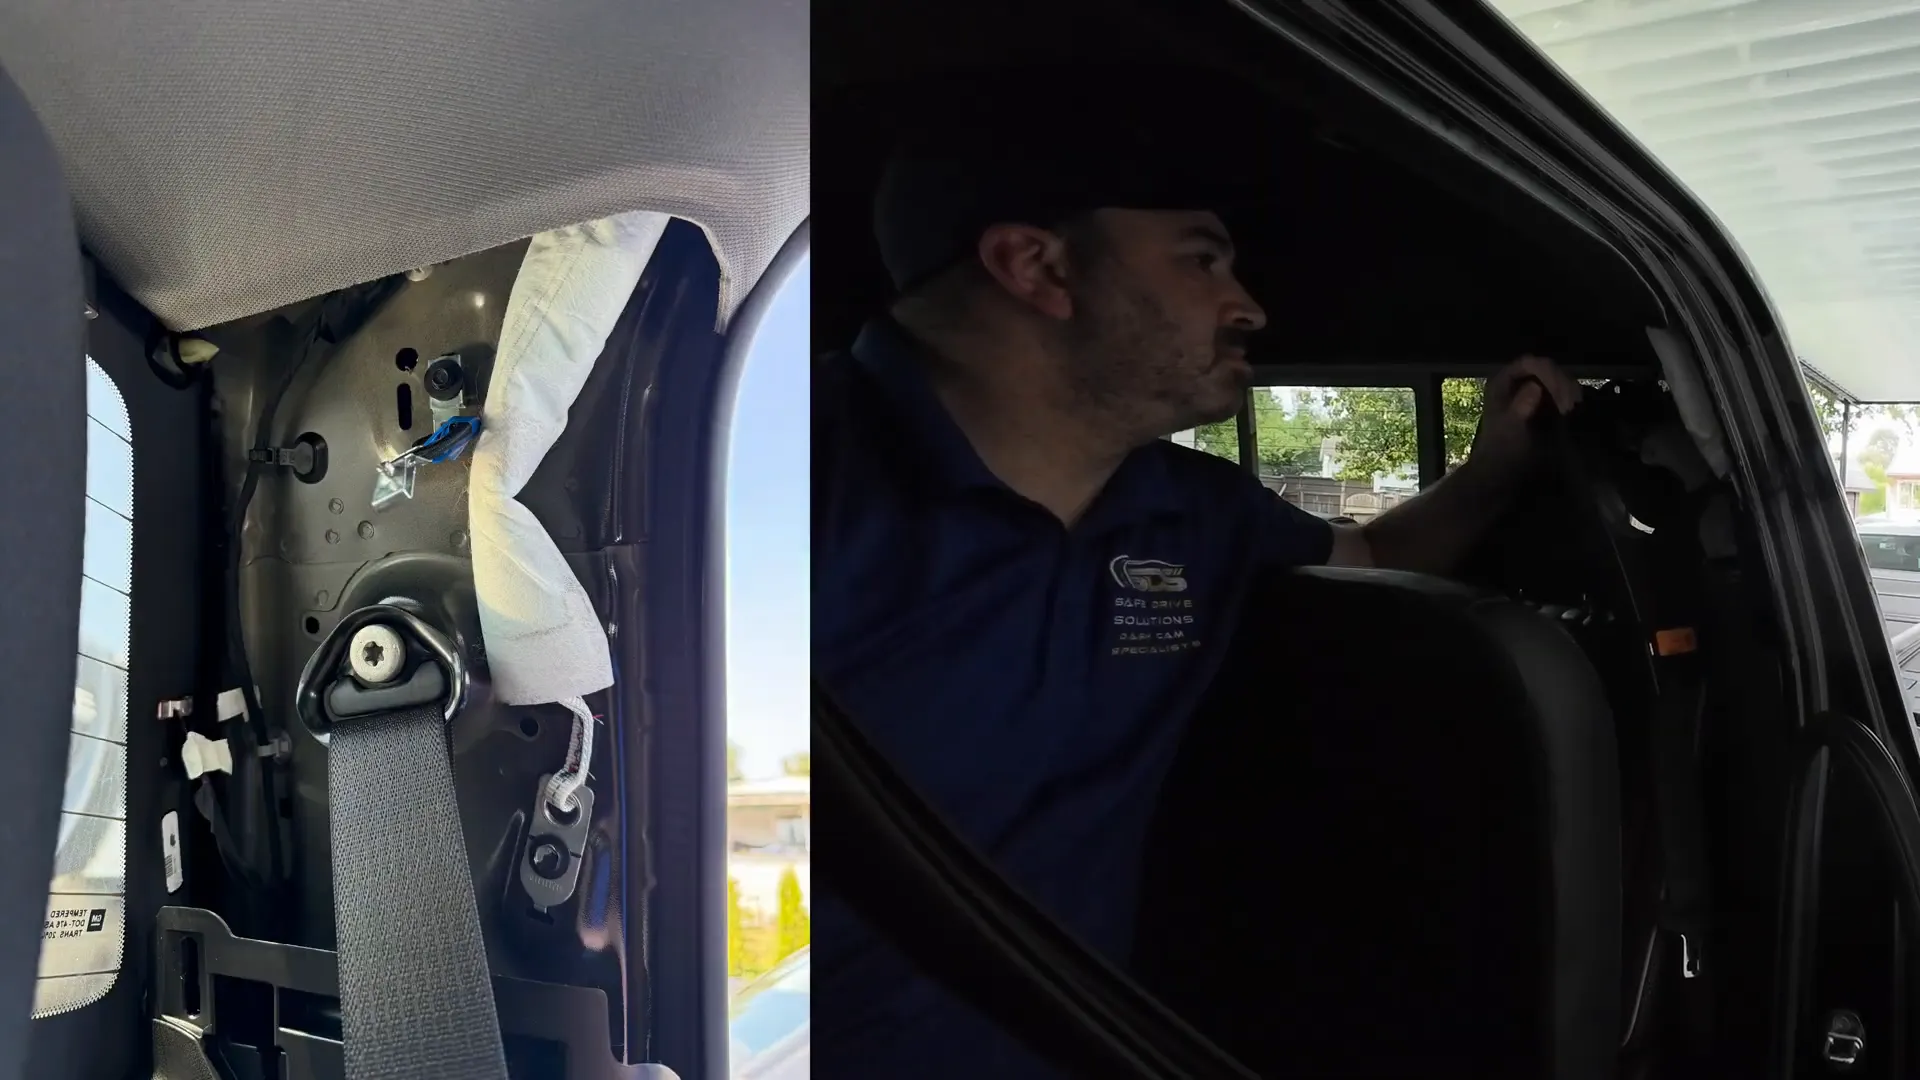
Routing Wiring Safely Around Airbags
Safety is key when running dash cam wiring near airbags. The rear camera cable should be tucked behind the airbags to avoid interference and damage. Start the vehicle and test the rear slider window to determine the correct side for mounting the rear camera—always mount the camera on the opposite side of the slider to prevent issues.
Removing the weather stripping makes it easier to route the rear camera cable and provides a clear view of the airbag location for safe wire routing.
Removing the C-Pillar for Rear Camera Wiring
For crew cab trucks, the C-pillar panel at the rear must often be removed to route the rear camera cable safely. The panel is held in place by clips and a 7mm bolt. Removing this bolt allows you to take the panel off completely, giving clear access to tuck wiring behind the small side airbag.
If you prefer not to remove the panel, it is sometimes possible to carefully tuck the wiring behind it, but removal offers a cleaner and safer installation.
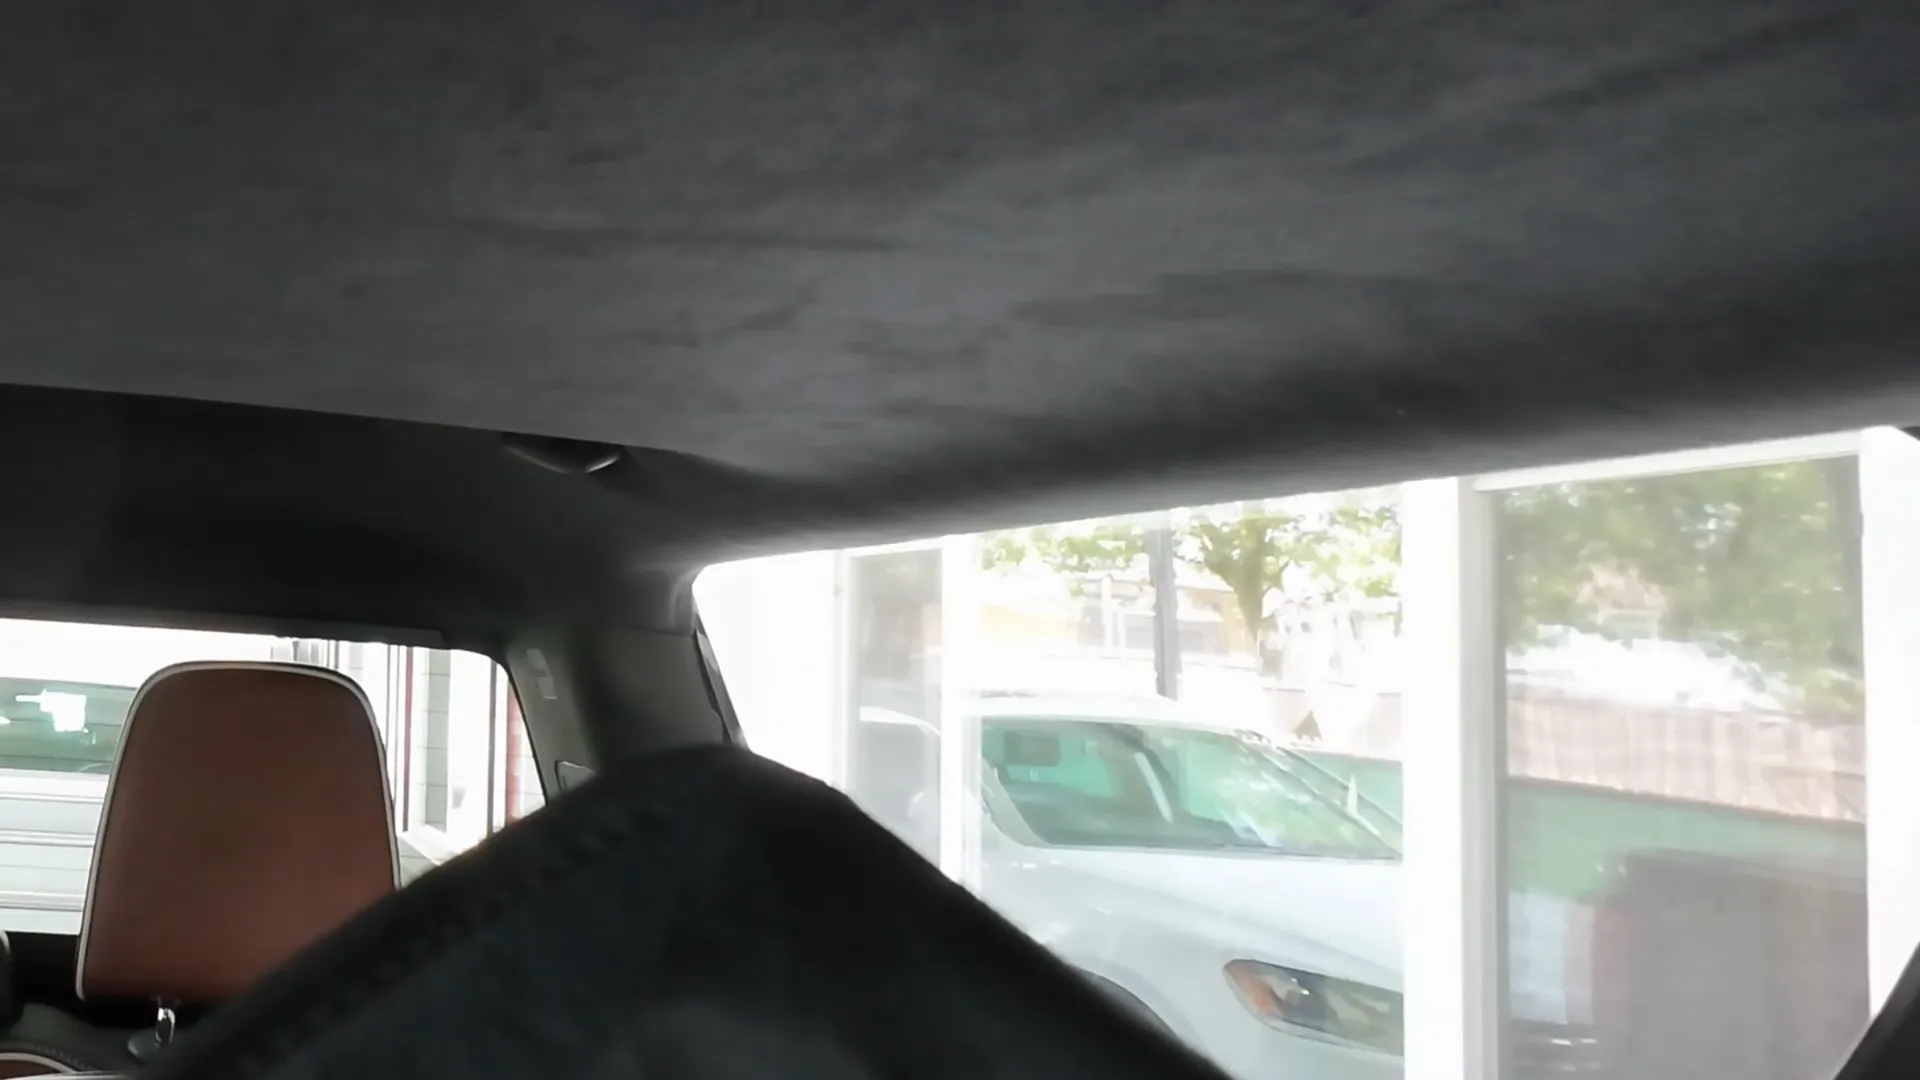
Continuing Rear Camera Cable Routing
The rear headliner area is very tight, requiring patience and the use of specialized tools like panel poppers and hook tools to pull the headliner away enough to tuck the rear camera cable securely. Take your time to avoid damaging the high-quality Denali interior finish.
Once the wiring is routed, reassemble the C-pillar panel and reinstall any bolts removed. The 7mm bolt is crucial as it secures the airbag in place and ensures proper deployment in an accident.
Securing Wiring and Reinstalling A-Pillar
With the wiring routed from the rear to the front of the vehicle, secure all cables behind the airbag by tie-strapping them to factory wiring. This keeps everything tight, organized, and clear of bolts or clips during reassembly.
Reconnect the tweeter speaker, align the A-pillar panel, and reinstall the 10mm bolts and plastic covers to restore the interior to its original look.
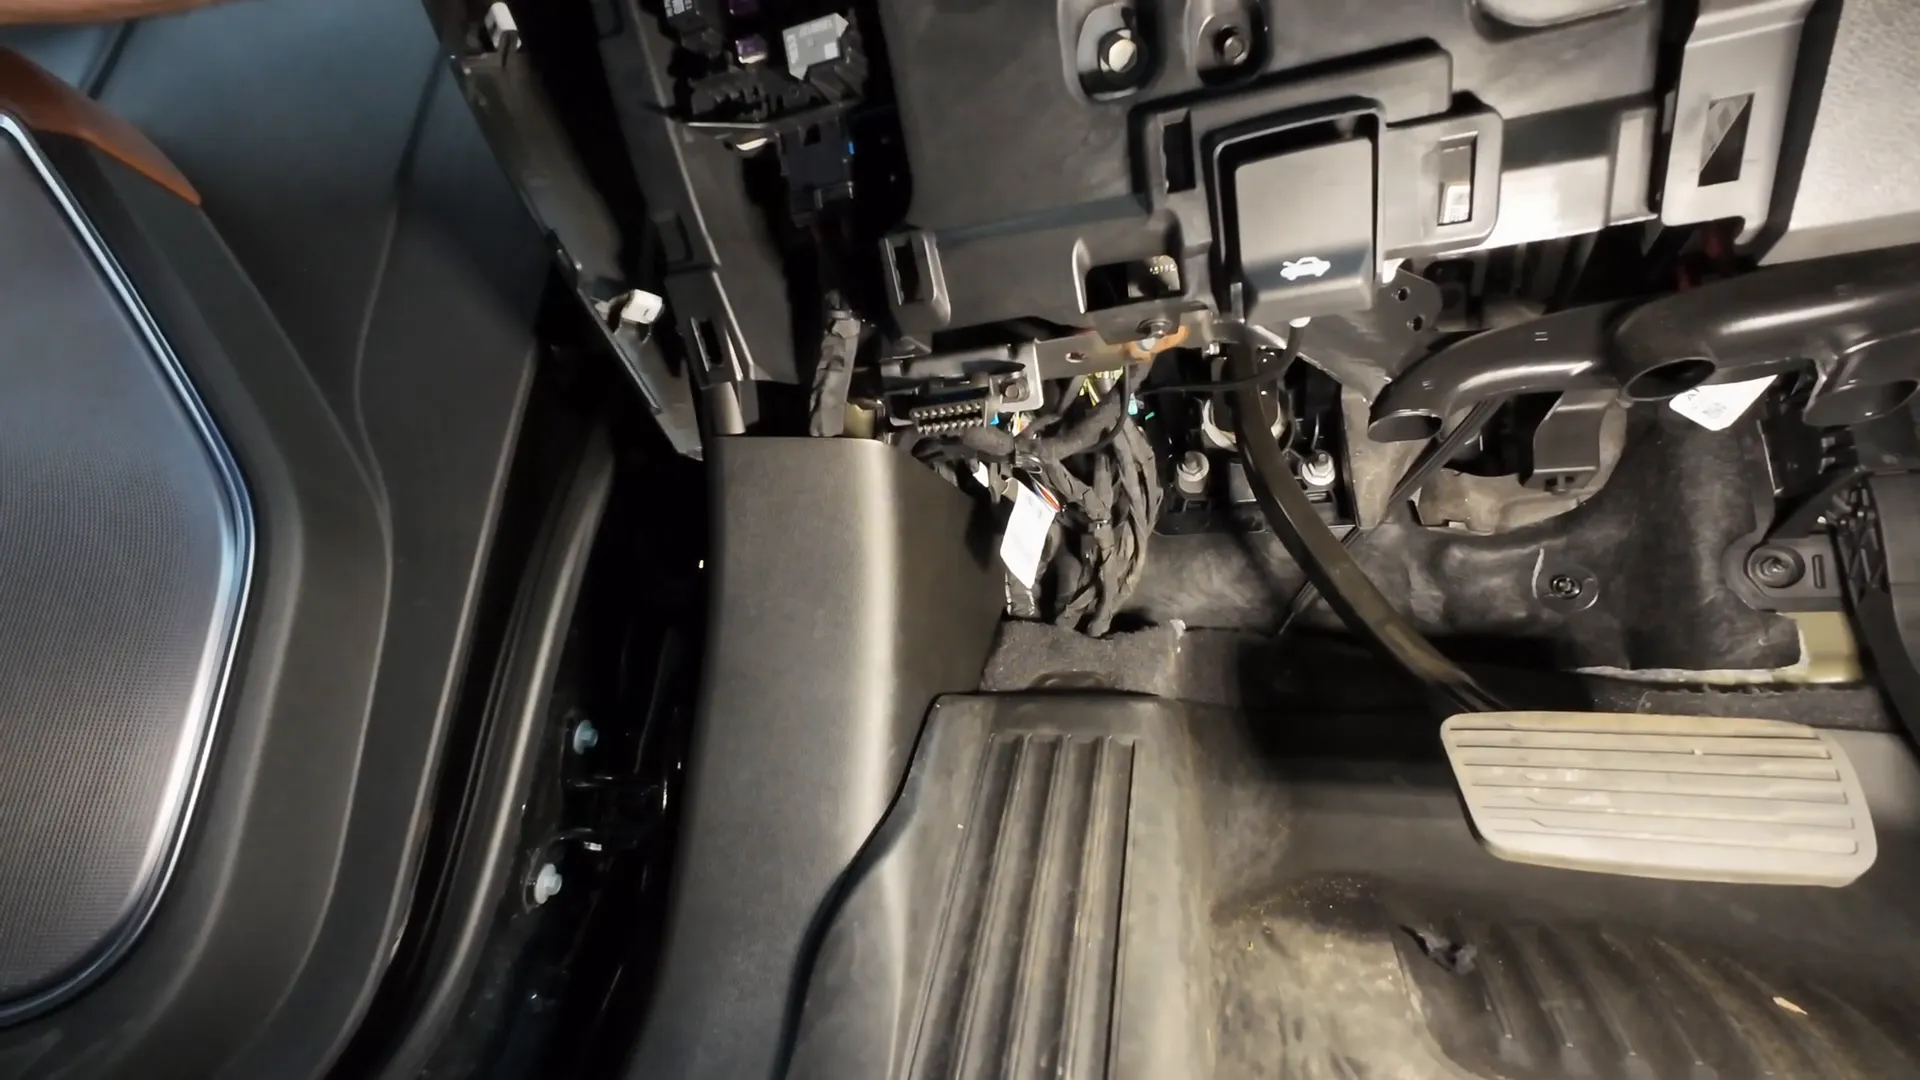
Removing Dash Panels and Managing Extra Wiring
Before hiding wiring and finalizing the hardwire installation, remove the front dash panel first to avoid damage, then remove the side panel. There may be extra wiring from the rear camera cable, which should be neatly tied and hidden along the side of the dash for a clean finish.
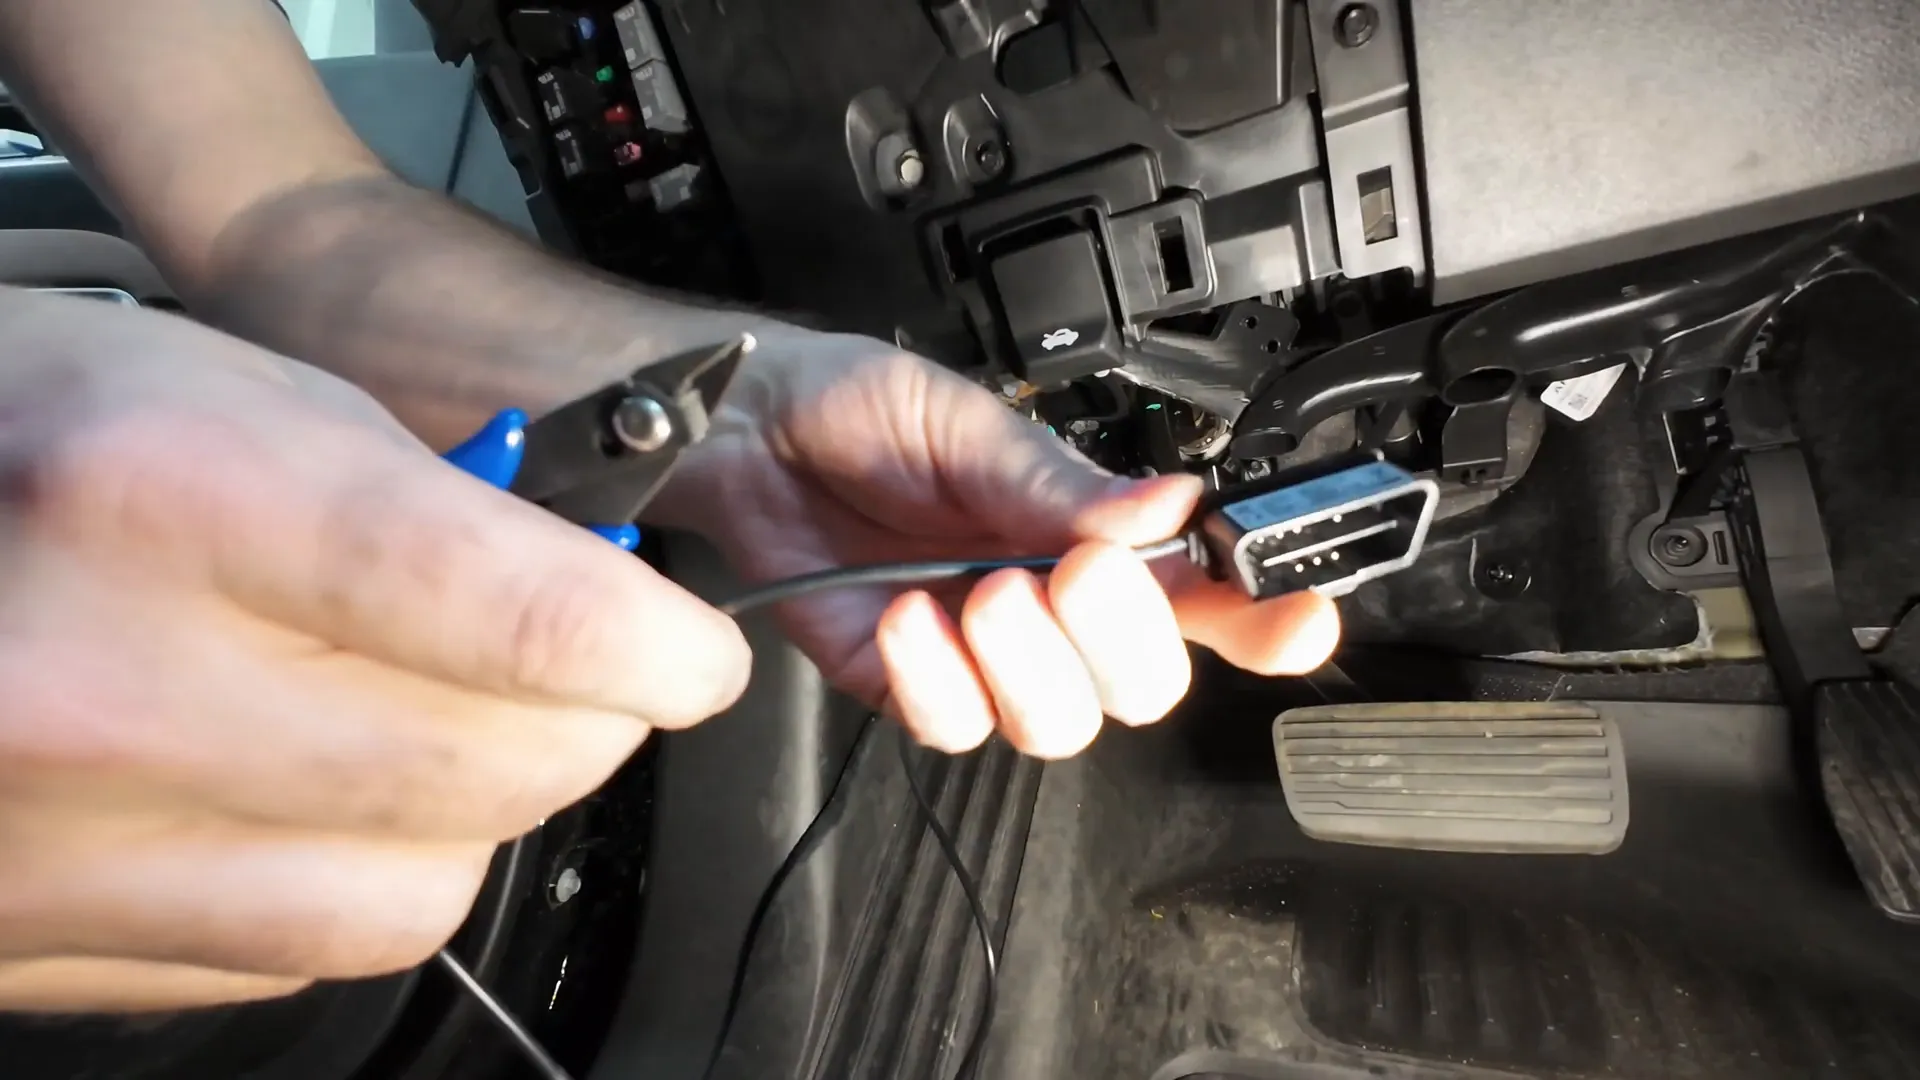
Hardwiring Options: OBD2 Cable vs. Direct Hardwire
The Thinkware U3000 dash camera comes with an OBD2 power cable, offering a simple plug-and-play option for many newer GMC Sierra, Chevy Silverado, Denali, and Cadillac Escalade vehicles. Using the OBD2 cable is often the recommended method for DIY installation because direct hardwiring can be more complex and risky.
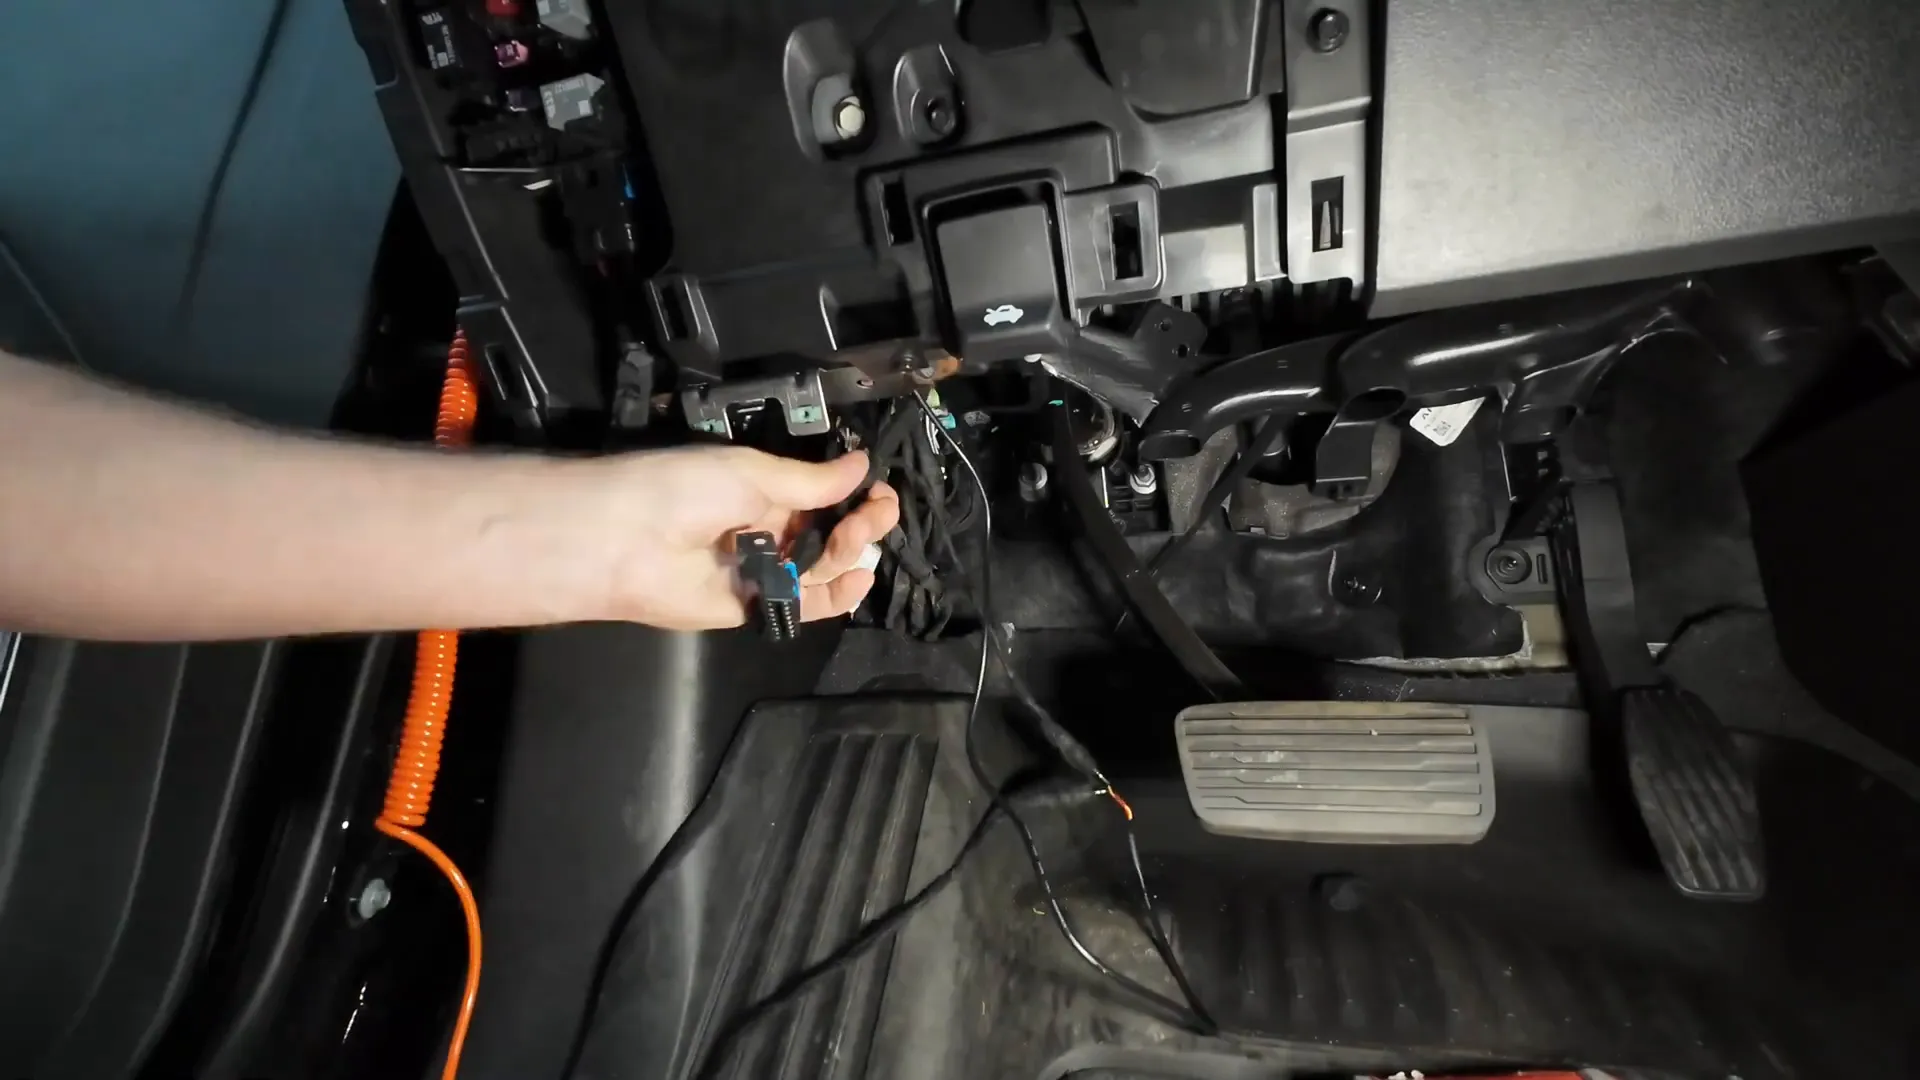
If you choose to hardwire directly, you can modify the Thinkware cable by cutting off the OBD2 ends to expose the wires: yellow for constant power, red for ignition, and black for ground.
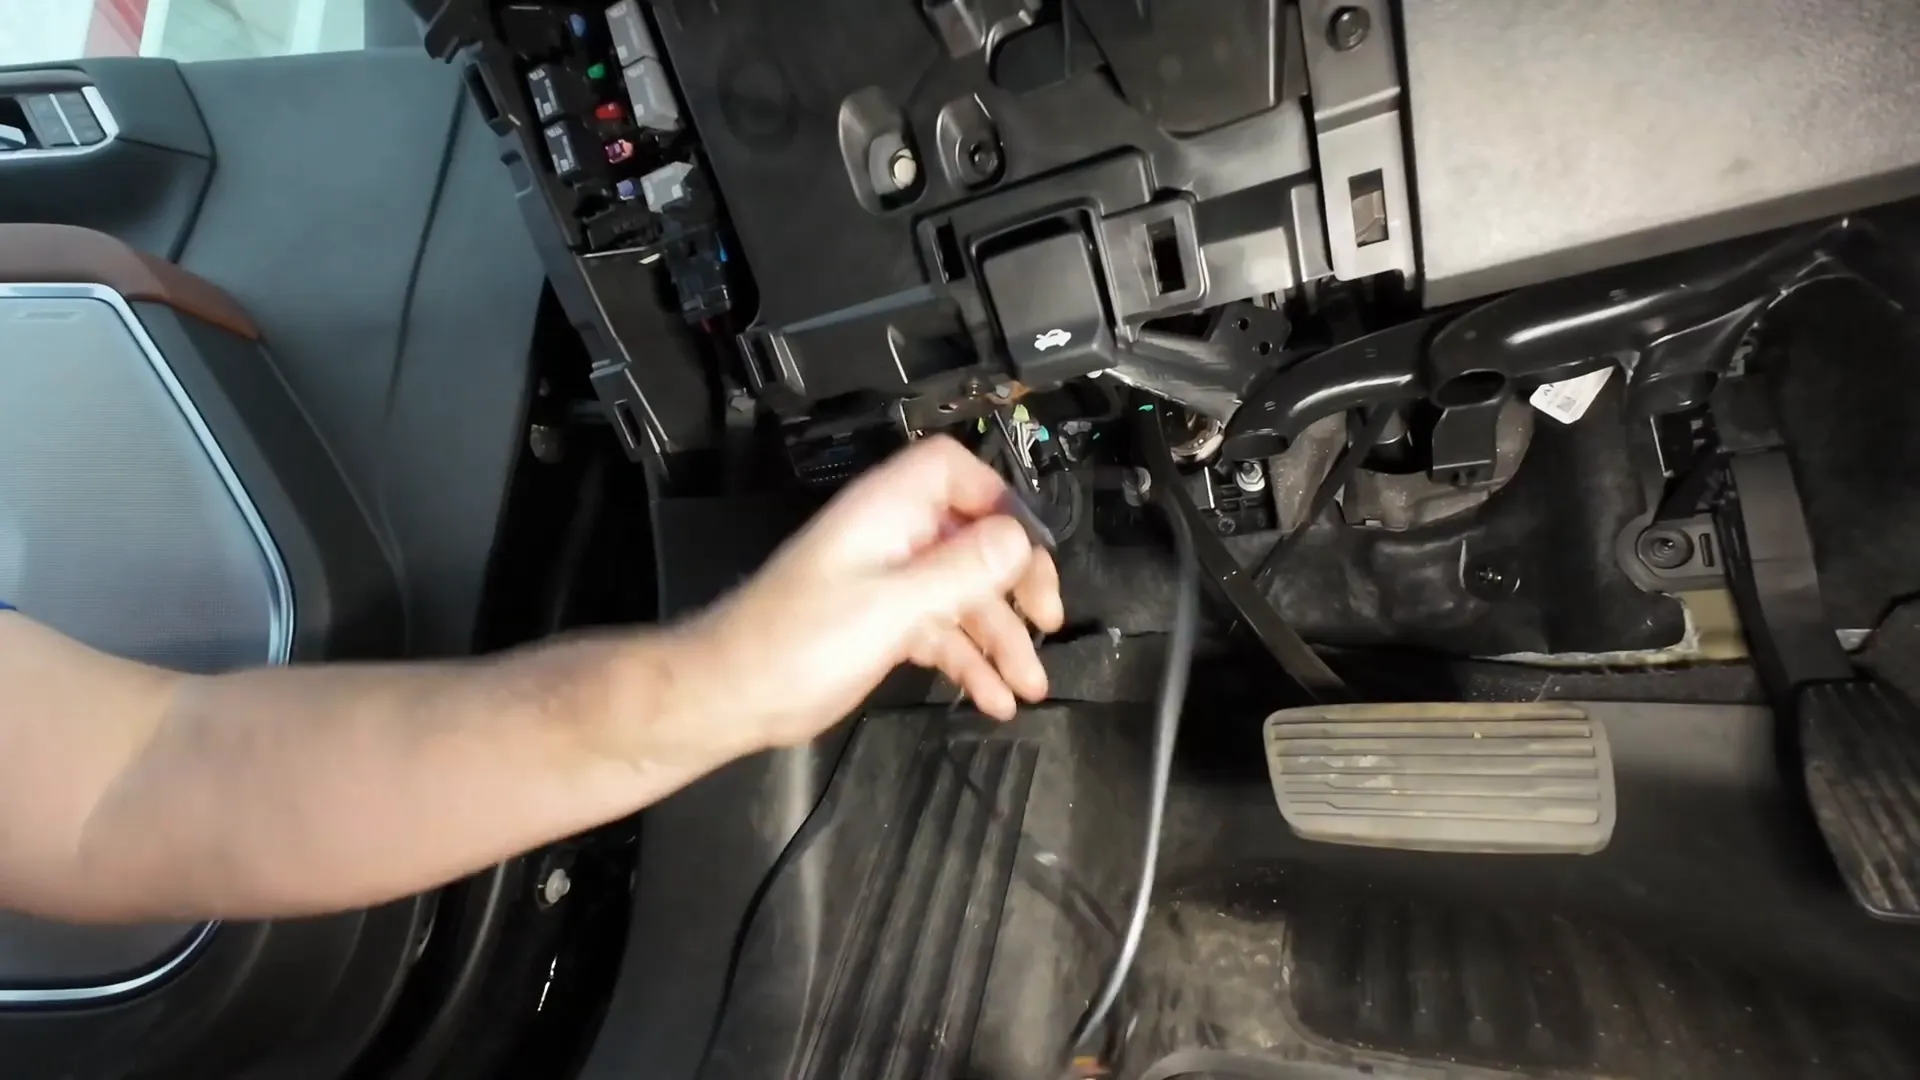
Finding Constant Power and Ground Wires
Using a test light, verify constant power at pin 16 and ground at pin 4 of the OBD2 port. Strip the wires back and solder your connections for a solid and durable electrical connection. Cover the soldered joints with high-quality 3M tape and premium electrical tape such as Super 33 for a factory-like finish.
Replace any clips or panels removed during installation to maintain safety and aesthetics.
Important Safety Warning
Proceed with caution when hardwiring your dash cam. Incorrect wiring can cause vehicle damage. The ignition sense wire used here only monitors whether the ignition is on or off and should not bear any load.
We strongly recommend professional installation if you are not confident with vehicle wiring. For detailed information on dash cam wiring, please refer to our dash cam hardwiring guide.
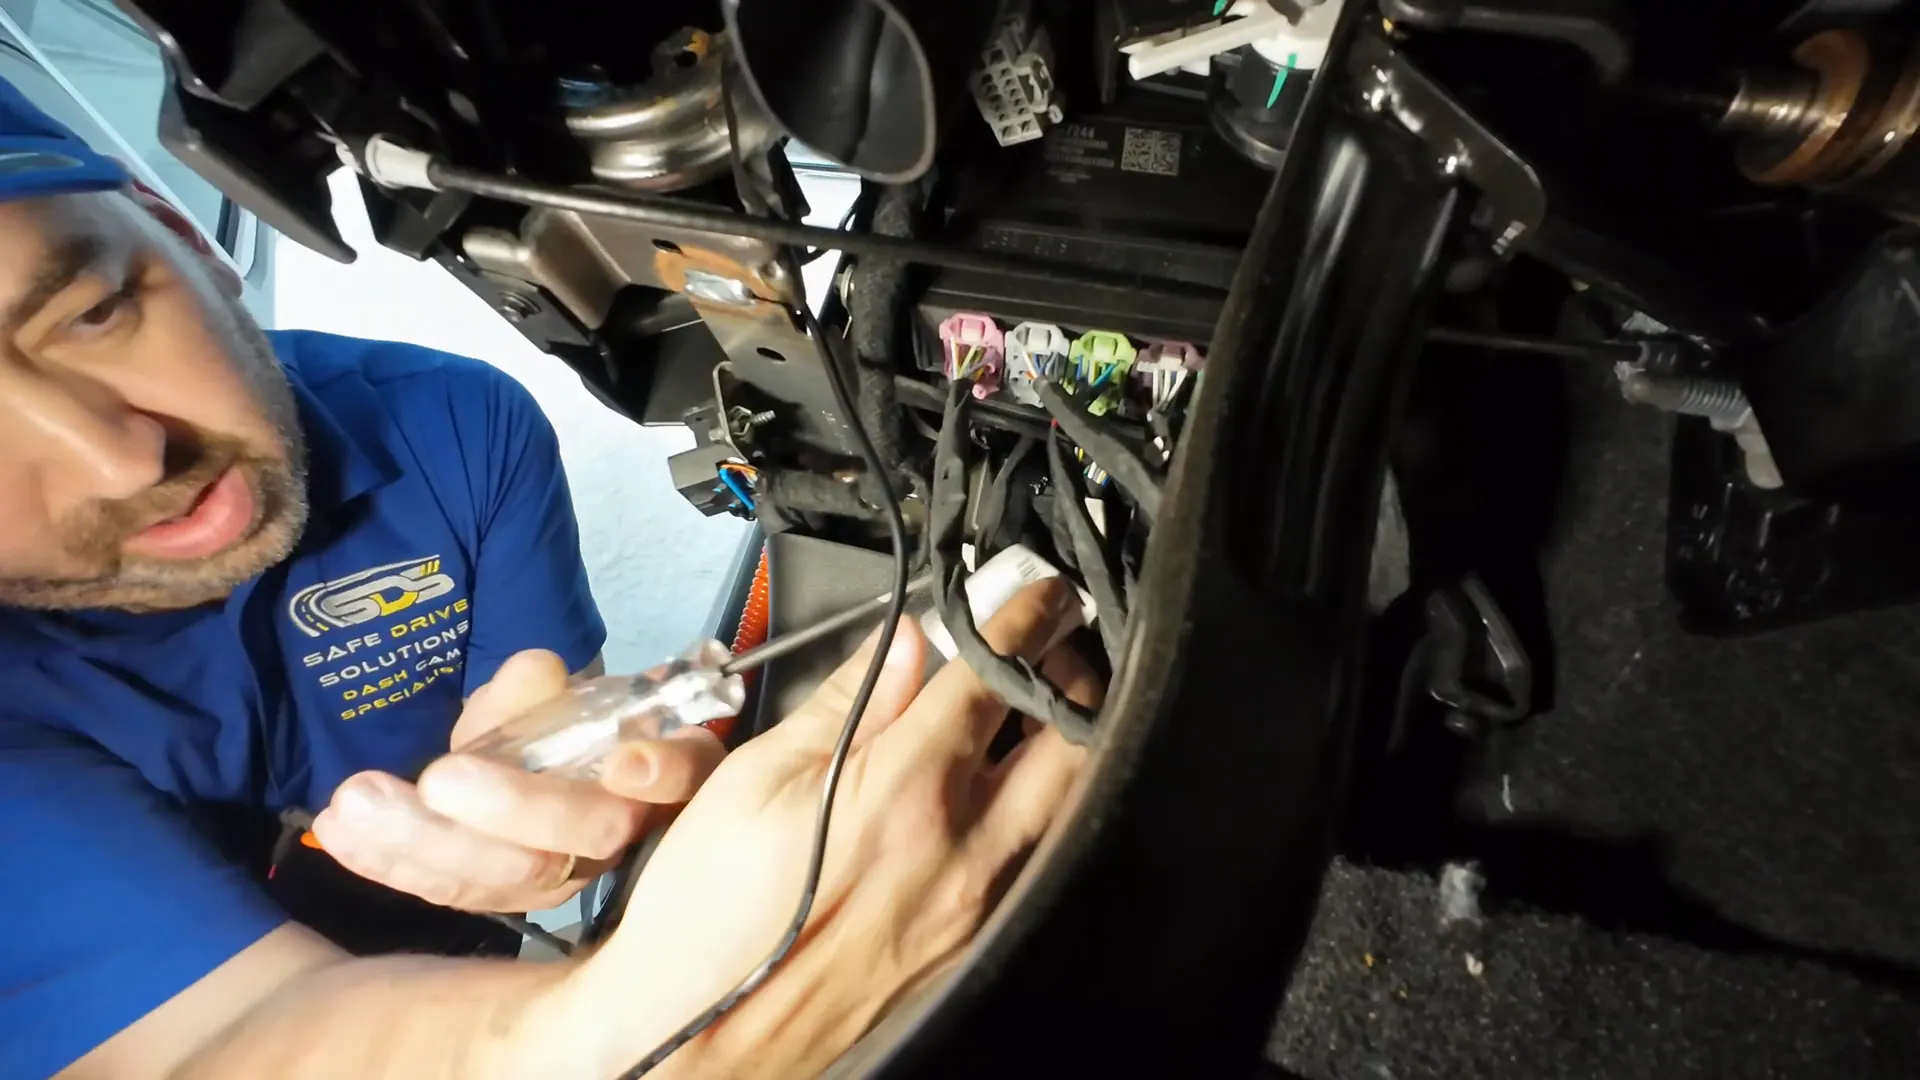
Identifying Ignition Sense Wire
The ignition sense wire in the GMC Sierra Denali 2024-2025 is light green with a purple stripe. Use a test light or multimeter to verify this wire before connecting. It should light up only when the ignition is on.
After verification, solder and tape the connection properly to ensure safety and reliability.
Finalizing Wiring and Reassembling Dash Panels
Bundle any excess wiring neatly into the kick panel and secure with tie straps to prevent movement while driving. Reinstall the side and front dash panels carefully to complete the interior assembly.
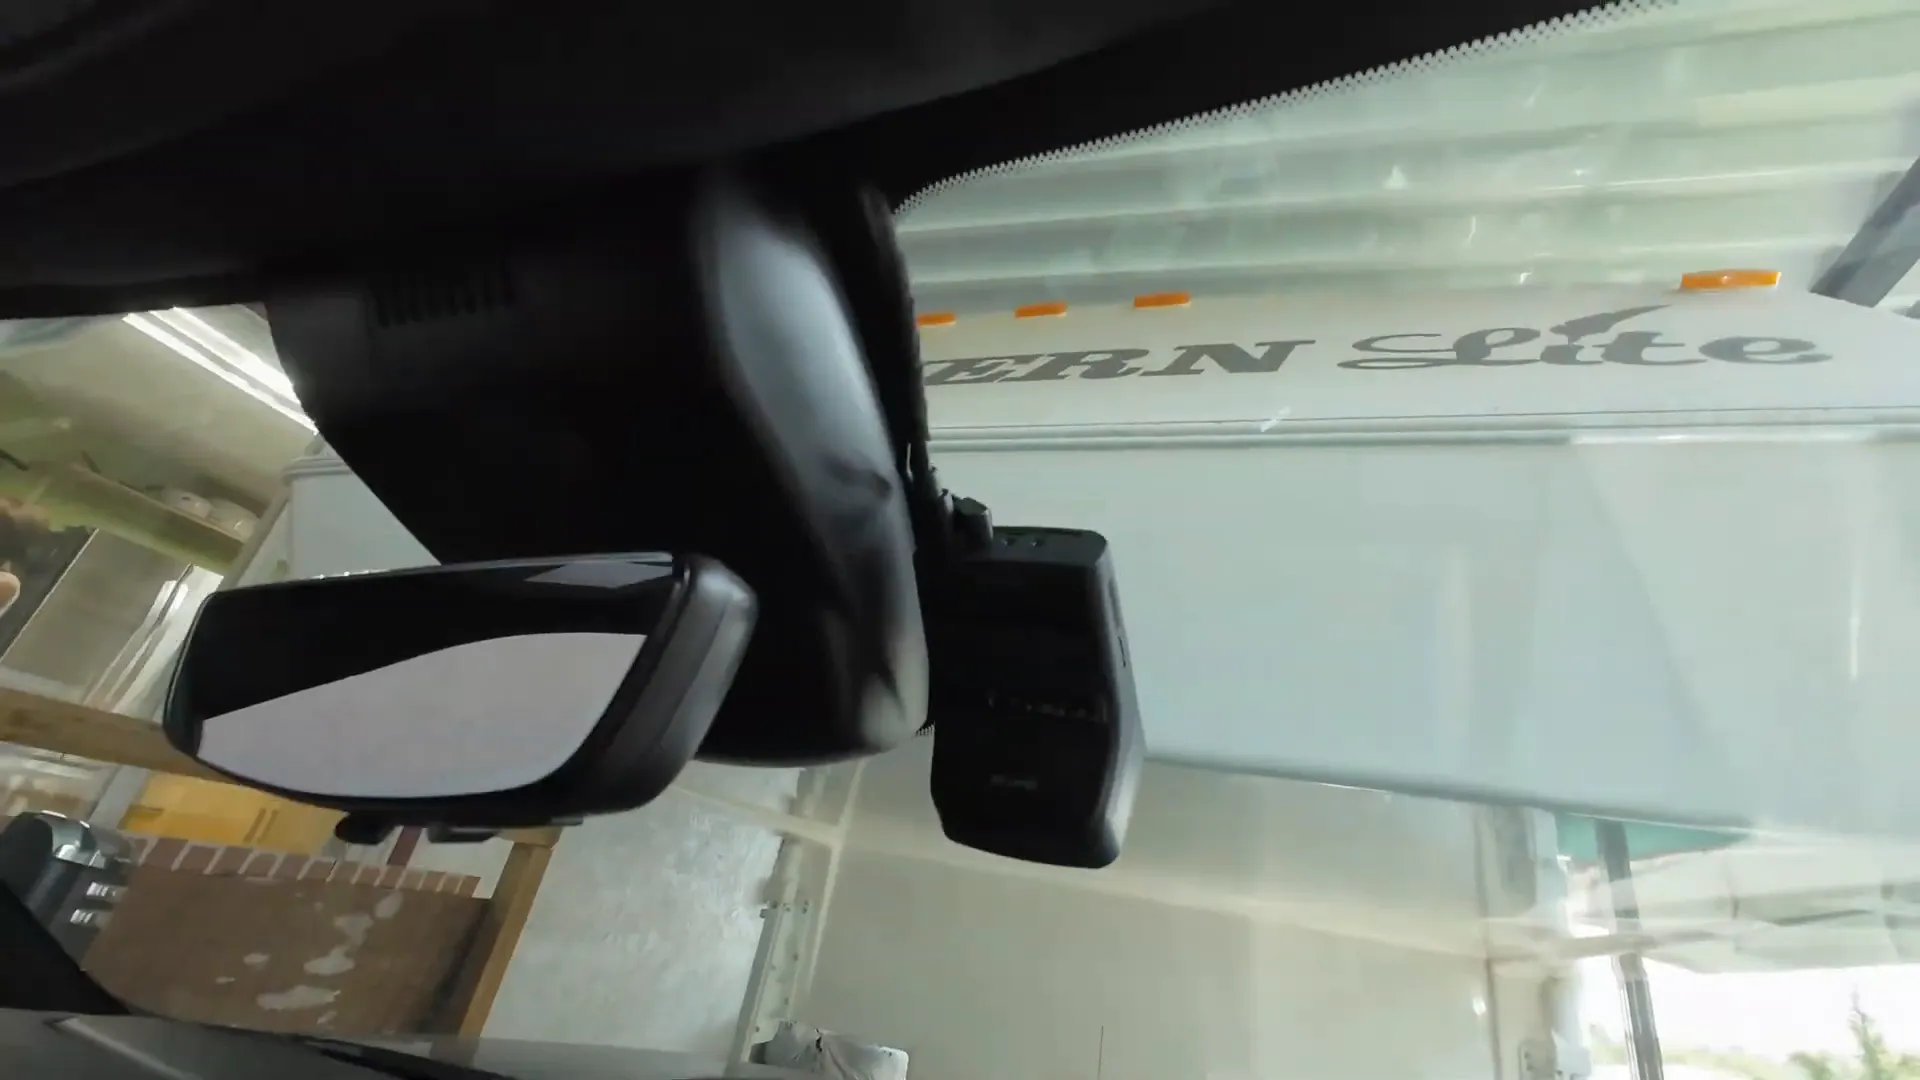
Mounting the Front Dash Camera
Before mounting, clean the windshield with antiseptic wipes and dry it thoroughly. Plug the dash camera in and verify the viewing angle is clear of obstructions.
Use the provided 3M tape to mount the Thinkware U3000 dash camera firmly to the windshield. This positioning offers an optimal field of view for recording the road ahead.
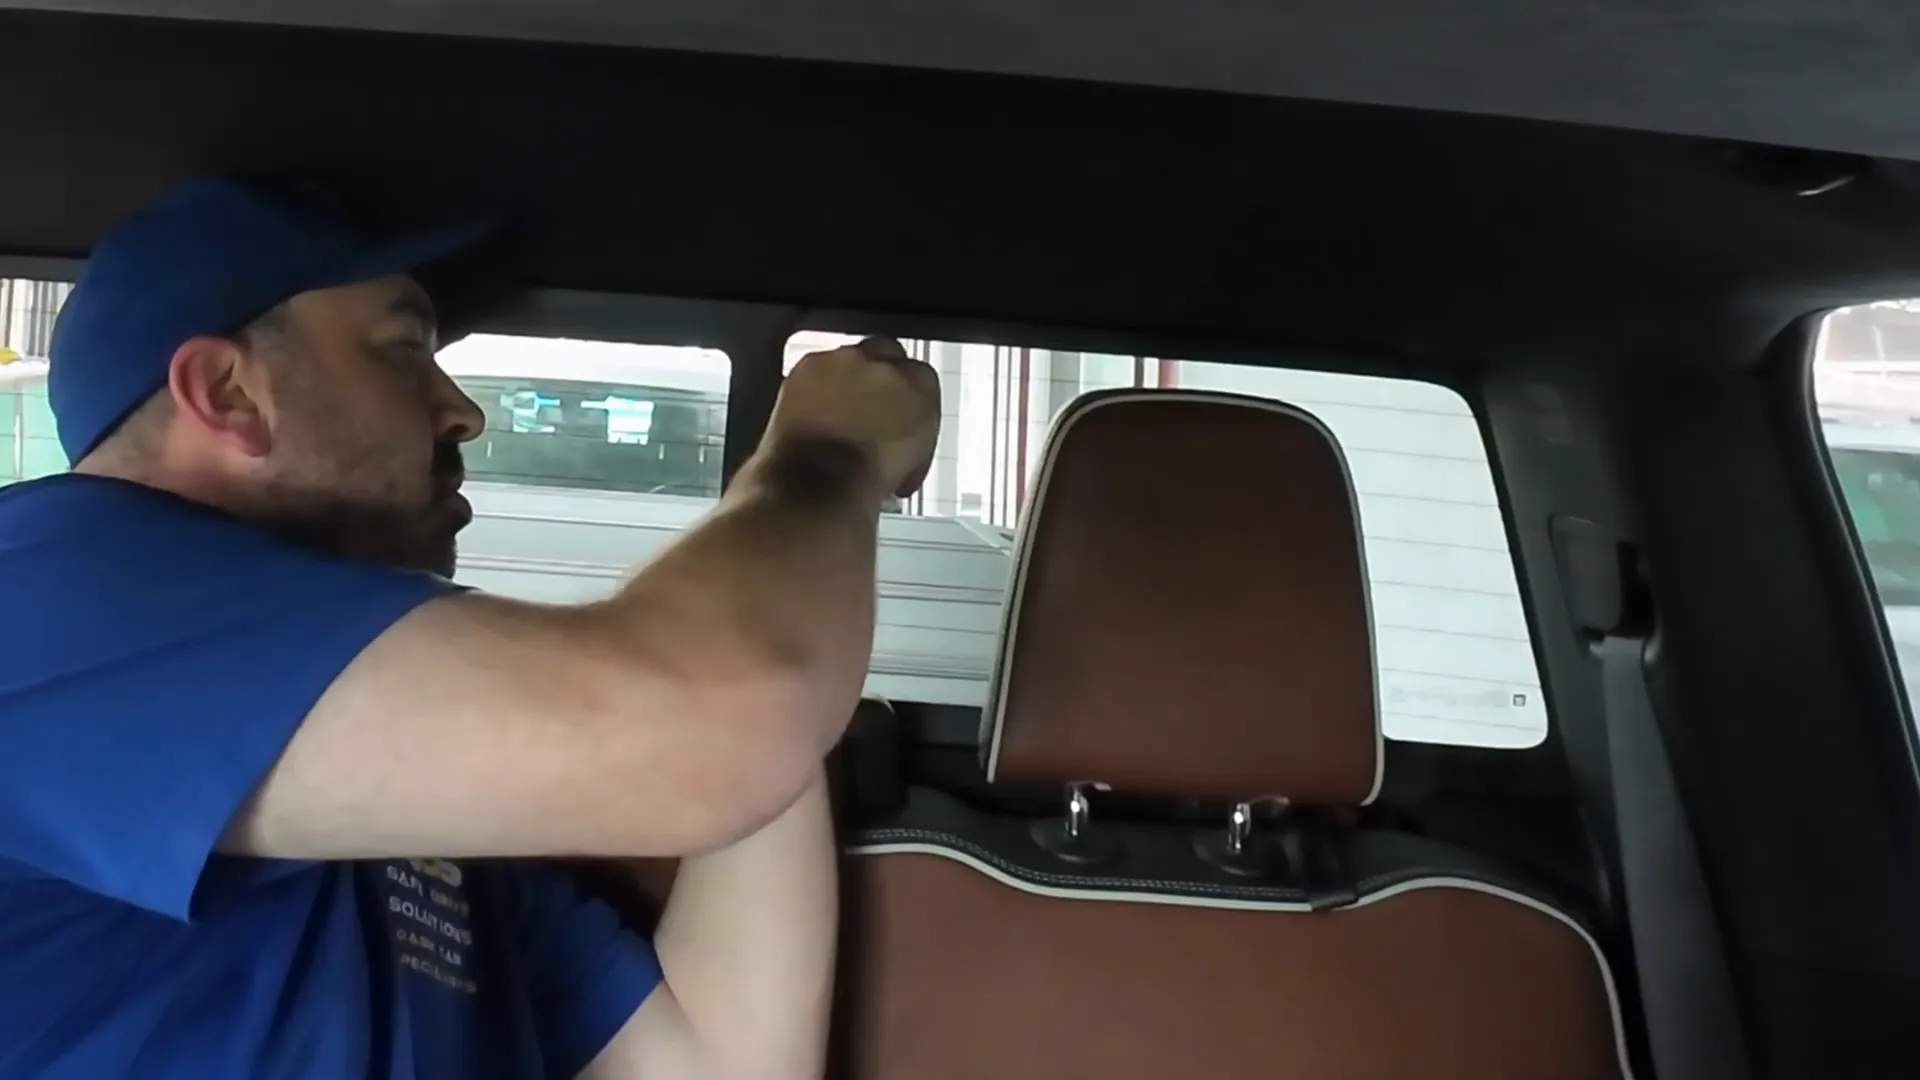
Installing the Rear Dash Camera
Similarly, clean the rear window with antiseptic wipes and dry it. Plug the rear camera cable into the Thinkware U3000 until you hear a second click, ensuring a secure connection for proper functionality.
Mount the rear camera on the opposite side of the rear slider window using the 3M tape, providing a clear view behind the vehicle without interference.
Conclusion
Installing a dash camera on the 2024-2025 GMC Sierra Denali requires careful removal of interior panels, safe wire routing around airbags, and secure hardwiring for power. The Thinkware U3000 is an excellent choice for this vehicle, offering high-quality front and rear recording with advanced features.
If you prefer professional installation, Safe Drive Solutions offers expert dash camera installation services in Greater Vancouver and Greater Toronto. We also supply a wide range of dash cameras and accessories shipped across Canada and the United States. Visit Safe Drive Solutions to explore our products and services.
For more insights on dash cams, installation tips, and product reviews, check out our blog resources such as How to Hardwire a Dash Cam and Get Your Dash Cam Professionally Installed.

