Understanding and Utilizing the OBD2 Port for Viofo Dash Cam Installation
Installing a dash cam in your vehicle can significantly enhance your safety and provide valuable evidence in case of accidents. One innovative way to accomplish this is by utilizing the OBD2 port in your car. In this blog post, we will explore what an OBD2 port is, how to create a hardwire connection for your dash cam using the OBD2 port, and the benefits of this approach.
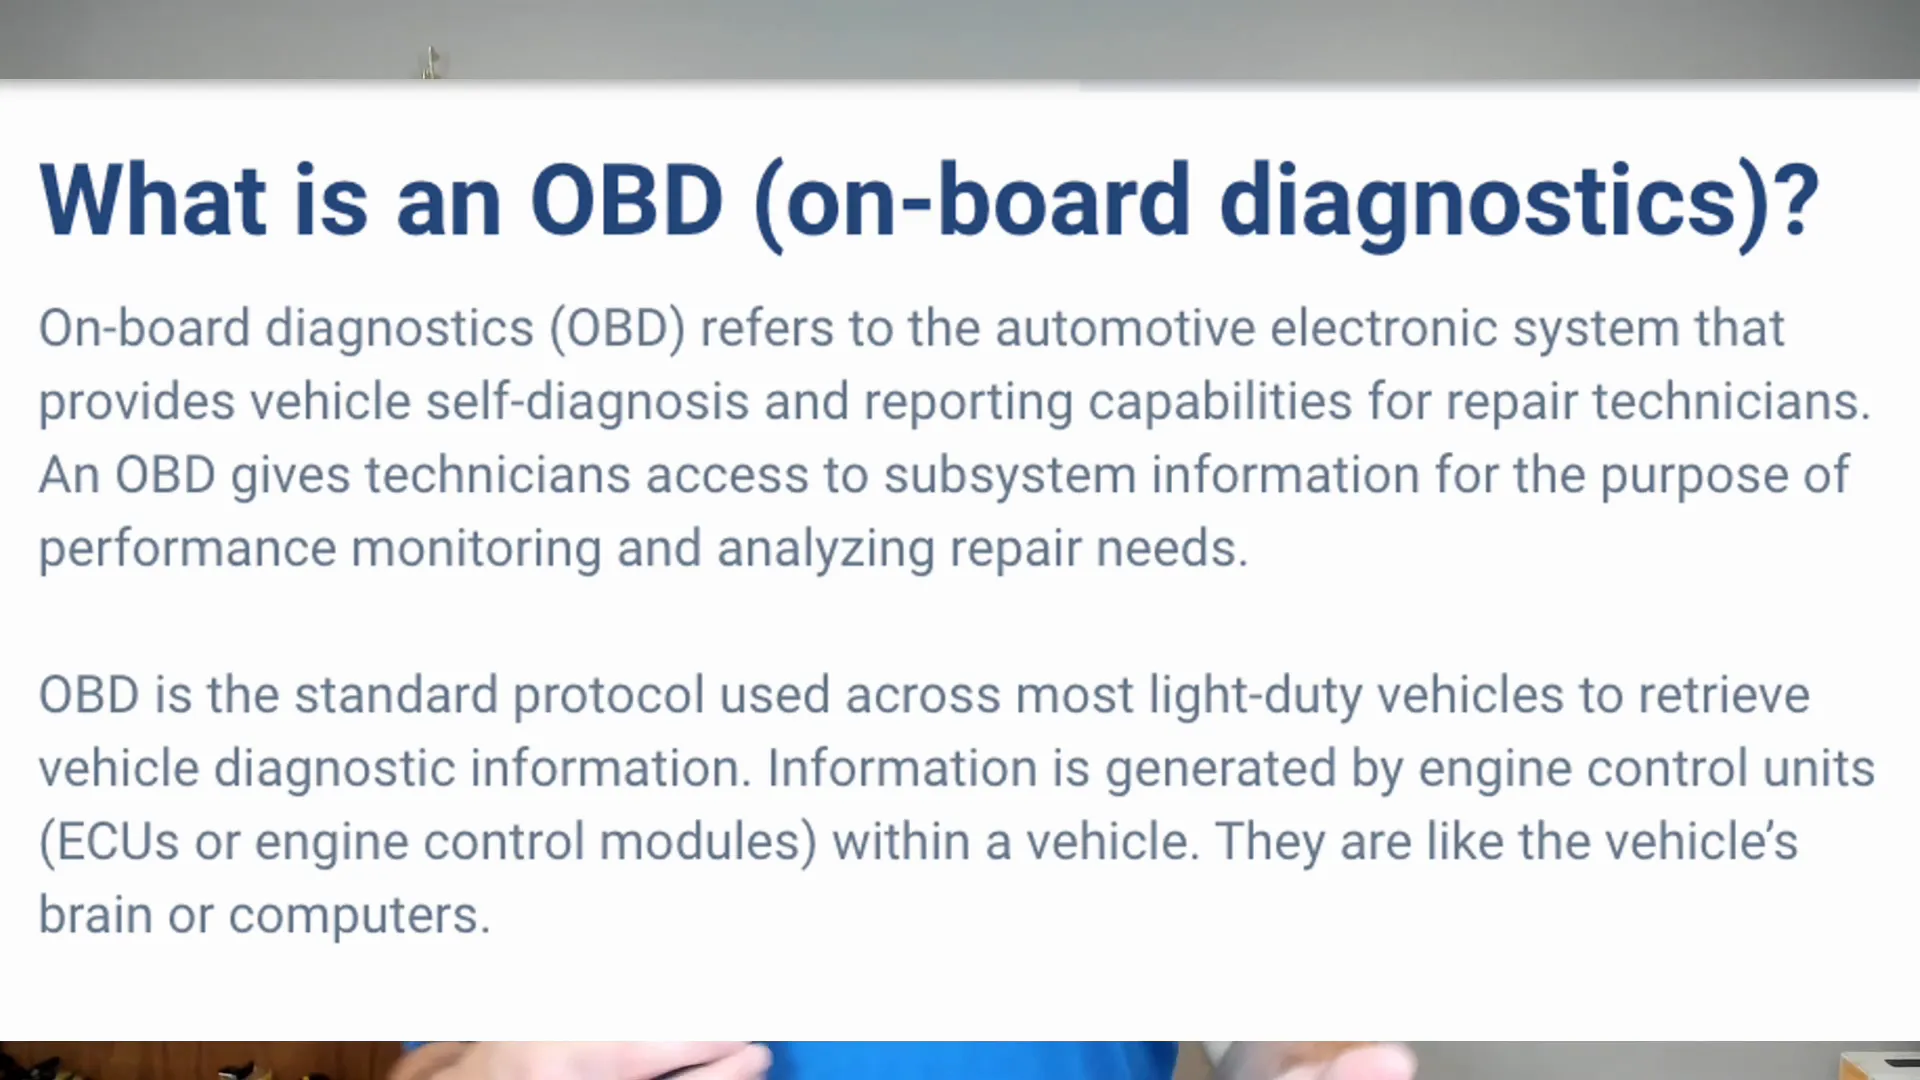
What is an OBD2 Port?
The OBD2 (On-Board Diagnostics II) port is a standardized interface that allows access to the data from your vehicle's engine control unit (ECU). This port is crucial for mechanics when diagnosing issues with your car. When you bring your vehicle in for service, mechanics can plug in a special programmer to read codes related to check engine lights or other system alerts.
The OBD2 port is typically dormant while you're driving; it’s primarily used when a mechanic is troubleshooting your vehicle. So, there’s no need to worry about plugging anything into this port as it won't interfere with your driving experience. However, it’s a good idea to check if your dash cam powers up after you pick your vehicle from the shop, as mechanics might inadvertently unplug it.
Building Your OBD2 Hardwire Cable for Viofo
Creating a hardwire cable for your dash cam using the OBD2 port is a straightforward process. Here’s how you can build your own OBD2 cable:
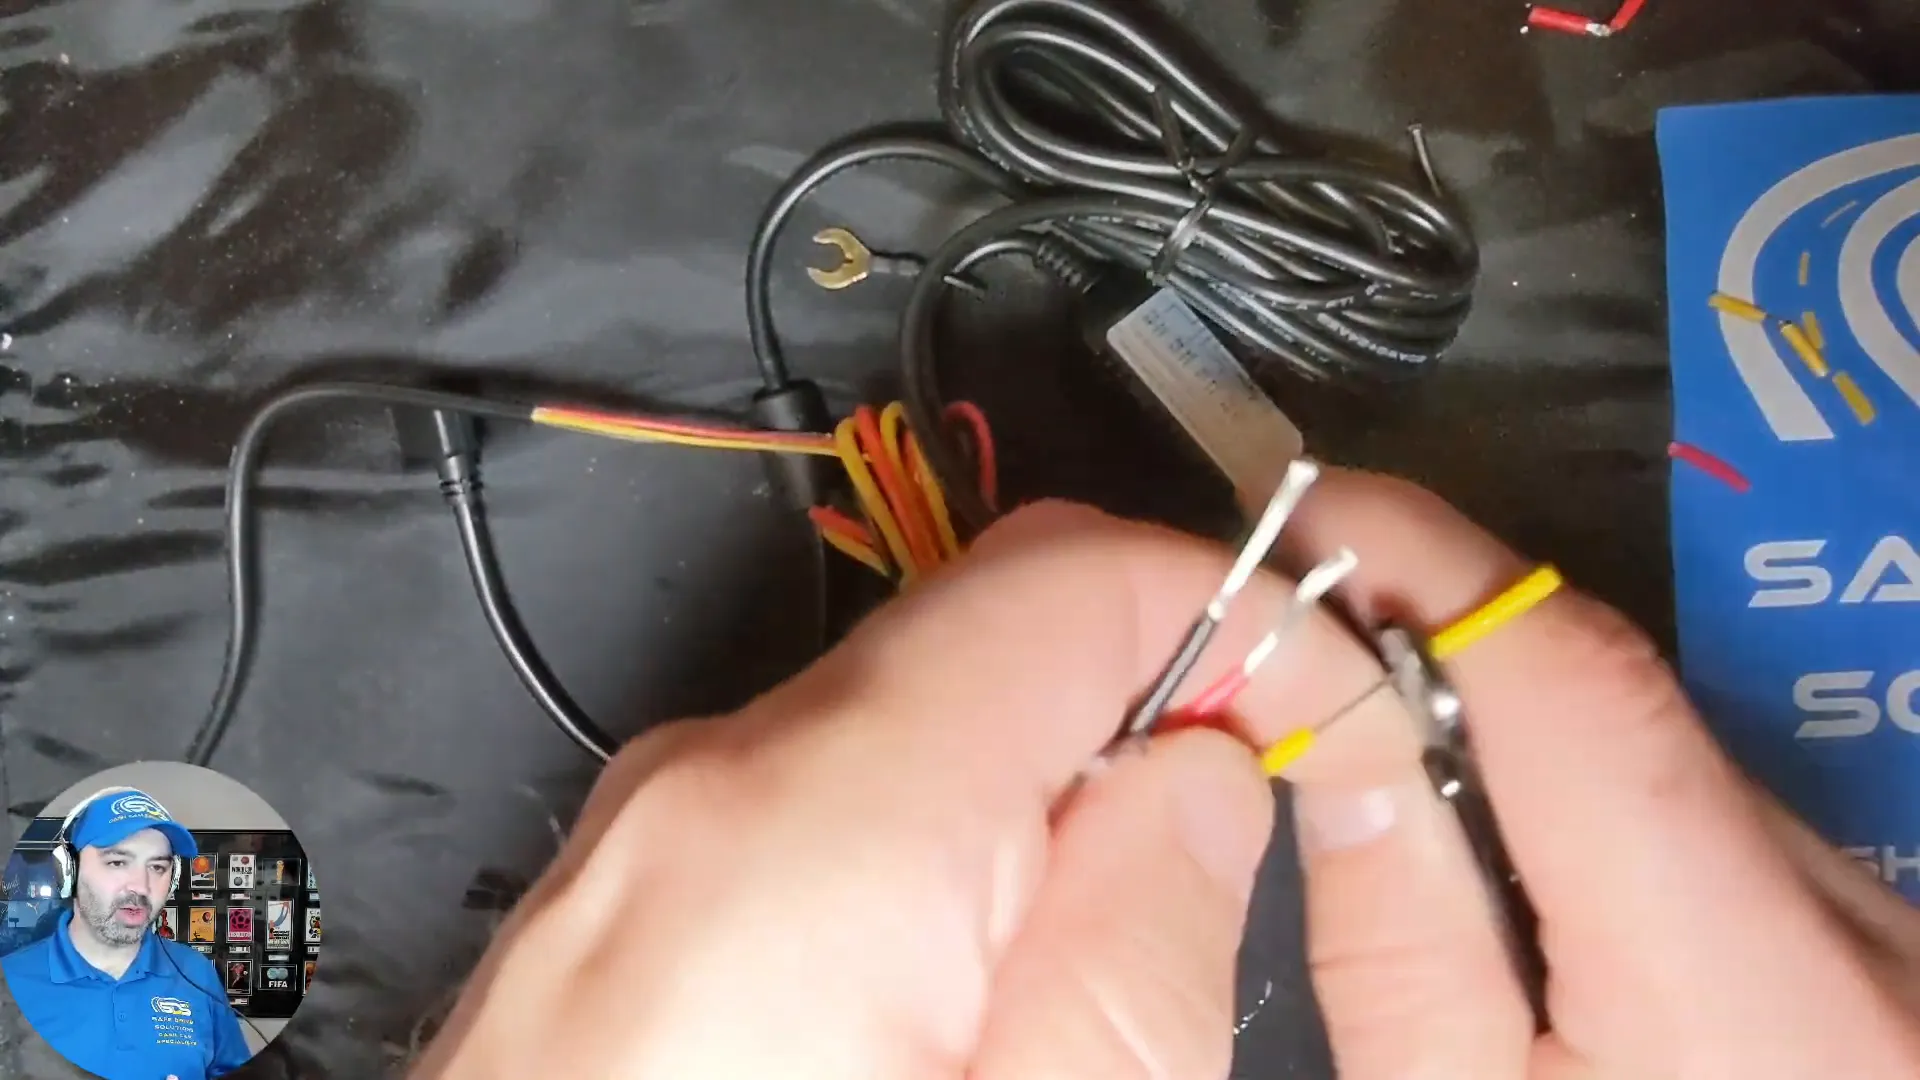
- Gather Your Materials: You will need an OBD2 cable, a hardwire kit, a soldering iron, and 3M electrical tape.
- Dismantle the OBD2 Cable: Start by taking the OBD2 cable out of the box. Cut the cable about 12 inches down the line and strip back the sheathing to expose the red, black, and yellow wires.
- Prepare the Hardwire Kit: Open up the hardwire kit and strip the black, red, and yellow wires.
- Connect the Wires: Connect the wires correctly: red goes to yellow, yellow goes to red, and black goes to black. It’s crucial to ensure these connections are accurate; otherwise, the dash cam won’t function correctly.
- Solder the Connections: Use a butane soldering iron to solder all connections securely. This will ensure a reliable electrical connection.
- Insulate the Wires: Use 3M Super 33 electrical tape to cover the soldered connections. This tape is preferred for its reliability in various weather conditions.
Connecting Your Dash Cam to the OBD2 Port
Once you have constructed your OBD2 cable, the next step is connecting it to your dash cam.
To connect:
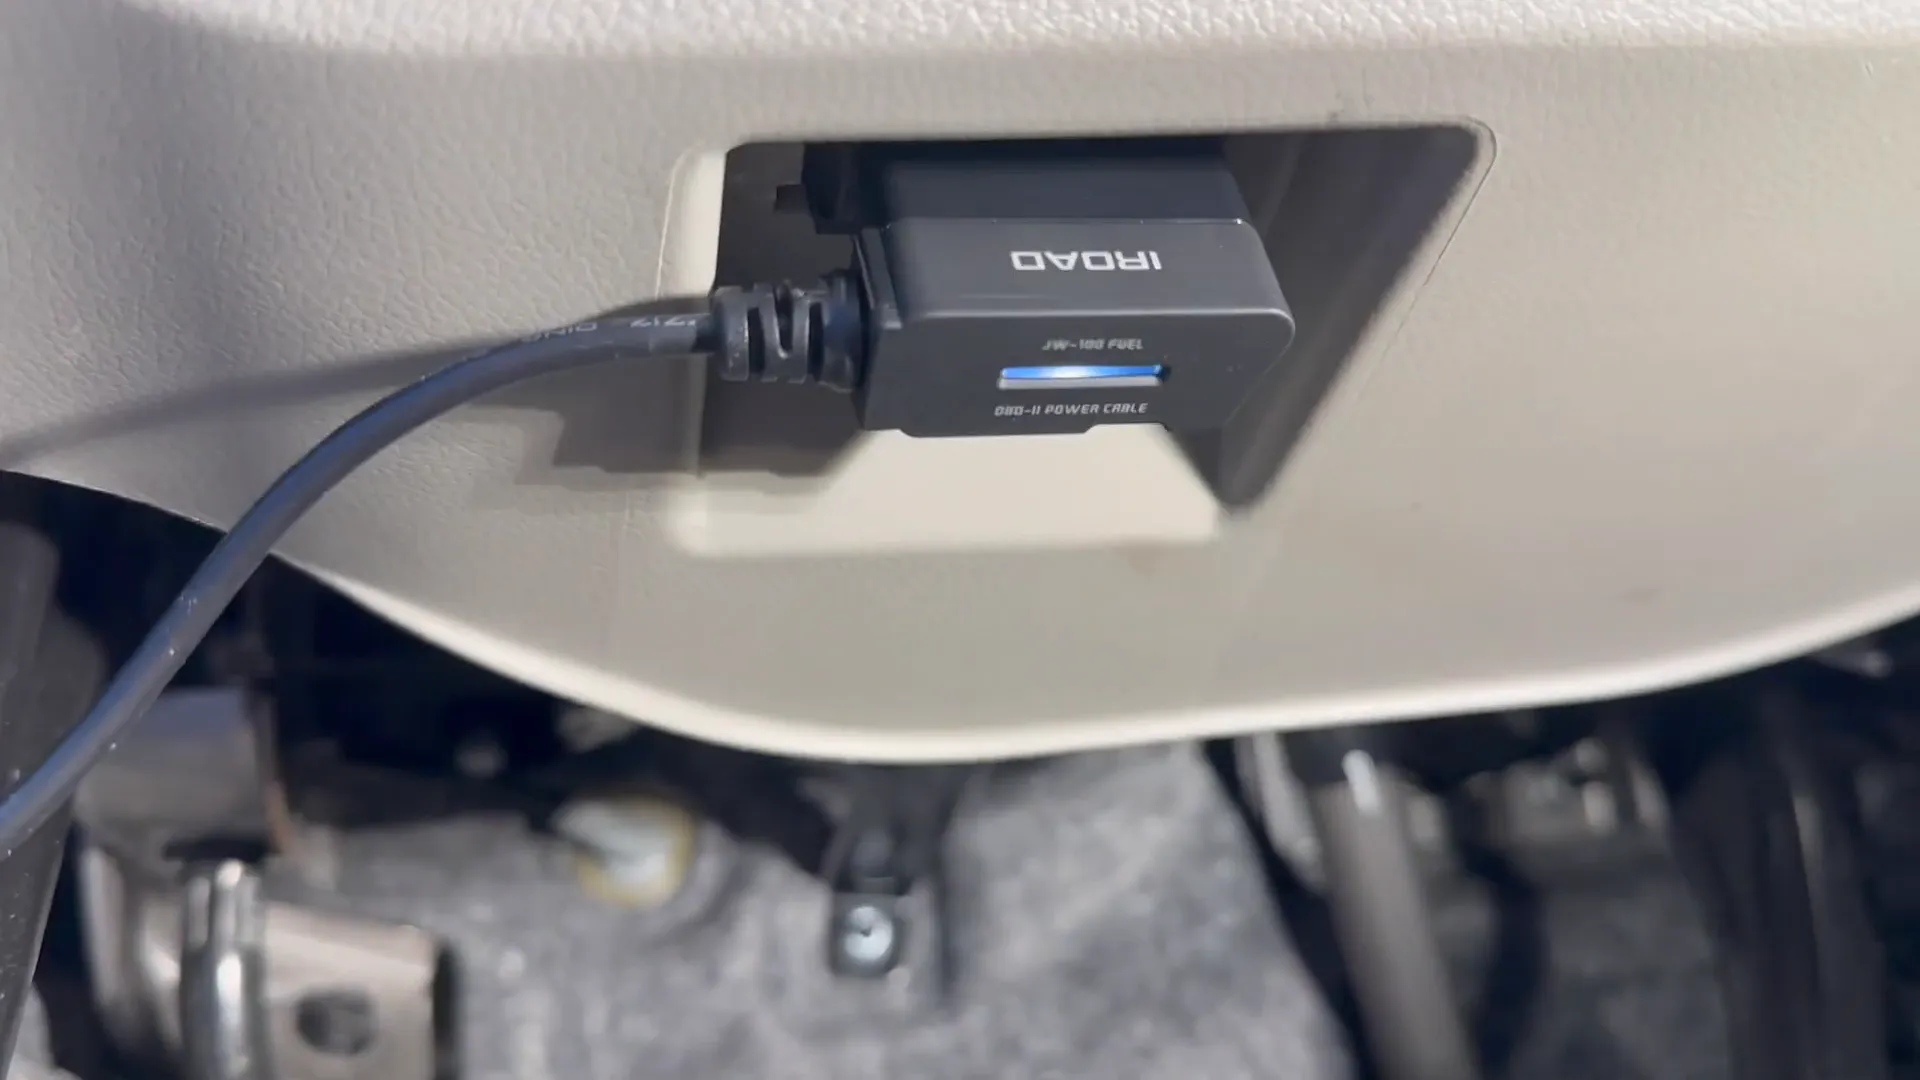
- Locate the OBD2 port underneath your dashboard. It is typically situated near the driver’s seat.
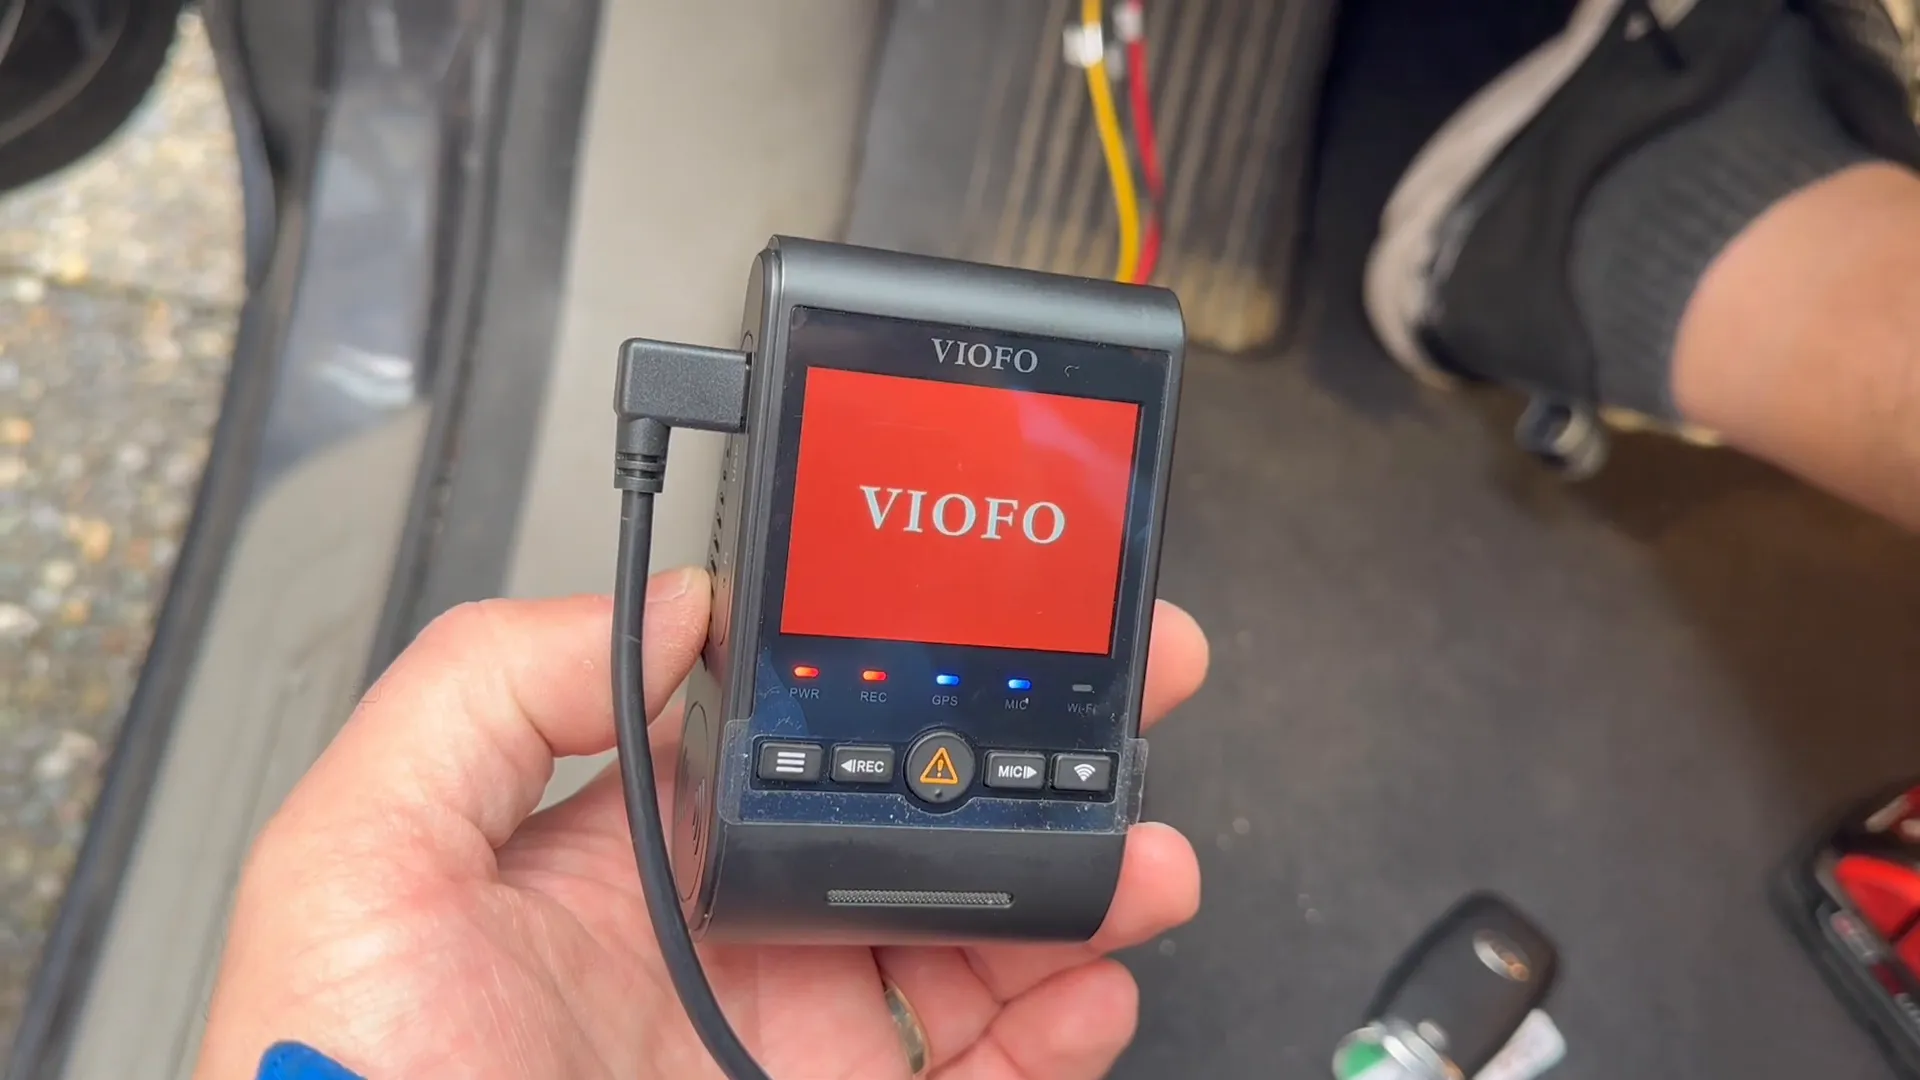
- Plug your newly created OBD2 cable into the port. If done correctly, you should see a light indicating that power is being supplied to your dash cam.
- Start your vehicle and check if the dash cam powers up and begins recording.
Understanding Parking Mode and Low Battery Protection
When using the OBD2 hardwire method, it's important to know how parking mode works. The average vehicle takes about 1 to 5 minutes to enter parking mode after shutting off the ignition. This delay is due to the vehicle's computer going to sleep.
For those not using parking mode, the dash cam will still maintain low battery protection. The inline USB-C cable has built-in low battery protection, ensuring that your vehicle’s battery does not drain excessively.
Benefits of Using the OBD2 Port for Dash Cam Installation
Using the OBD2 port for your dash cam installation offers several advantages:
- Simplicity: The installation process is straightforward and does not require complicated fuse taps.
- Reliability: This method is proven to work across many different vehicle models, ensuring compatibility.
- Power Management: The dash cam will automatically turn off with the vehicle's ignition after 1 to 5 minutes on most vehicles, preserving battery life.
- Professional Assistance: If you’re unsure about the installation, professional services like Safe Drive Solutions can help.
Final Remarks
Creating an OBD2 hardwire cable for your dash cam is not only practical but also enhances the overall functionality of your vehicle's safety system. This method allows you to harness the power of the OBD2 port, ensuring your dash cam is always ready to record. If you're interested in purchasing the necessary components or seeking assistance, feel free to reach out to us at Safe Drive Solutions.
For more information about dash cams and their benefits, check out our resources section or watch our YouTube videos for detailed guides and comparisons.
Remember, having a dash cam in your vehicle is like having a silent witness on the road. Stay safe and drive smart!

