Getting Your Windshield Replaced When You Have a Dash Camera: What You Need to Know
Having a dash cam installed in your vehicle is a smart decision for safety and security on the road. It acts like a silent witness, recording everything that happens in front of you, providing crucial evidence in case of accidents or disputes. But what happens if the unfortunate occurs and your windshield gets cracked or damaged? If you have a dash cam mounted on that windshield, replacing it can become a bit tricky. In this article, we’ll walk you through everything you need to know about getting your windshield replaced when you have a dash camera installed, so you can avoid common pitfalls and keep your dash cam working perfectly.
This guide is inspired by the expertise shared by Safe Drive Solutions - Dash Cam Specialists, who have years of experience installing and maintaining dash cams for drivers in Vancouver, Toronto, and beyond.
Why Replacing Your Windshield Can Impact Your Dash Cam
It’s never fun to discover a crack on your windshield. Whether it’s caused by a flying rock, a collision, or simply wear and tear, a damaged windshield usually needs to be replaced promptly to maintain your vehicle’s safety and visibility. But if you have a dash cam installed on that windshield, the replacement process involves more than just swapping glass.
Dash cameras are typically mounted on the inside surface of the windshield, often using strong adhesive pads like 3M sticky tape. When the windshield is removed and replaced, the dash cam must come off and then be remounted. If this step is overlooked or done improperly, the dash cam might not function as intended, compromising your ability to capture clear footage.
The Problem With Removing and Reinstalling Dash Cam Mounts
Most dash cams use adhesive pads to stick to the windshield. These pads are designed for one-time use, meaning once you peel off the dash cam, the adhesive loses its stickiness and must be replaced. If you try to reuse the old adhesive, the dash cam could fall off, or the camera lens might shift, resulting in poor video angles or distorted footage.
Additionally, when the windshield is replaced, the technicians handling the job might accidentally bump or misalign the dash cam lens. This misalignment means your dash cam won’t be aimed properly through the windshield, reducing the quality and reliability of your recordings.
How to Prepare for Windshield Replacement With a Dash Cam Installed
Before you even book your windshield replacement, it’s important to prepare your dash cam setup to ensure a smooth transition.
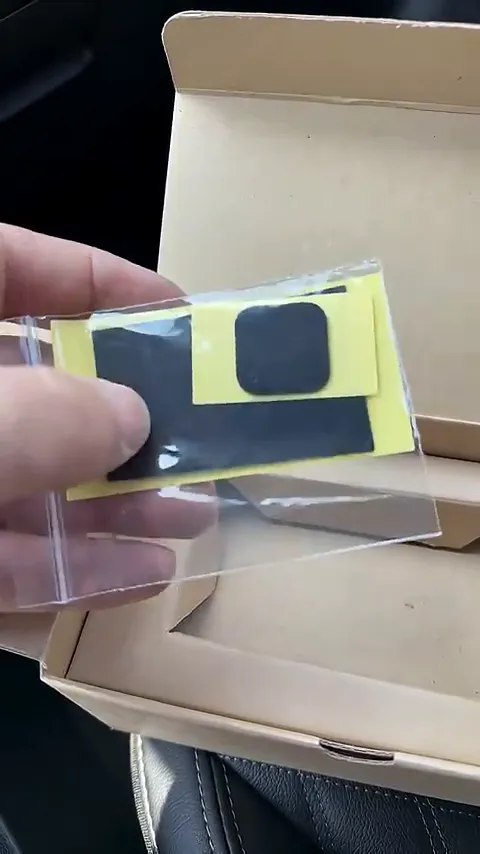
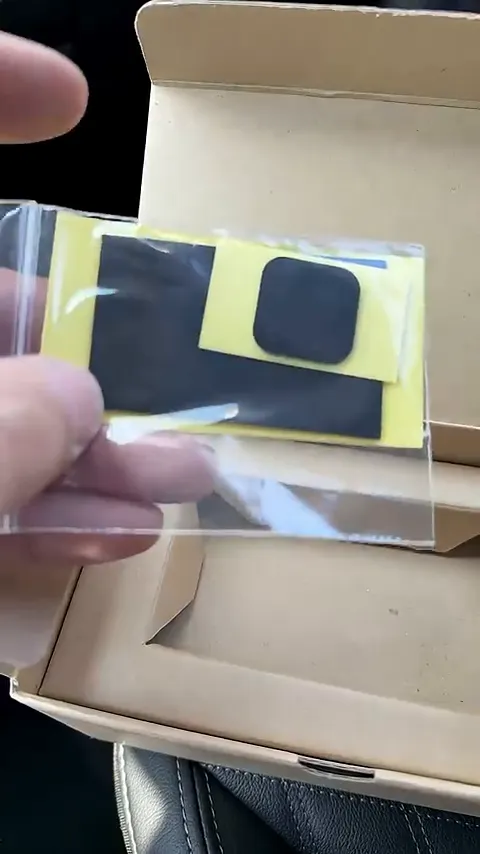
Keep the Original Box and Extra Adhesive Pads
When you first had your dash cam installed, the installer likely gave you a box containing the dash cam and accessories. Inside that box, you should find extra 3M sticky pads, perfectly cut to fit your dash cam mount.
Why is this important? These extra adhesive pads are your best friend when it comes time to remount your dash cam after windshield replacement. Using fresh adhesive pads ensures your dash cam will stick securely and maintain a strong bond with the new windshield.
So, before your windshield replacement appointment, locate that box, open it up, and verify you have those spare sticky pads ready. If you don’t have any extras, contact your dash cam provider or installer ahead of time to get replacements.
Inform the Windshield Replacement Technician About Your Dash Cam
Not all windshield replacement professionals are familiar with dash cams and their mounting sensitivities. It’s a good idea to inform the technician about your dash cam installation and ask them to be careful when removing and reinstalling the camera.
Some technicians might be able to remove the dash cam for you and hold onto it during the replacement, but others might expect you to handle that yourself. Clarifying this beforehand can prevent damage to your dash cam or its mount.
What to Do Immediately After Your Windshield Is Replaced
Once the windshield replacement is complete, your job isn’t done yet. There are a few critical steps to make sure your dash cam is back up and running properly.
Remount the Dash Cam Using Fresh Adhesive Pads
Using the spare 3M sticky pads you saved, remount the dash cam securely on the inside of the new windshield. This fresh adhesive will ensure the dash cam stays in place and doesn’t fall off due to weak bonding.
If you’re unsure about doing this yourself, professional dash cam installers can help with remounting and alignment. Visit a trusted installer like Safe Drive Solutions’ professional dash cam installation services to ensure it’s done right the first time.
Verify the Dash Cam Lens Alignment
This is the most important step after remounting. Make sure the camera lens is aligned perfectly through the windshield to get a clear and unobstructed view of the road ahead.
If the lens is bumped, tilted, or placed incorrectly, your dash cam footage could be skewed, blurry, or even blocked by parts of the vehicle interior. This misalignment defeats the purpose of having a dash cam, as you might miss critical details in case of an accident.
Take a moment to check the camera’s view on its screen or via its app. Adjust the angle slightly if needed to get the best field of vision. If you notice persistent issues, consider having a professional review the alignment.
Additional Tips to Protect Your Dash Cam During Windshield Replacement
- Unplug the Dash Cam: If your dash cam is hardwired or connected to a power source, unplug it before the windshield replacement to avoid any electrical issues or damage.
- Handle With Care: Dash cams are delicate electronic devices. Avoid dropping or bumping them while removing or remounting.
- Test Recording: After remounting and aligning, do a short test recording drive to confirm video quality and positioning.
- Keep Firmware Updated: If you need to update your dash cam’s firmware or software, do so before the replacement to avoid downtime.
Why Professional Dash Cam Installation Matters
If you want to avoid the hassle and risk of damaging your dash cam or misaligning it, consider professional installation and remount services. Experts like Safe Drive Solutions specialize in dash cam installation and maintenance and can handle everything from initial install to remounting after windshield replacement.
Professional installers ensure:
- Proper removal without damage
- Use of the correct adhesive pads for secure mounting
- Precise lens alignment for optimal video capture
- Safe wiring and power connections
- Quick troubleshooting if any issues arise
Getting professional help is especially worthwhile if you own advanced dash cams like the Viofo A229 Pro 4K Front & Rear or the Vueroid D21 4K, which have precise sensor positioning requirements.
Related Resources and Further Reading
If you’re interested in learning more about dash cams, installation tips, and product recommendations, check out these helpful resources:
- Get Your Dash Cam Professionally Installed – Why professional installation matters and how it benefits you.
- Dashcam Resolution Explained – Learn about video quality and what resolution is best for you.
- Why You Need a Dash Cam – The benefits of having a dash cam in your vehicle.
- How Dashcams Protect You in the Event of an Accident – Understanding the importance of video evidence.
- Safe Drive Solutions Dash Cam Installation Services – Professional services for all your dash cam needs in Vancouver, Toronto, and surrounding areas.
Conclusion: Keep Your Dash Cam Ready After Windshield Replacement
Getting your windshield replaced is never fun, but it doesn’t have to mean losing the protection and peace of mind that your dash cam provides. By keeping extra adhesive pads handy, carefully remounting your dash cam, and verifying lens alignment, you can ensure your dash cam continues to operate flawlessly after windshield replacement.
Remember, the key points are:
- Save the original box with spare 3M sticky pads for remounting
- Inform your windshield replacement technician about your dash cam
- Use fresh adhesive pads to secure your dash cam on the new windshield
- Always verify and adjust the lens alignment for clear footage
- Consider professional installation or remounting services for the best results
For more information on dash cams, installation, and accessories, visit Safe Drive Solutions. Stay safe on the road and keep your dash cam ready to capture every moment!

