Installing Dash Cameras in a Mercedes Sprinter Van
Installing a dash cam can seem daunting, but it’s much easier than it looks. In this guide, we’ll walk you through the installation process of a Viofo A229 Plus dash cam and a Viofo rear waterproof camera in a 2016 Mercedes Sprinter van. By following these steps, you’ll have a reliable video recording system that enhances safety and security on the road.
Getting Started
The first step in the installation process is to gather the necessary tools and materials. You will need:
- Panel popper or pry tool
- Drill and drill bits
- Zip ties
- Fish tool for wiring
- Viofo A229 Plus dash cam
- Viofo rear waterproof camera
Before starting, ensure that you have a clear workspace and that the vehicle is parked safely.
Step 1: Removing the Rear Door Panel
To begin, we need to access the wiring above the rear license plate. Start by removing the nine clips from the rear door panel.
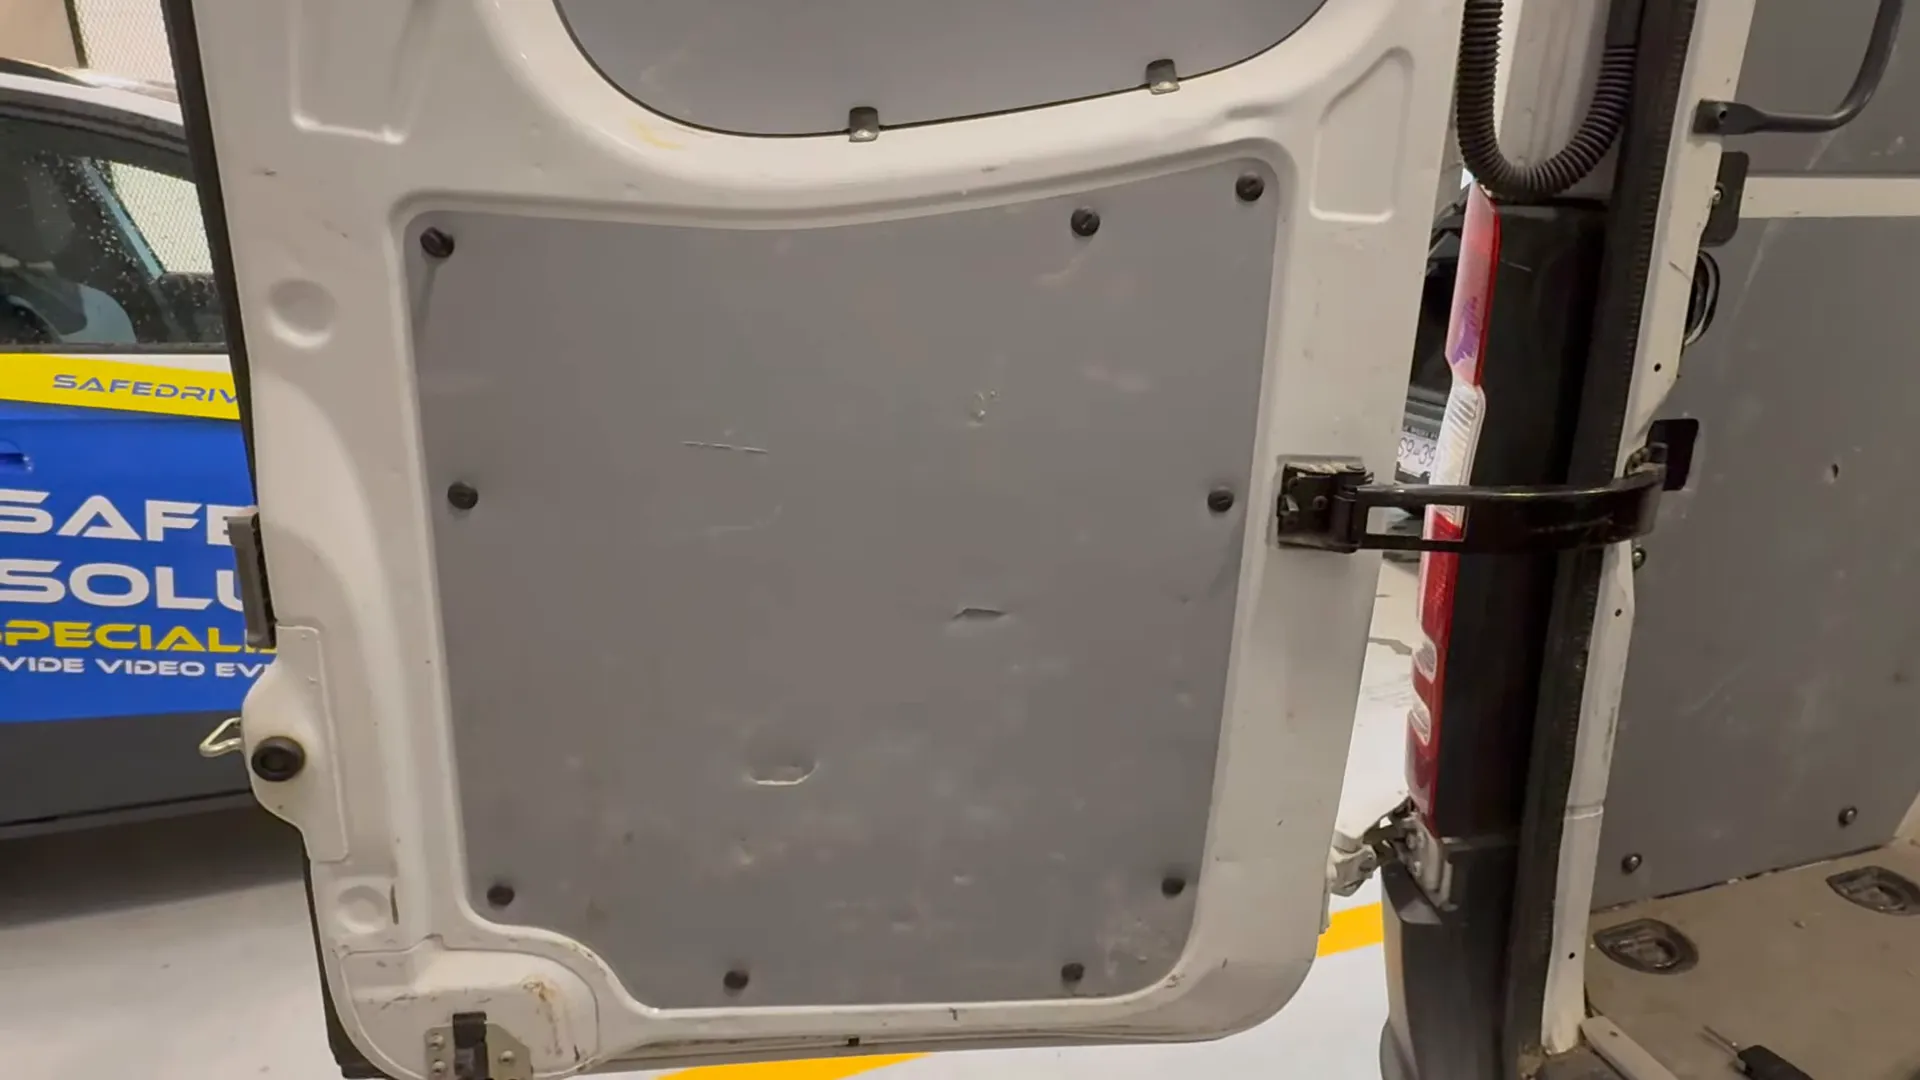
Use your panel popper or pry tool to push in towards the center of each clip and lift. Once the clips are removed, you can take off the entire rear panel. This will expose the factory wiring harness.
Step 2: Exposing the Wiring
Next, locate the two 10mm bolts at the top of the panel and remove them using a drill. Once these are removed, you may encounter a couple of tricky clips, but with some patience, you can drop the panel down and access the wiring.
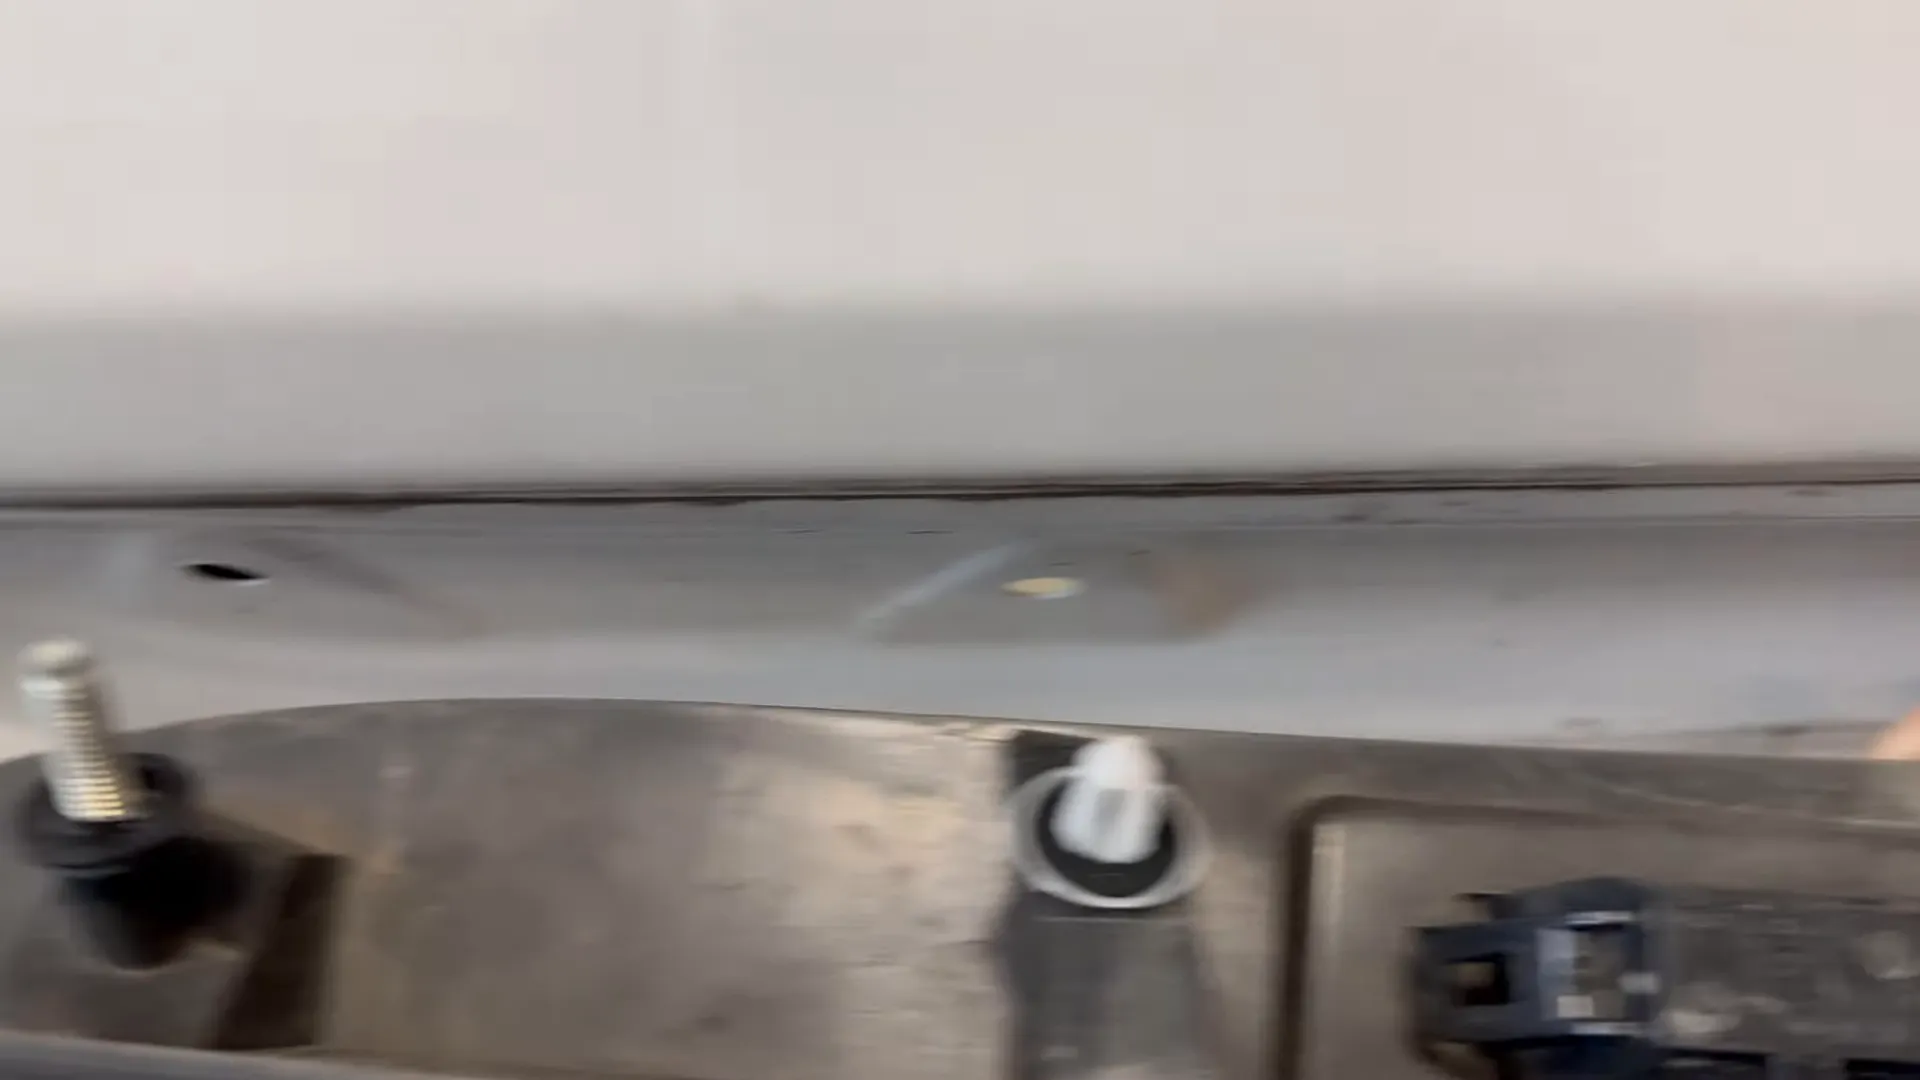
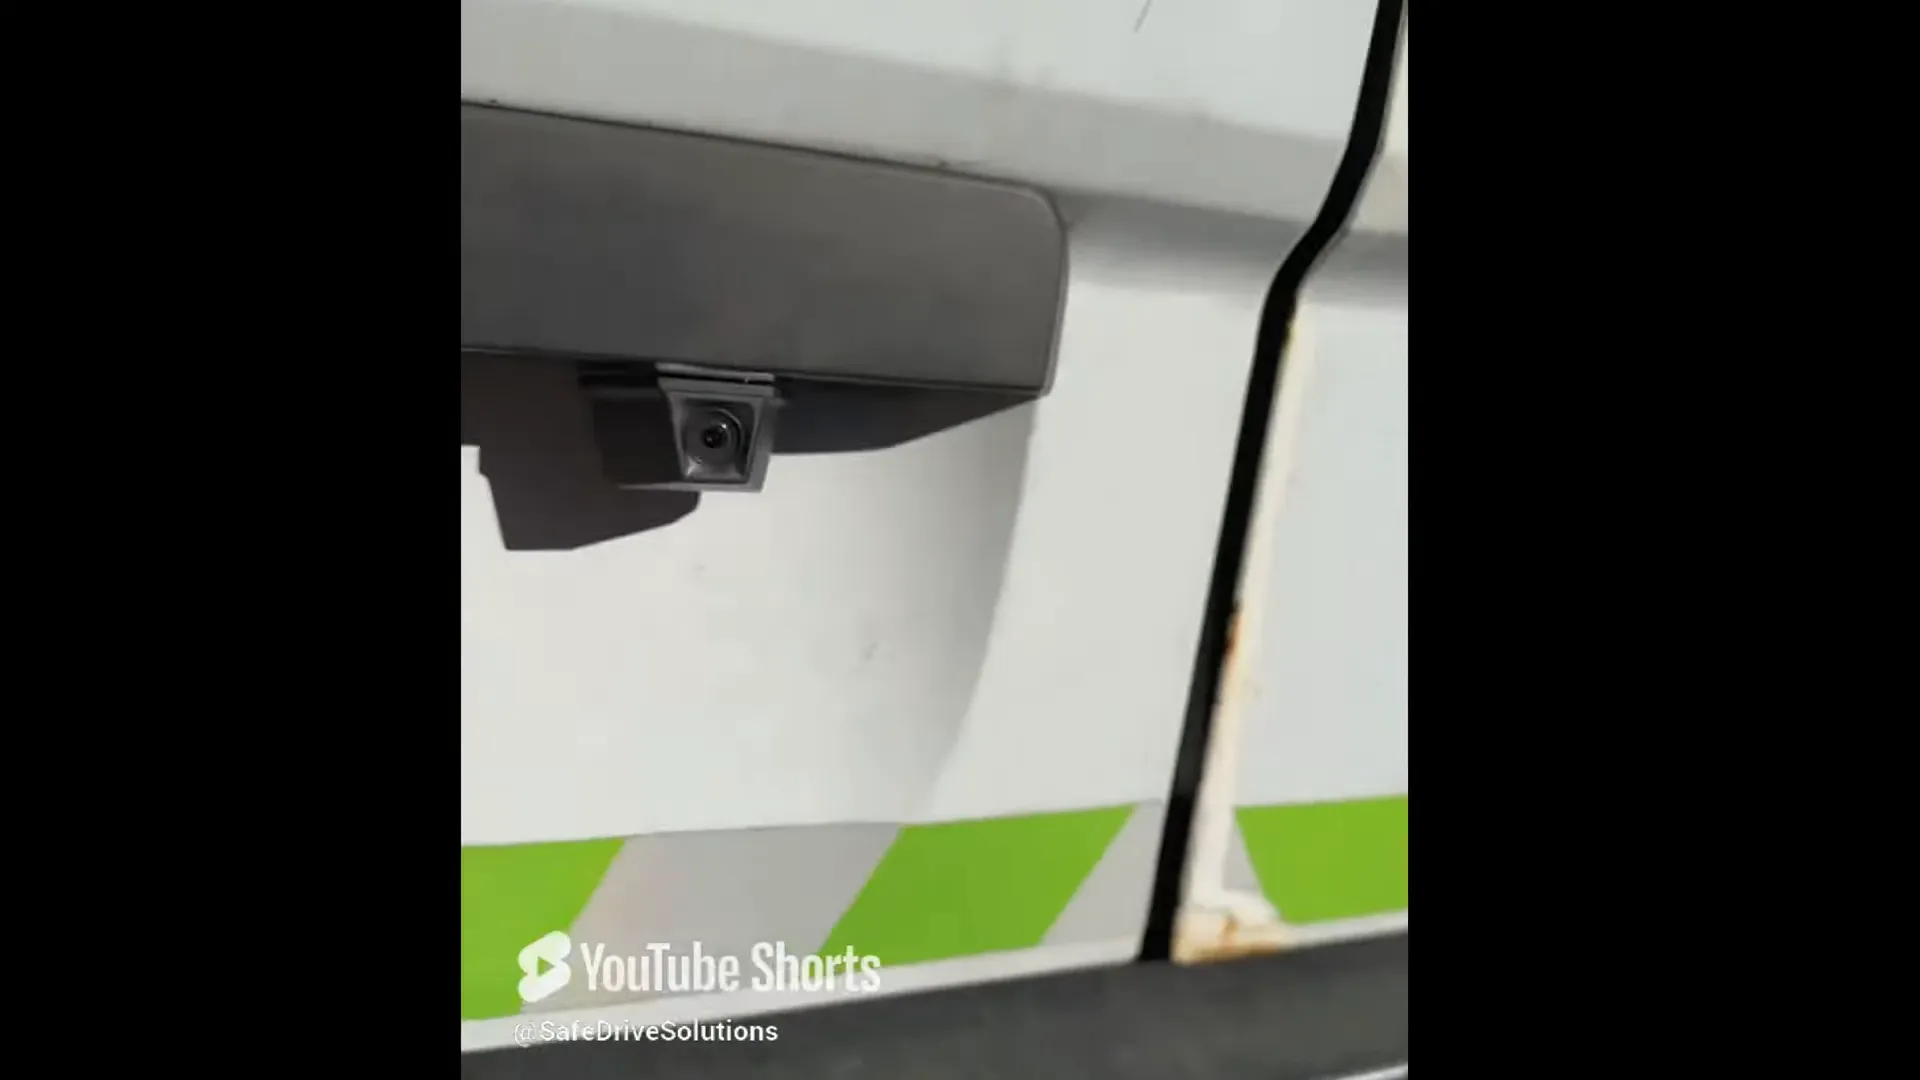
Now, we will create a small hole to run the rear camera cable through. After that, we will use the factory grommet to ensure a clean and sealed installation.
Step 3: Running the Rear Camera Cable
With the rear camera mounted and secured, it’s time to connect it to the front Viofo A229 Plus. Start by removing the grommet that leads into the vehicle from the door.
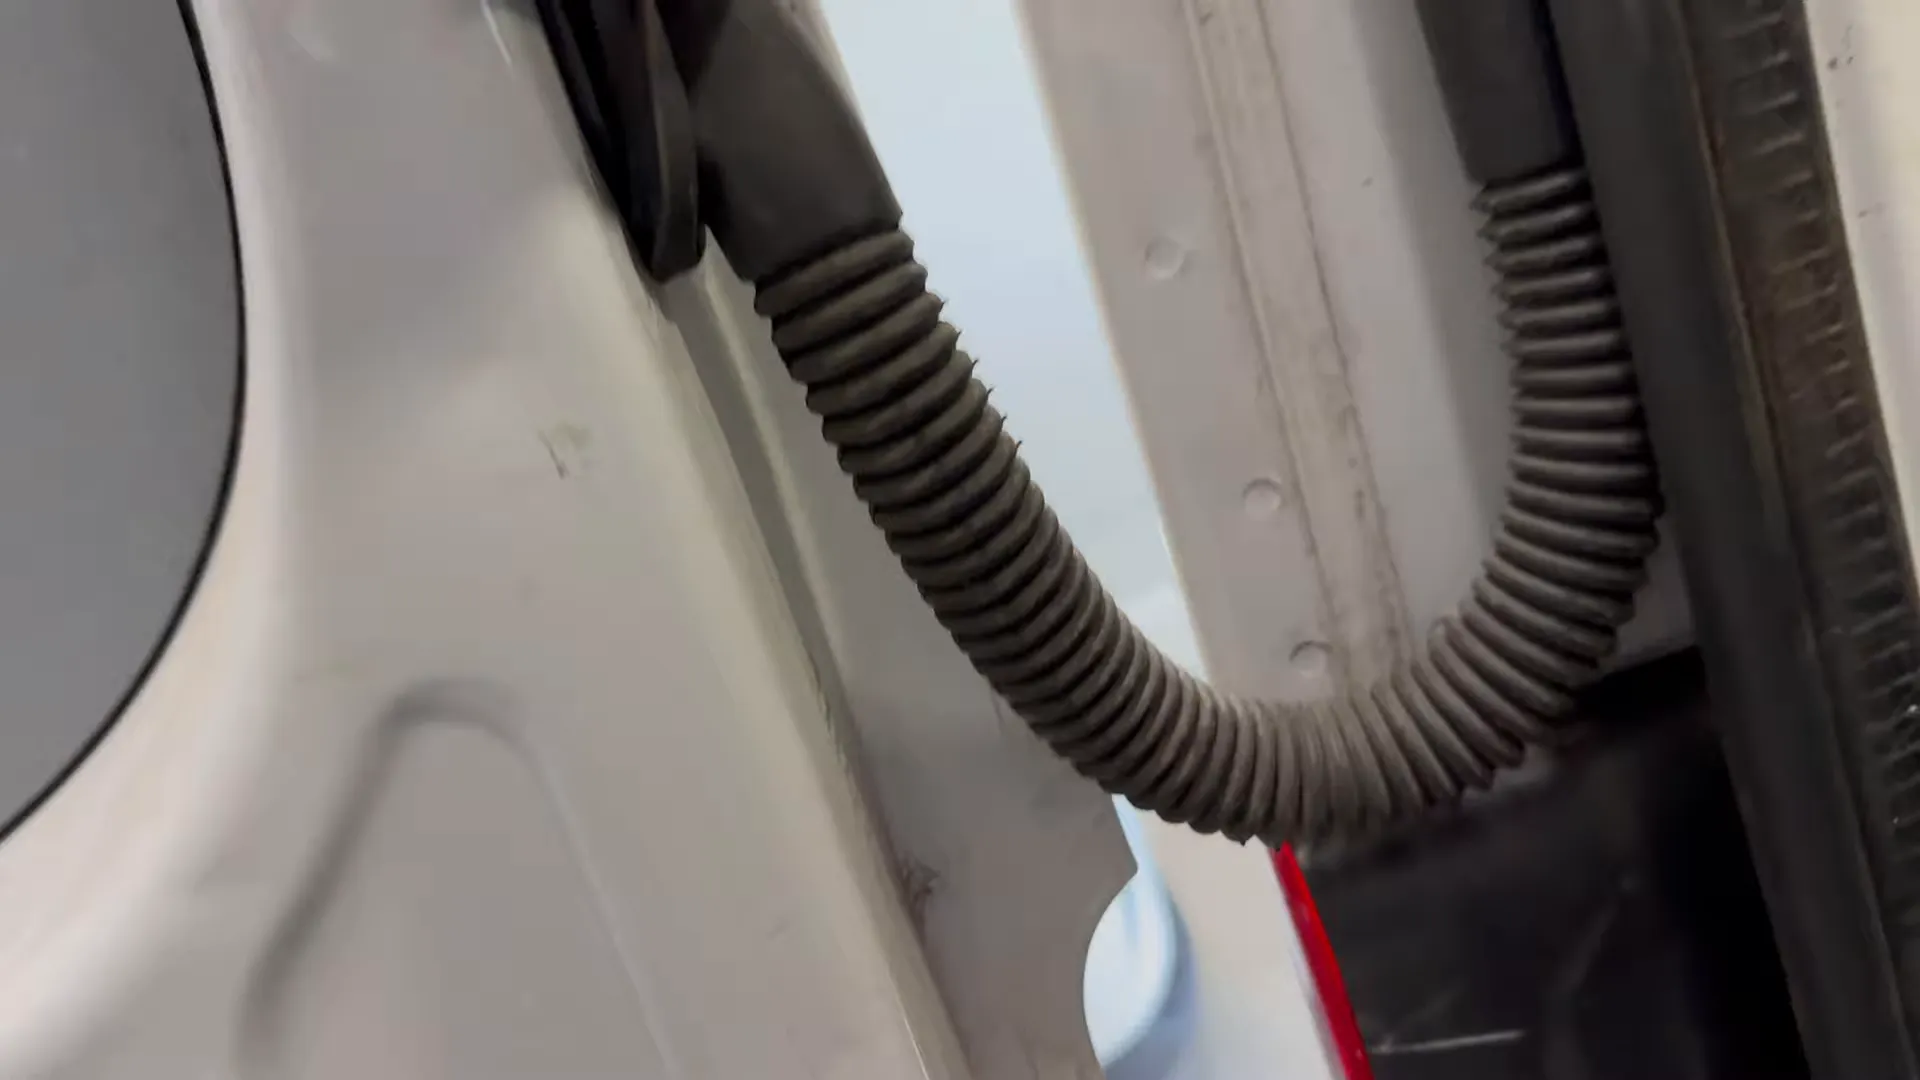
Be gentle while disconnecting the plastic trim and removing the grommet. This prevents any damage to the vehicle's interior.
Step 4: Routing the Wiring
Using your fish tool, run the rear camera wiring through the door boot and into the vehicle's interior. This ensures that the wire is hidden and blends in with the factory wiring.
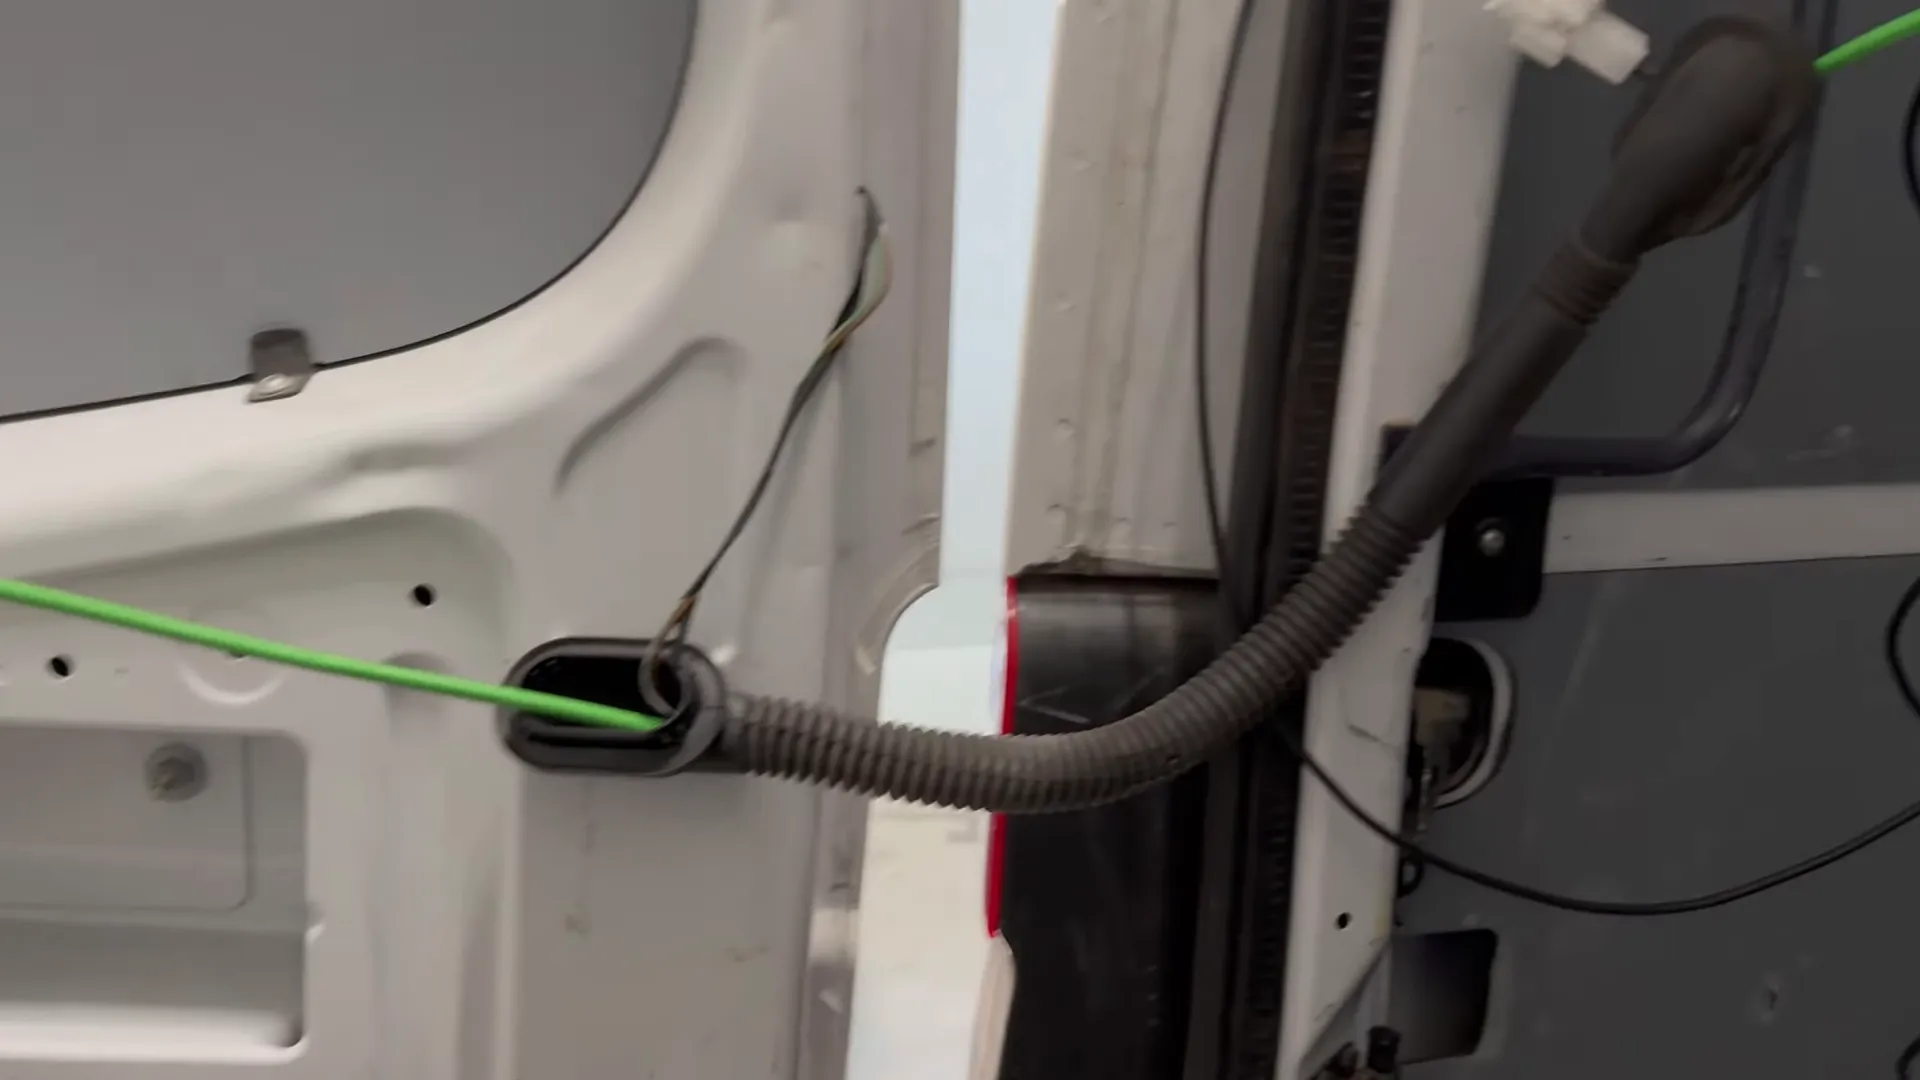
Make sure to tie strap the wiring in place to keep everything neat and organized.
Step 5: Connecting to the Front Dash Cam
Once the wiring is routed to the front, it’s time to install the Viofo A229 Plus dash cam. Position it behind the rearview mirror for optimal visibility and accessibility.
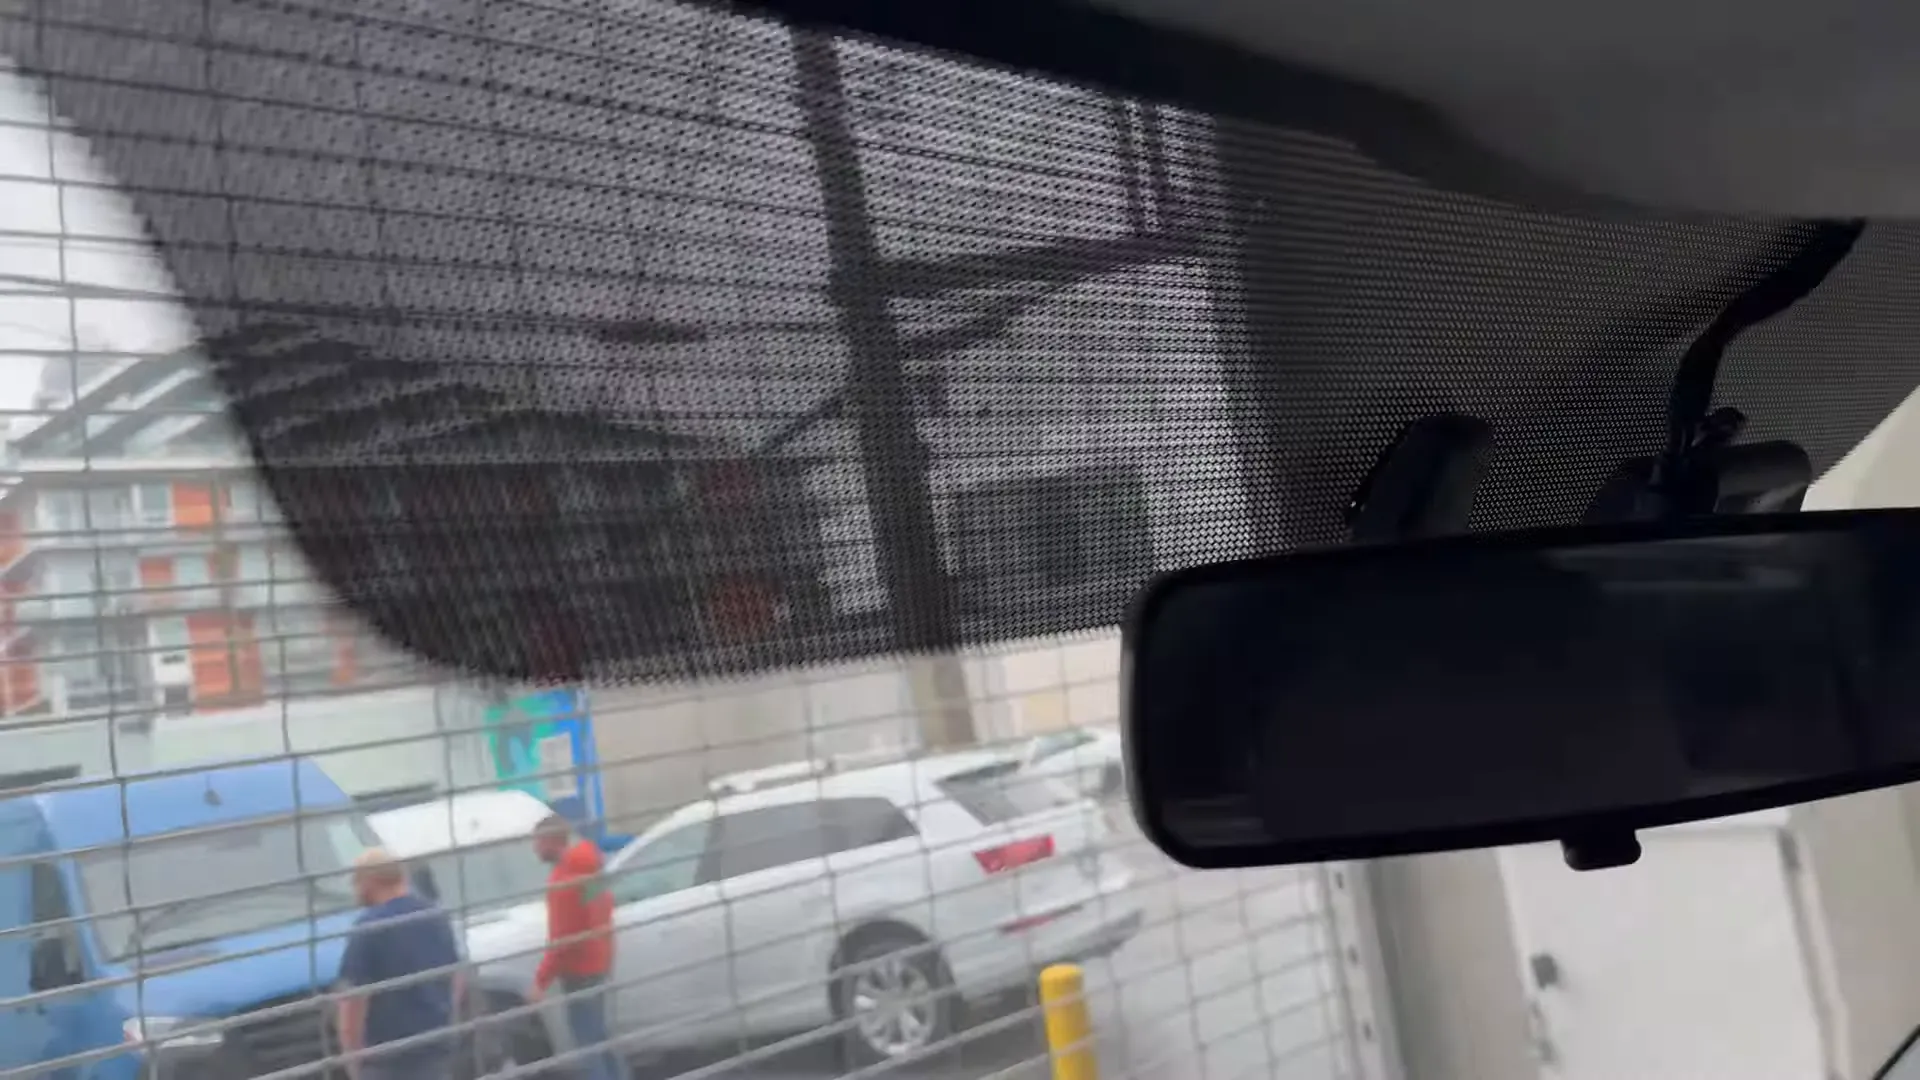
Ensure that all wires are tucked away neatly in the headliner and that they do not interfere with the airbags located in the A-pillar.
Step 6: Fuse Box Wiring
Now we need to connect the dash cam to the fuse box. We used PIN 24 for ignition and PIN 10 for constant 12V power. Since PIN 10 was empty, this was a perfect choice for our connection.
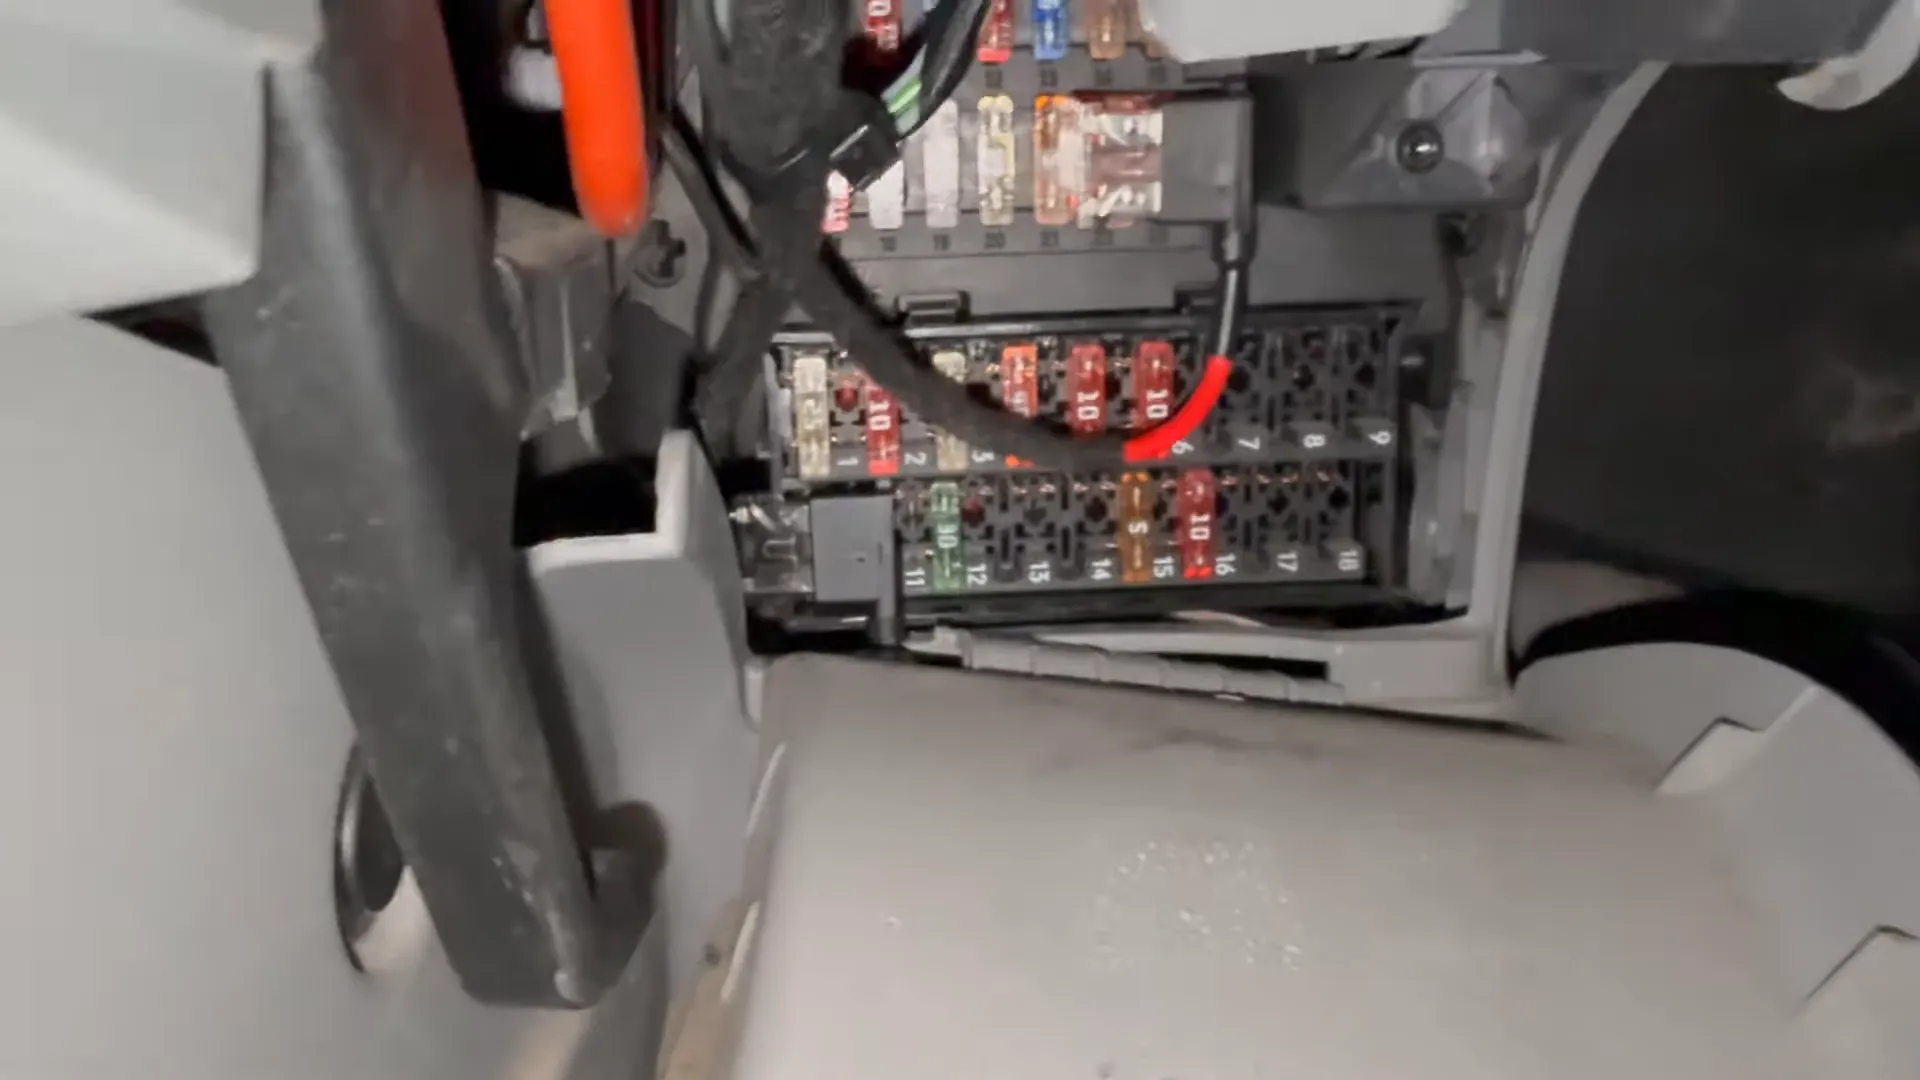
Make sure to double-check all connections before securing the fuse box cover back in place.
Step 7: Testing the System
After everything is connected, it’s time to test the system. Start the vehicle to ensure the dash cam powers on and begins recording. Check both the front and rear cameras to confirm they are functioning correctly.
Conclusion
Congratulations! You have successfully installed a Viofo A229 Plus dash cam and a Viofo rear waterproof camera in your Mercedes Sprinter van. This setup provides enhanced visibility and security on the road, making it a worthwhile investment for any driver.
If you prefer a professional installation, consider reaching out to Safe Drive Solutions for expert service in Vancouver and Toronto. They can ensure your dash cam is installed correctly and securely.
For more information on dash cams and their benefits, check out our blog or browse our selection of dash cameras at Safe Drive Solutions.

