Installing a VIOFO A229 Plus Dash Cam in a Toyota RAV4
Installing a dash cam in your vehicle can significantly enhance your driving safety and provide valuable evidence in case of incidents. In this guide, we will walk you through the process of installing a VIOFO A229 Plus front and rear dash camera in a Toyota RAV4 (2019-2024). We will cover everything from removing panels to hiding the wiring for a clean installation.
Getting Started
Before starting the installation, gather your tools and materials. You will need a panel popper tool, a flathead screwdriver, zip ties, and the VIOFO A229 Plus dash cam kit. Make sure to have a clean work area and sufficient lighting to see the wiring and connections clearly.
Removing the A-Pillar
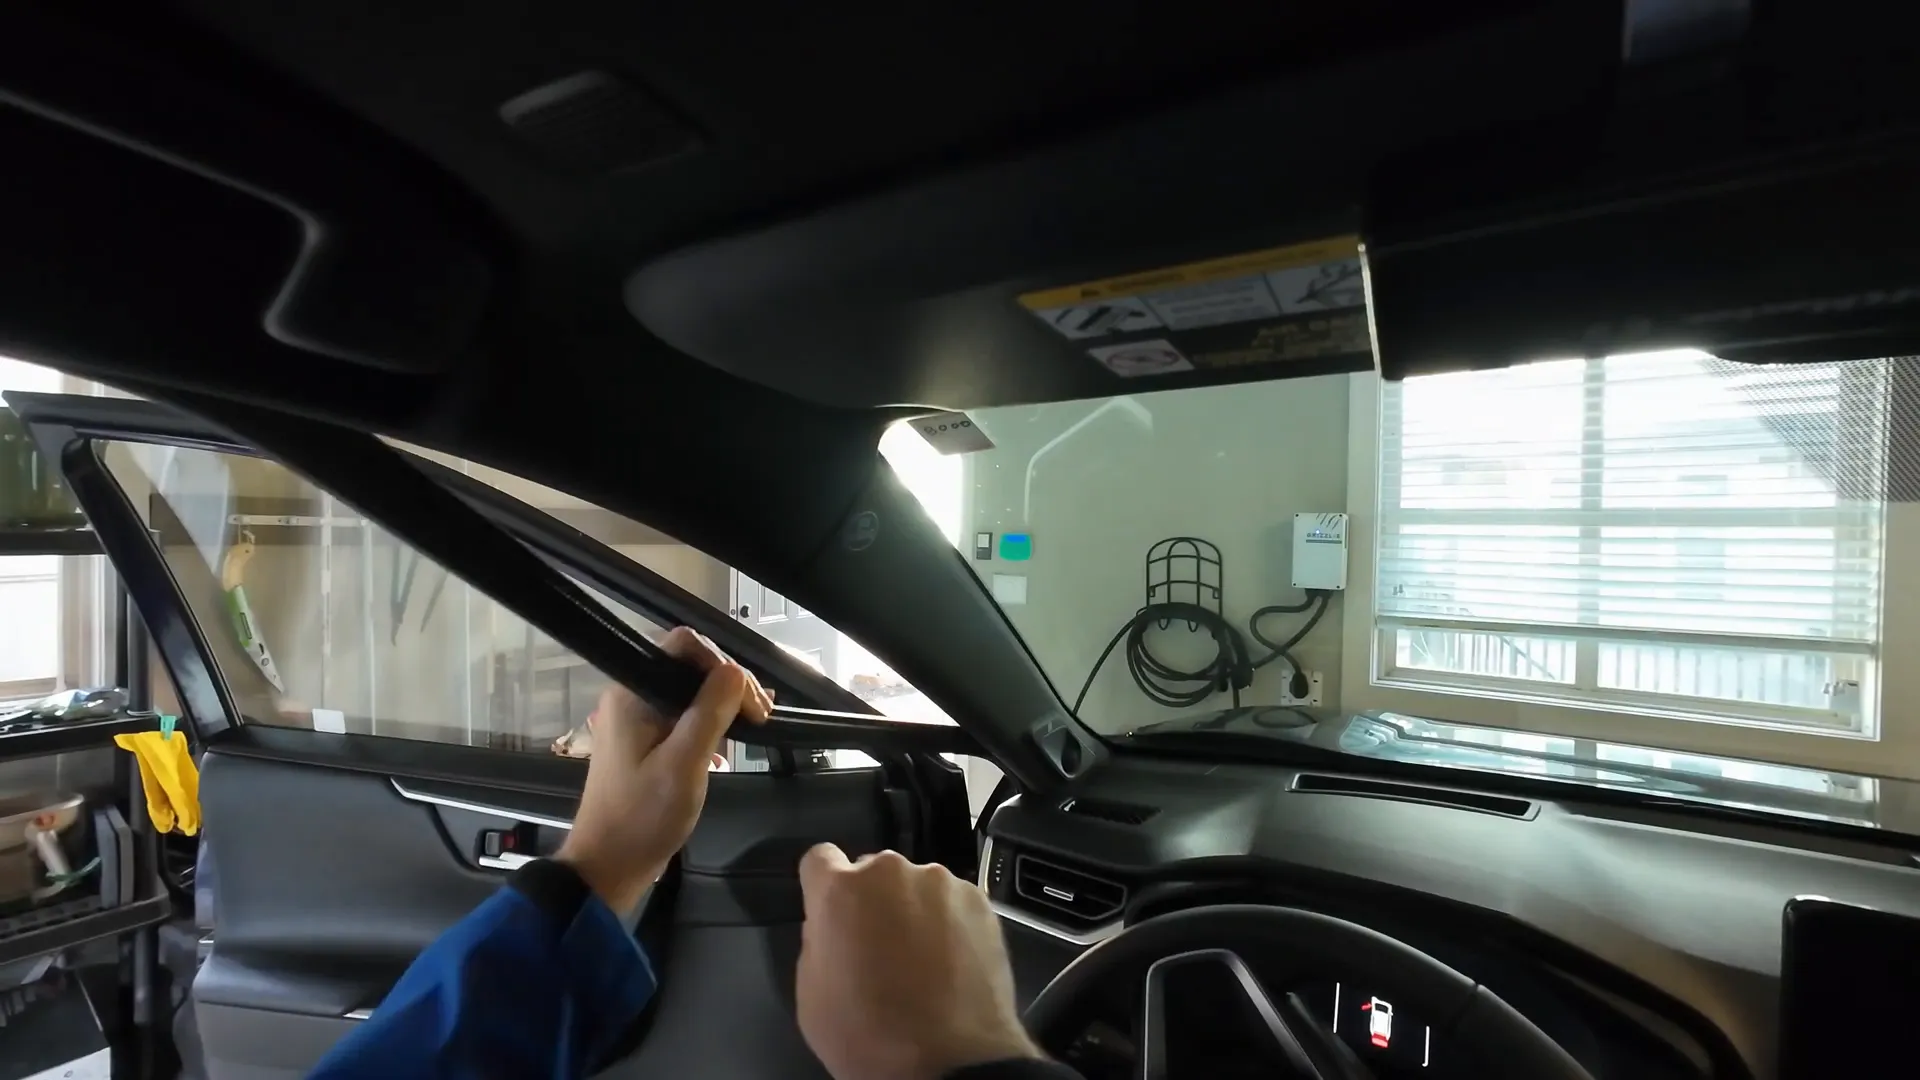
To begin, we will remove the weather stripping and the A-pillar cover to access the wiring area. Follow these steps:
- Gently pop the weather stripping away from the A-pillar.
- Use a small flathead screwdriver to hit the clips on either side of the A-pillar, releasing it from the vehicle.
- Remove the tweeter by using the flathead screwdriver to pop off the clip.
- Make sure to twist and secure the clips back into place so the panel fits snugly when reassembled.
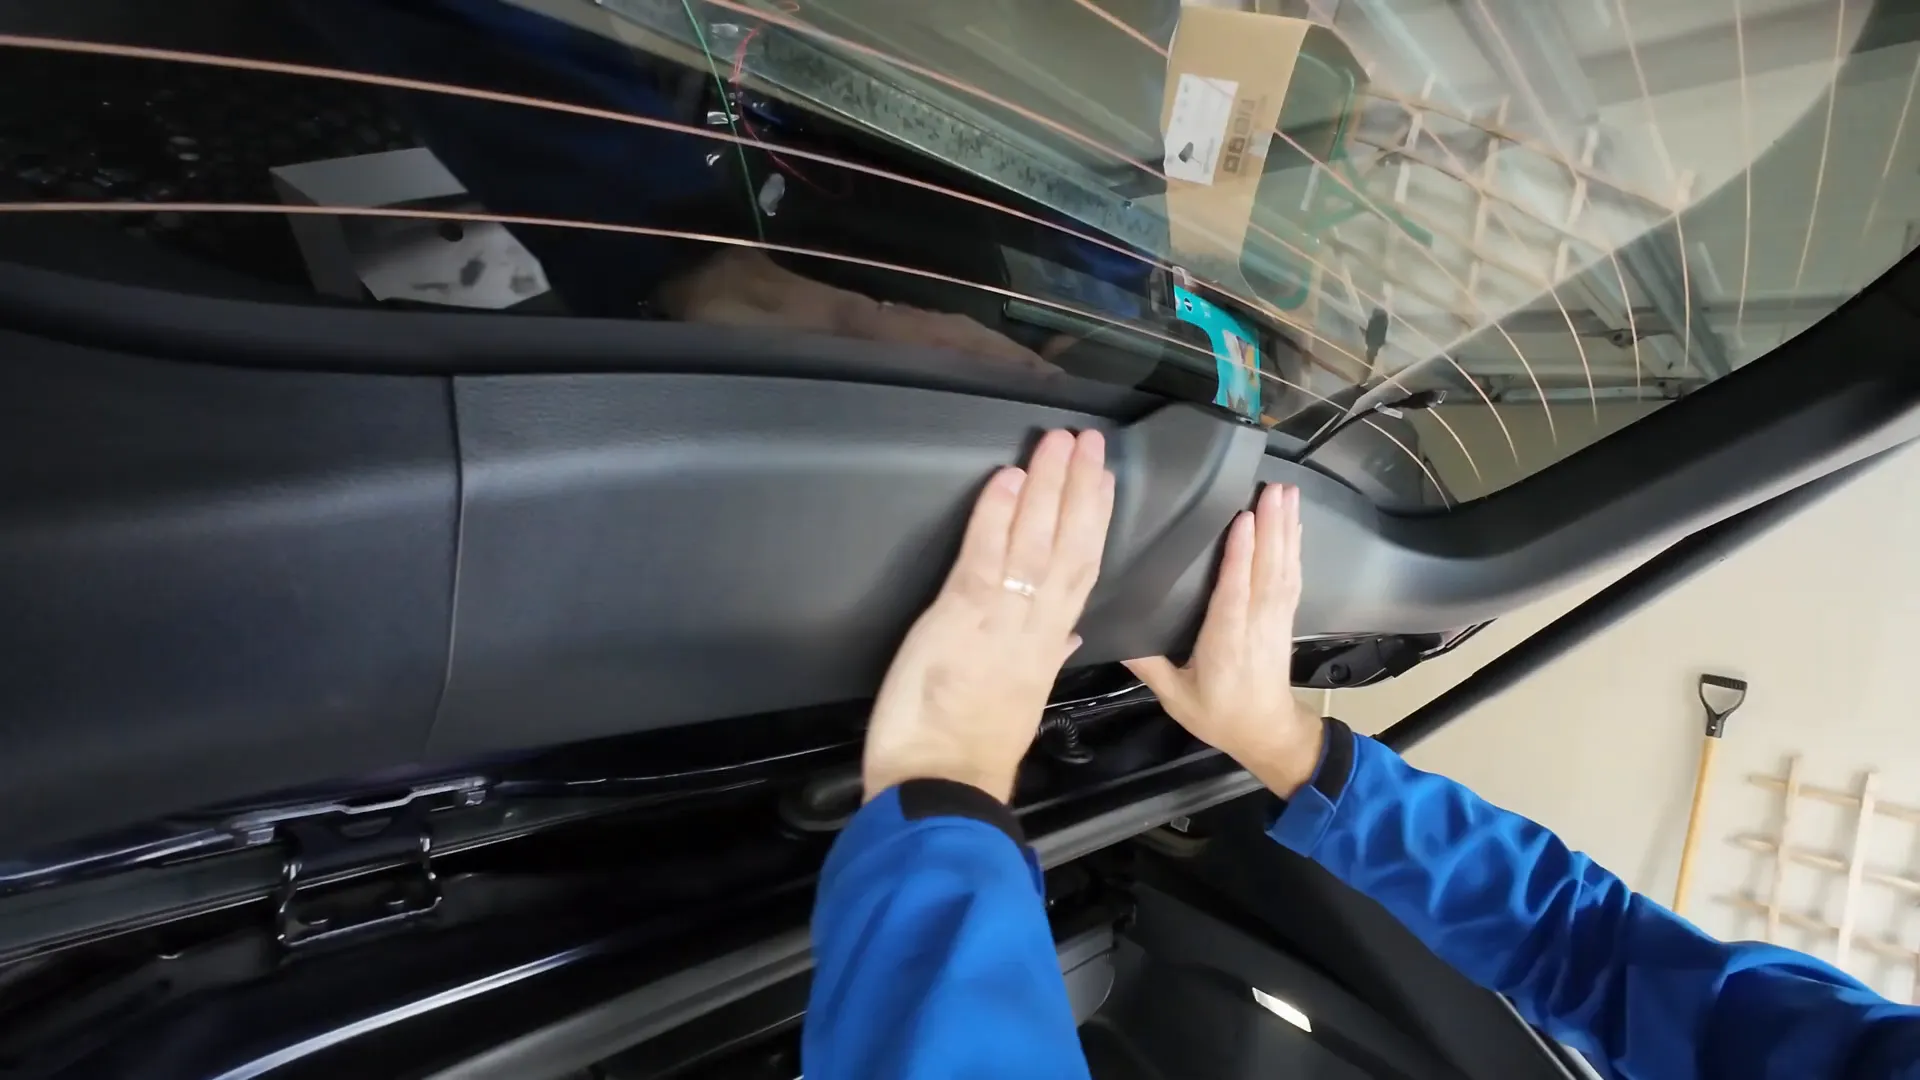
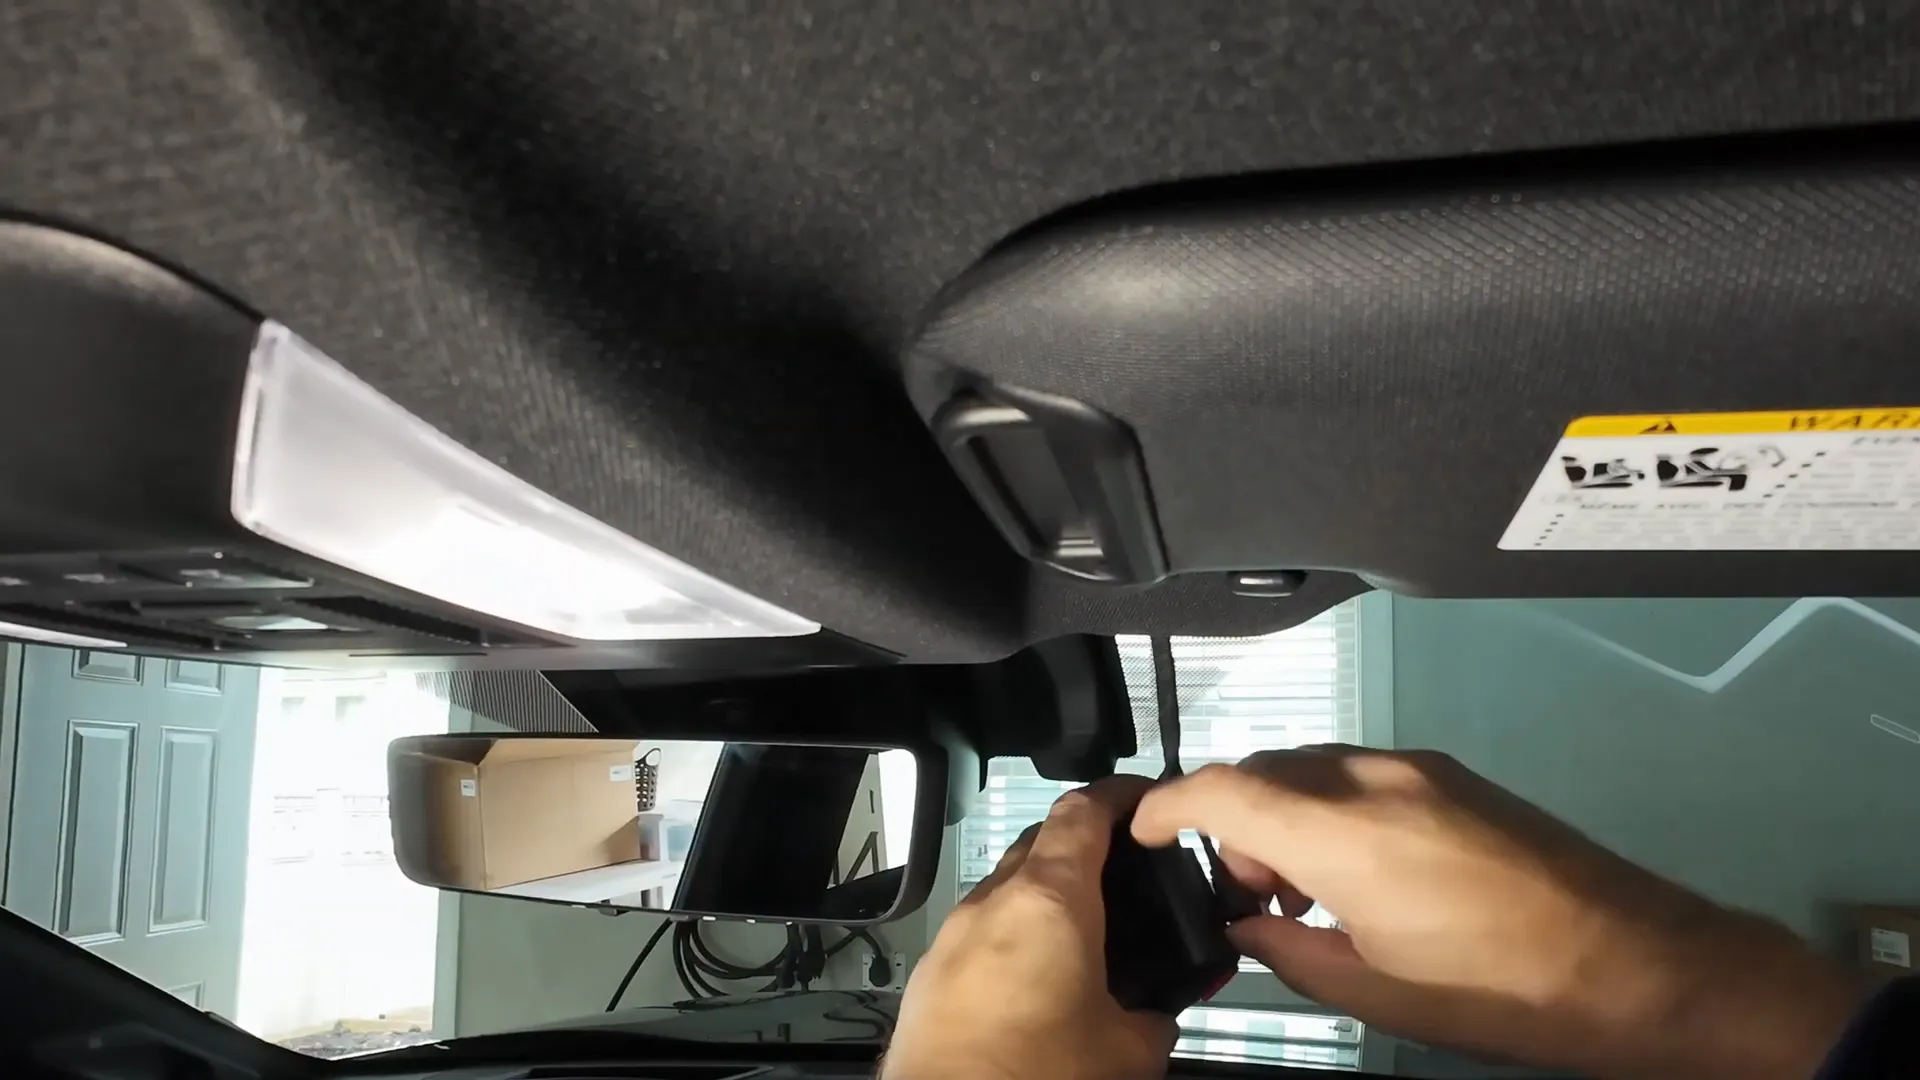
Accessing the Rearview Mirror Housing
Next, we will remove the housing behind the rearview mirror to run the wires through. This is how you do it:
- Using the panel popper tool, remove the center panel behind the rearview mirror.
- Take off the plastic panel that typically covers the rain sensor, allowing easier access to run the wiring behind the factory wiring.
- Ensure all wiring is tucked neatly into the headliner for a clean look.
Running Wires to the Back of the Vehicle
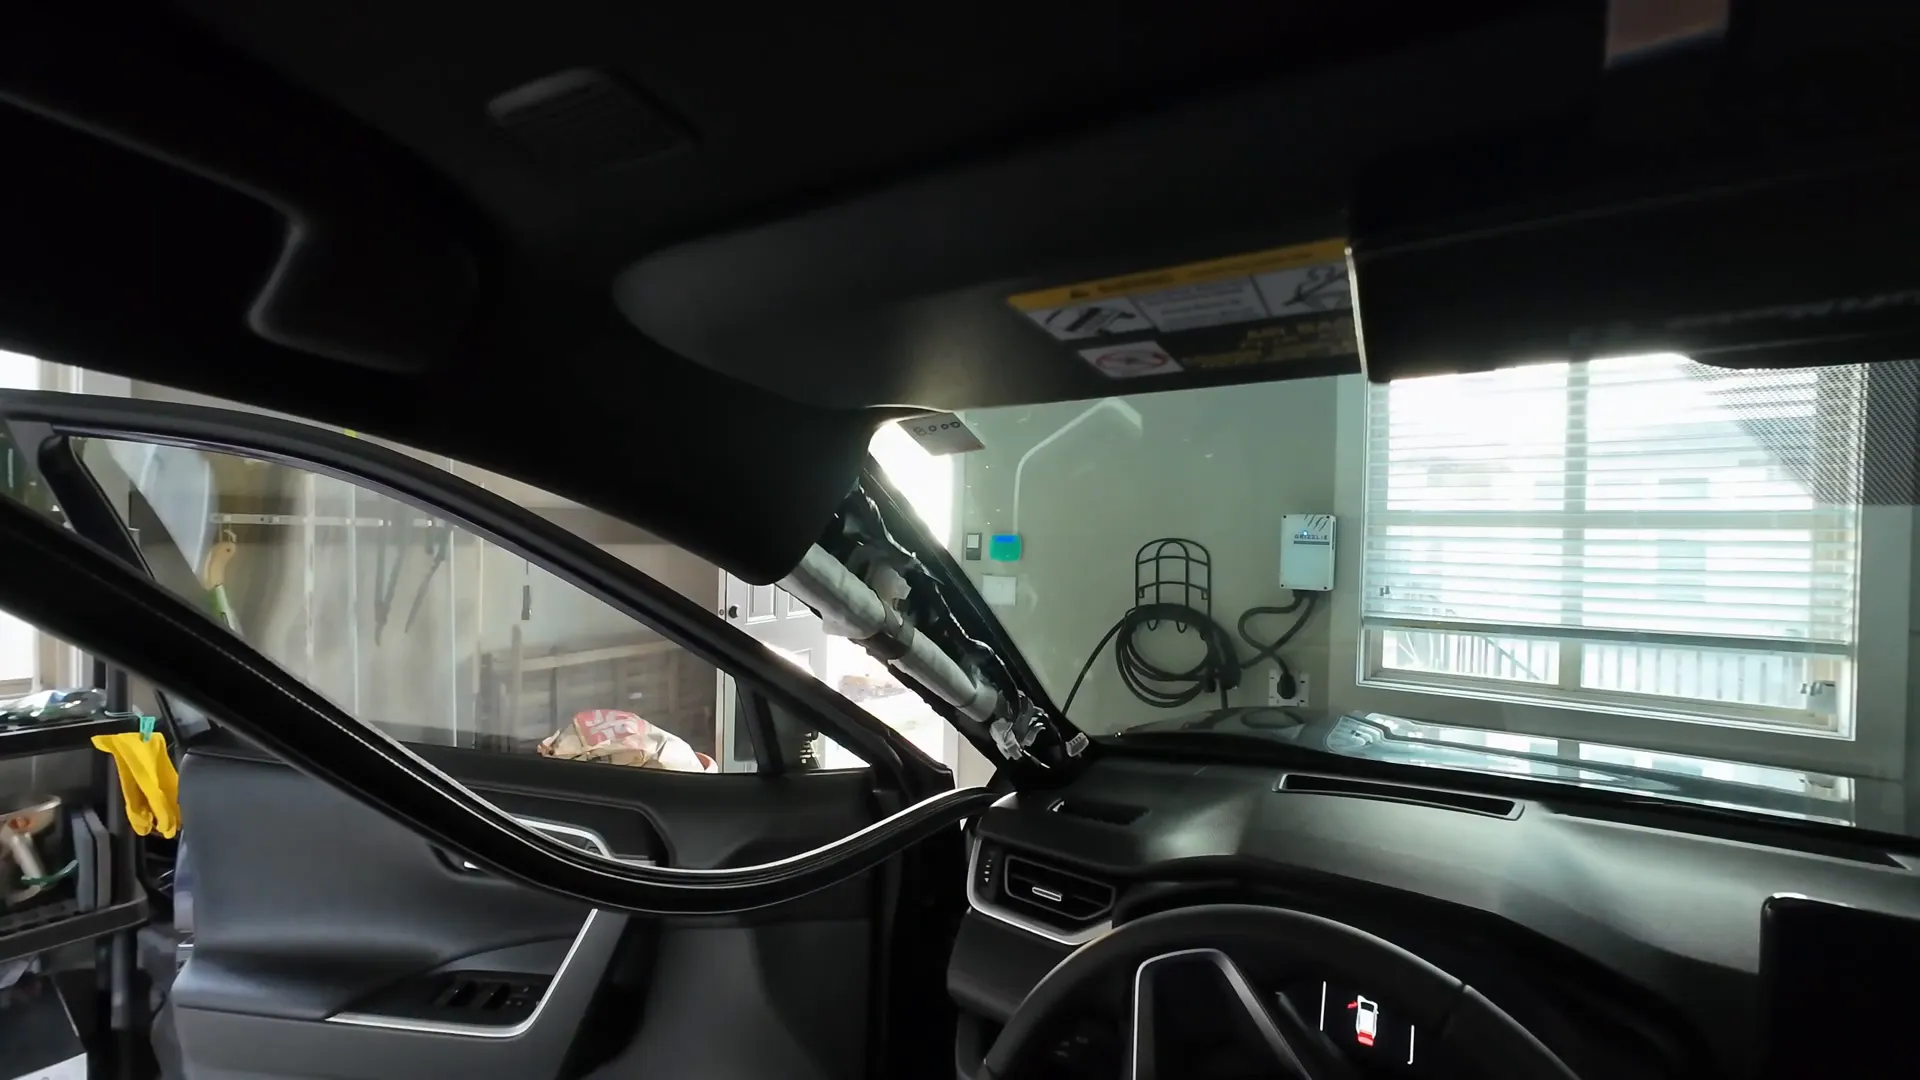
With access to the A-pillar and rearview mirror housing, it's time to run the wires from the front of the vehicle to the back:
- Take the rear camera cable and tuck it behind the A-pillar.
- Secure the HK4 higher cable using zip ties to the factory harness behind the airbag.
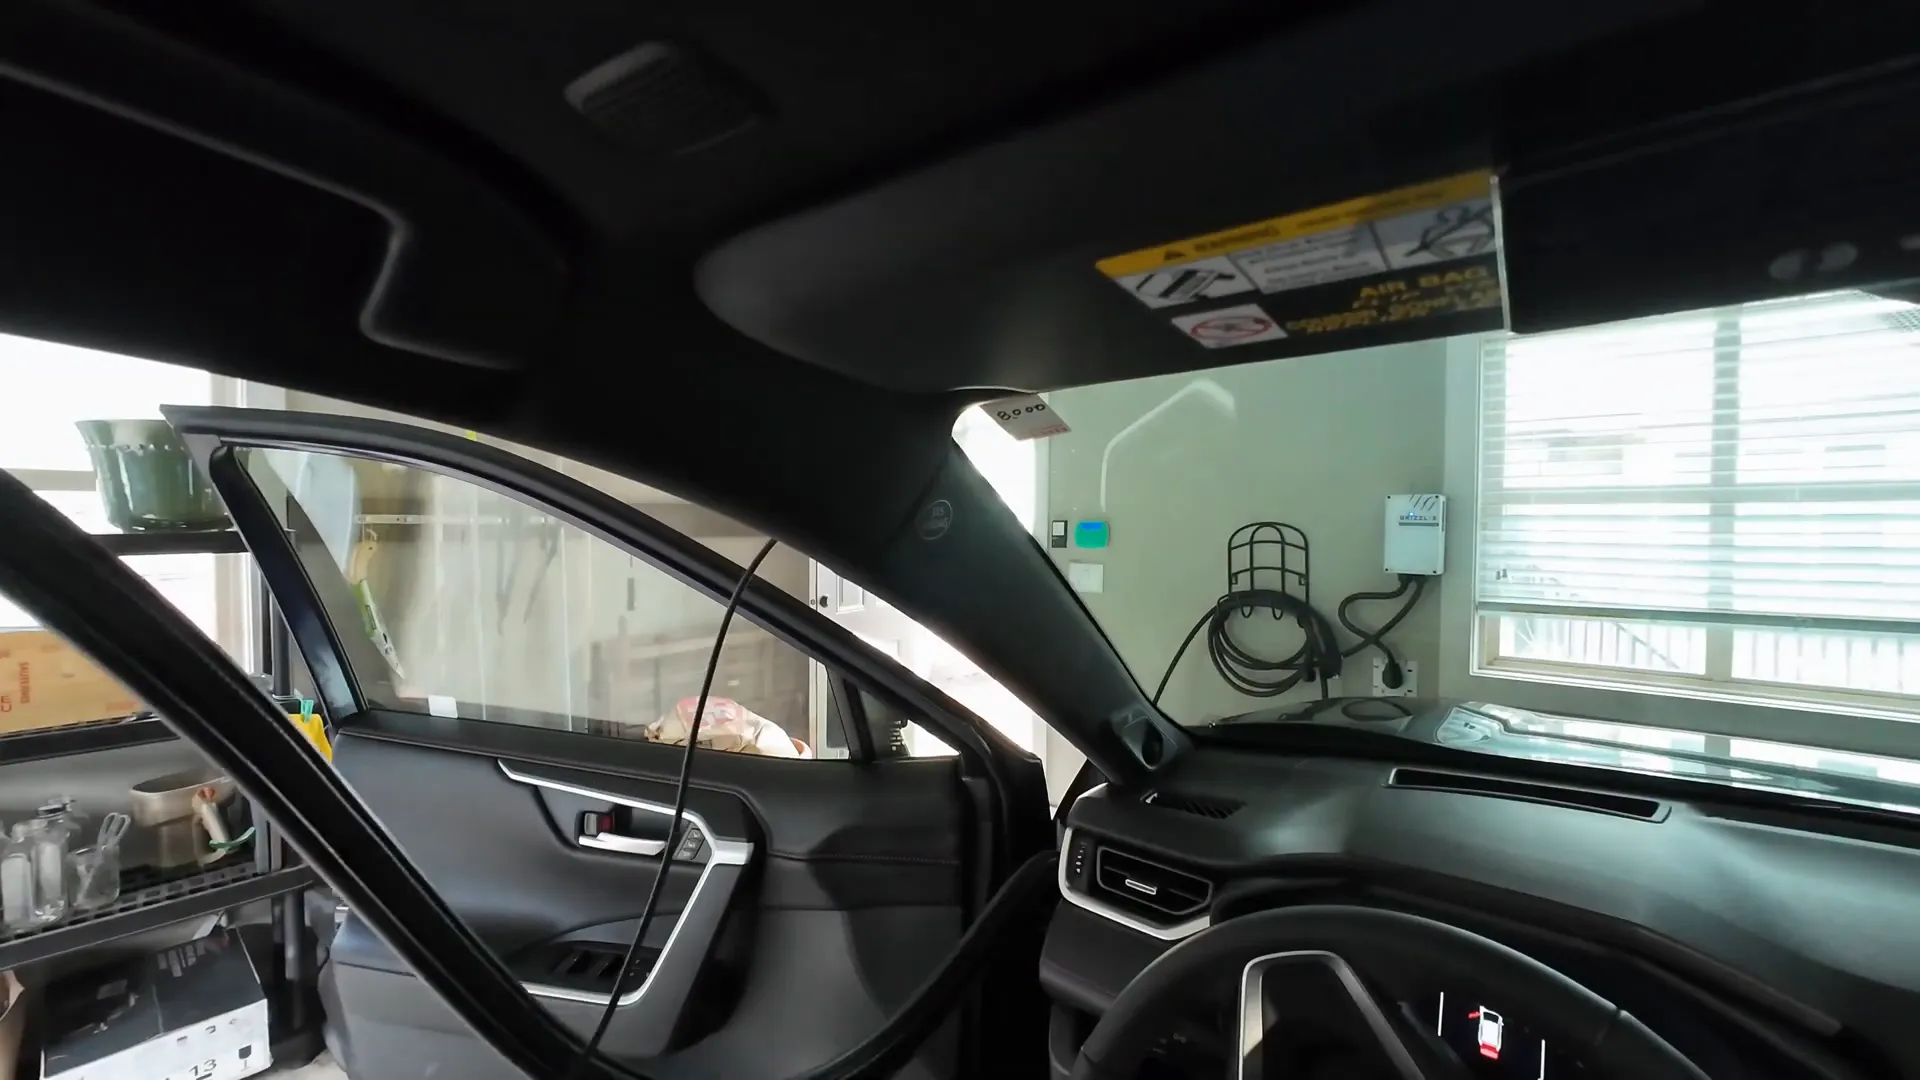
- Plug the tweeter back in and replace the A-pillar cover.
- Continue running the wire down by removing the weather stripping as needed, then replacing it after the wire is in place.
Installing the Rear Camera
Now we’ll move to the rear of the vehicle to install the rear camera:
- Remove the weather stripping from the hatch and open the factory grommet to pull the wire through.
- Use a specialty tool (like a coat hanger or tie strap) to assist in pulling the wire through the grommet.
- Remove the factory paneling on the hatch and position the wire for the rear camera, ensuring it does not interfere with the factory-installed rear camera.
- Reattach all panels and grommets to keep the installation clean and professional.
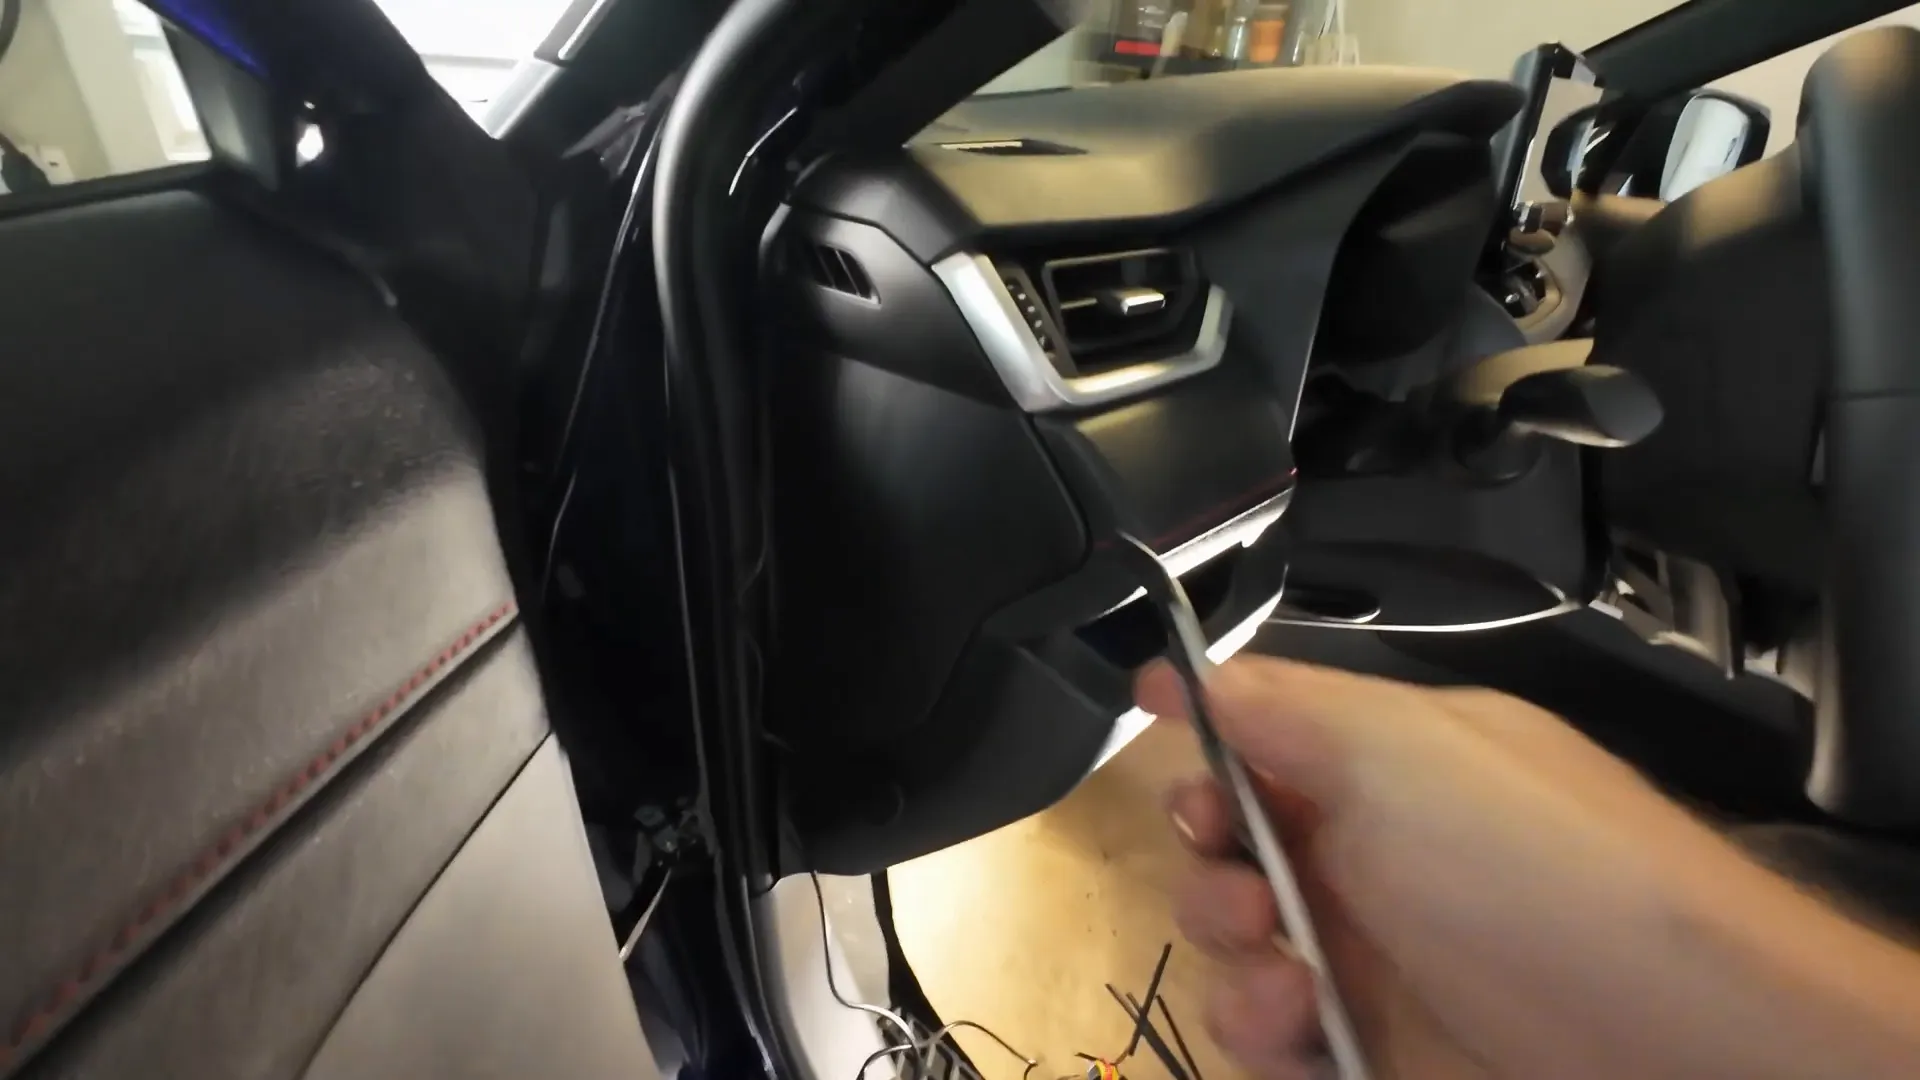
Preparing the Front Dash Area
After the rear camera is installed, we’ll focus on the front dash area:
- Use the panel popper tool to pry off the side panel of the dash to access the wiring.
- Remove the sill plate, being careful to avoid breaking any clips.
- Loosen the plastic nut in the kick panel to remove it and gain access to the under-dash area.
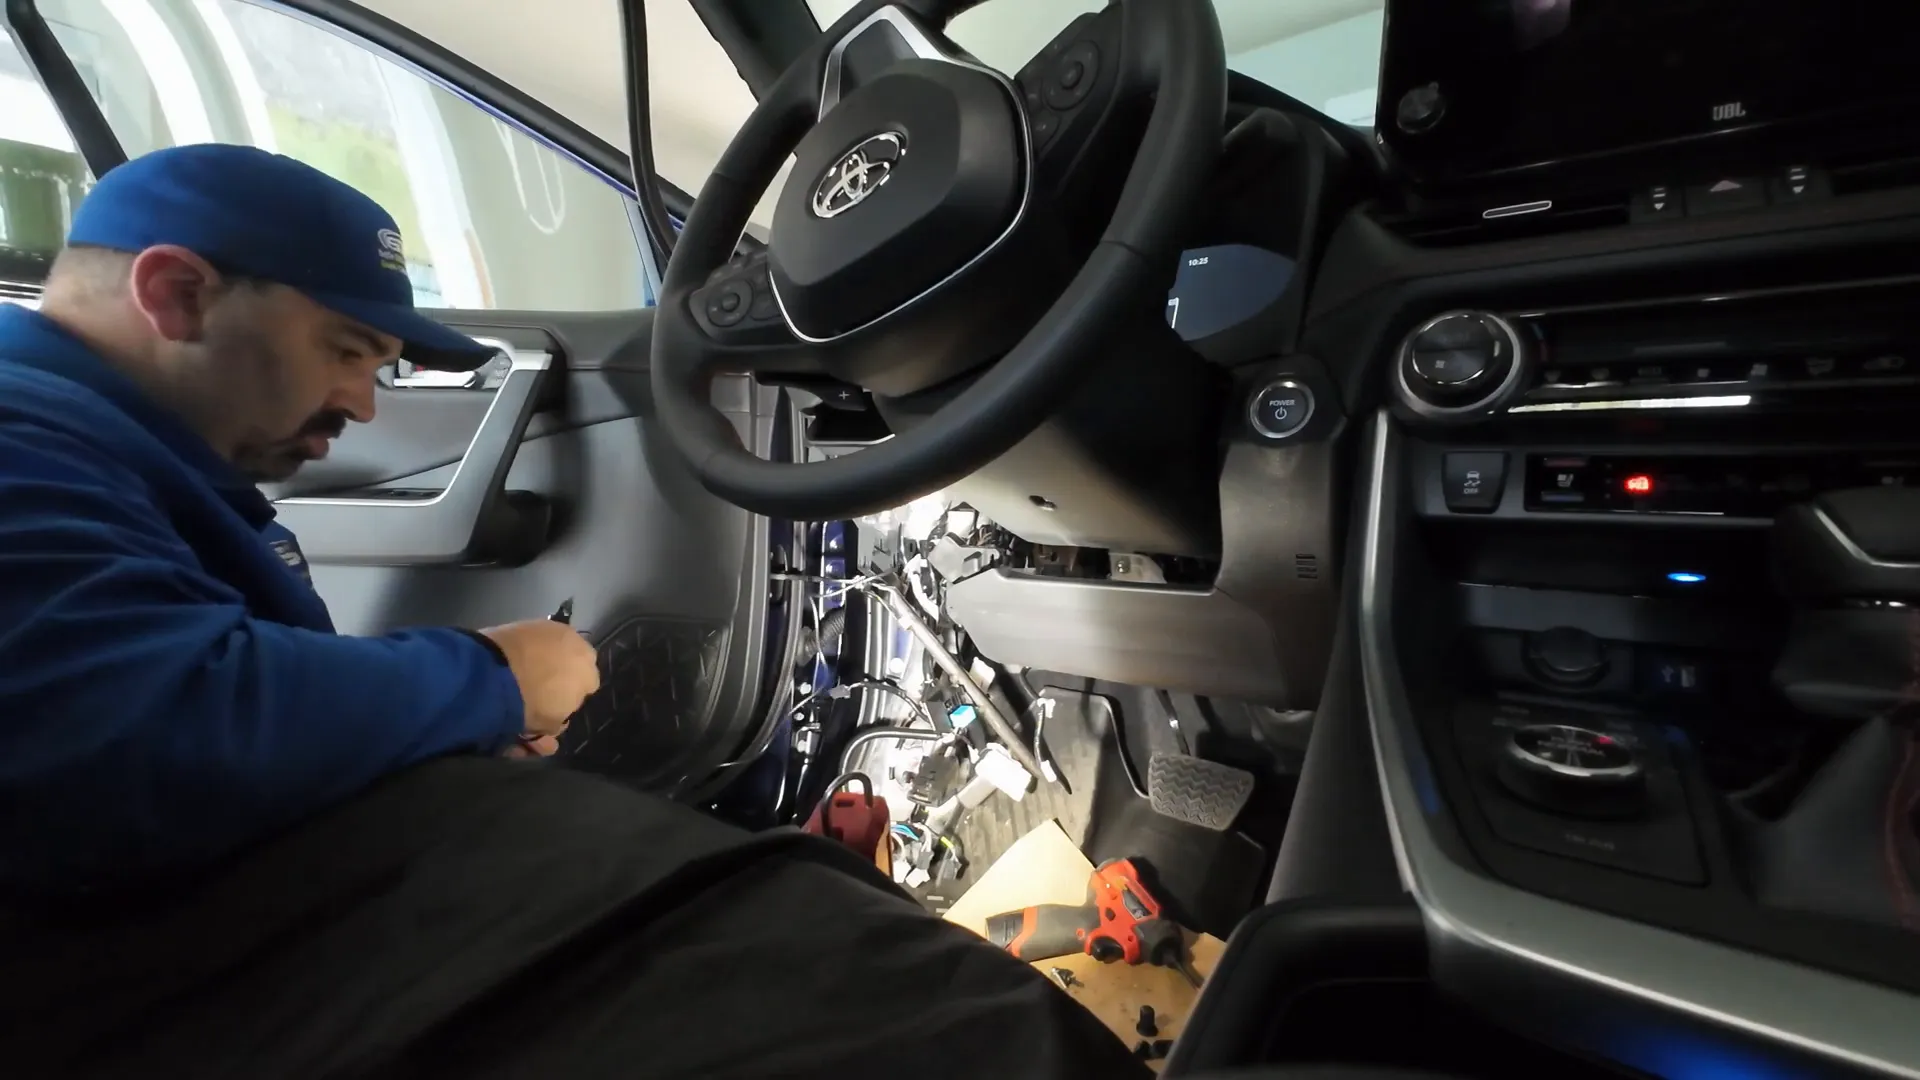
Hardwiring the Dash Cam
The next step is to hardwire the dash cam directly to the vehicle’s electrical system:
- Disconnect any plugs that may obstruct access to the back of the fuse box.
- Identify the ignition wire and connect it to the hardwire cable.
- Use a test light to verify connections are correct before finalizing.
- Connect the constant power and ground wires to the back of the OBD2 connector for a safe installation.
Why This Installation Method?
For Lexus and Toyota vehicles, this method is preferred because:
- Fuse taps can be easily dislodged while driving, potentially causing electrical issues.
- This method keeps all wiring hidden and does not interfere with the fuse box cover.
Final Assembly
Now that all wires are connected, we’ll reassemble the dash:
- Reattach the kick panel and all plugs, ensuring everything is plugged back into its correct position.
- Secure the under-dash panel and reattach the OBD2 cable.
- Finish by cleaning the windshield and mounting the VIOFO A229 Plus dash camera in a position that does not obstruct the driver's view.
Conclusion
Congratulations! You have successfully installed the VIOFO A229 Plus front and rear dash cam in your Toyota RAV4. This clean installation not only enhances your driving safety but also keeps your vehicle's interior looking neat. If you have any questions or need professional assistance, don't hesitate to reach out.
If you're in the Greater Vancouver or Greater Toronto area and need help with dash cam installation, contact Safe Drive Solutions for expert service.

