
New Windshield? Don’t Make This Dash Cam Mounting Mistake
A new windshield is great until you pick up your vehicle and notice the dash cam is no longer mounted. It happens all the time after a rock chip or crack turns into a windshield replacement.
The good news is that this usually is not a mistake by the windshield shop. Replacing auto glass is their specialty, while reinstalling a dash cam with the correct mounting tape is not. Most shops use automotive glass adhesive around the perimeter of the windshield and specialty suction cups to install the new glass. They may also recalibrate driver-assistance systems on newer vehicles. But they typically do not stock the vehicle-specific 3M adhesive pads needed to put a dash camera back properly.
Do not simply stick the old, dirty mount onto fresh glass and hope for the best. A proper remount starts with cleaning off the old adhesive, applying fresh tape, and preparing the new windshield surface.
What You’ll Learn
- Windshield shops usually do not remount dash cams because they do not stock the correct adhesive pads.
- Remove old tape carefully, then clean the mount with isopropyl alcohol before applying fresh adhesive.
- Clean and completely dry the new windshield before pressing the mount into its final position.
- Press directly on the mount after installation to create a stronger, more reliable bond.
Table of Contents
- Before the Windshield Replacement: Remove the Dash Cam Mount
- How to Remove Old 3M Tape From a Dash Cam Mount
- Find the Correct Replacement 3M Tape
- Clean the New Windshield Before Mounting
- Mount the Dash Cam Securely on the New Glass
- A Quick Checklist for a Long-Lasting Dash Cam Remount
Before the Windshield Replacement: Remove the Dash Cam Mount
If you know the windshield is being replaced, take the dash cam off the glass before dropping the vehicle off, or ask the technician to remove it. This gives you time to deal with the old adhesive while the vehicle is at the shop, at work, or parked at home.
Ideally, disconnect the camera from its mount first. That keeps the lens and camera body out of the way while you clean, and it reduces the chance of getting adhesive residue, alcohol, or scratches on the camera itself.
If the power wire is hardwired and tucked behind the headliner, leave it safely tucked away during the glass replacement. You can retrieve and reconnect it after the mount is back in place.
How to Remove Old 3M Tape From a Dash Cam Mount
The goal is simple: get the mounting surface as smooth and clean as possible so fresh 3M tape can make full contact. Some adhesive pads will roll off easily with your fingers. Others will fight you.
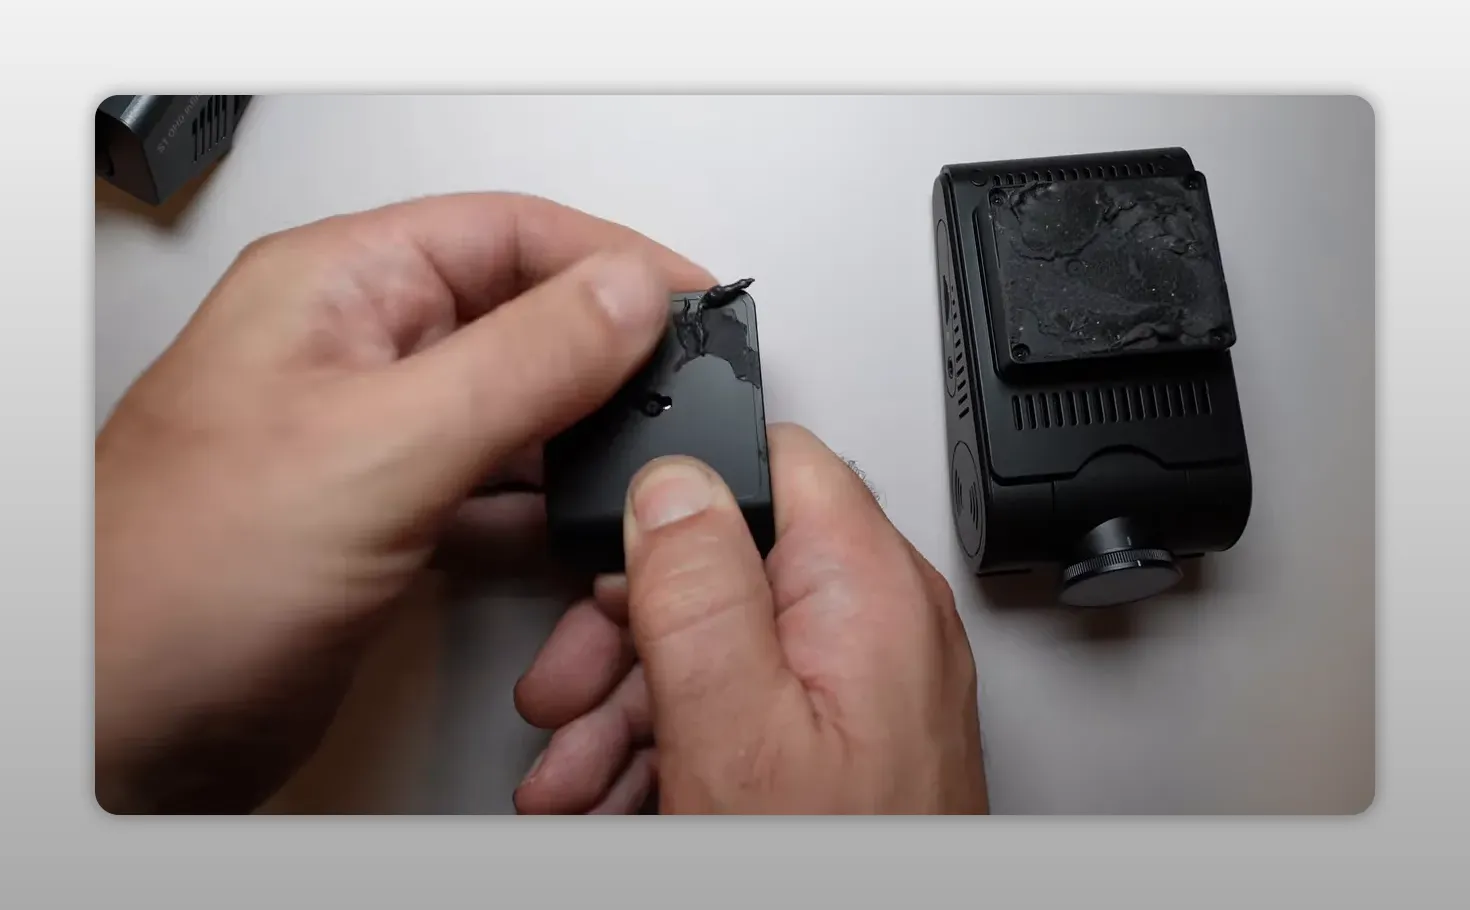
Method 1: Roll the Adhesive Off With Your Fingers
Start with the least aggressive approach. Rub the remaining tape with a thumb or finger and try to roll it away from the mount. When the residue is old or loose enough, it can come off in strips.
This is the safest method for the mount, but it can take time and can be tough on your fingers, especially when the previous tape has baked in the heat.
Method 2: Carefully Lift the Tape With Basic Tools
For stubborn residue, use a flathead screwdriver or a plastic panel popper to get underneath the adhesive and lift it away. Many dash cam kits include a small panel popper, and it can be useful for this job.
Work slowly and keep the tool as flat as possible. A metal screwdriver can scratch the mounting surface, so it should be a last-resort helper, not something to dig aggressively with. The important thing is removing the thick adhesive buildup without damaging the mount itself.
Method 3: Use Isopropyl Alcohol Wipes
Isopropyl alcohol wipes help break down residue that remains after peeling and scraping. Rub the adhesive in small sections, then wipe it away as it softens.
Be careful around the dash cam’s power connection and other ports. You do not want liquid or alcohol residue getting inside the camera. Apply the wipe to the mounting area only, and keep the camera detached if possible.
It may take several passes. The mount does not need to look perfect cosmetically, but it does need a clean, flat surface that gives the new adhesive pad a solid foundation.
Find the Correct Replacement 3M Tape
Do not toss the dash cam box after installation. Many dash cameras include extra adhesive pads for both the front and rear camera mounts, usually stored in small bags or packaging inside the box.
Look for tape that matches the shape and size of your particular mount. Different cameras use different pad sizes, so a random piece of tape is not necessarily the right fit.
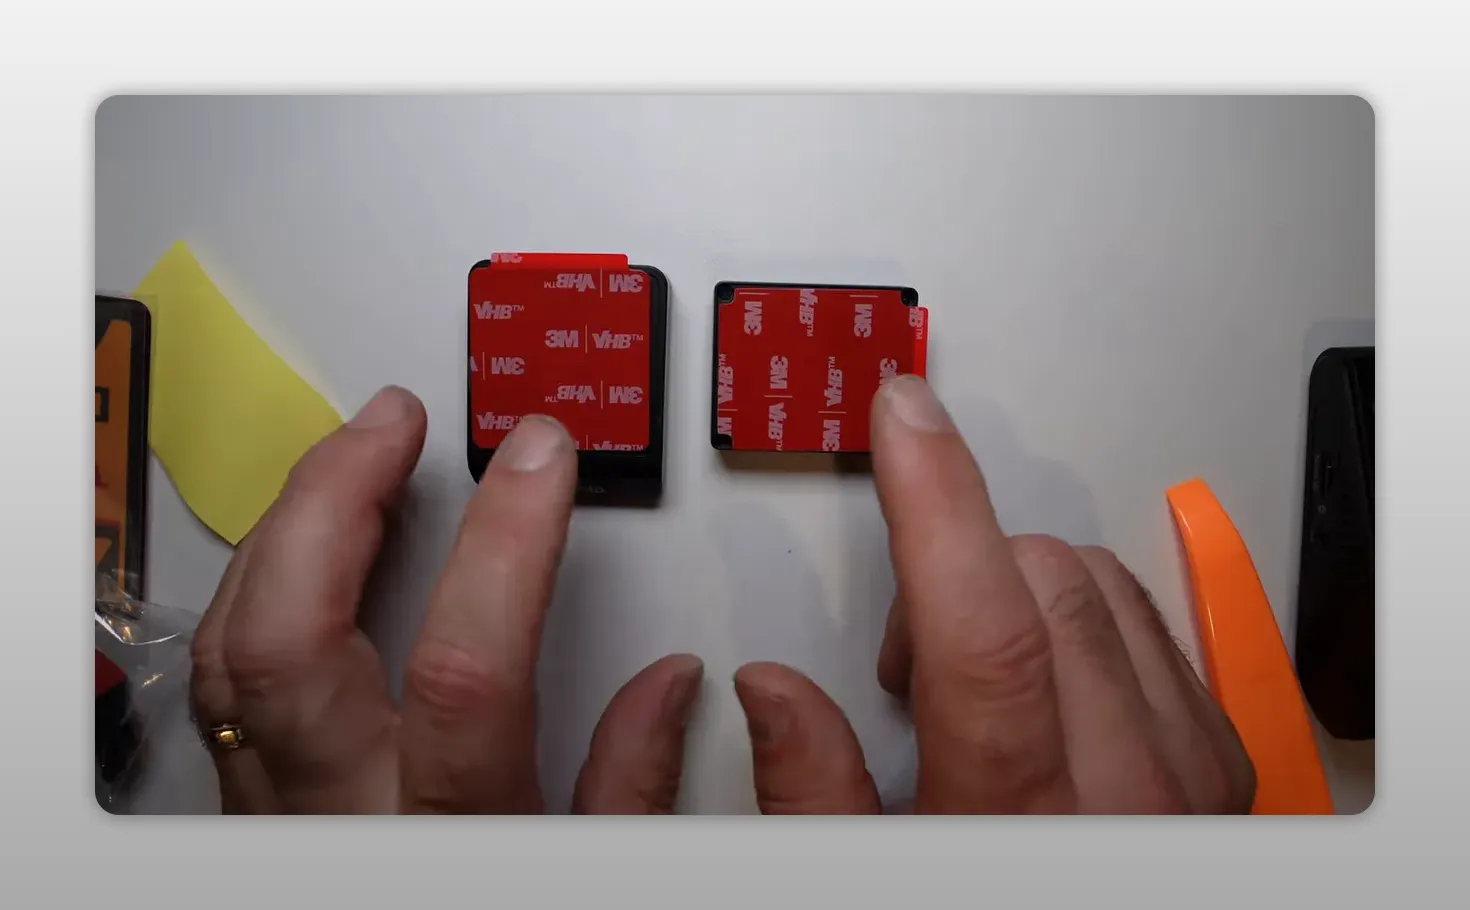
Apply the new 3M tape carefully to the cleaned mount. Make sure the pad sits flat, covers the intended mounting area, and does not overhang an edge. Once the tape is on, avoid touching the exposed adhesive surface with your fingers.
When an Adhesion Promoter Can Help
Extreme heat can be hard on windshield-mounted equipment. If your dash cam has fallen in the past, or if the vehicle spends a lot of time in hot conditions, an adhesion promoter can help improve the bond between the mount and the adhesive.
This is an optional preparation product used before applying the tape. Use it carefully and follow the product instructions. It is not a substitute for cleaning the mount and windshield, and it will not compensate for using worn-out adhesive.
Clean the New Windshield Before Mounting
A brand-new windshield may look spotless, but it can still have dust, fingerprints, or small particles left from installation. Before mounting the camera, clean the exact area where the adhesive will sit.
- Decide on the dash cam location, normally the same position used before the windshield replacement.
- Wipe the glass with an isopropyl alcohol pad.
- Dry the area thoroughly with a clean paper towel.
- Check that no lint, moisture, or debris remains where the tape will contact the glass.
Do not rush this part. The strength of the installation depends on the adhesive contacting clean, dry glass across the entire pad.
Mount the Dash Cam Securely on the New Glass
With the mount prepared and the windshield clean, reconnect the power cable that was tucked into the headliner. Then remove the protective backing from the fresh 3M tape.
Line up the mount carefully before it touches the glass. Adhesive tape grips quickly, so you want the position right the first time. Press the mount firmly against the windshield.
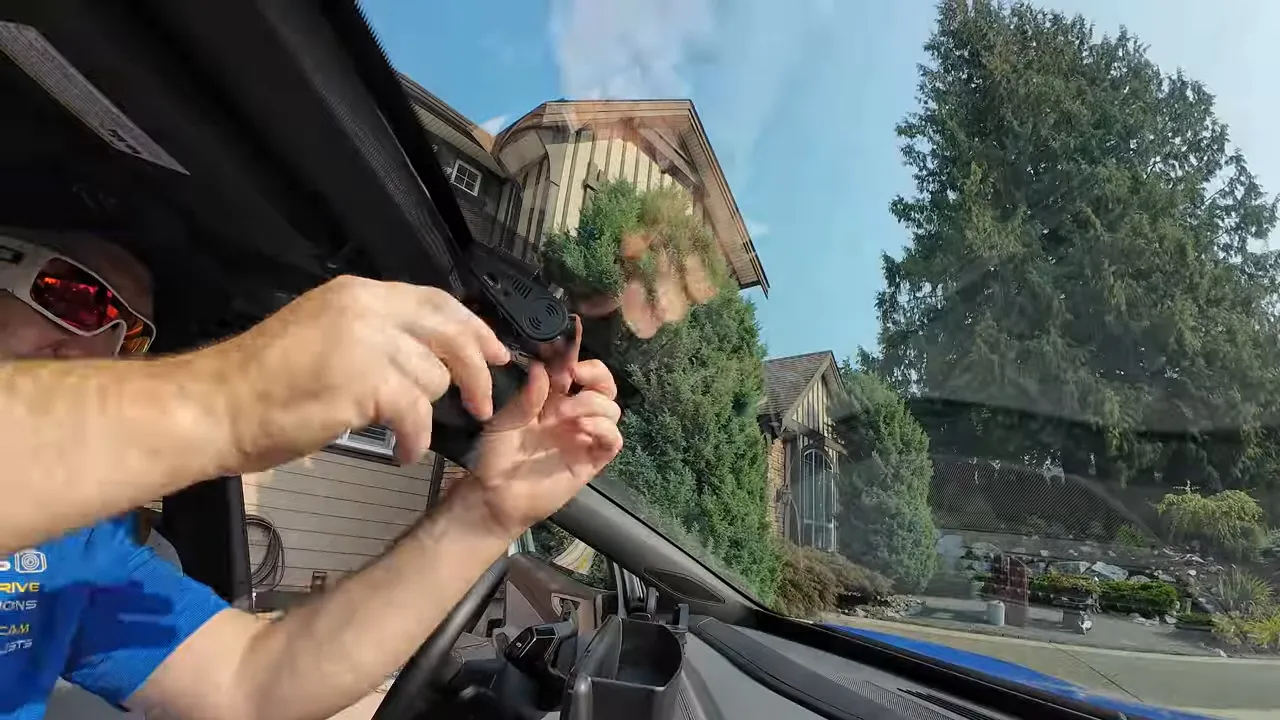
For the best contact, remove the dash camera from the mount and press directly on the mount for a little longer. This puts pressure where it matters and helps the full adhesive pad bond to the glass.
Finally, reinstall the dash cam on its mount, plug it in, and confirm that it is sitting securely in the proper recording position.
A Quick Checklist for a Long-Lasting Dash Cam Remount
- Remove the dash cam before the windshield is replaced whenever possible.
- Detach the camera from its mount before cleaning to protect the lens and ports.
- Remove every thick layer of old 3M tape and residue.
- Use a fresh adhesive pad designed for the specific front or rear mount.
- Clean and dry the exact windshield area before applying the mount.
- Press directly on the mount, not only on the camera body.
- Consider an adhesion promoter when heat has caused mounting failures before.
Fresh glass deserves a fresh mounting surface. Taking a few minutes to clean the mount, use new 3M tape, and prepare the windshield properly will help keep the camera stable and recording the road ahead where it belongs.
|
Dash Cam Remounting FAQ
Why was my dash cam removed during a windshield replacement?
The dash cam must come off when the old windshield is removed. Auto glass shops generally do not keep the model-specific 3M tape required to reinstall its mount.
Can I reuse the old 3M dash cam tape?
No. Old tape can retain residue, lose its bonding strength, and fail on the new windshield. Use a fresh replacement pad sized for your mount.
What should I use to clean dash cam adhesive residue?
Start by rolling or peeling the residue away. A plastic panel tool or carefully used flathead screwdriver can help, followed by isopropyl alcohol wipes to remove remaining adhesive.
Should I clean a new windshield before mounting a dash cam?
Yes. Clean the precise mounting area with isopropyl alcohol and dry it with a paper towel, even if the windshield looks clean.