Audi Q7 Professional Dash Camera Installation: A Step-by-Step Guide
If you're looking to enhance your Audi Q7's safety with a professional dash camera installation, you're in the right place! In this guide, we'll walk you through the entire process, from removing the rearview mirror housing to running wires and mounting both front and rear cameras.
Getting Started: Tools and Preparation
Before diving into the installation, make sure you have the right tools on hand. You'll need:
- 4140 or a panel popper tool
- Torx Screwdriver (T15, T20 & T25)
- Wire Strippers
- Electrical Tape
- Tie Straps etc,
Having these tools ready will make the installation process smoother and more efficient.
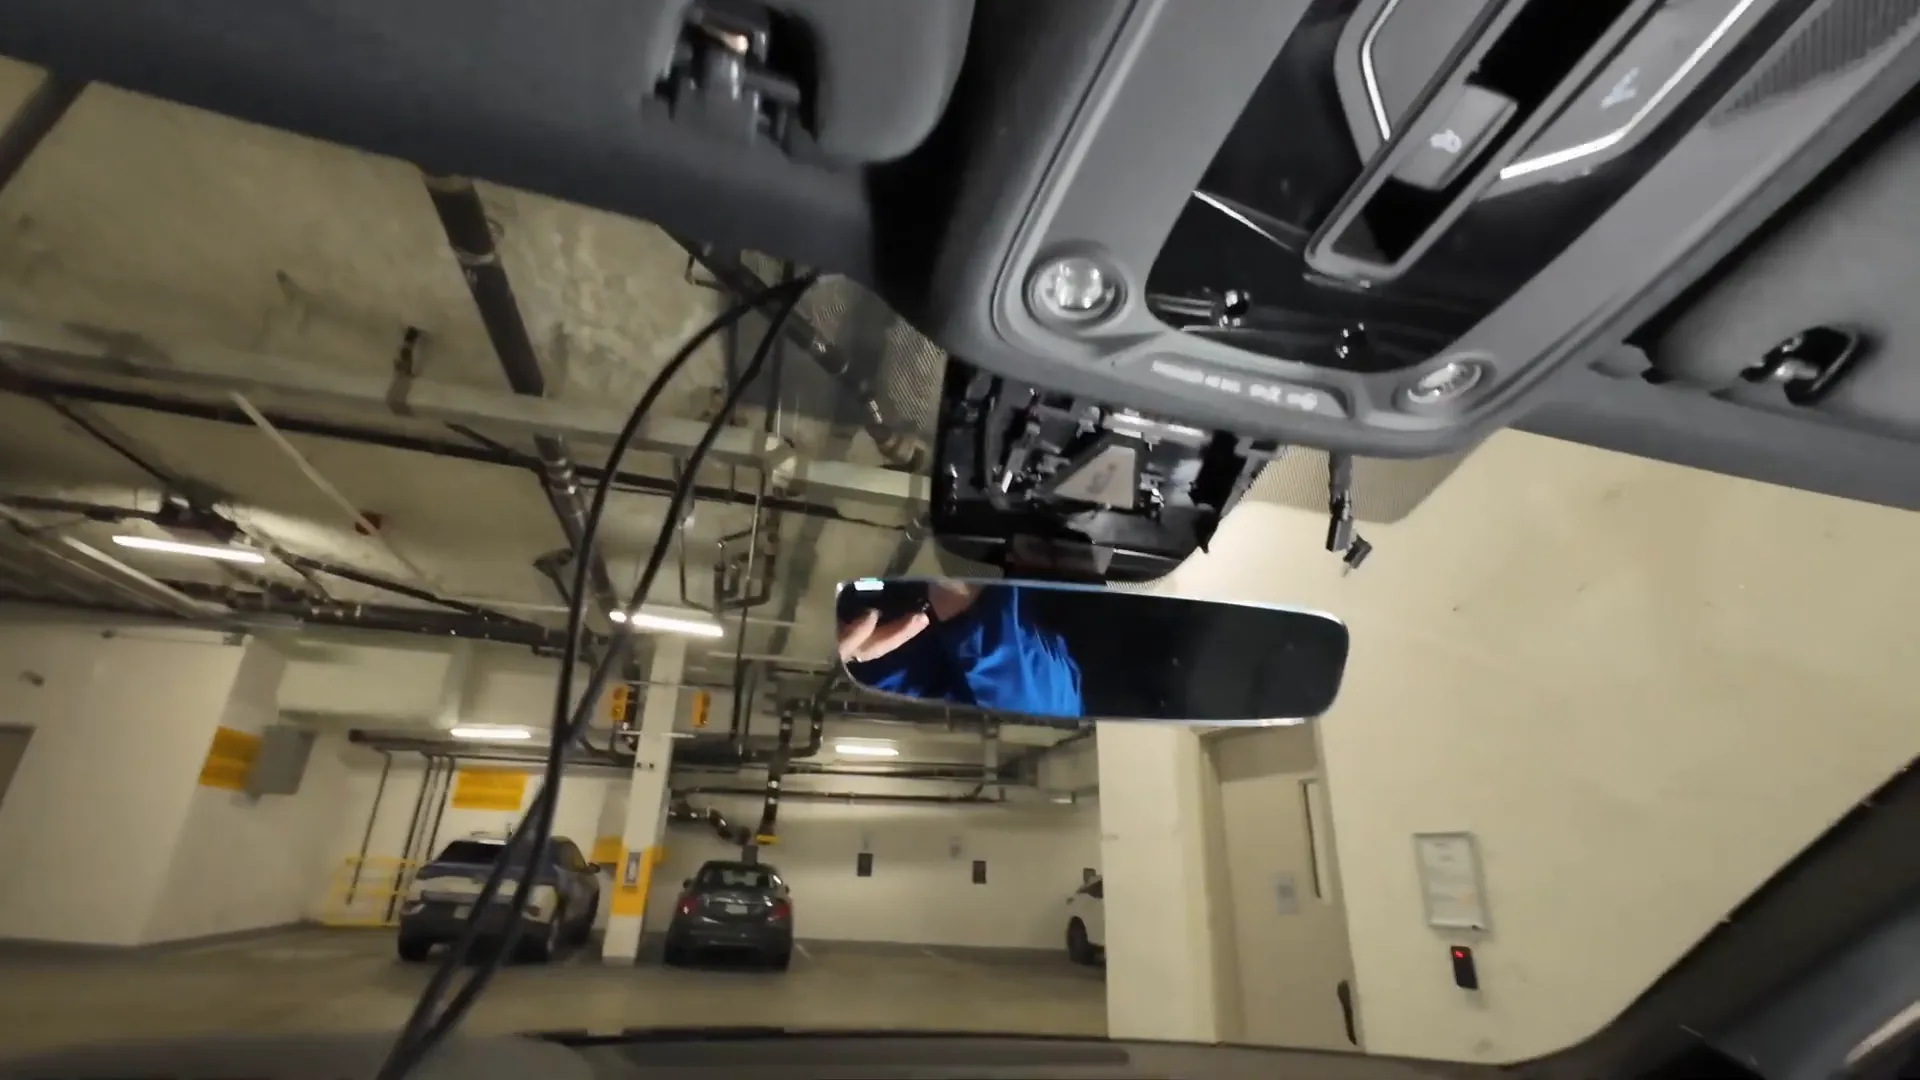
Step 1: Removing the Rearview Mirror Housing
We begin with the removal of the housing behind the rearview mirror. Using the 4140 panel popper tool, gently loosen the sides of the housing to access the clips. Place the tool at the top left and top right corners, as shown in the diagram below.
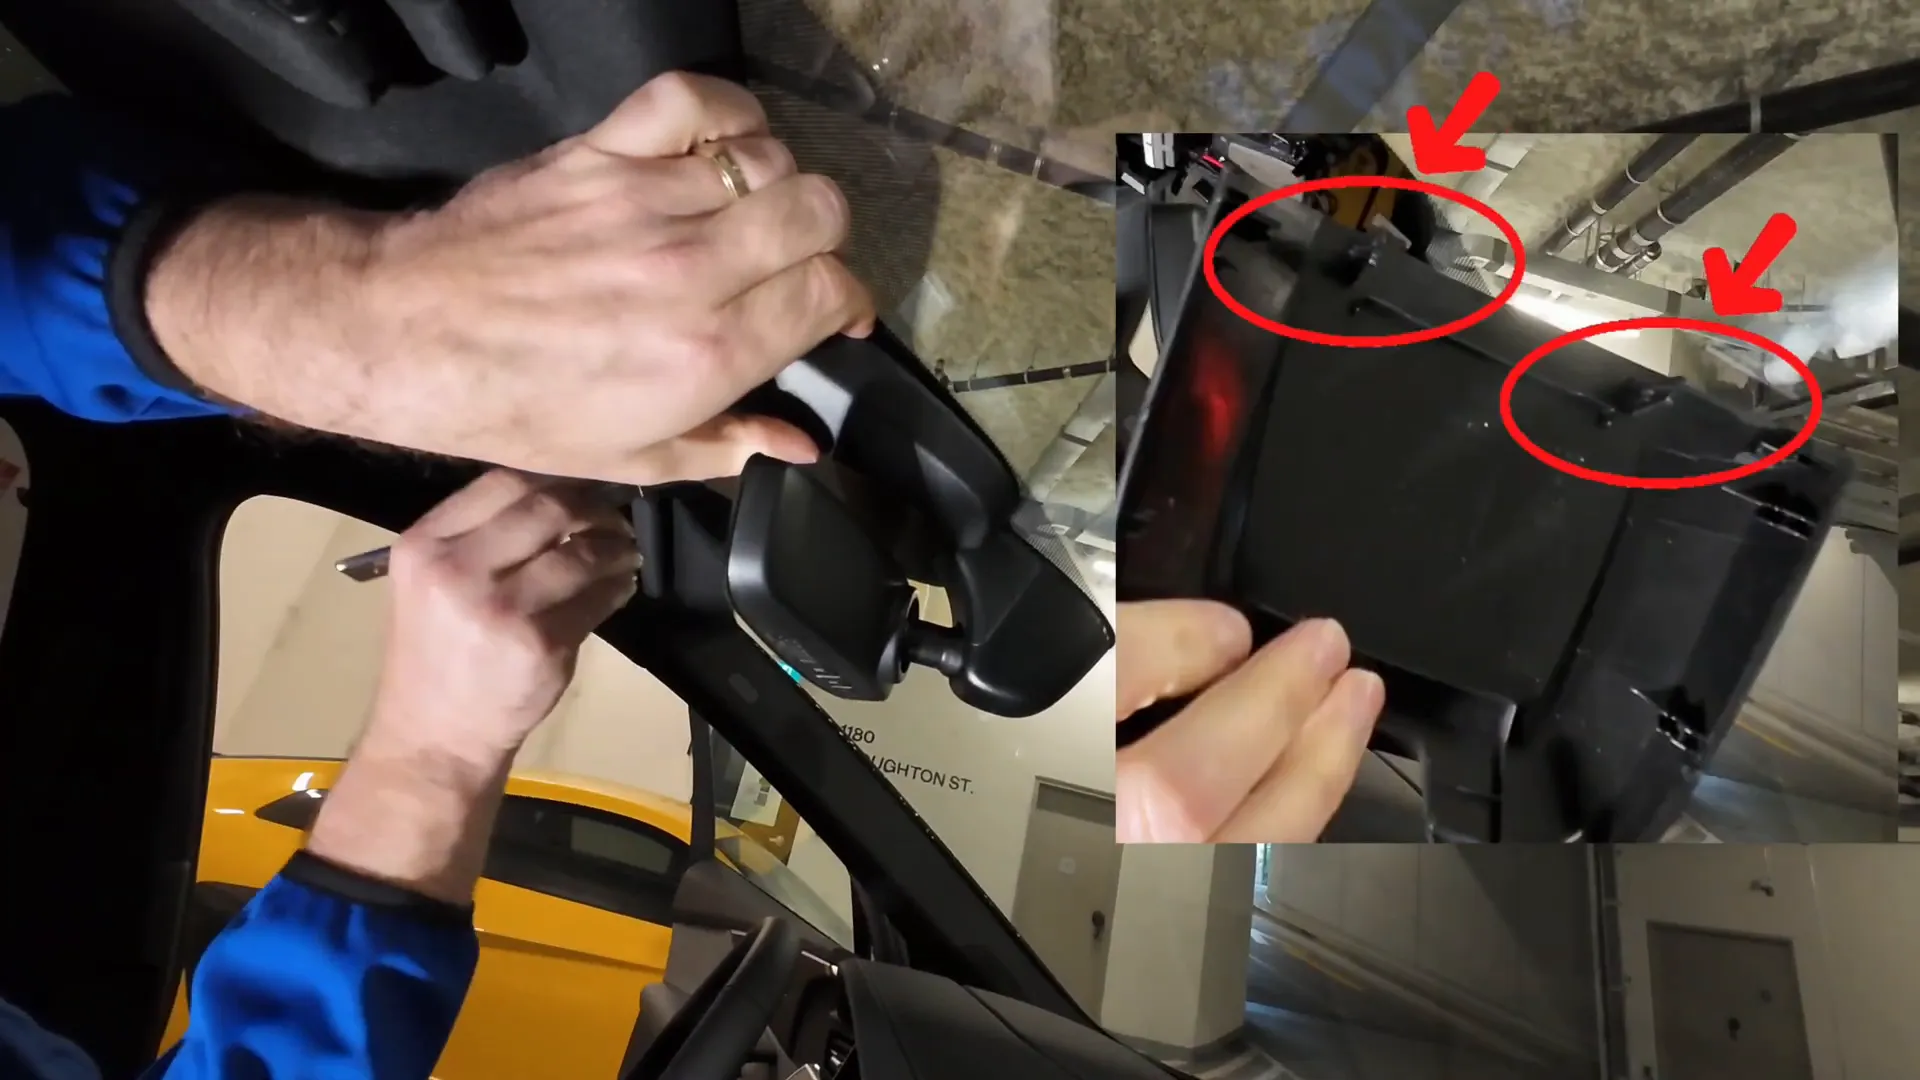
Once the clips are released, lower the rearview mirror and carefully slide the housing out to avoid any damage. With the housing removed, you can now start running the wiring for the dash camera.
Step 2: Tucking the Wiring in the Headliner
After prepping the wiring harness, it's time to tuck it into the headliner. Audi vehicles tend to have tight headliners, so patience is key. Pull back on the headliner gently and tuck the wiring in securely.
Make sure to tesa tape the wiring neatly to keep it out of sight. This ensures a clean installation, as visible wires can be distracting and unappealing.
Step 3: Dismantling the A-Pillar
Next, we’ll move on to the A-pillar. Use the panel popper tool to remove the airbag cover. This step is crucial; you must ensure not to damage the airbag during removal.
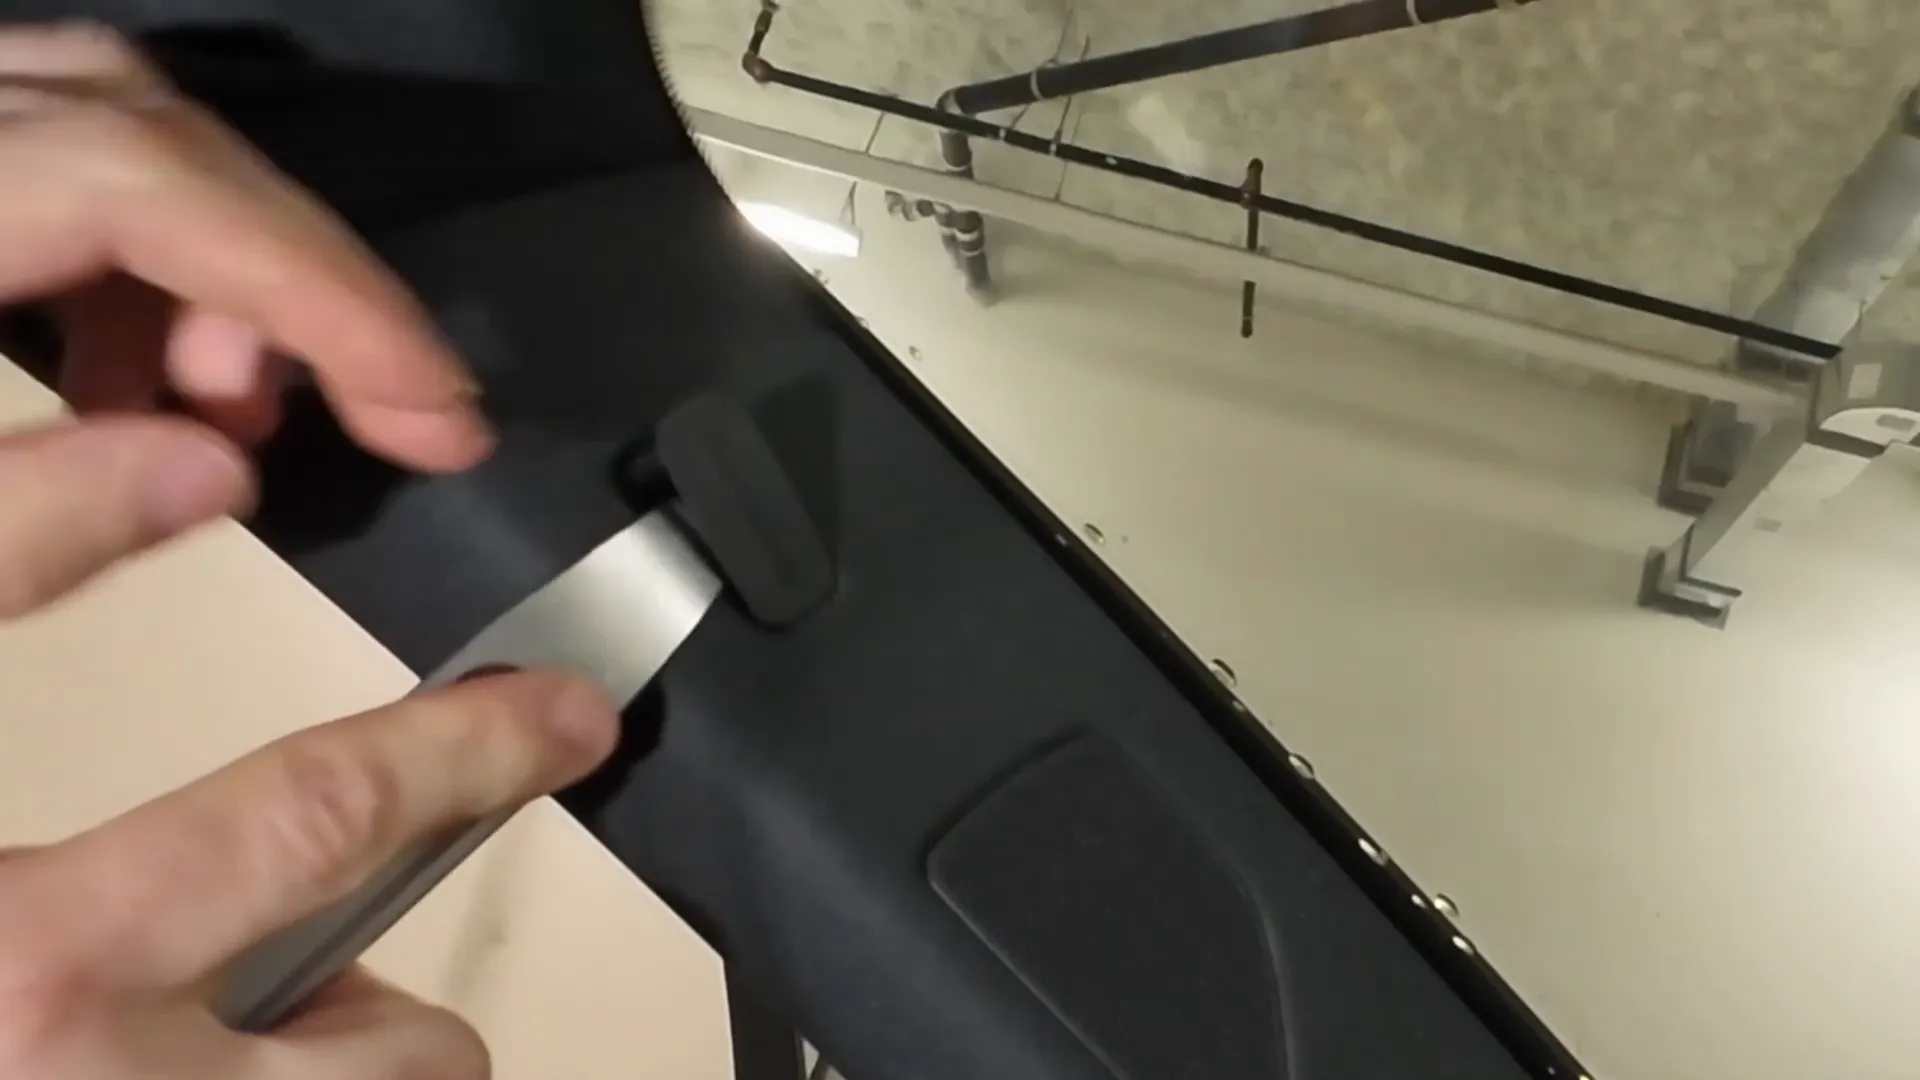
Once the cover is off, locate the torx screw (either T20 or T25) inside the A-pillar. This screw will allow you to fully detach the A-pillar from the vehicle.
Step 4: Running the Wiring Through the A-Pillar
With the A-pillar removed, carefully run the wiring through the A-pillar, ensuring that you avoid obstructing the airbag. This is vital for safety in case of an accident.
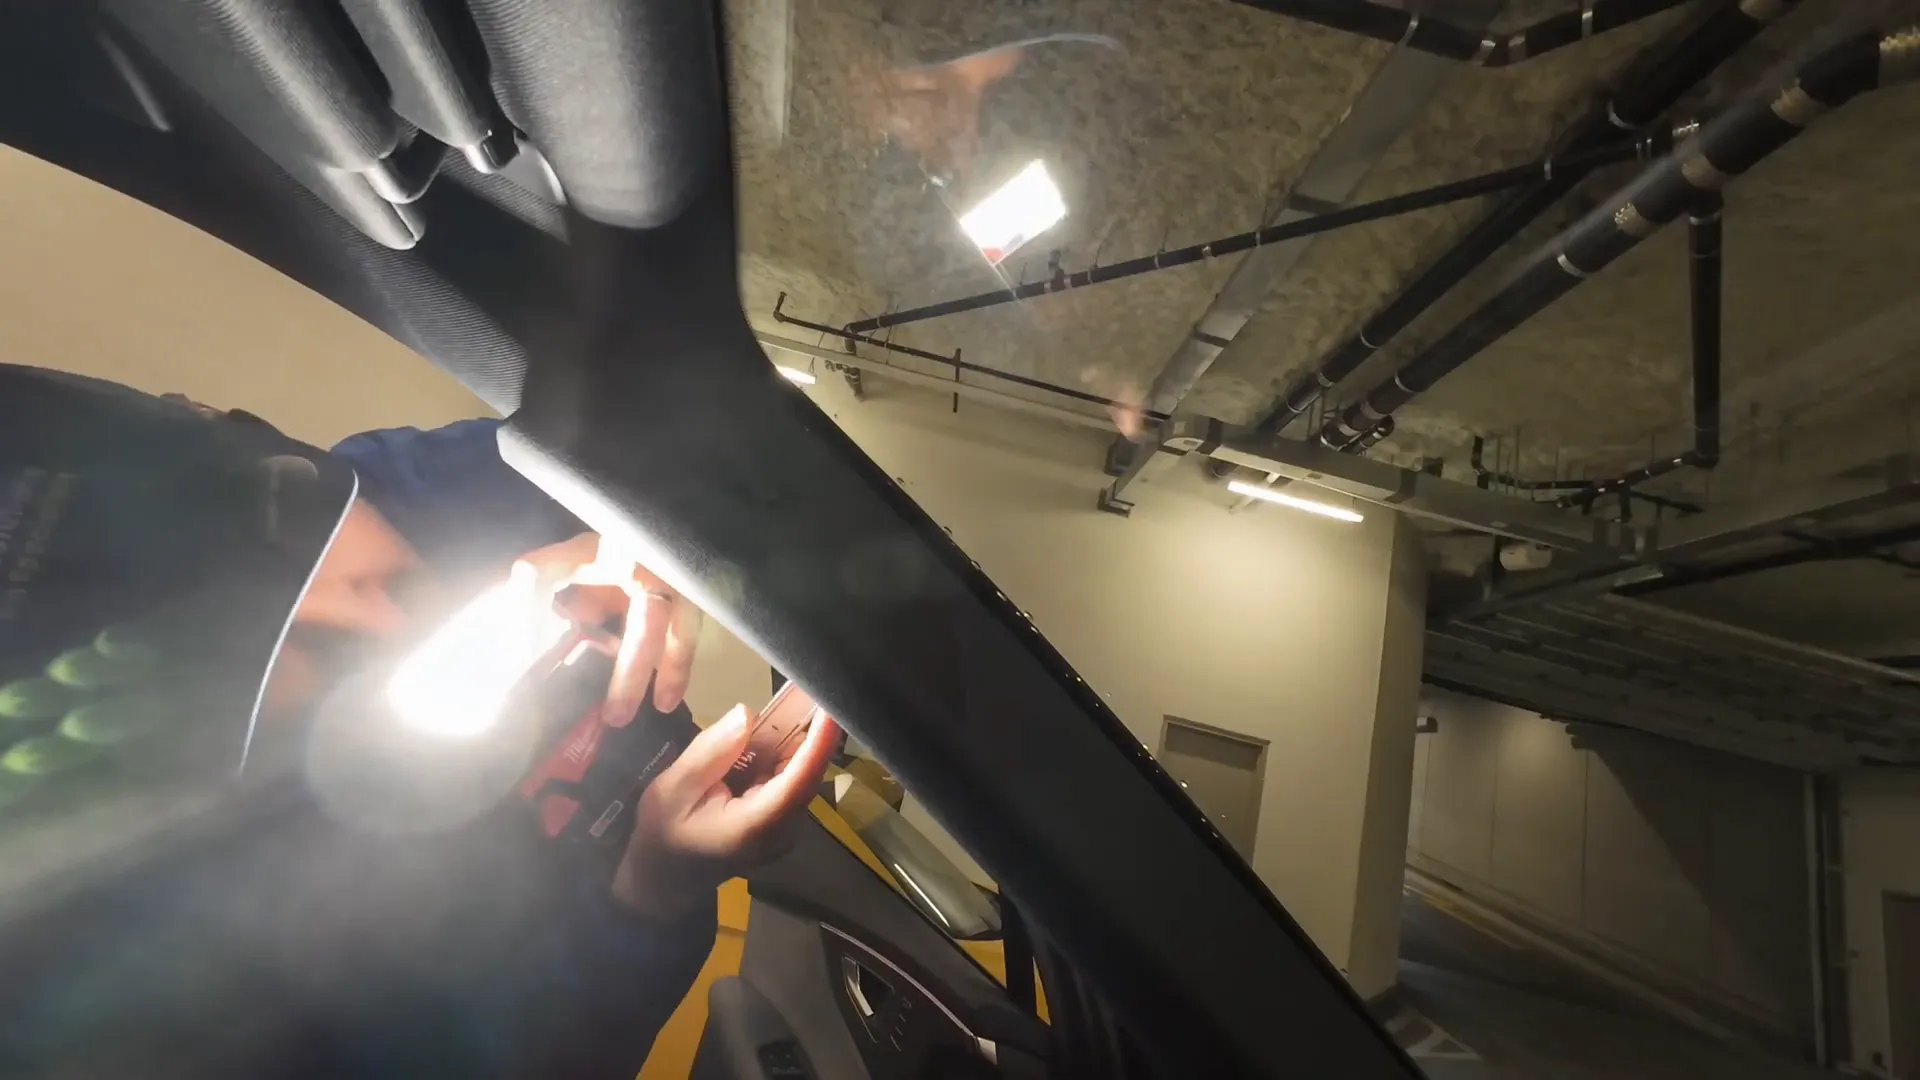
Once you've successfully tucked the wiring in, you can proceed to reinstall the A-pillar, ensuring all clips are secured properly.
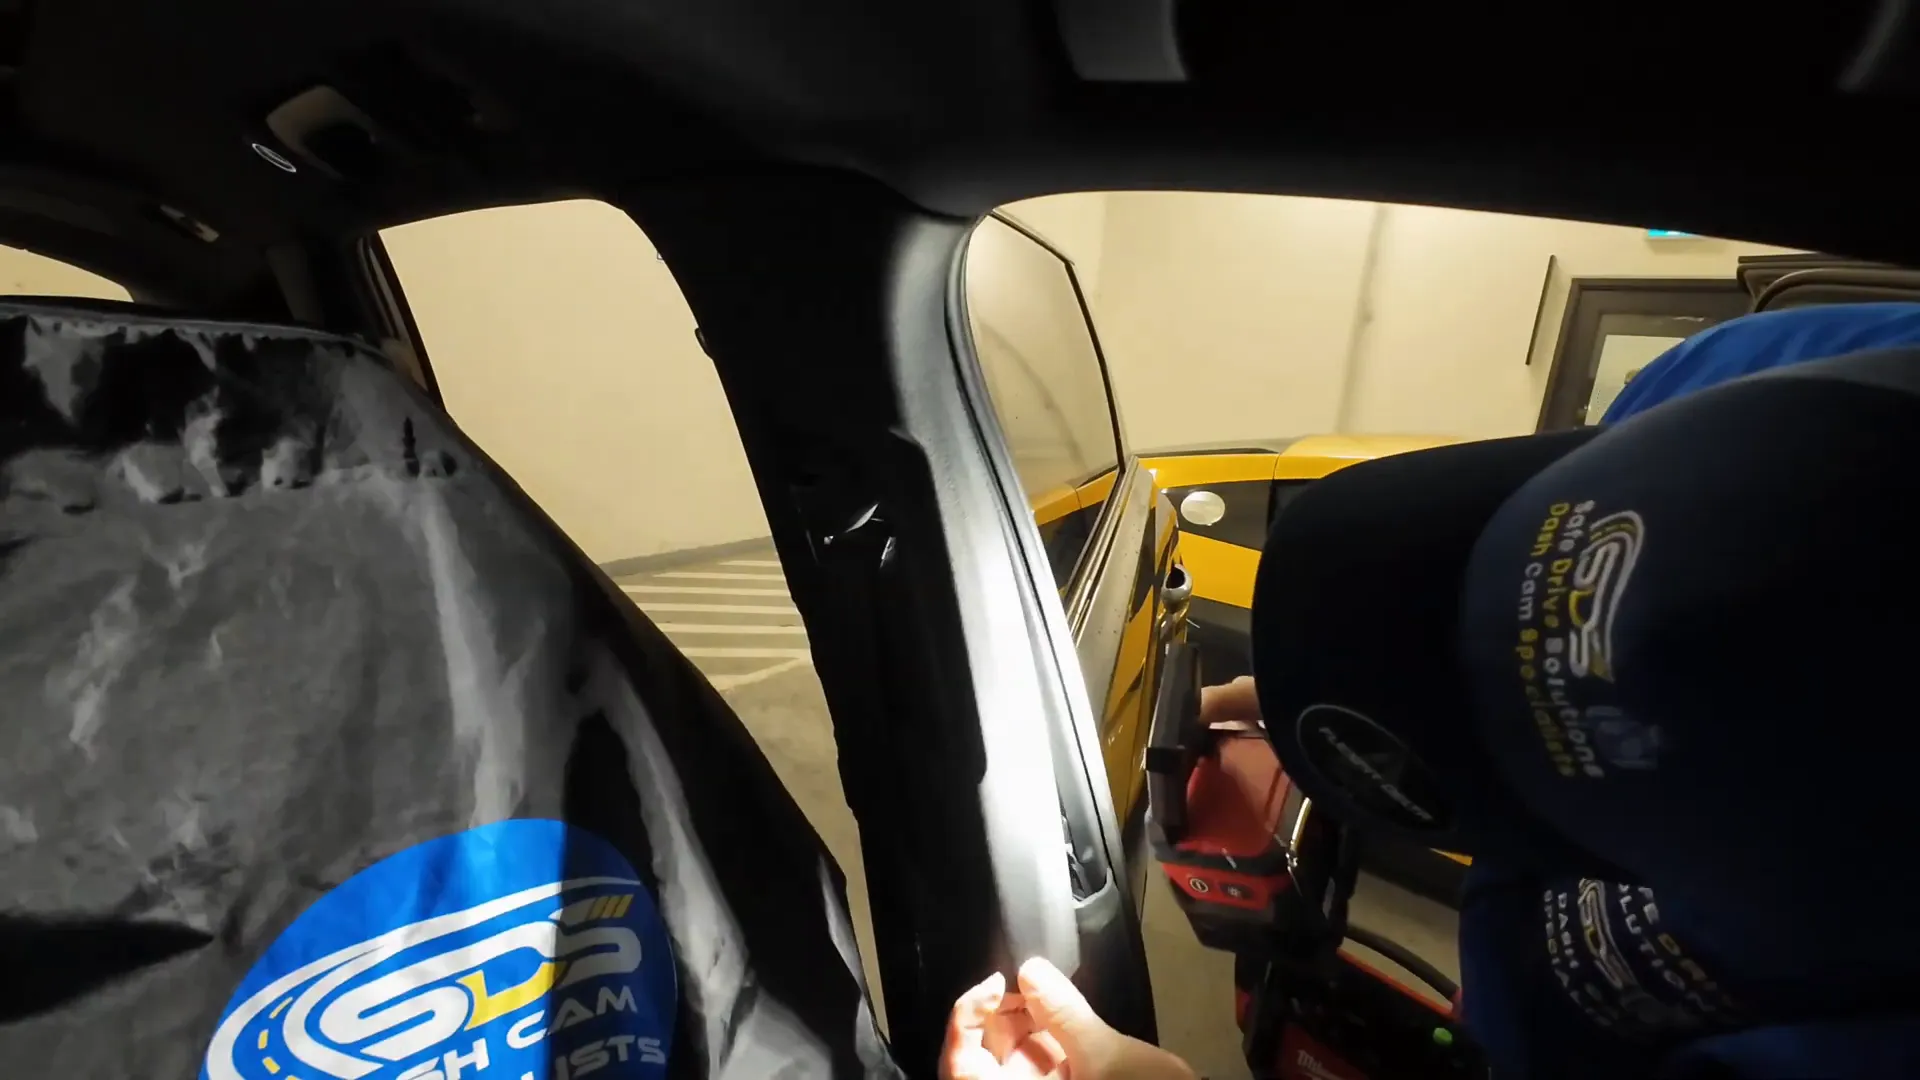
Step 5: Removing the B-Pillar
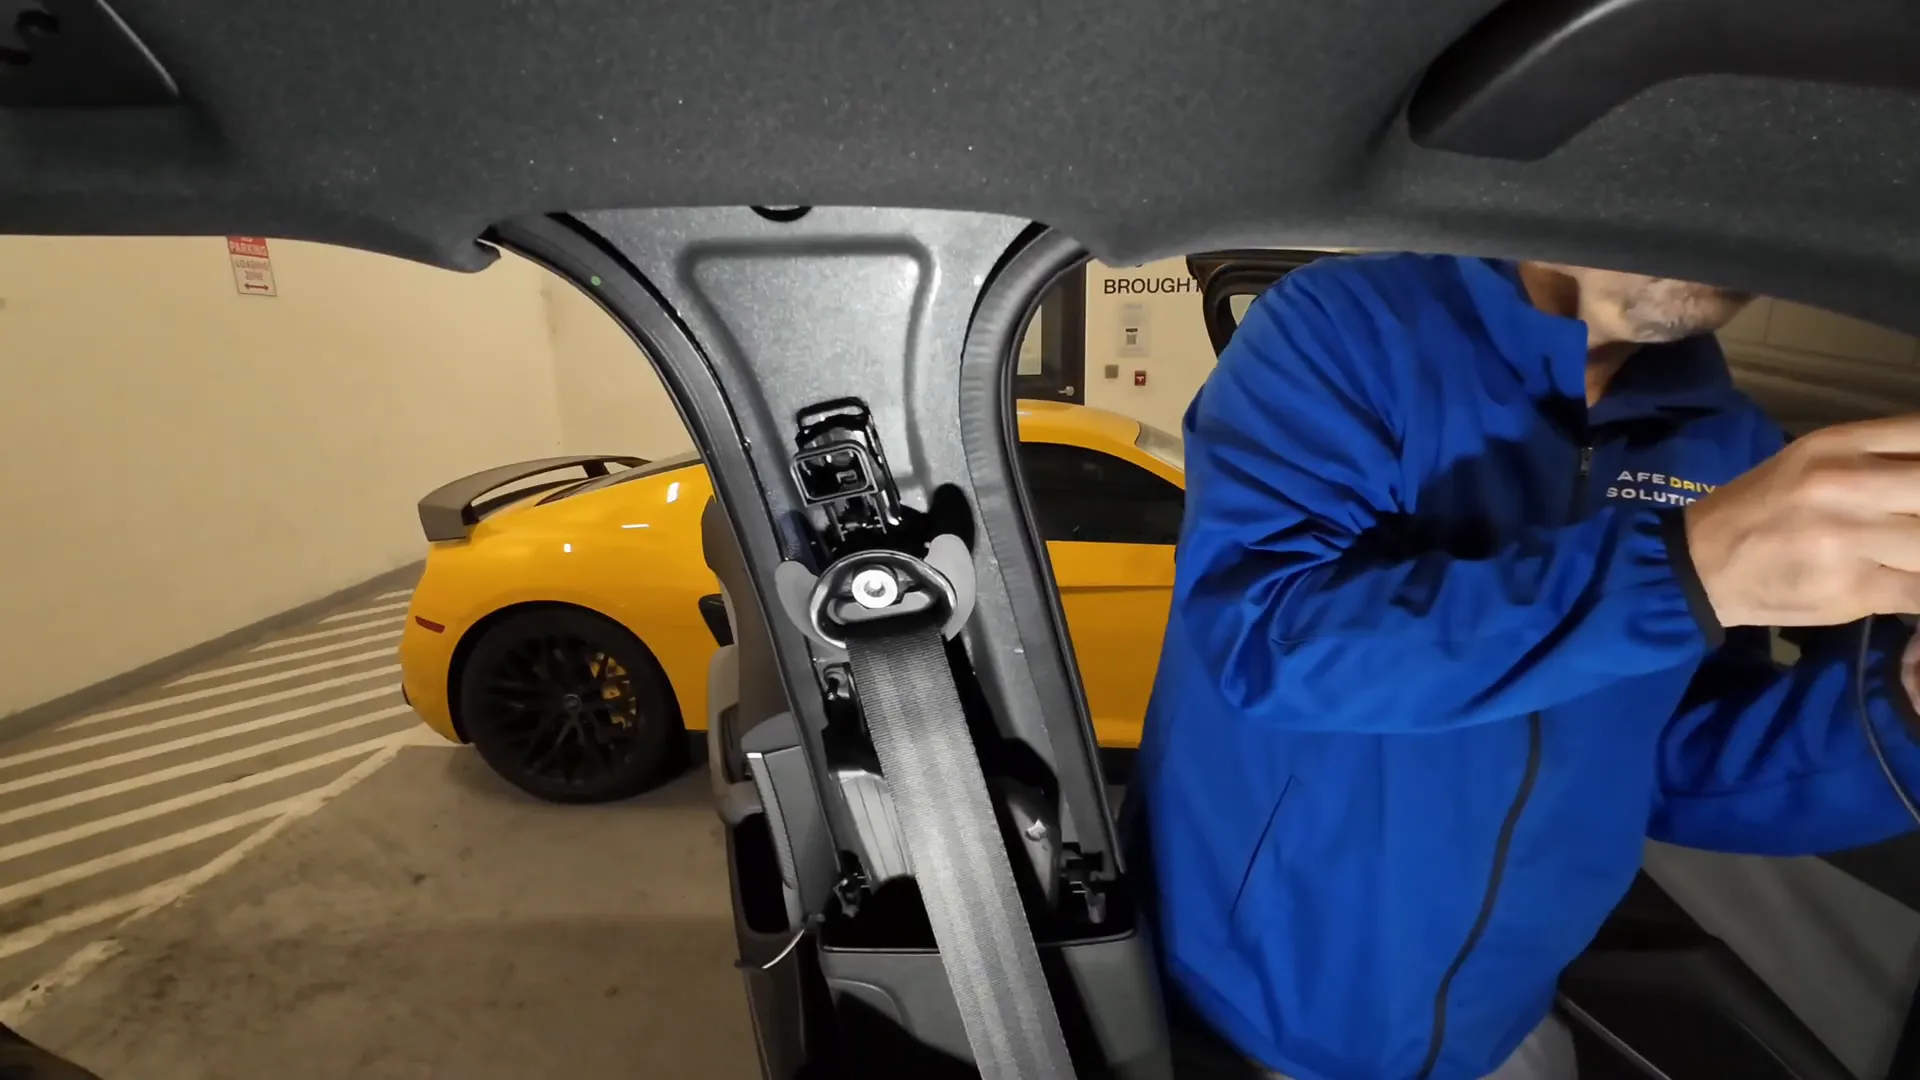
The B-pillar is often left intact during installations, but to achieve a clean look, we’ll remove it. This step can be tricky due to the seatbelt connection, so proceed with caution.
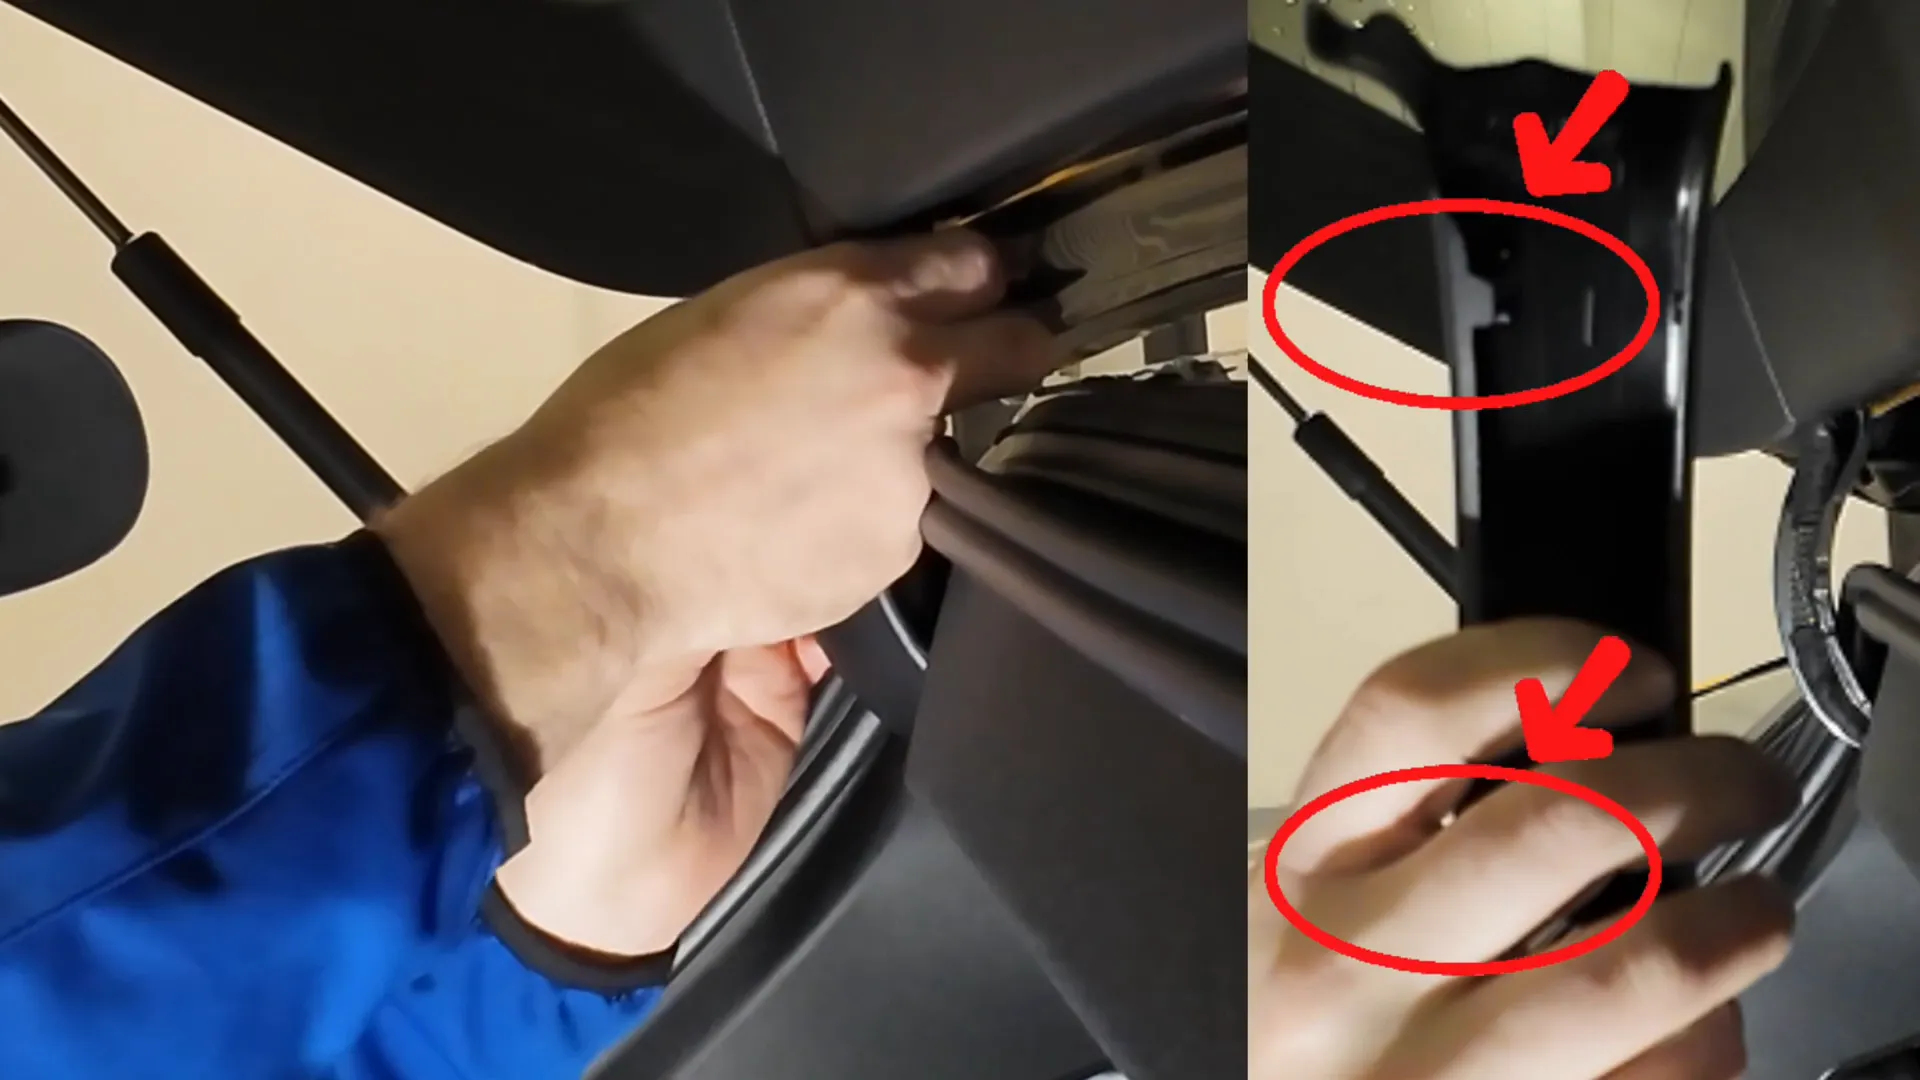
First, loosen the clip for the rear heater and gently pull the B-pillar off. This will allow you to run the rear camera cable through without any obstructions.
Step 6: Running the Rear Camera Cable
Now that the B-pillar is removed, you can easily run the rear camera cable. Make sure to tuck it away safely, avoiding any interference with the seatbelt mechanism or airbags.
Once the cable is in place, reattach the B-pillar, ensuring that the seatbelt operates smoothly.
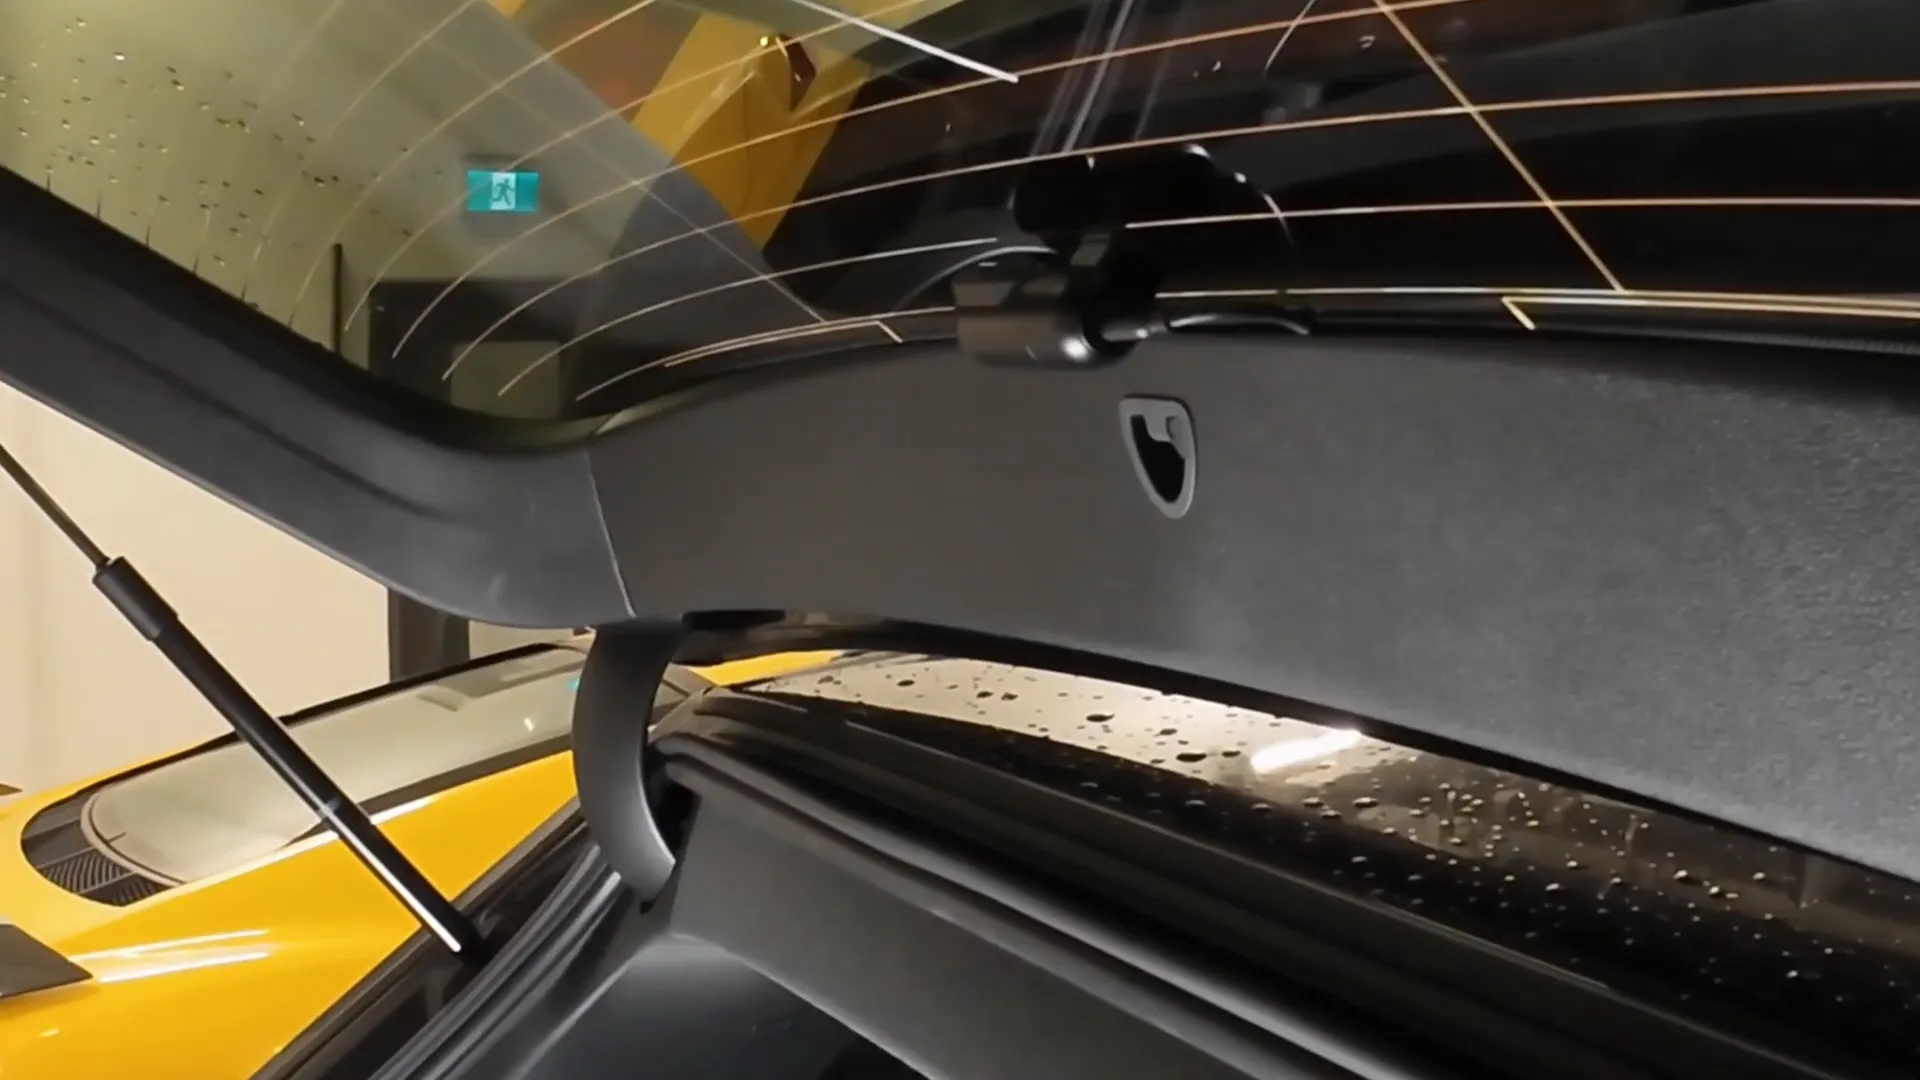
Step 7: Disassembling the Hatch Area
Next, we need to access the hatch area to run the rear camera wiring. Remove the cover panel and use your wire tool to guide the wires through the channel that leads into the hatch.
Ensure that you secure the wiring properly, allowing for a little slack to accommodate the power tailgate's movement.
Step 8: Mounting the Rear Camera
With everything in place, it's time to mount the rear camera. Clean the hatch area with antiseptic wipes to ensure a good adhesive bond.
Once mounted, tuck away any excess wiring to maintain a factory look.
Step 9: Power Connections
Now, let’s get to the power connections. Remove the necessary bolts to drop the dash for access to the OBD2 connector.
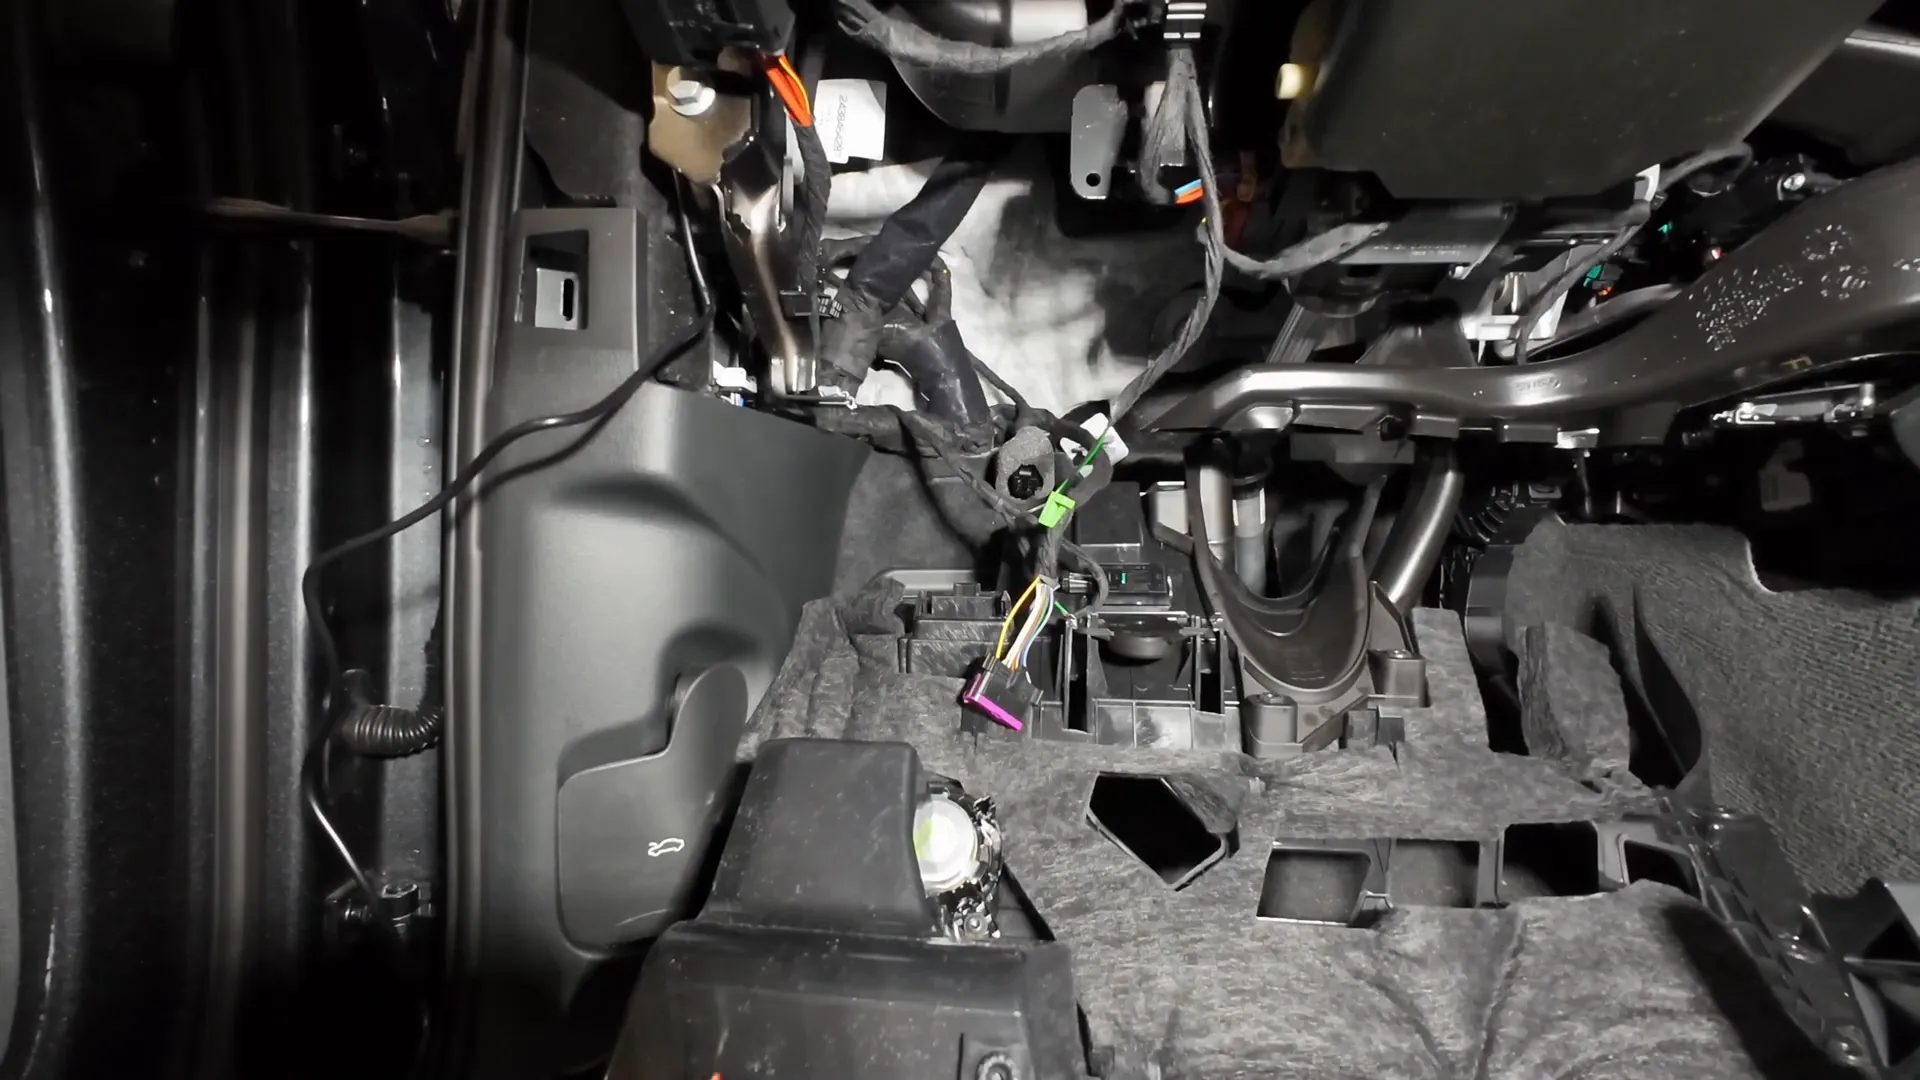
Connect the wires: ignition (pin 1), ground (pin 4), and constant power (pin 16). Solder these connections for a secure fit and cover them with electrical tape. Or you can use an OBD2 cable from your respective manufacturer and plug right in without any need to solder wires.
Step 10: Reassembling the Dash
Once all connections are made, reassemble the dash, ensuring all panels and covers are put back securely. This includes the A-pillar and the housing behind the rearview mirror.
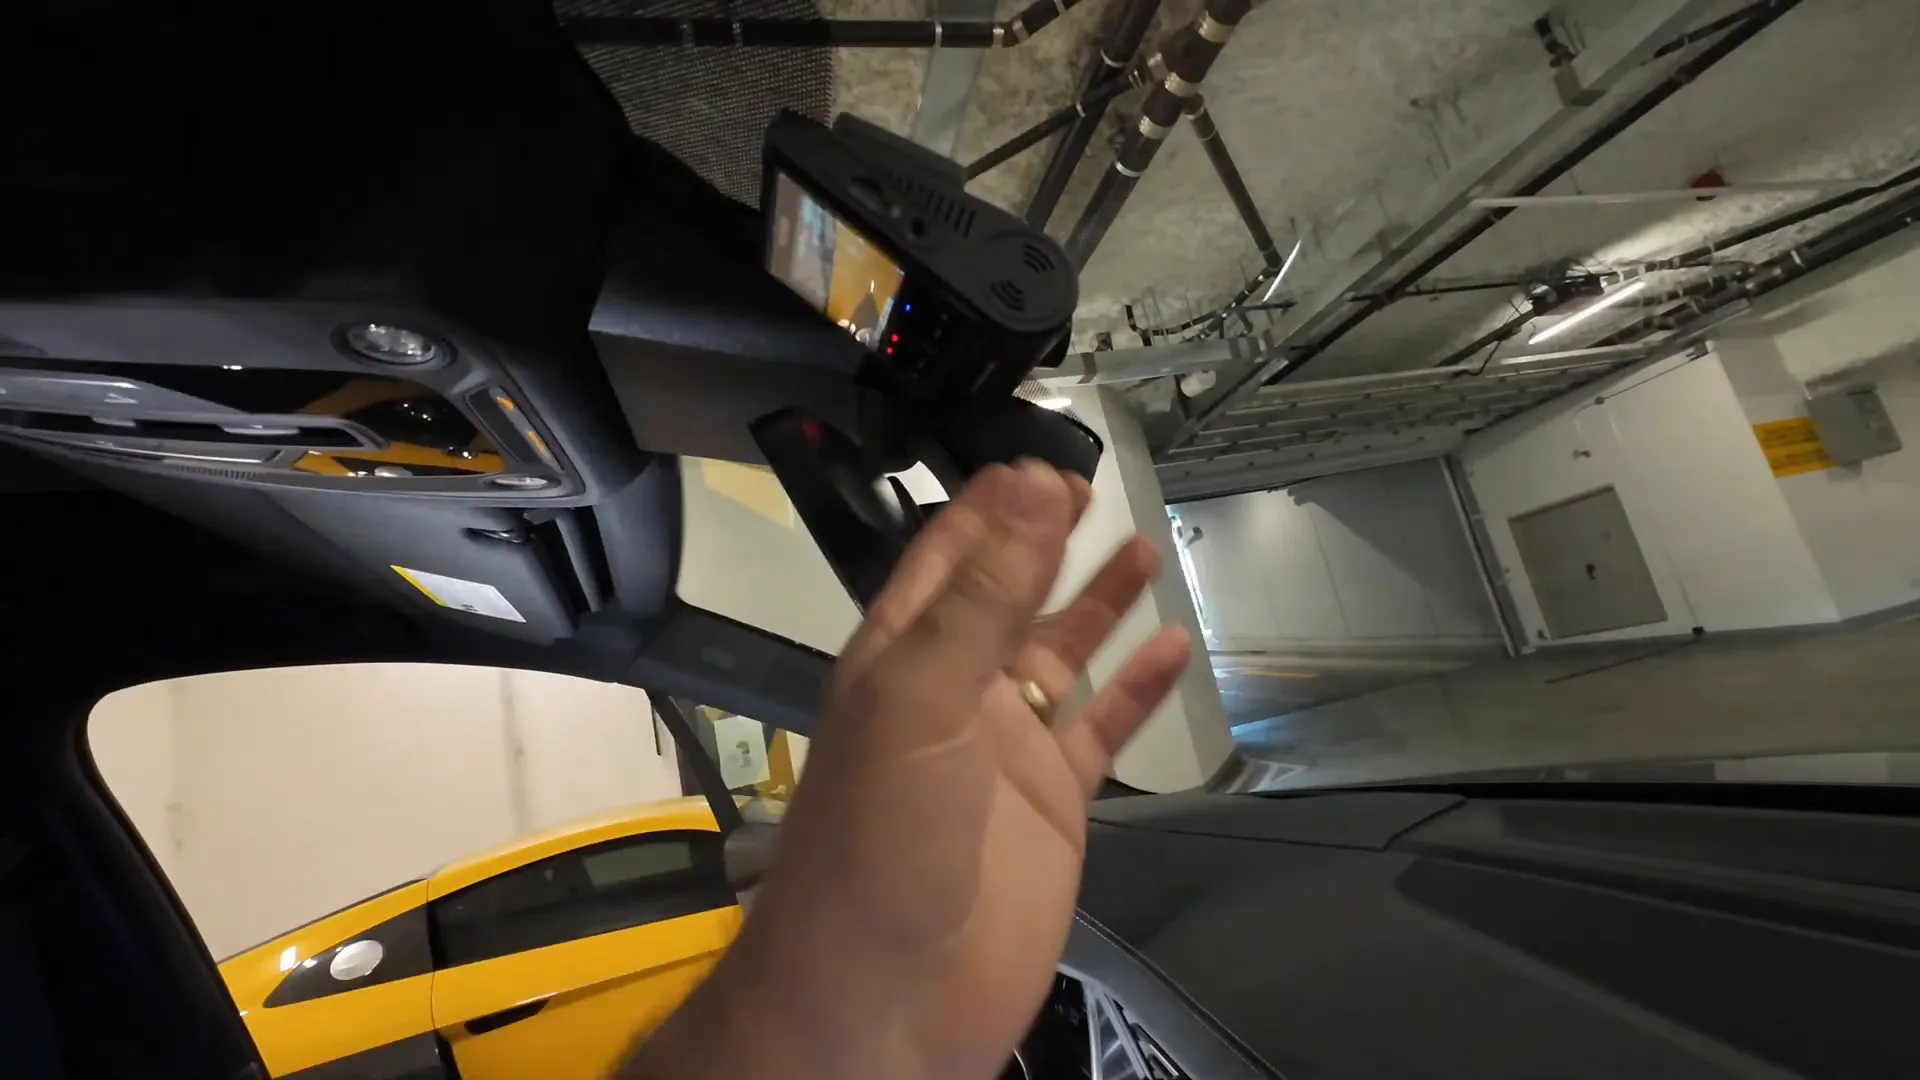
Finally, power up your Viofo dash camera to ensure everything is functioning properly.
Conclusion
Your Audi Q7 is now equipped with a front and rear dash camera, offering enhanced safety and peace of mind on the road. If you have any questions or need assistance, feel free to contact us or leave a comment below!
For more information on dash cameras and installation services, visit Viofo A229 Pro 4K or check out our dash cam installation page.

