Professional Dash Cam Installation for Honda CRV: Step-by-Step Guide
Installing a dash cam in your Honda CRV is a great way to enhance your driving safety and provide valuable evidence in case of accidents. This guide will walk you through the professional installation process for a Vueroid D21 4K dash cam in a 2024 Honda CRV. We’ll cover everything from disassembling panels to hardwiring the camera for optimal performance.
Gather Your Tools
Before you start, ensure you have the following tools at hand:
- Trim removal tool (like a metal pry tool)
- Fish tape or wire pulling tool
- Zip ties
- Alcohol wipes for cleaning surfaces
- Fuse Taps for hardwiring
Step 1: Disassemble the Rear Hatch
To begin, you’ll need to take off some plastic panels in the rear hatch area. Start by using your trim removal tool to gently pry off the panel.
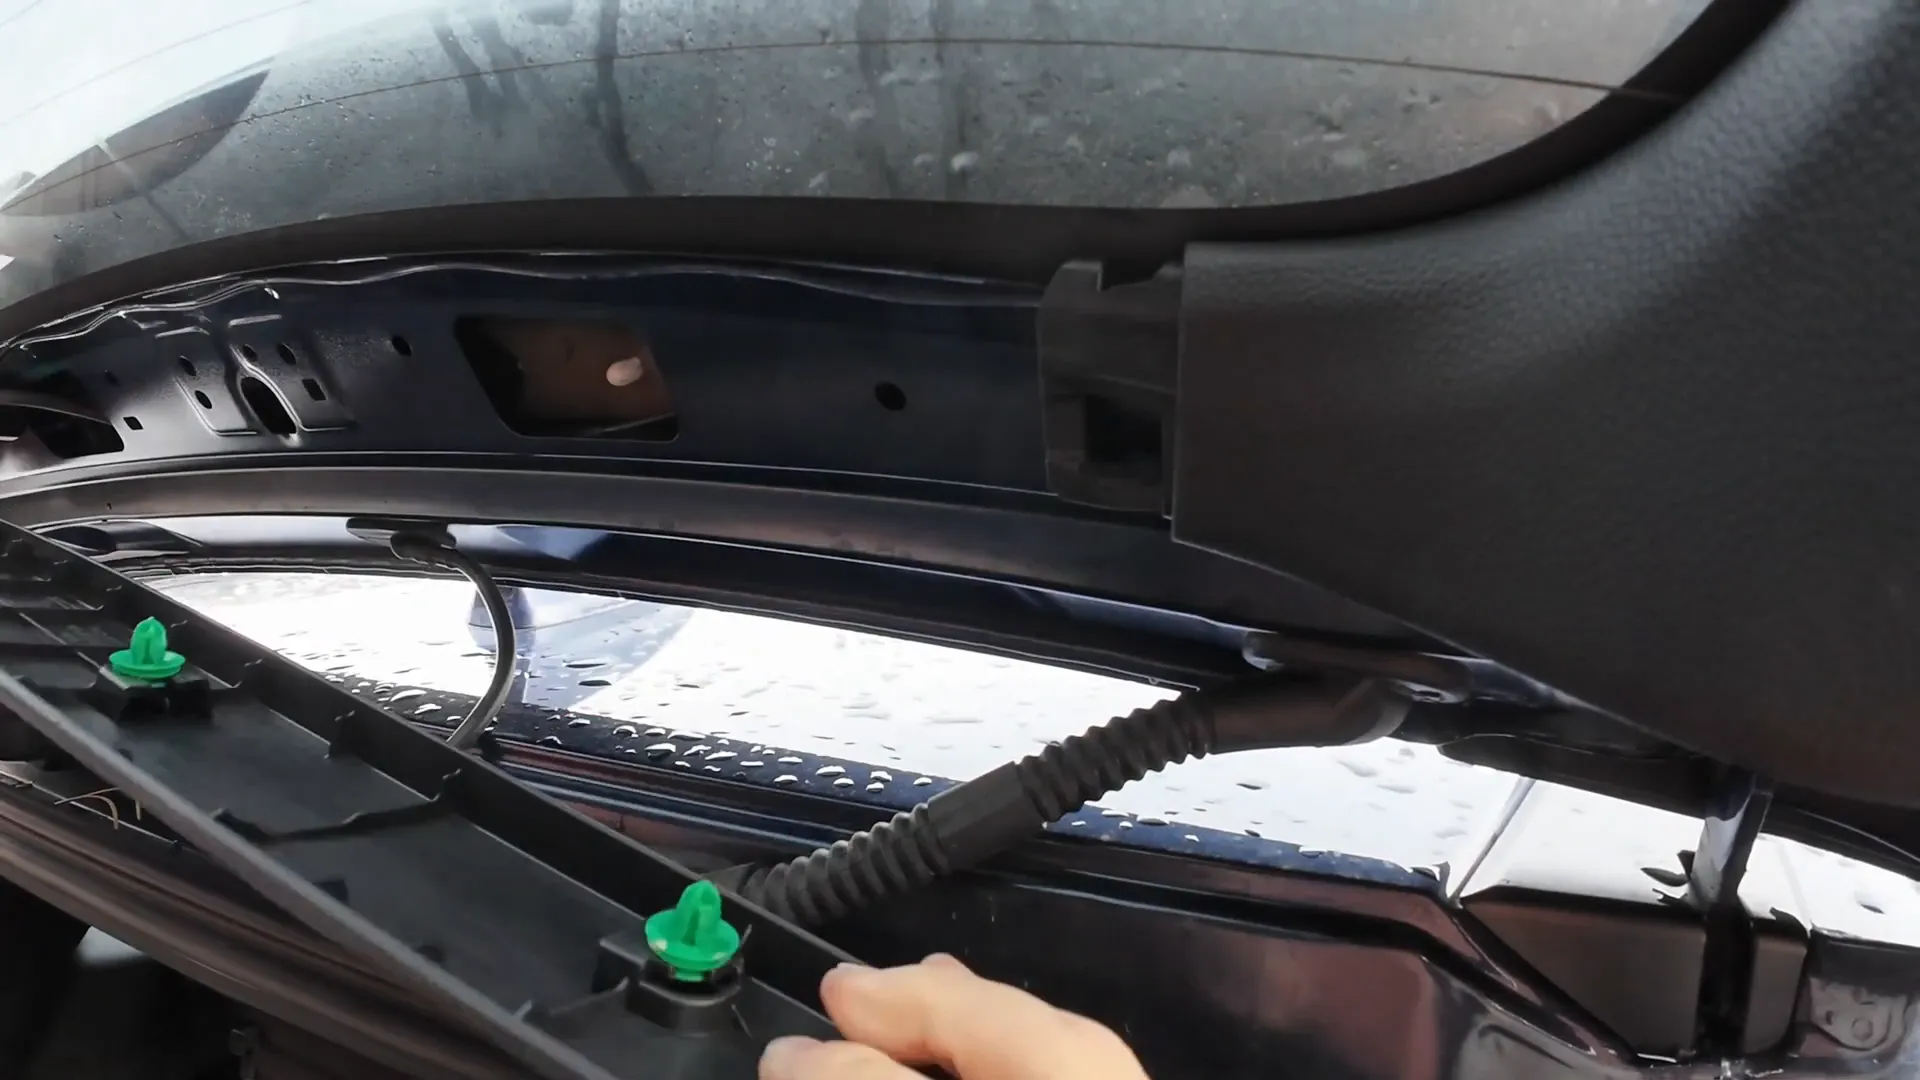
Once you have access to the grommet, you can start routing the camera cables through it. Carefully wiggle the panel up and down to release it without breaking any clips. It’s important to be gentle here to avoid damaging the trim.
Step 2: Routing the Cables
Now that the rear hatch is disassembled, it’s time to route the cable from the rear camera through the rubber grommet. Use your fish tool to push the cable through the grommet, ensuring it is fed through completely.
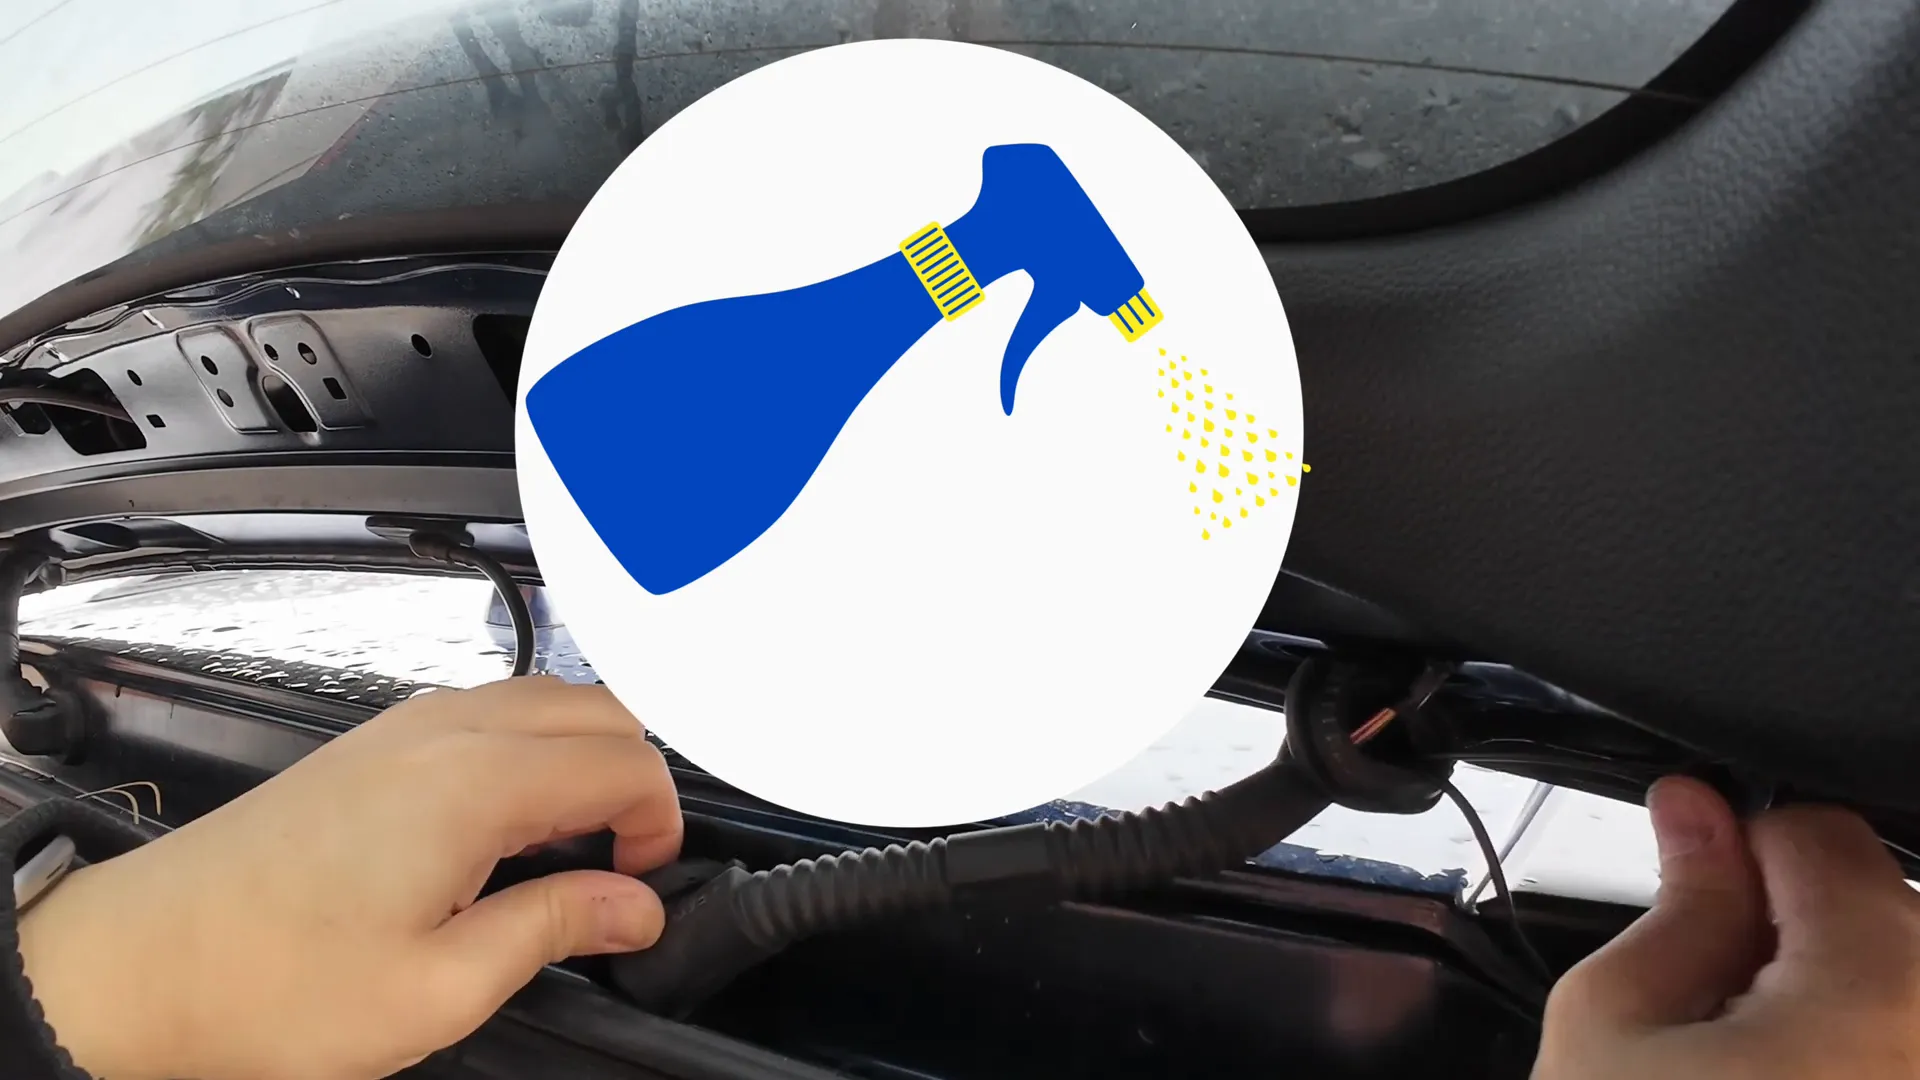
Be mindful of the rubber seals as you work; they should be replaced carefully to maintain a proper seal after installation. This will help prevent water from entering the vehicle.
Step 3: Running the Cable to the Front
With the rear camera cable routed, the next step is to run it from the rear to the front of the vehicle. Remove the plastic panel beneath the rear hatch and tuck the cable into the interior of the vehicle.
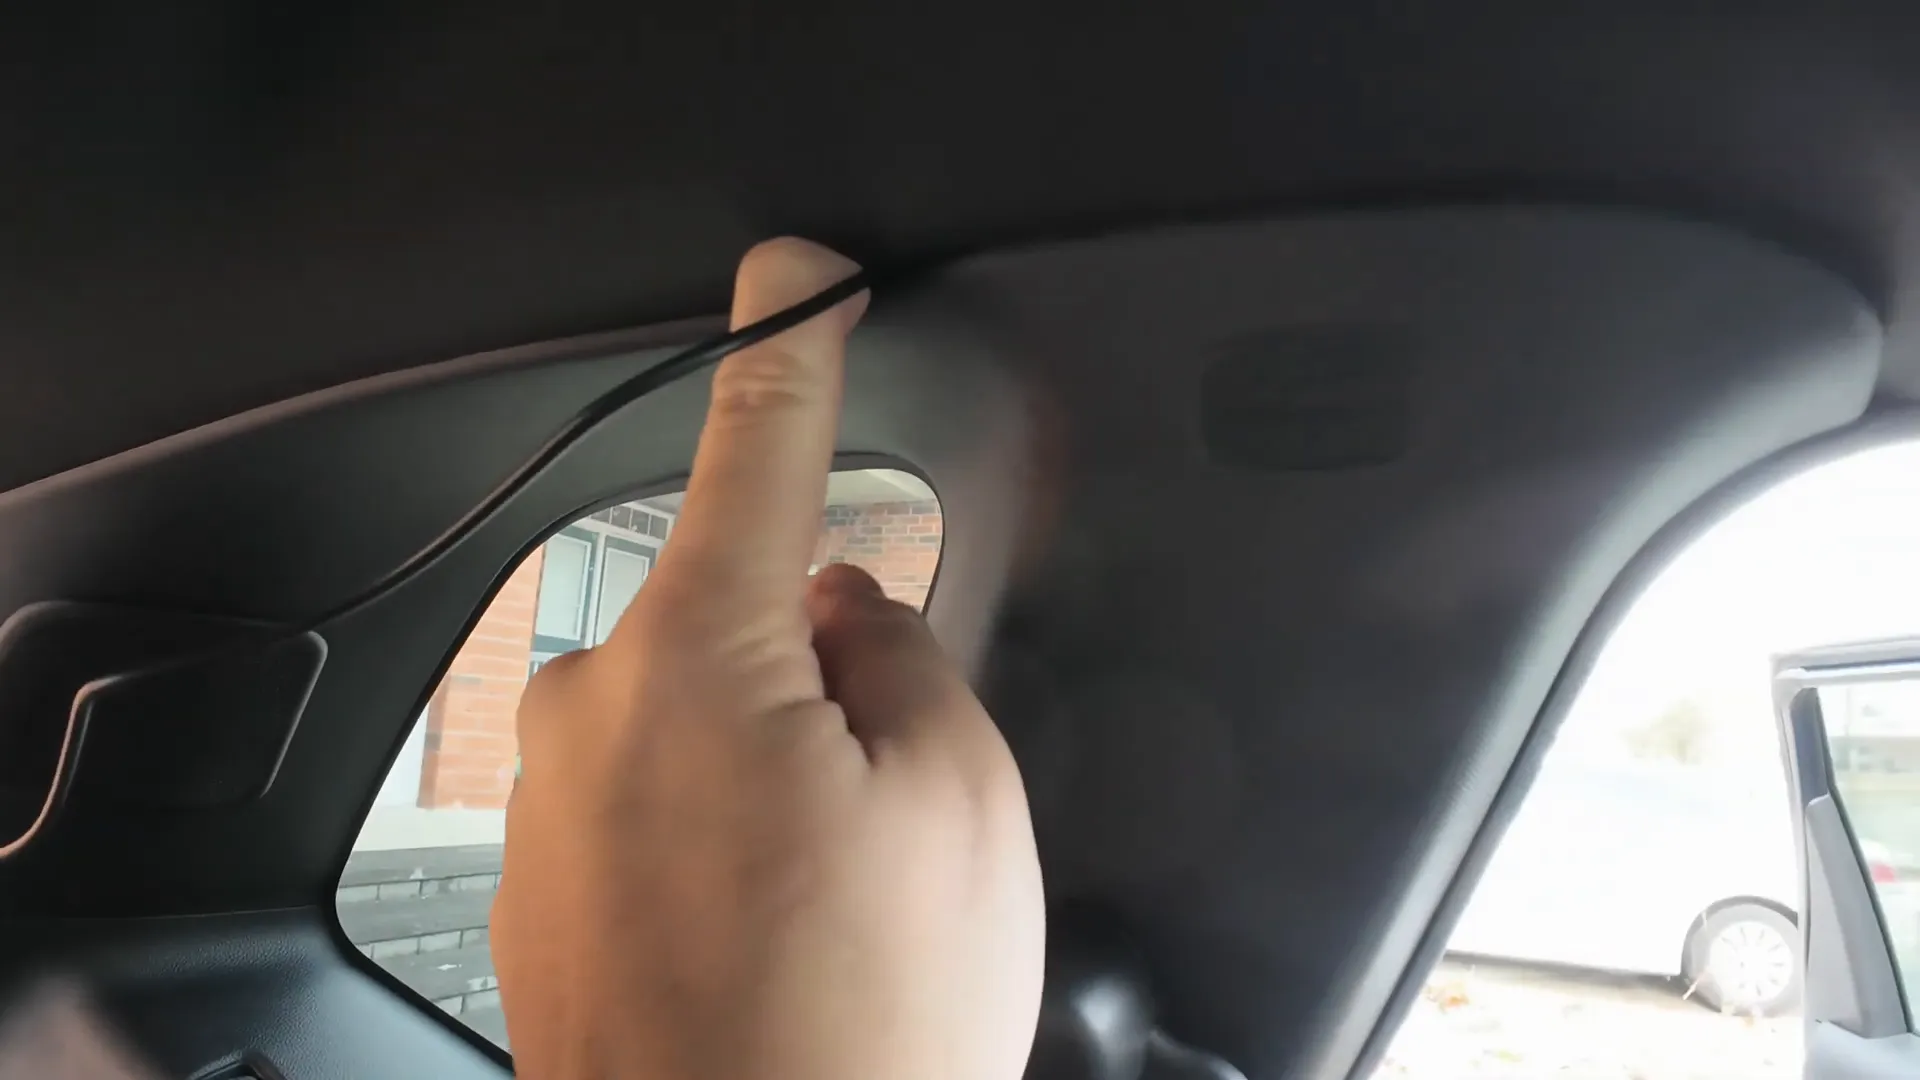
Make sure to guide the cable above airbag locations and avoid any sharp edges that could damage it. This is crucial for maintaining the integrity of your installation.
Step 4: Removing the A-Pillar
The next part of the installation involves removing the A-pillar cover to access the wiring area. Pull the rubber seal away and gently pry off the A-pillar trim. This will allow you to run the wires safely behind the airbag.
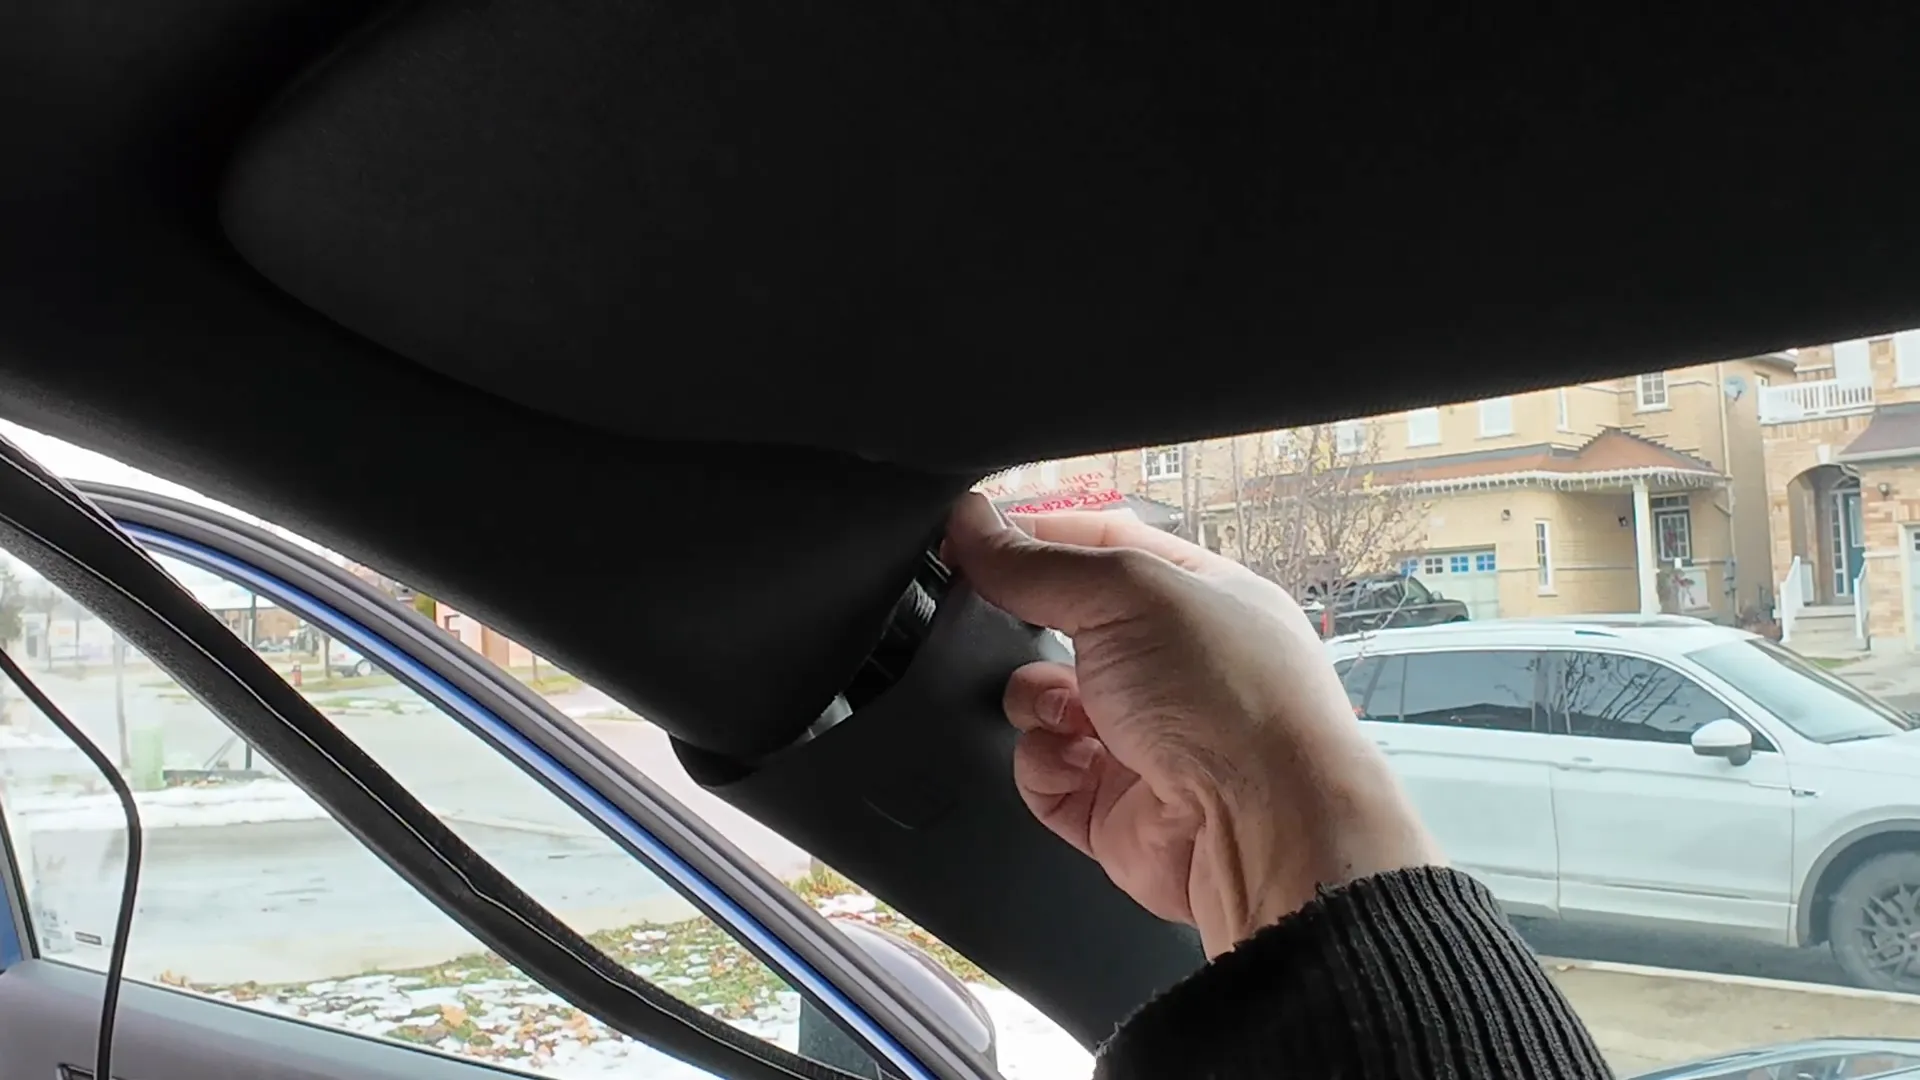
Disconnect any connectors you may need to remove to access the wiring area. Be sure to take note of how everything is connected so you can reassemble it later.
Step 5: Connecting the Dash Cam
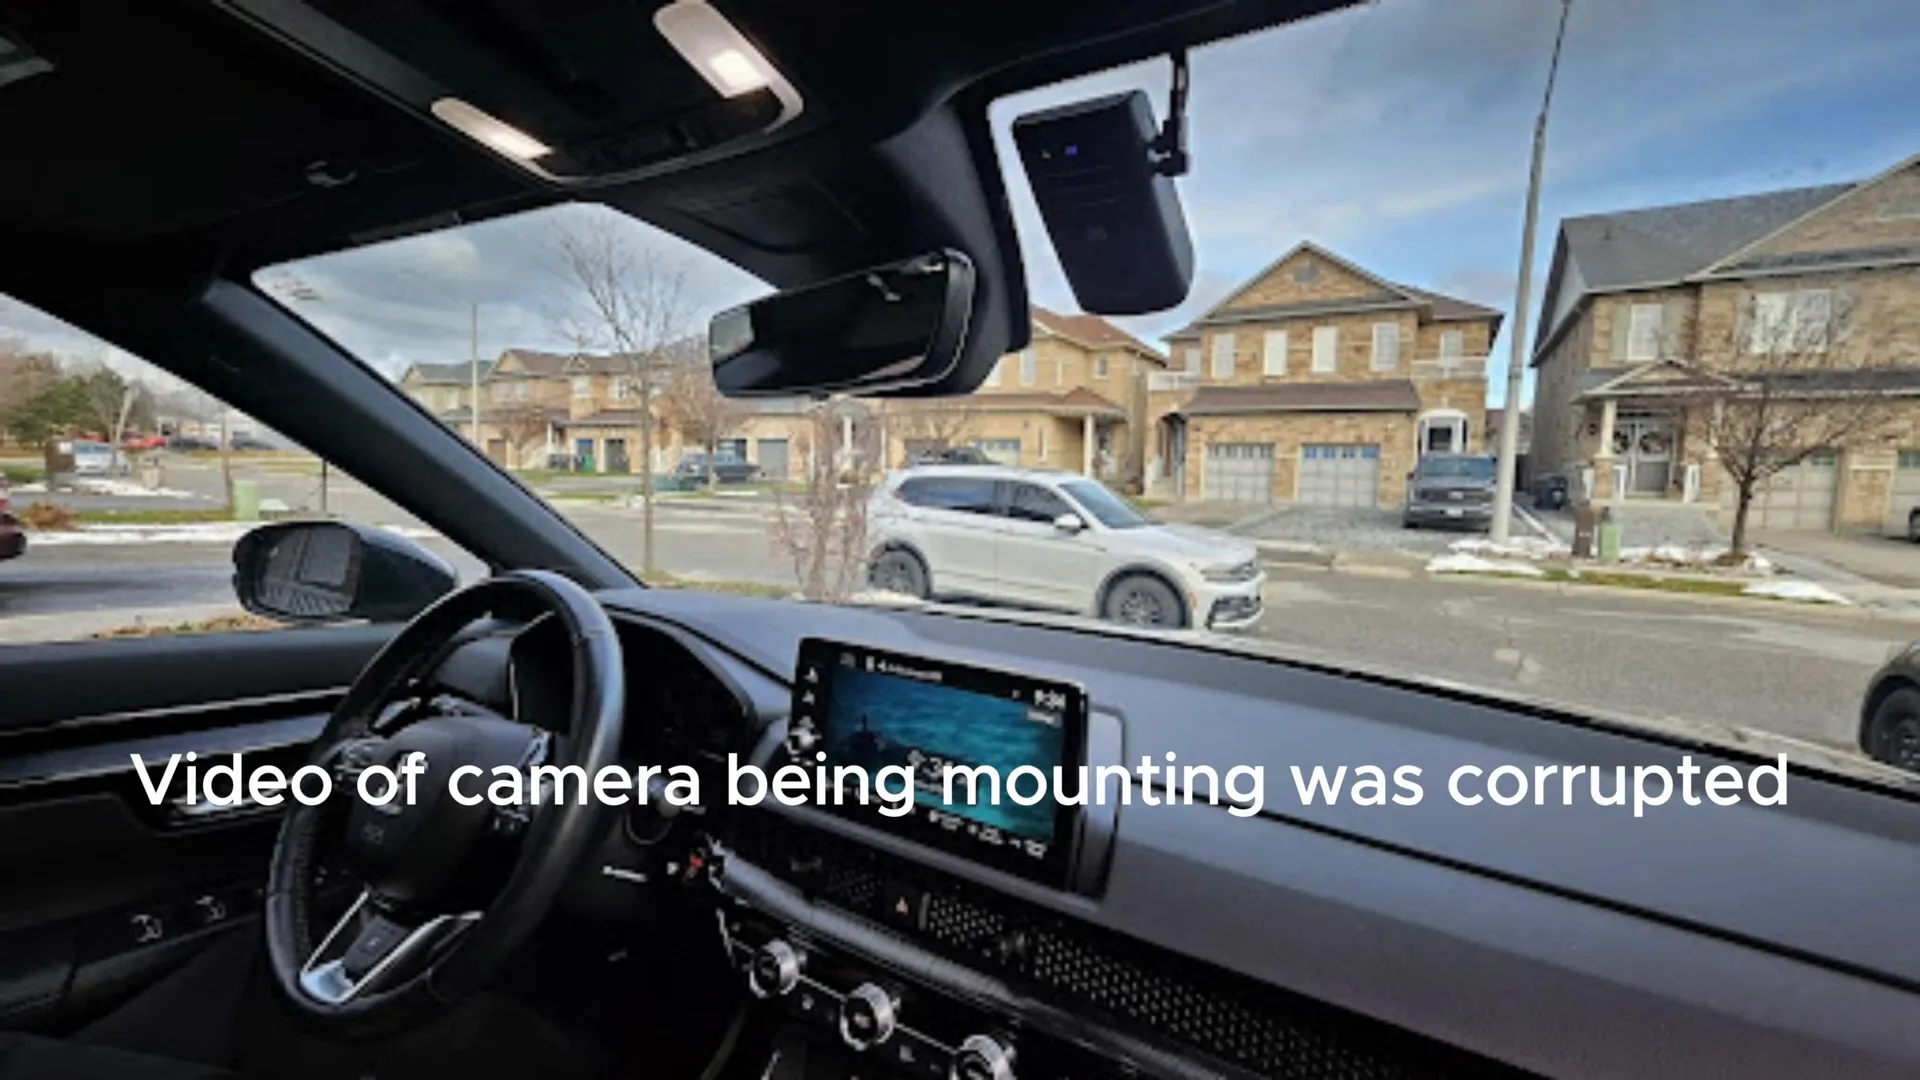
Now it’s time to connect the dash cam to the power source. The Vueroid D21 has two connections: one for power and one for rear camera video. Make sure to plug these in correctly, as they are angled for easy identification.
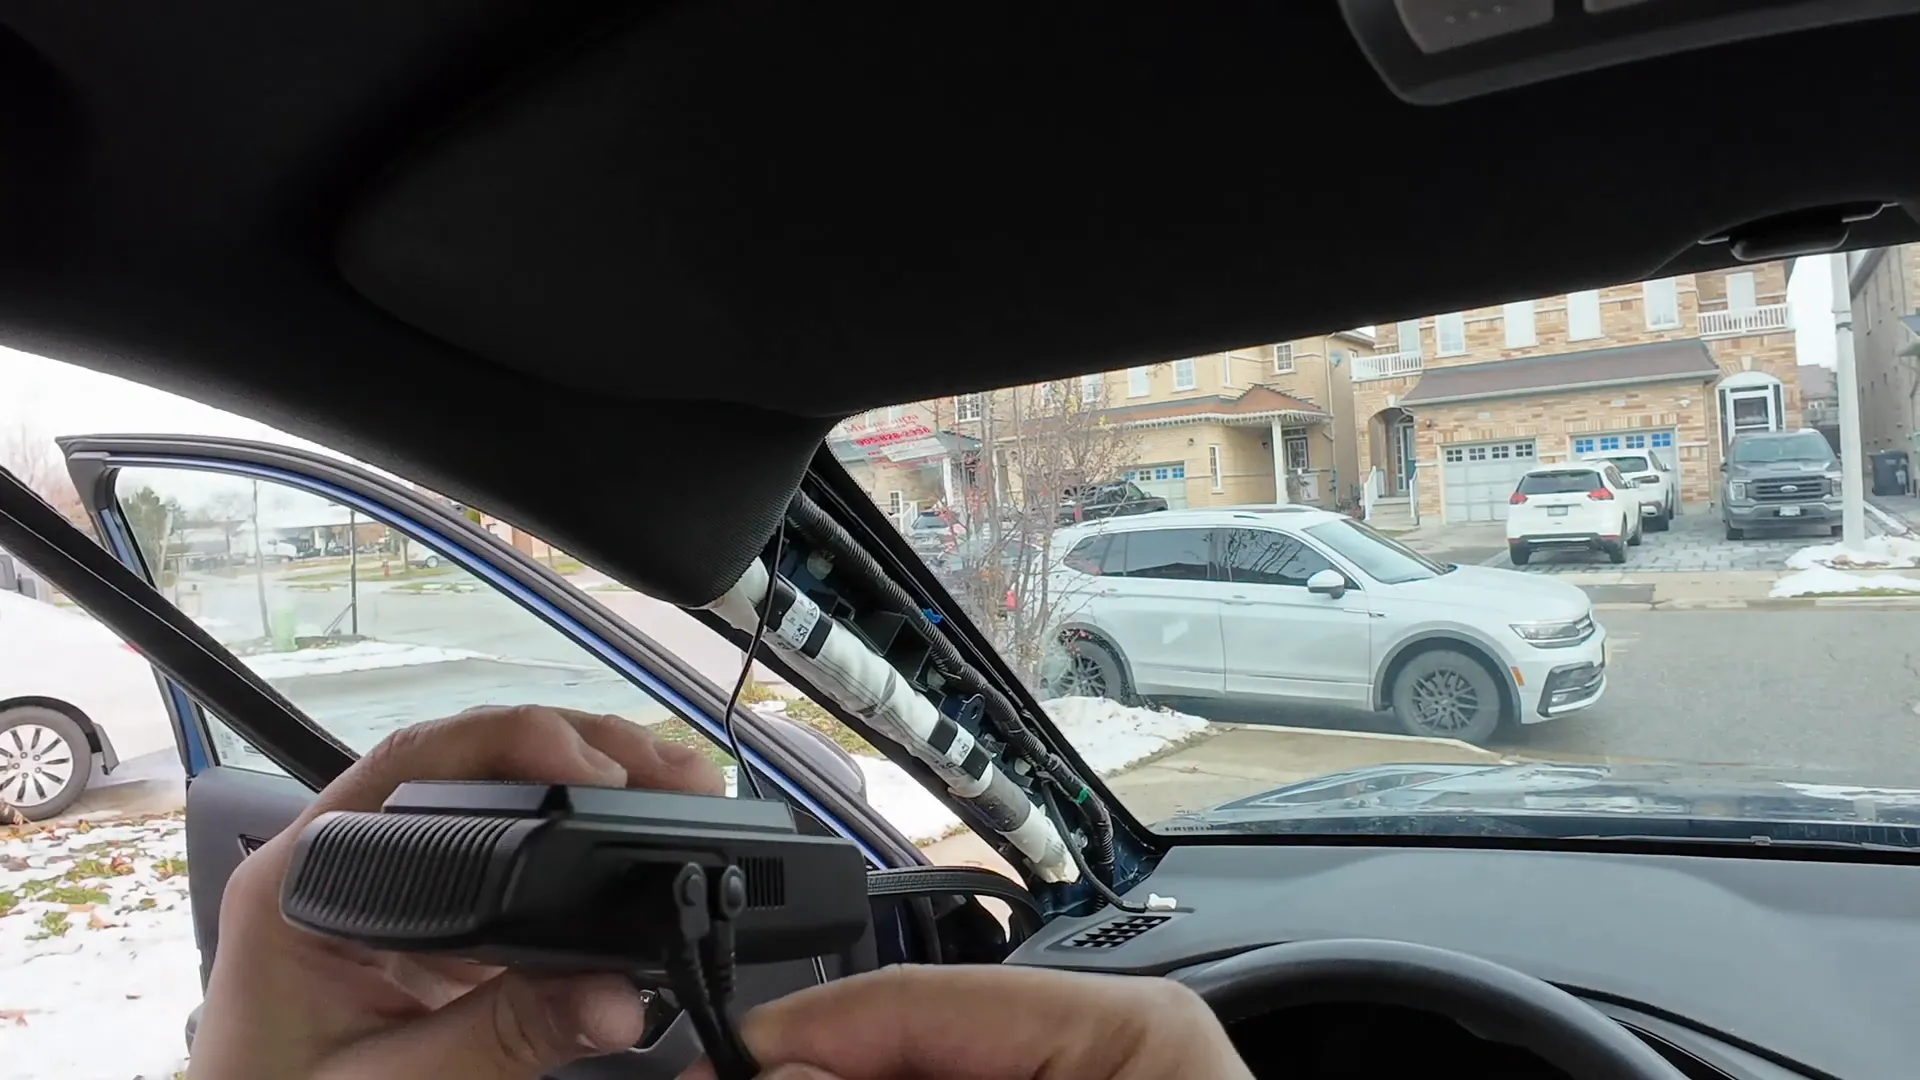
Mount the camera on the windshield, ensuring it’s positioned within the wiper area for optimal visibility. Test the connections before sealing everything back up.
Step 6: Hardwiring the Dash Cam
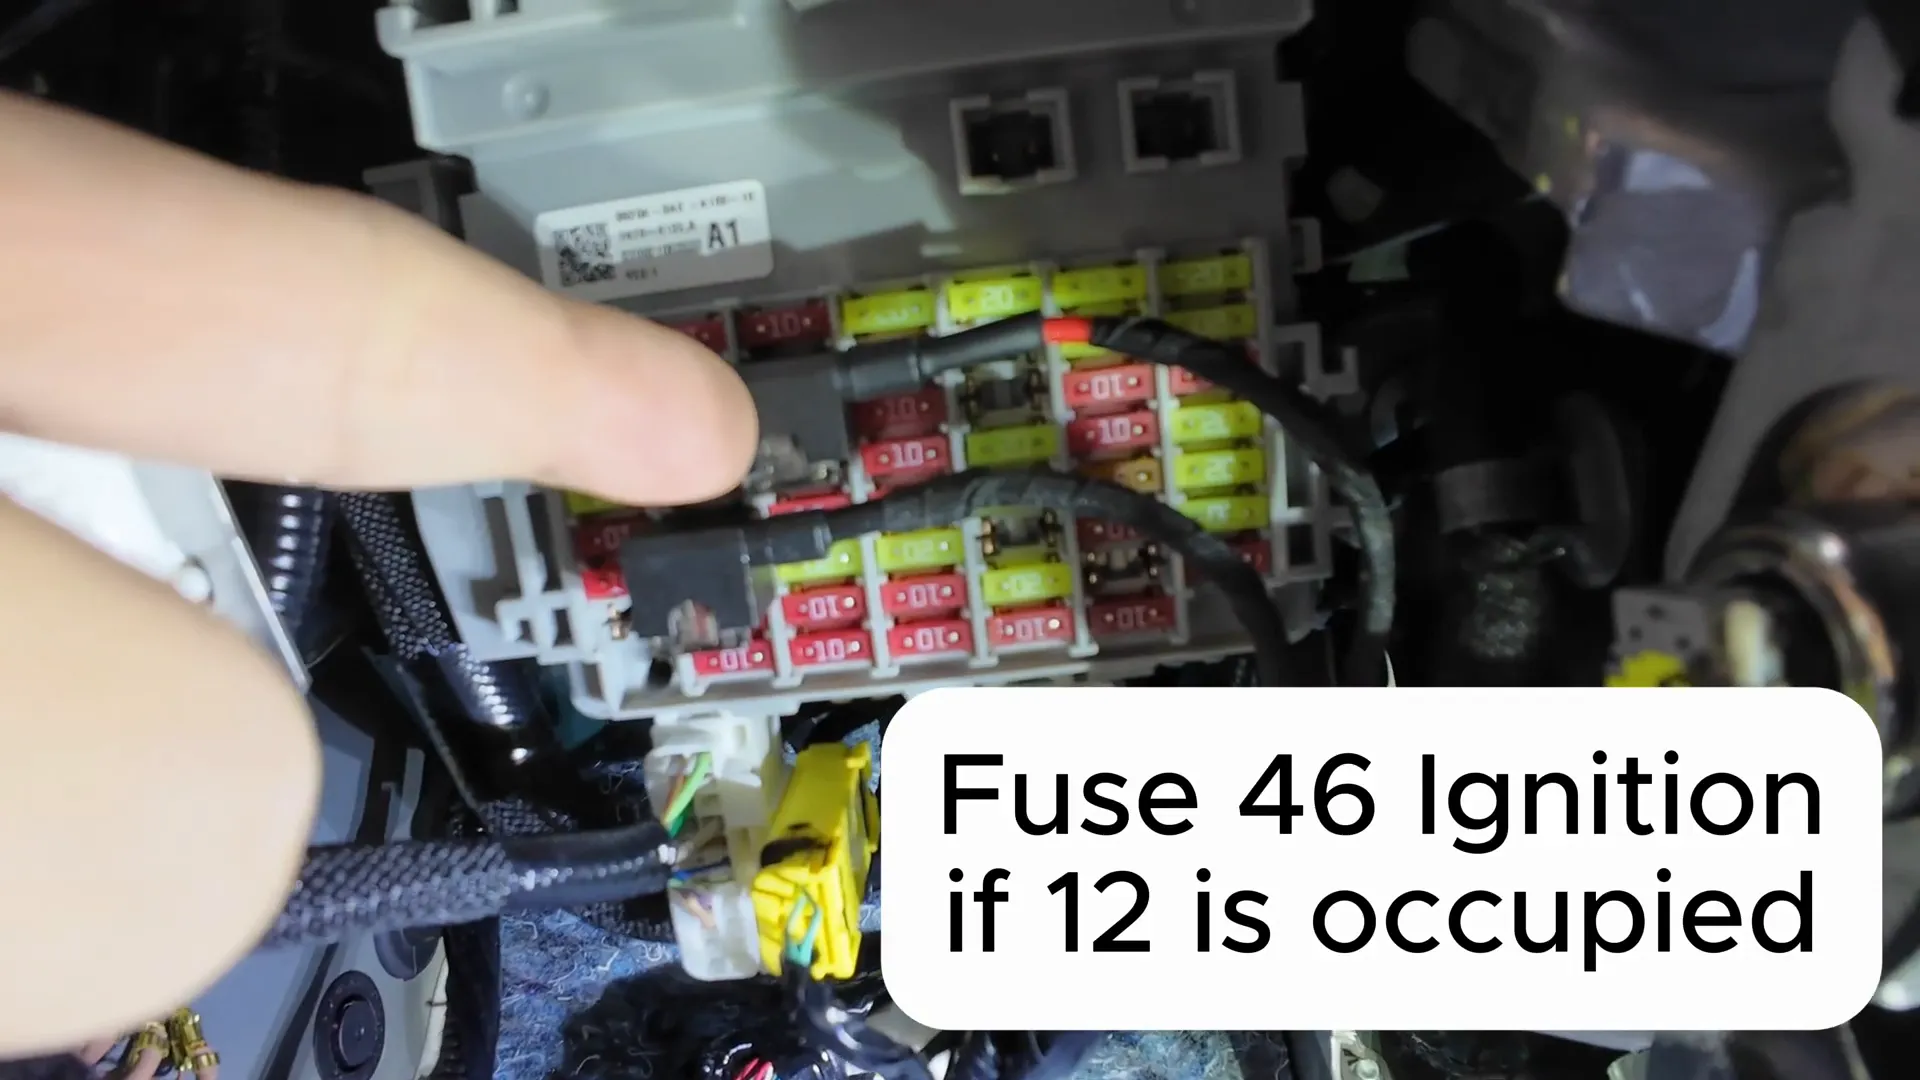
To ensure your dash cam has a constant power supply, you’ll need to hardwire it to your vehicle’s fuse box. Start by locating the fuse box, which is typically found beneath the dashboard.
Identify which fuses are suitable for connection. You’ll want to connect to a constant power fuse and an accessory (ACC) fuse. Use a circuit tester to confirm which fuses provide power while the vehicle is on.
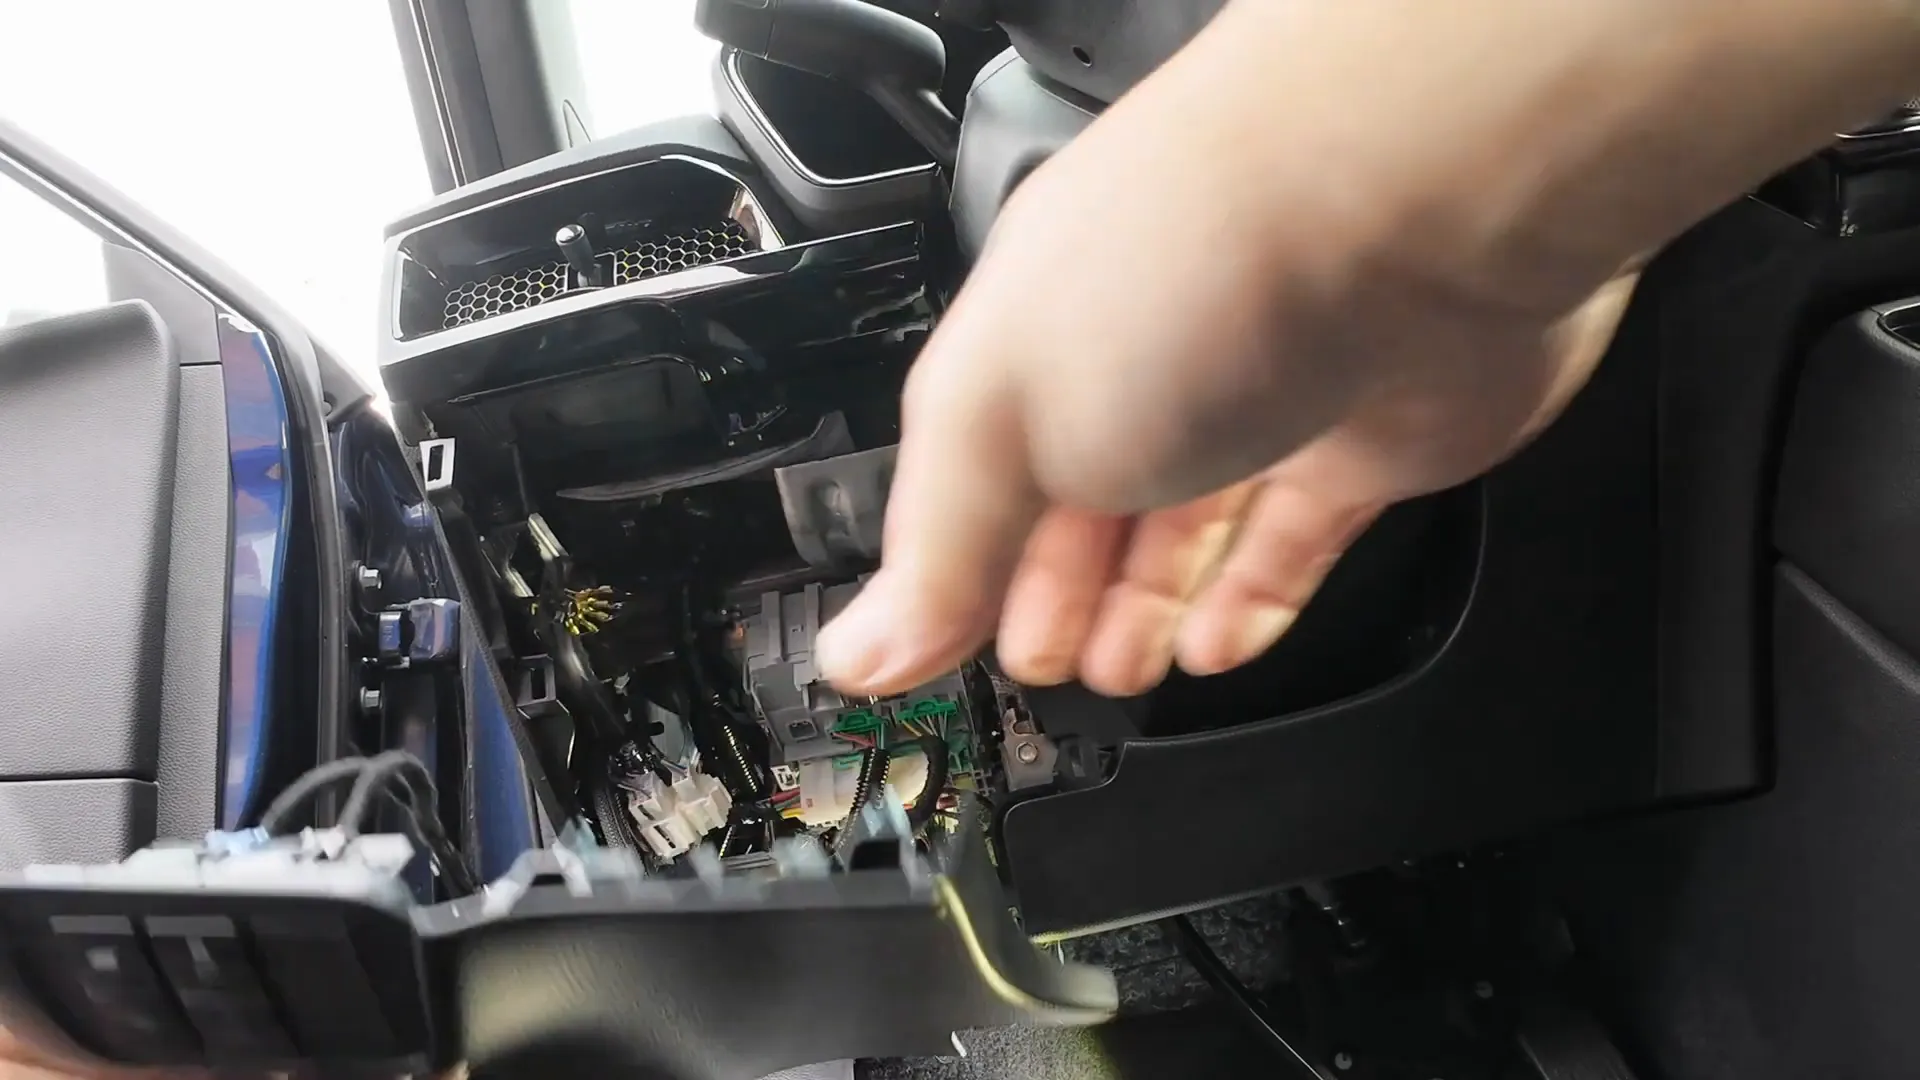
Step 7: Secure the Wiring
Once you’ve identified the correct fuses, use a fuse tap to connect the hardwire kit to the fuses. Make sure to connect to the ACC fuse, and constant power fuse.
Finally, secure the ground wire to a metal part of the vehicle’s chassis. Make sure all connections are tight and use zip ties to bundle any excess wiring neatly.
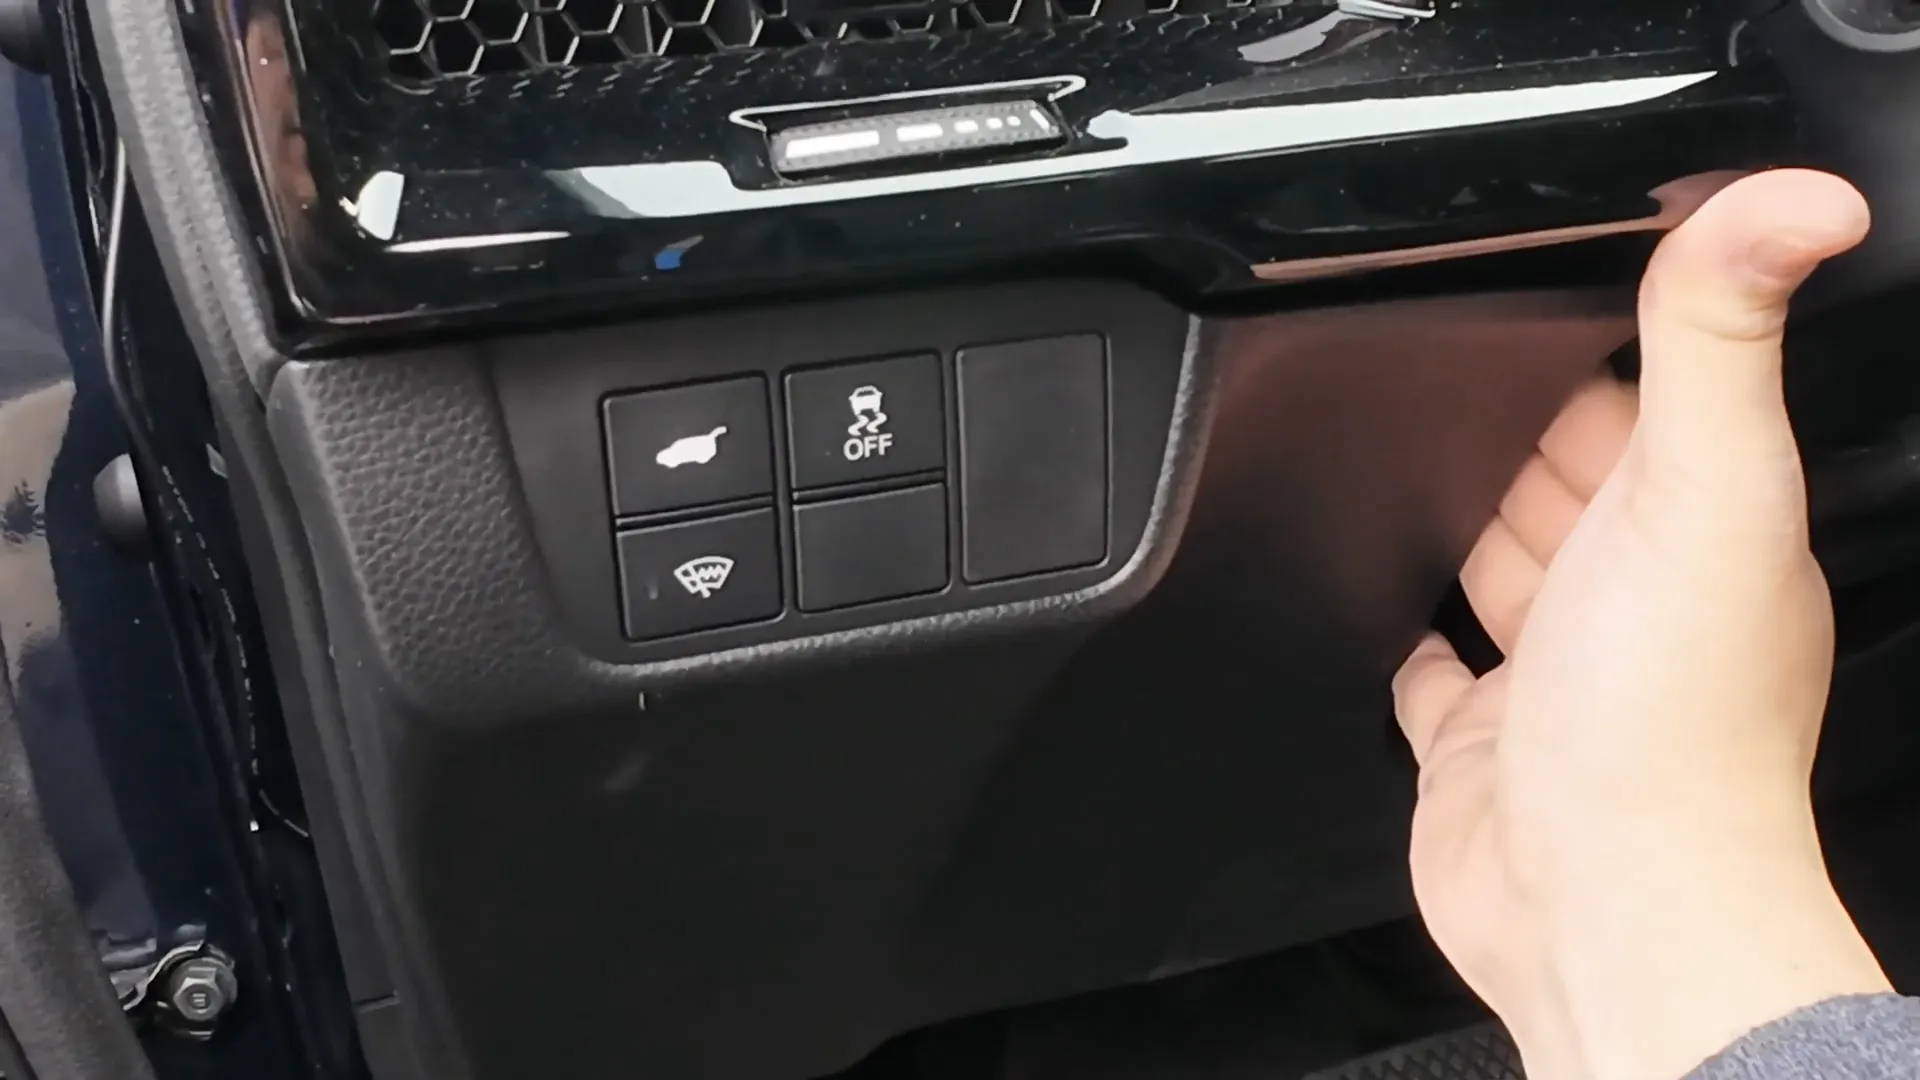
Step 8: Reassemble the Panels
After ensuring all connections are secure, it’s time to reassemble the interior panels. Carefully line up all clips and connectors, making sure everything is back in its original position.
Step 9: Testing the Installation
With everything reassembled, turn on your vehicle to test the dash cam. It should power up and begin recording automatically.
Final Thoughts
Installing a dash cam in your Honda CRV is a smart investment for your safety. By following these steps, you can ensure a professional-grade installation that will keep you protected on the road. If you have any questions or need further assistance, feel free to reach out. For those looking for professional installation services, check out our offerings at Safe Drive Solutions.
If you’re ready to purchase your dash cam, visit our store at Shop Dash Cam – Safe Drive Solutions for a great selection.

