Installing a Dash Cam in Your Ford Mustang Mach-E: A Comprehensive Guide
If you're looking to enhance your driving experience and safety, installing a dash cam in your Ford Mustang Mach-E is a smart choice. This guide will walk you through the entire installation process step-by-step, ensuring that you have all the information you need to complete the task efficiently. We will cover everything from choosing the right camera to the nitty-gritty of wiring and placement.
Choosing the Right Dash Cam
The first step in your dash cam installation journey is selecting the right camera. For the Ford Mustang Mach-E, the Vroid D20 Q2 Plus, known for its 2K resolution, is a great option. Before you start the installation, ensure you have the necessary tools and materials ready.
- Dash Cam: Vueroid D20 Q2 Plus
- Panel popper tools
- Zip ties or string for pulling wires
- Lubricant (like soap water) for easier wire pulling
Preparation for Installation
Now that you have your dash cam and tools ready, it's time to begin the installation. The process involves running wires from the rear camera through rubber boots and into the vehicle. You can choose either side for wire passage, whichever seems more convenient.
Running the Wires Through the Rubber Boots
To pull the wire through the rubber boot, you need to be cautious. Some boots have release tabs that can break if you're not careful. The goal is to feed the wire through without damaging the connectors.
Here’s how you can do it:
- Choose a rubber boot to work with.
- Use a lubricant to make the wire slide through more easily.
- Feed the wire through the boot, ensuring it doesn’t get stuck.
In most cases, this should take just a minute or two. If you encounter any resistance, take your time and avoid using excessive force.
Mounting the Camera
Next, you will need to mount the rear camera. It's essential to place it above the wiper blade's sweep area for a clear view. This positioning will help maintain a clean lens without needing constant cleaning.
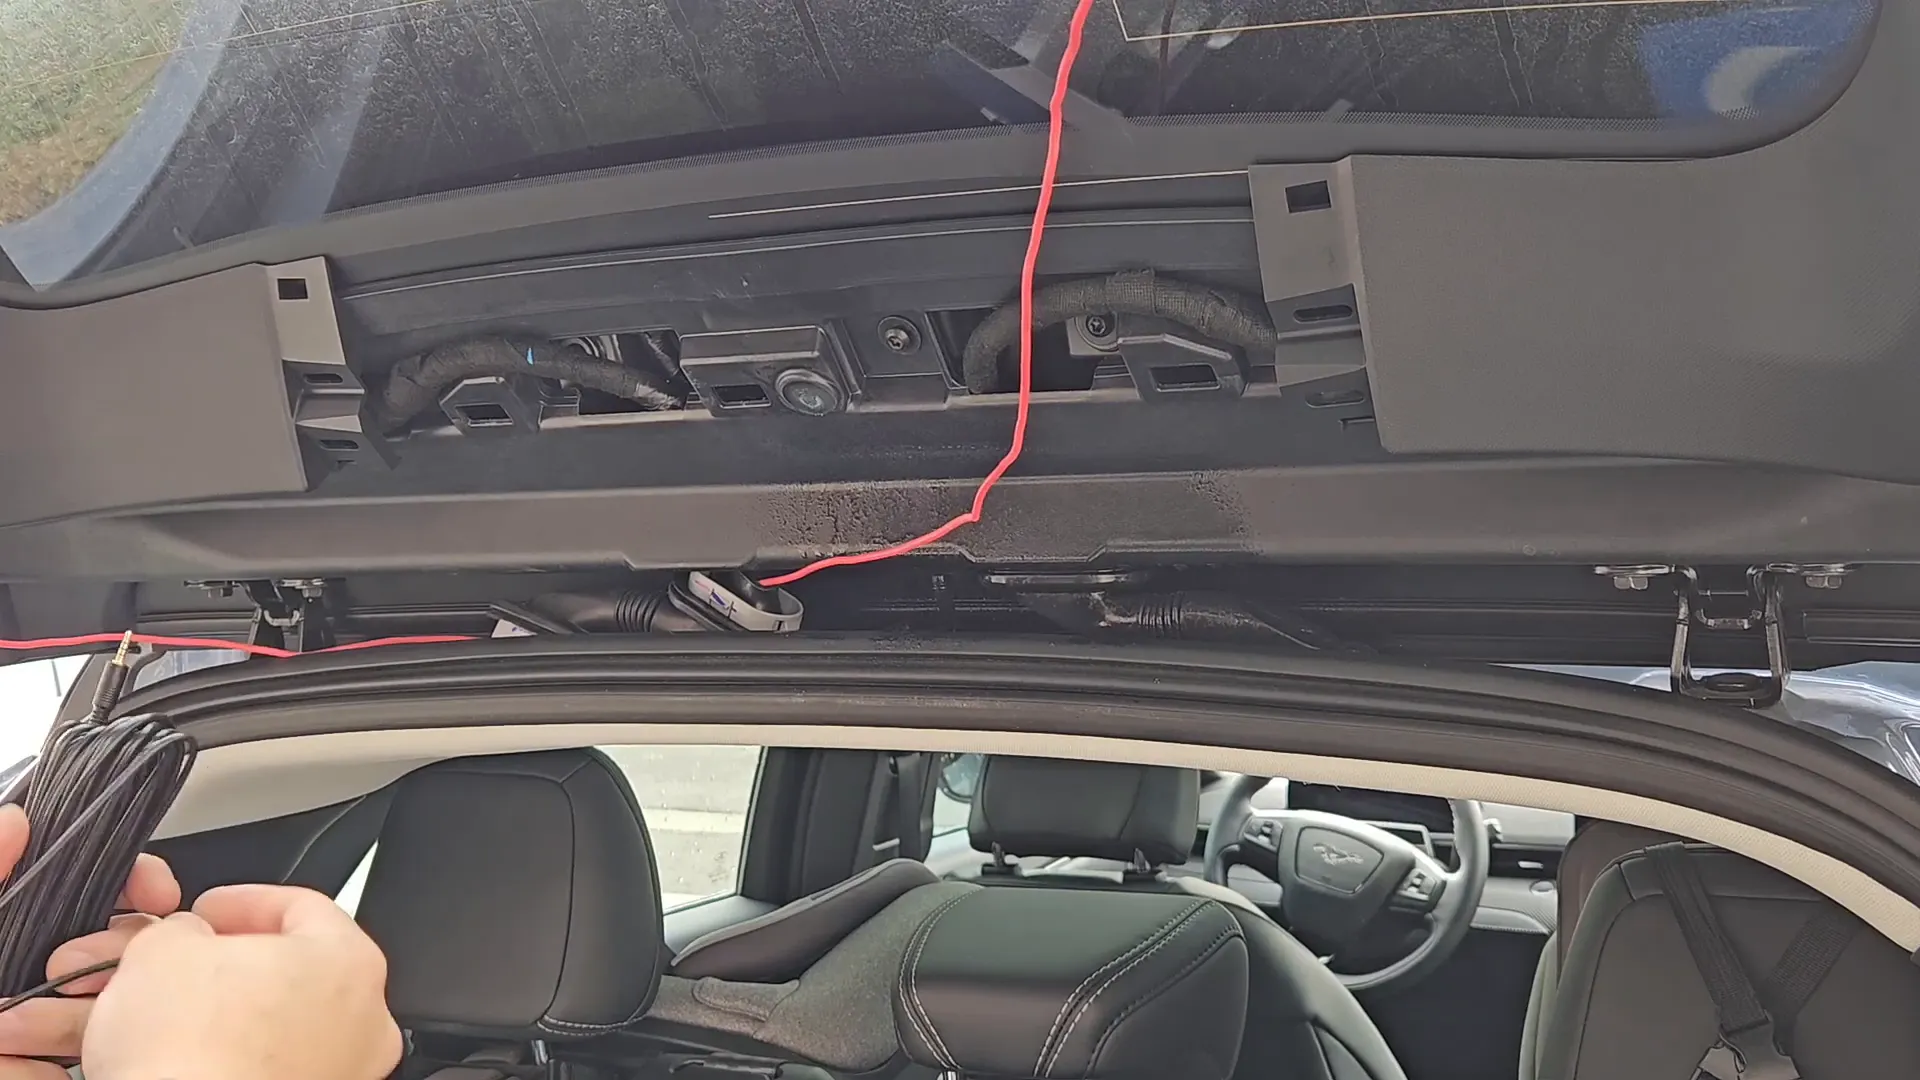
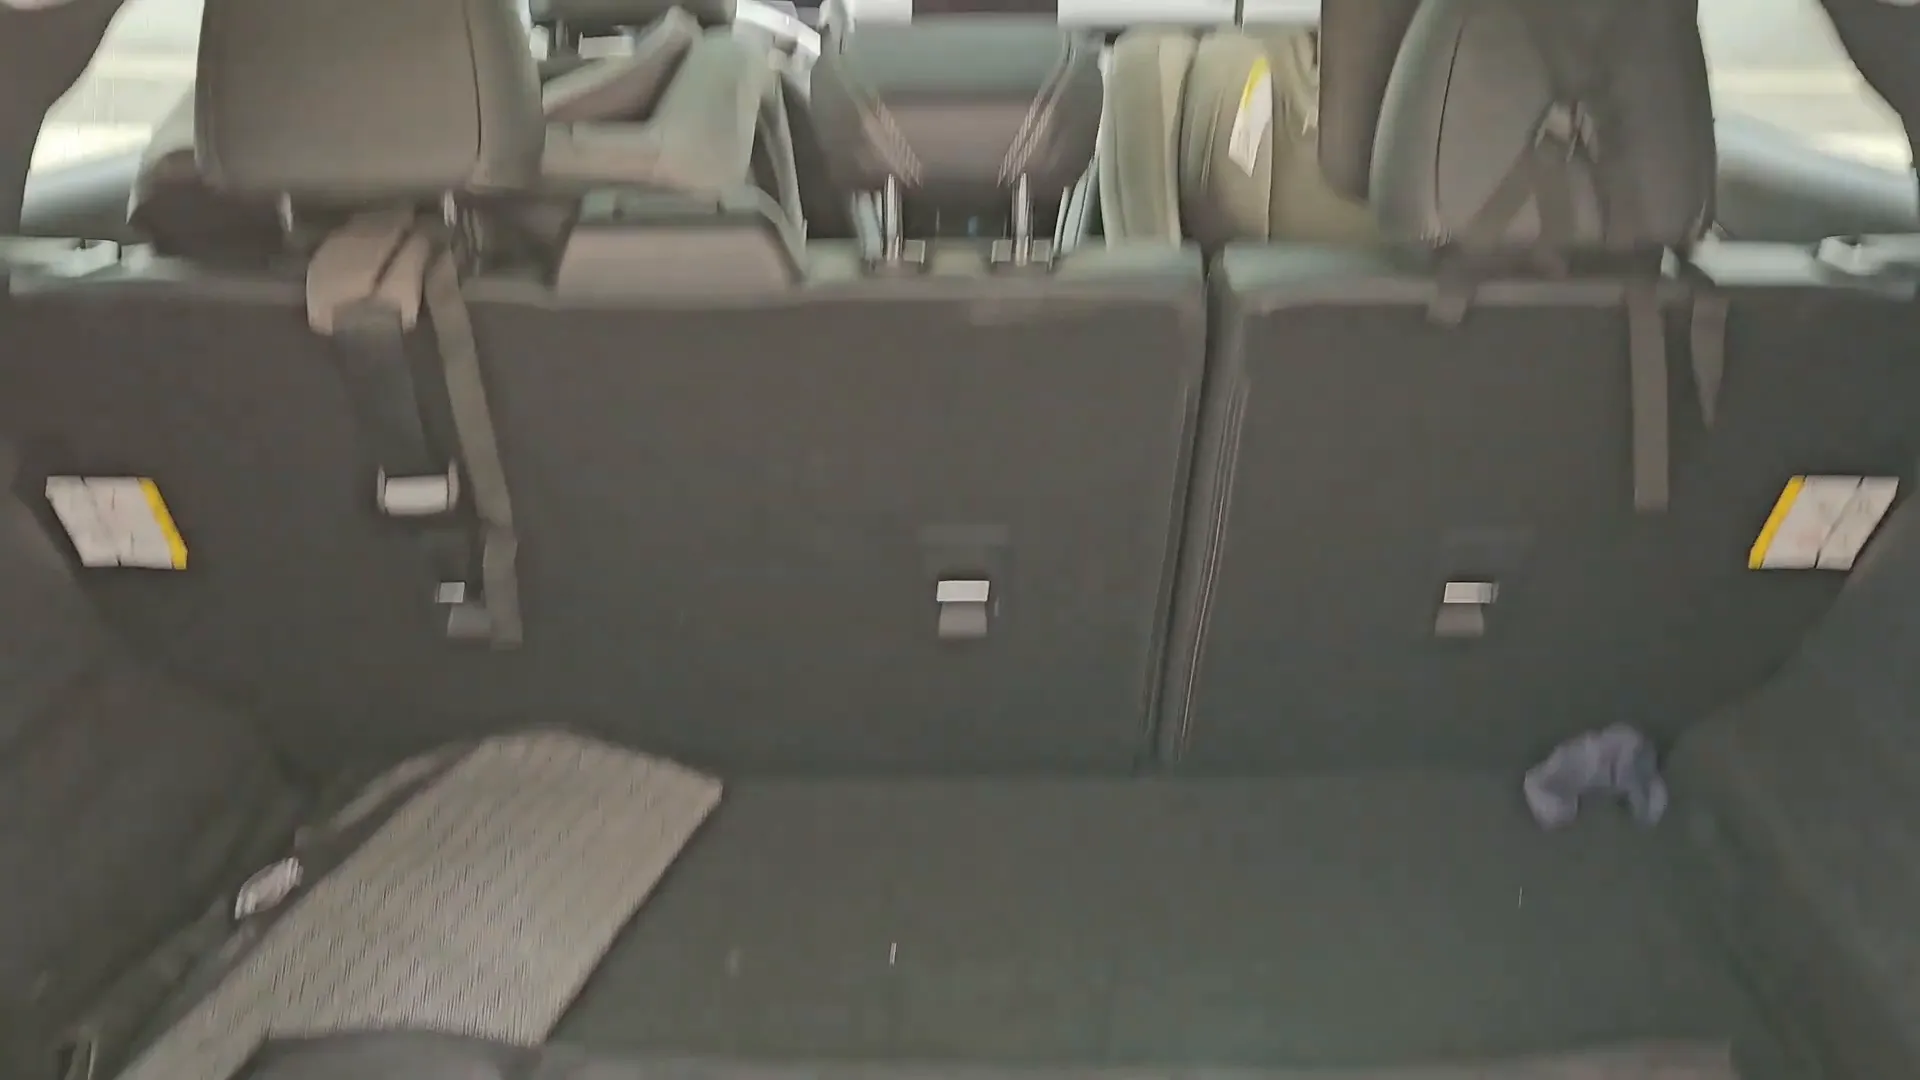
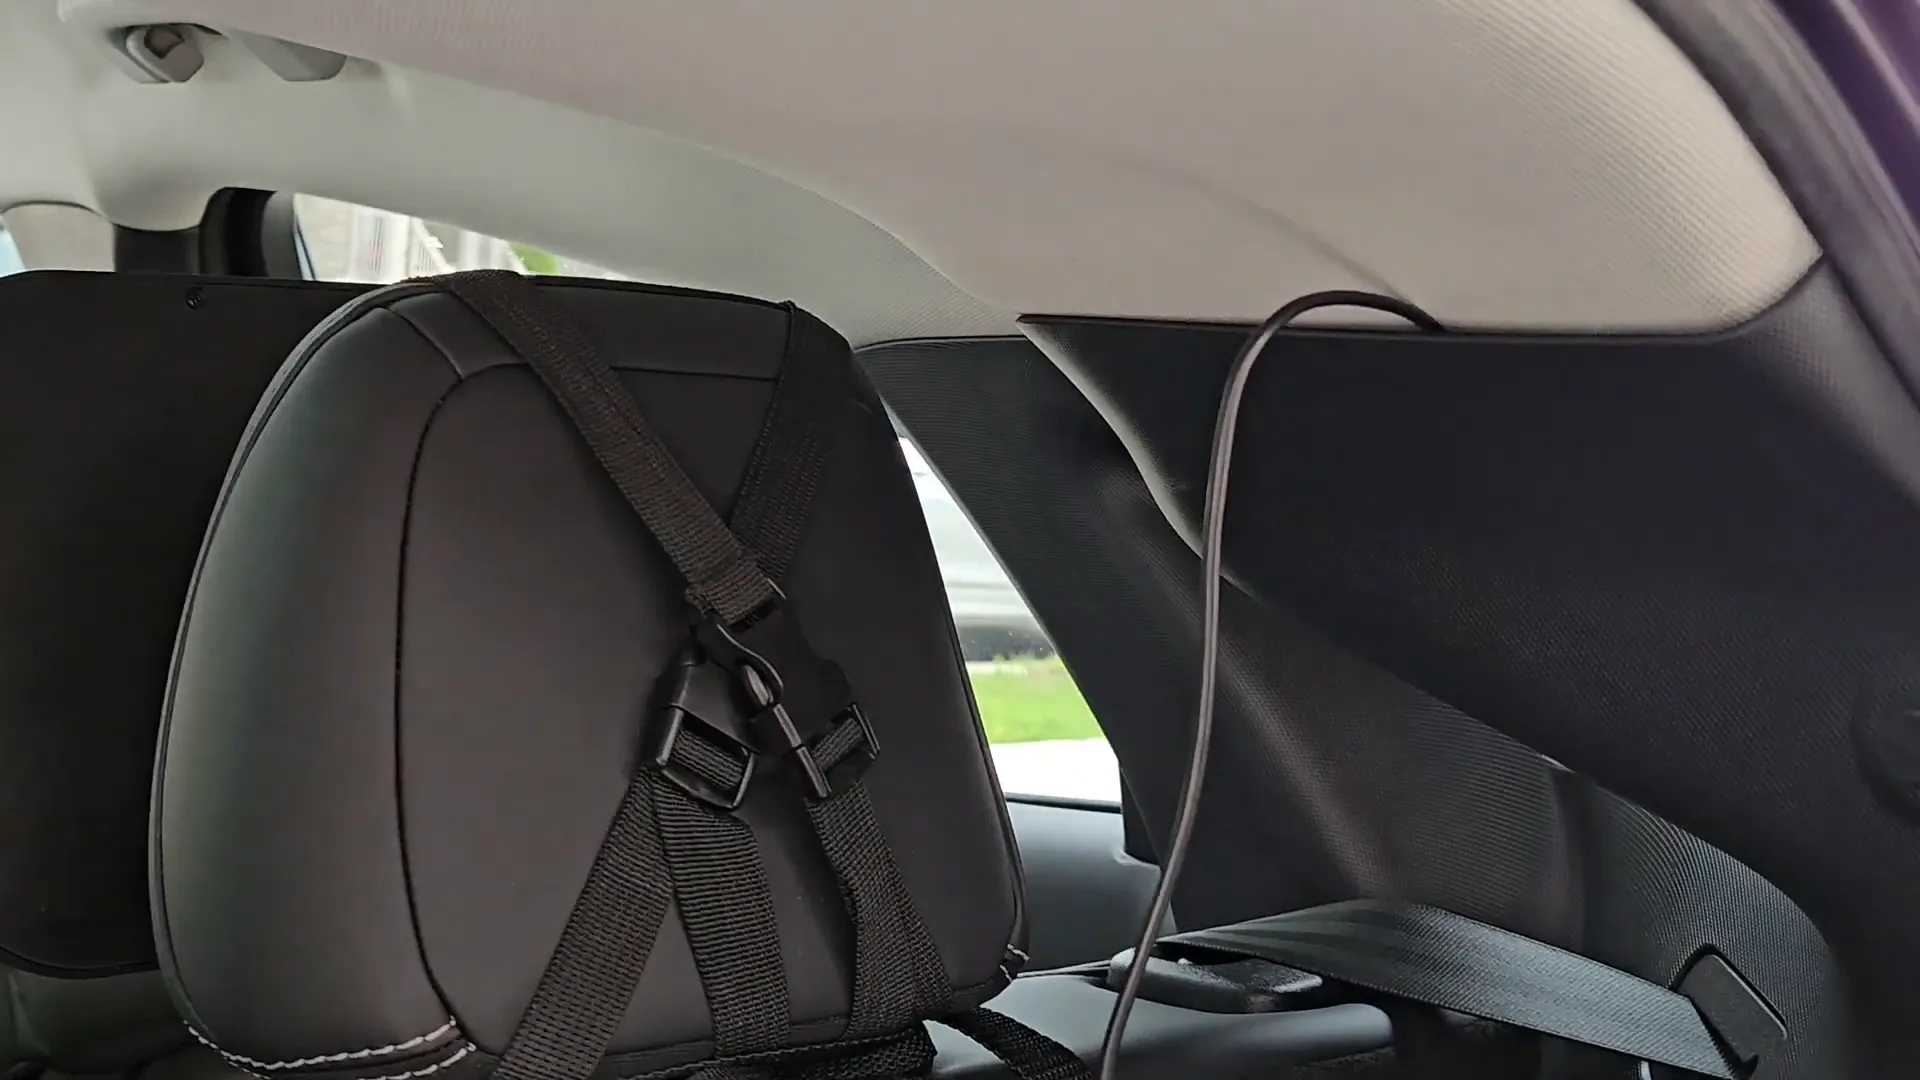
Routing the Wires
Once the camera is mounted, the next step is to route the wires through the vehicle. This involves moving the wire through the headliner and down towards the passenger side where the fuse box is located.
Follow these steps for routing:
- Gently pull down the headliner to create space for the wires.
- Use your fingers to tuck the wire behind the interior panels.
- Make sure to leave some slack for future adjustments or service needs.
Removing the A-Pillar Panel
To run the wire safely behind the airbag, you need to remove the A-pillar panel. This requires a bit of force but be cautious as airbags are located behind this panel.
Here’s how to remove the A-pillar:
- Insert your fingers behind the panel and pull towards the driver's seat.
- Be aware of the retainers on the backside; they will require some wiggling to release.
- Once removed, route the wire behind the airbag safely.

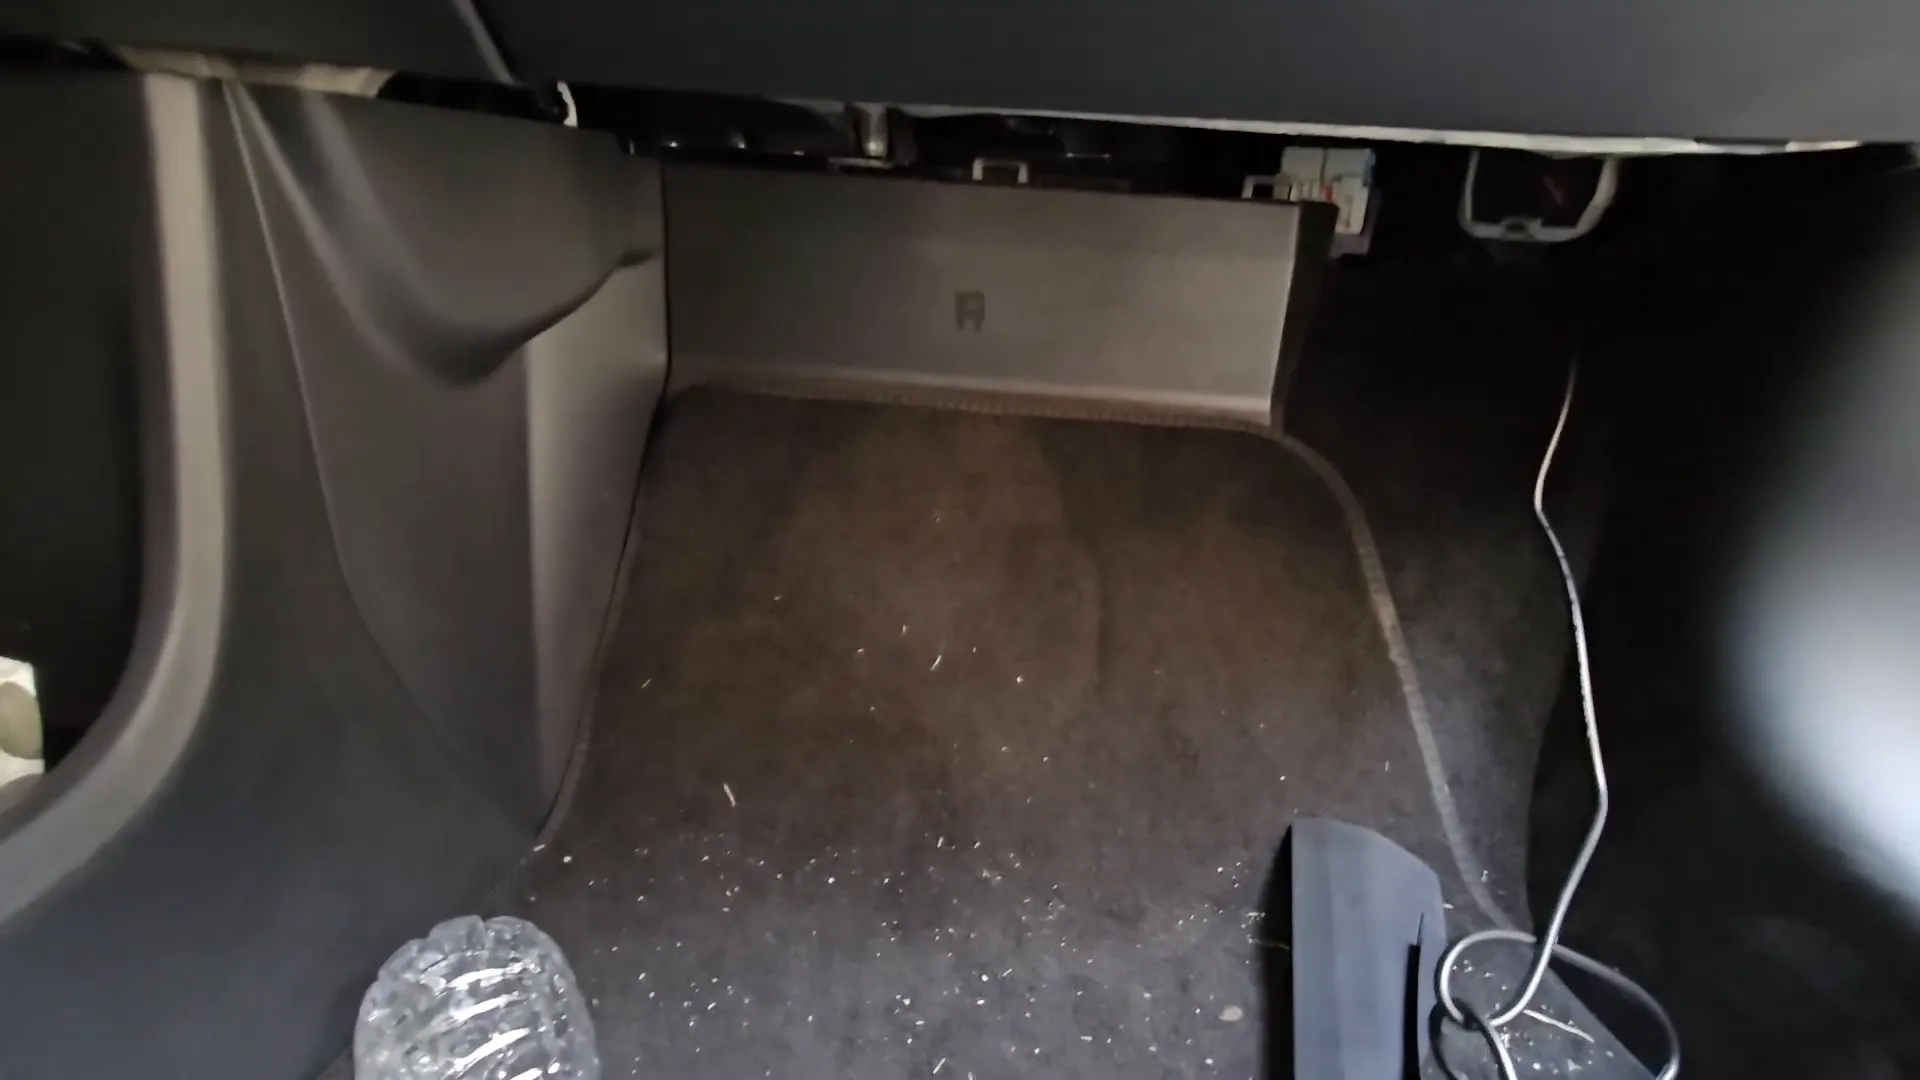
Connecting the Wires
After successfully routing the wires, it's time to connect them to the vehicle's power source. For this, you will need to access the fuse box located in the passenger footwell.
Follow these steps for a successful connection:
- Identify the constant power and ignition wires in the fuse box.
- Use a multimeter to ensure you’re connecting to the correct wires.
- Make the necessary connections and secure them with Tesa tape for a professional finish.
Testing the Installation
Once everything is connected, it's crucial to test the installation to ensure everything functions correctly. Turn on the ignition and check if the dash cam powers up and starts recording.
To verify:
- Check for power connection by observing if the dash cam turns on.
- Test the recording function by starting and stopping the vehicle.
- Make sure the camera is capturing the desired view.
Final Touches
With the installation complete and tested, make sure to tidy up the wiring. Tuck away any excess wire behind panels and ensure everything is securely fastened. Reassemble any panels you removed during the process, ensuring they snap back into place correctly.
Conclusion
Installing a dash cam in your Ford Mustang Mach-E can seem daunting, but with the right tools and guidance, it can be a straightforward task. Not only does a dash cam provide peace of mind, but it also serves as an essential tool for documenting your driving experience. If you need further assistance or professional installation, consider reaching out to specialists like Safe Drive Solutions for expert help.
Happy driving and stay safe on the road!

